LG Electronics USA 9QKE40440 DVD Player/Video Cassette Recorder Combination User Manual LH C444M NA1UTTS ENG 0303
LG Electronics USA DVD Player/Video Cassette Recorder Combination LH C444M NA1UTTS ENG 0303
UserManual.wiki
>
LG Electronics USA
>
9QKE40440 User Manual
users manual
Navigation menu
Upload a User Manual
Namespaces
Wiki Guide
HTML
PDF
Info
Views
User Manual
Discussion / Help
Navigation
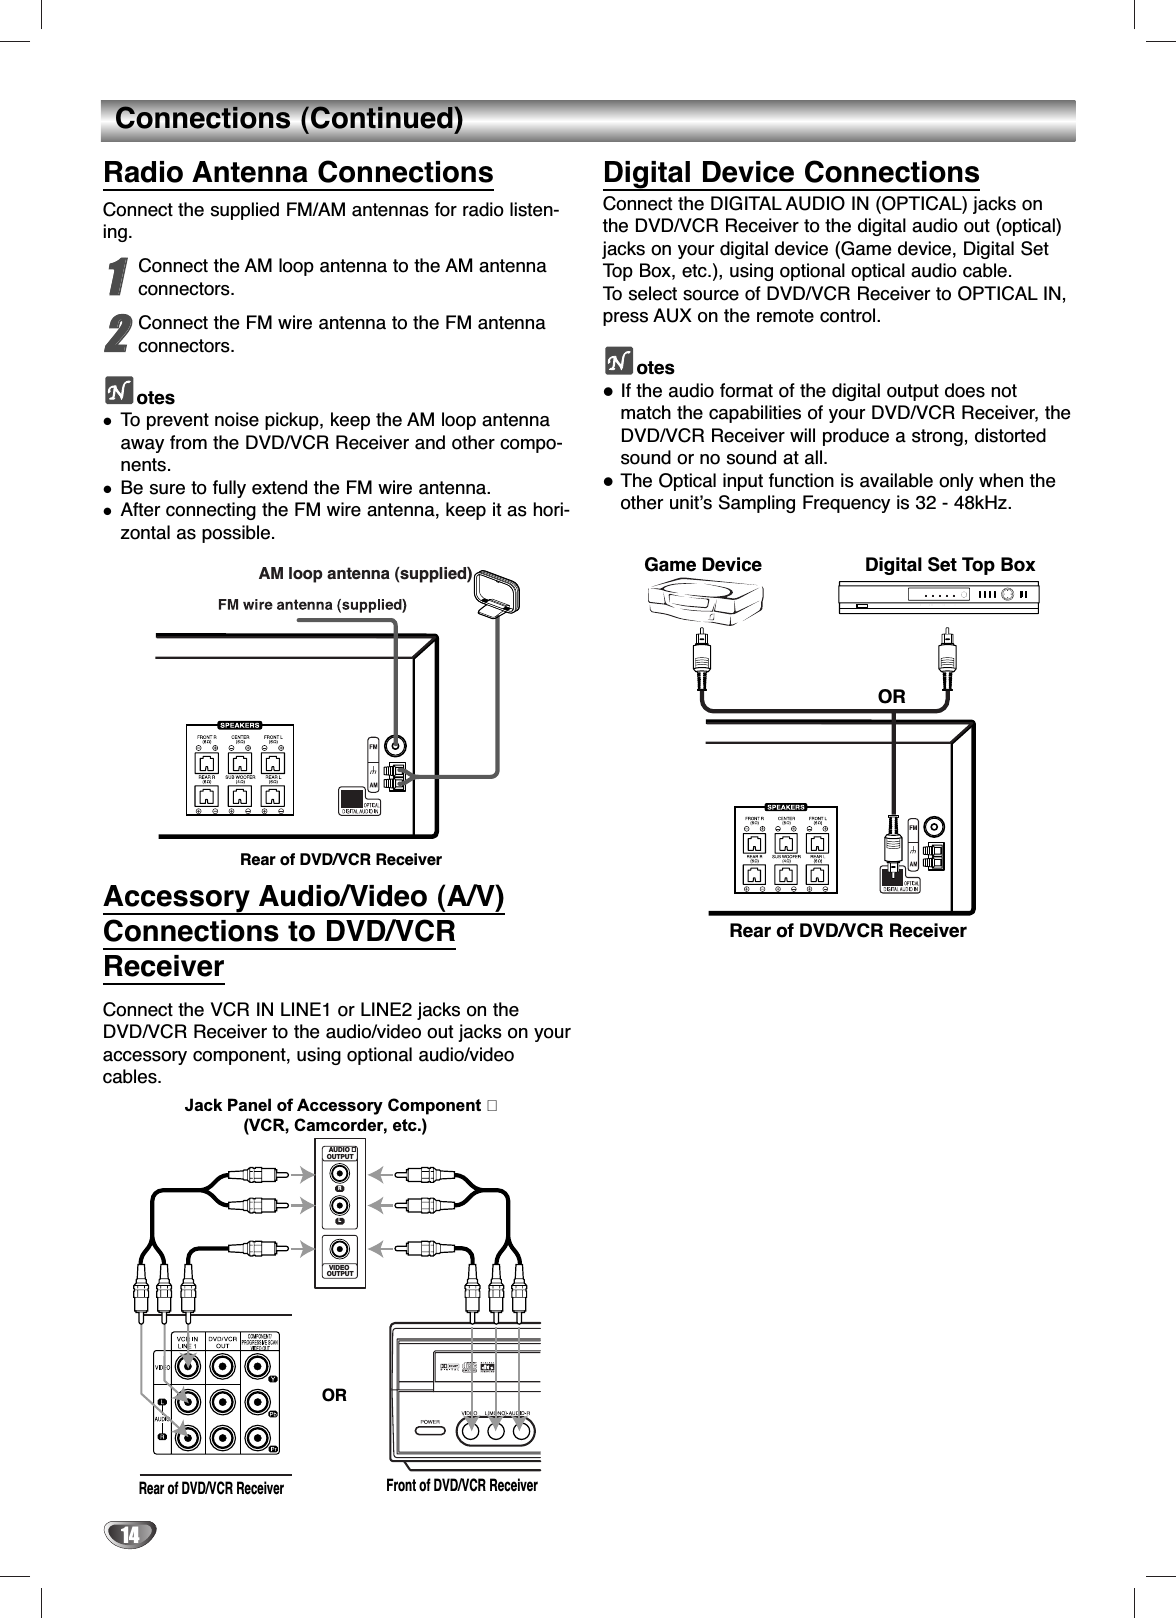
![PREPARATION13Connections (Continued)Speaker System ConnectionsConnect the speakers using the supplied speaker cordsby matching the colors of the terminals and those of thecords. To obtain the best possible surround sound,adjust the speaker parameters (distance, level, etc.).otesBe sure to match the speaker cord to the appropriateterminal on the components: 3to 3and #to #. Ifthe cords are reversed, the sound will be distortedand lack bass.If you use front speakers with low maximum input rat-ing, adjust the volume carefully to avoid excessivevolume output to the speakers.Do not disassemble the front covers of supplied speakers.Speaker PositioningFor a normal setup use 6 speakers (2 front speakers,center speaker, 2 rear speakers and subwoofer). •Front SpeakersBased on your listening position, set up the speakersat equal distance. And by hearing position, set up aninterval between speakers of 45 degree.•Center SpeakerIt is ideal that the center speakers and front speakersare same height. But normally place it above or belowthe television as shown below.•Rear SpeakersPlace the rear surround speakers to the left and rightbehind the primary listening area. These speakersrecreate sound motion and atmosphere required forsurround playback. For best results, do not install therear speakers too far behind the listening position,install them at or above the level of the listener’s ears.It is also effective to direct the rear speakers towardsa wall or ceiling to further disperse the sound.In the case of a smaller room size, if the audience isnear to the rear wall set the rear speakers oppositeeach other, and set the rear speakers 60 - 90 cmabove the listener’s ears.•SubwooferThis can be placed in any front position.Front Speaker (Right)Front Speaker (Left)CenterSpeakerRear speaker(Left surround)SubwooferRear speaker(Right surround)Center SpeakerFrontSpeaker(Left)Speaker Positioning ExampleRearSpeaker(Left)RearSpeaker(Right)FrontSpeaker(Right)SubwooferBe sure to attach the ferrite core tothe speaker cables (for connecting tothis unit).This ferrite core can reduce noises. How to attach the ferrite core.1Push the stopper [a] of the ferrite coreto open.2Wind the Center and Subwoofer Speakercables once on the ferrite core. Pass the others straight on the ferrite core.3Close the ferrite core until it clicks.123About Ferrite Core](https://usermanual.wiki/LG-Electronics-USA/9QKE40440/User-Guide-406217-Page-13.png)
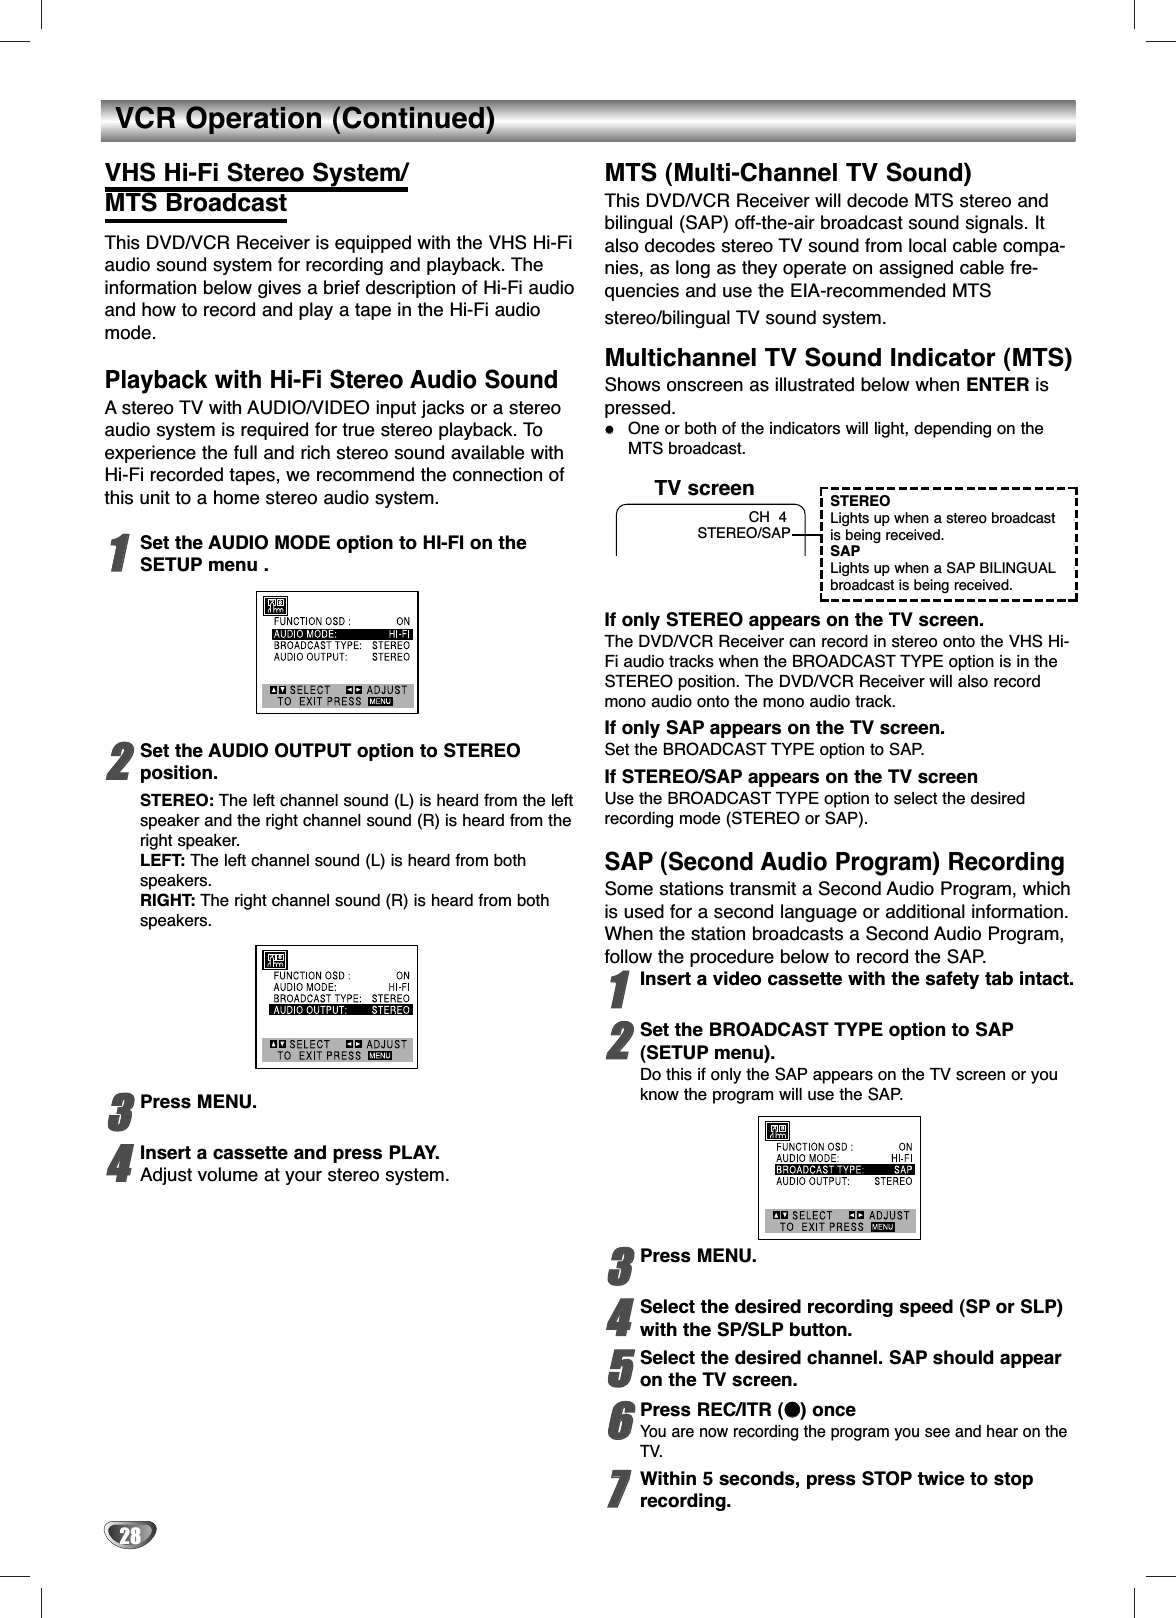
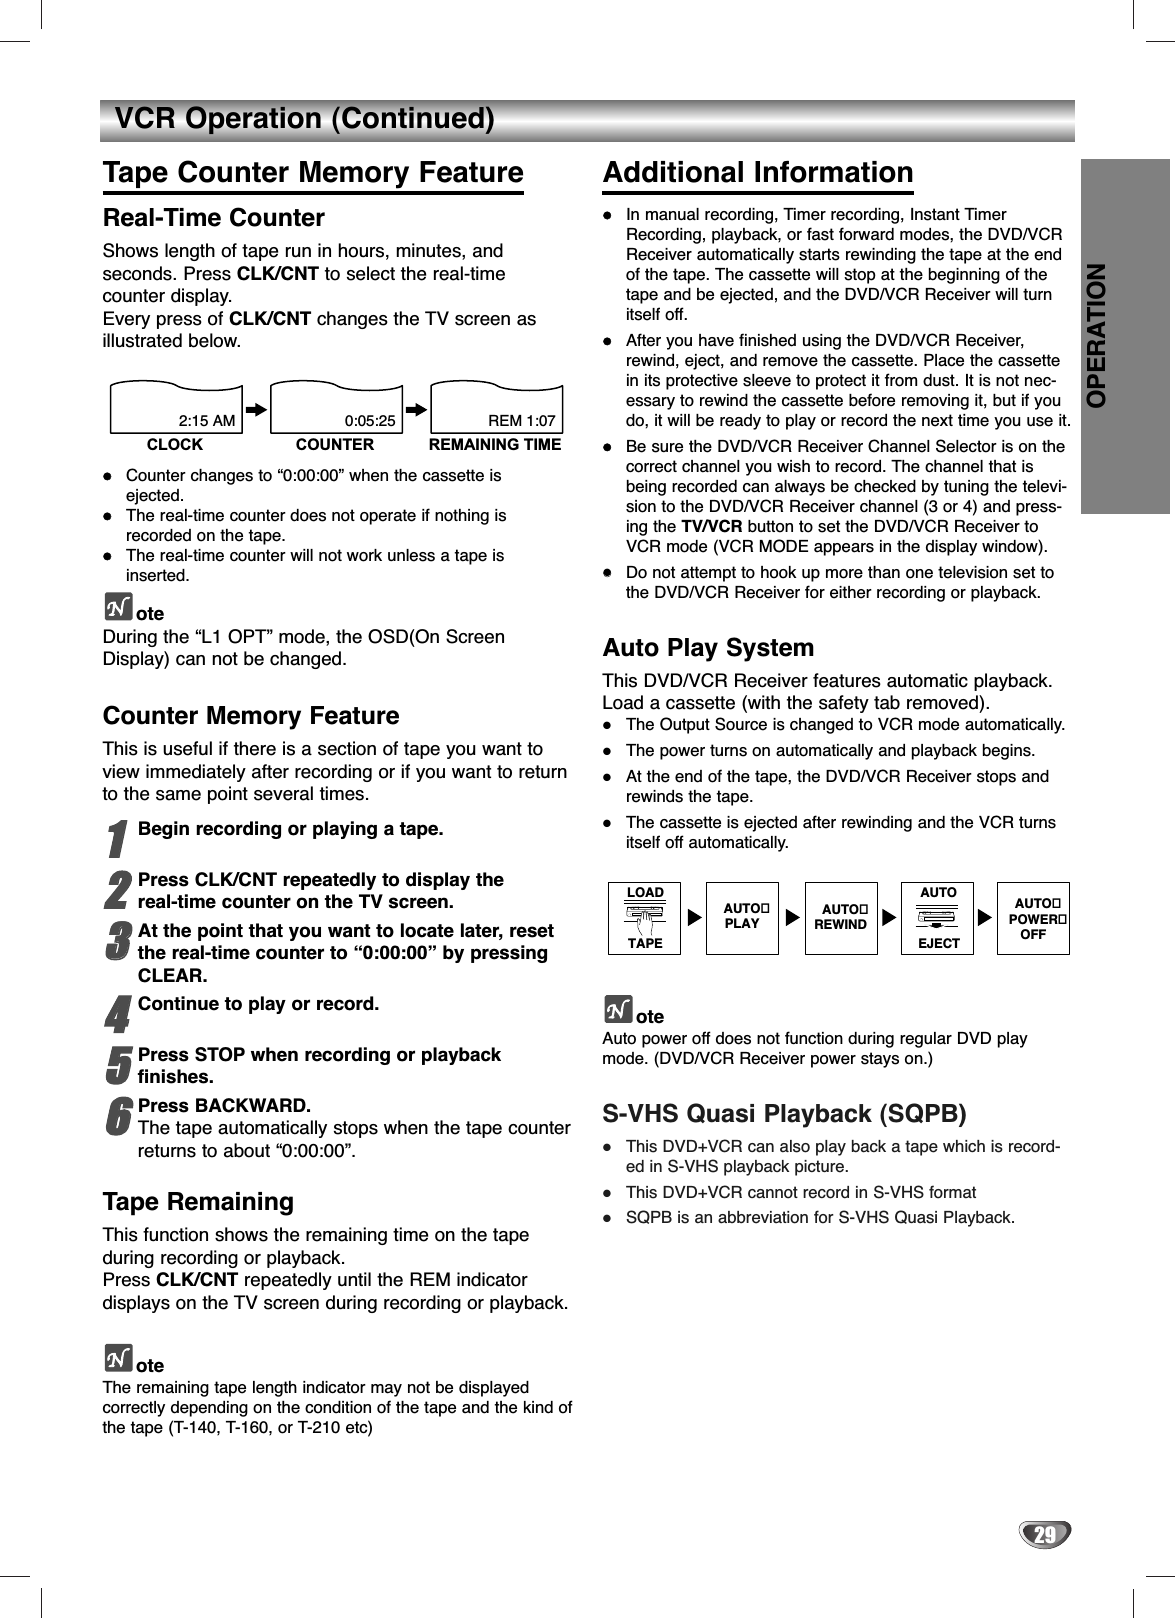
![18VCR Operation Setup (Continued)VCR Setup Menu Options11Press MENU and the MAIN menu will appear.22Use vv/VVto select the SETUP menu, then pressENTER. The SETUP menu will appear.33Use vv/VVto choose a desired option on theSETUP menu. Then use bb/BBto choose adesired setting.FUNCTION OSDThe on-screen display of this DVD/VCR Receiver can be turnedon or off.FUNCTION OSD can be switched between ON and OFFusing b/B.AUDIO MODEThe DVD/VCR Receiver has two separate audio playback sys-tems, the high quality VHS Hi-Fi system and standard NOR-MAL mono system. The same audio is generally recorded onboth systems. The VHS Hi-Fi system plays on separate (leftand right) channels, and the NORMAL system plays monauralsound. The normal track is always played so the cassette canbe played on a DVD/VCR Receiver that does not have VHSHi-Fi.AUDIO MODE can be switched between HI-FI and NORMAL using b/B.BROADCAST TYPE (STEREO/SAP/MONO)Multichannel Television Sound (MTS) carries stereo and/orSecond Audio Program (SAP) bilingual signals. Set this display tothe desired position when both MTS stereo and SAP signals arereceived. When only one of the MTS signal is received, theDVD/VCR Receiver automatically selects the correspondingreceiving mode (Stereo or SAP) regardless of the selected posi-tion. For normal operation, the display should be in the STEREOposition. The DVD/VCR Receiver will then record a STEREO pro-gram when available, and record a mono program IF the program isNOT IN STEREO.For weak STEREO and/or SAP broadcasts, changing the dis-play to mono may give clearer sound.BROADCAST TYPE can be switched between STEREO,SAP, and MONO using b/B.AUDIO OUTPUT (STEREO/LEFT/RIGHT)Used during playback [when AUDIO MODE (HI-FI/NORMAL) isin HI-FI position] for selecting the audio output signals from theAUDIO OUT terminals (L ch and R ch), and RF.OUT.This display setting should normally be left in the stereo posi-tion, so that when a stereo tape is played, the stereo sound willbe heard through the left and right channels. If a mono tape isplayed and the audio output is set to stereo, the same monosound will be heard from both left and right channels.AUDIO OUTPUT can be switched between STEREO, LEFT,and RIGHT using b/B.44Press MENU when finished.Channel SelectionThis DVD/VCR Receiver is equipped with a frequency synthesized tuner capable of receiving up to181 channels. These include VHF channels 2-13, UHFchannels 14-69 and CATV channels 1-125. Preparation:Connect the DVD/VCR Receiver to the desired type of antennaor cable TV system, as shown in Connecting Antenna/CableTV to DVD/VCR Receiver on page 11.AUTO CHANNEL PROGRAMMING11Press MENU and the MAIN menu will appear.22Use vv/VVto select the TUNING menu, then pressENTER. The TUNING menu will appear.33Use VVto choose the SOURCE SELECT option,then use bb/BBto select TUNER.Press b/Brepeatedly to switch between TUNER,LINE1(L1) and LINE2(L2).44Use vv/VVto choose the AUTO CHANNEL SET option,then use bb/BBto search for channels.The tuner will automatically cycle through all available channels in the area and place them inthe tuner’s memory.55After the AUTO CHANNEL SET PROCEEDING iscomplete, make sure the TUNING BAND is setappropriately (TV or CATV) using vv/VVandchoosing the correct TUNING BAND (TV orCATV) by using bb/BBwhile in the TUNING menu.Remember, TV is for the air antenna reception,CATV is for cable or wireless cable connection.66Press MENU to return to the TV screen.77Use CH/TRK (vv/VV) on the remote control orCH/PRESET (vv/VV) on the front panel to cycle theDVD/VCR Receiver through the channels inmemory. TO ADD OR ERASE CHANNELS FROM MEMORYThis feature allows you to add or erase channels inmemory manually.1Press VVto choose the CH. ADD/DEL option on theTUNING menu. Use b/Bto select a channel to addor erase.2Press ENTER to add or erase the channel. Repeat steps 1 and 2 to add or erase channels.3Press MENU to return to the TV screen.](https://usermanual.wiki/LG-Electronics-USA/9QKE40440/User-Guide-406217-Page-18.png)