LG Electronics USA D680 Cellular/ PCS GSM/WCDMA Phone with WLAN and Bluetooth User Manual LG D685 ENG UG 130710 indd
LG Electronics MobileComm USA, Inc. Cellular/ PCS GSM/WCDMA Phone with WLAN and Bluetooth LG D685 ENG UG 130710 indd
UserManual.wiki
>
LG Electronics USA
>
D680 User Manual
Users Manual
Navigation menu
Upload a User Manual
Namespaces
Wiki Guide
HTML
PDF
Info
Views
User Manual
Discussion / Help
Navigation


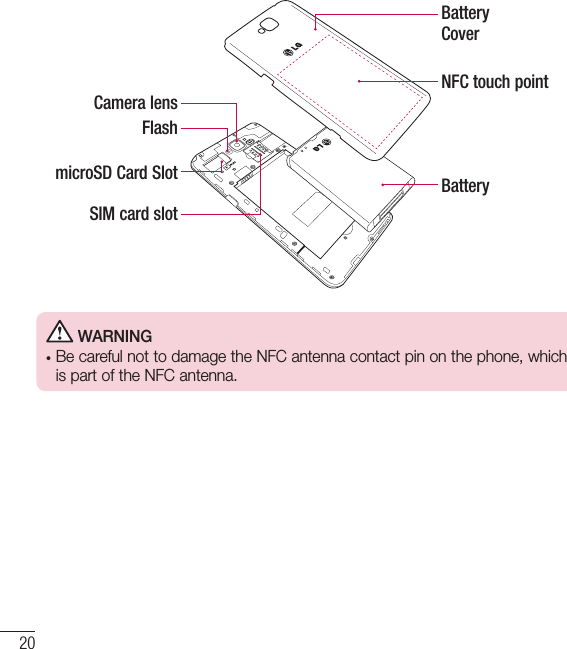
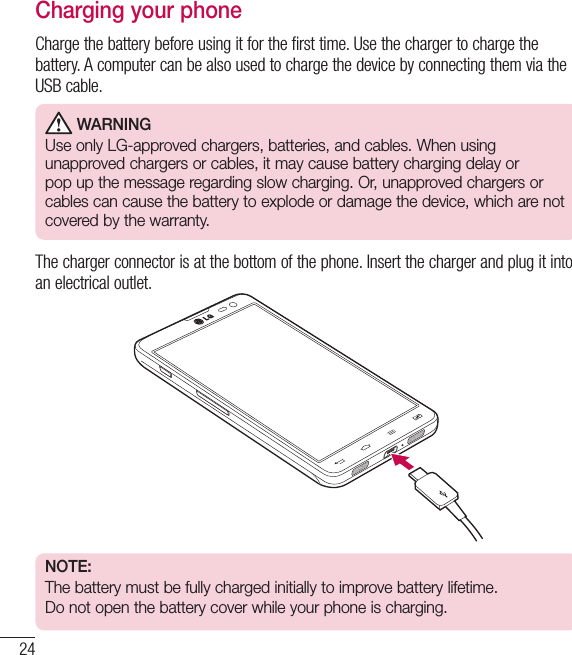


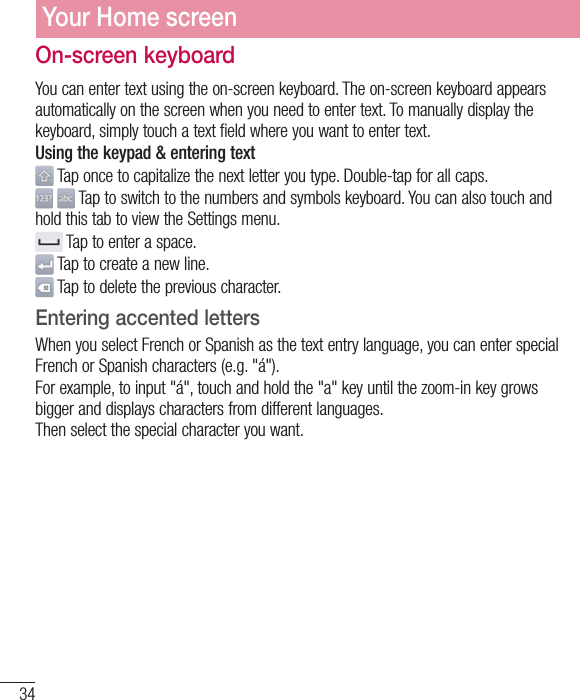


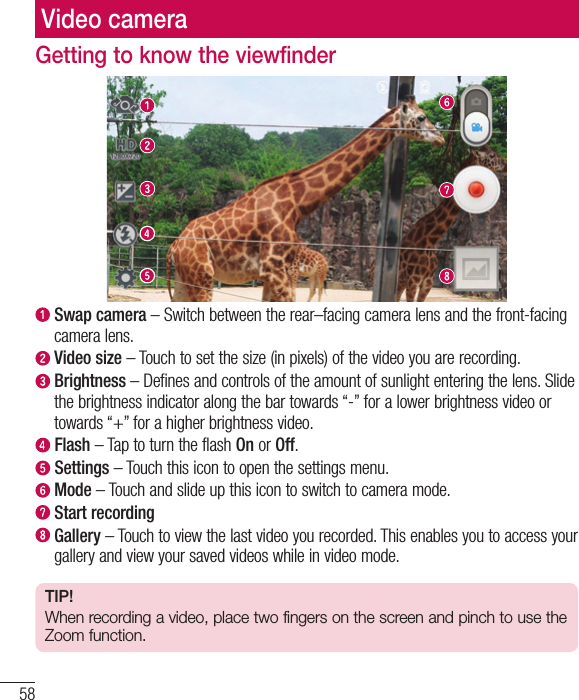
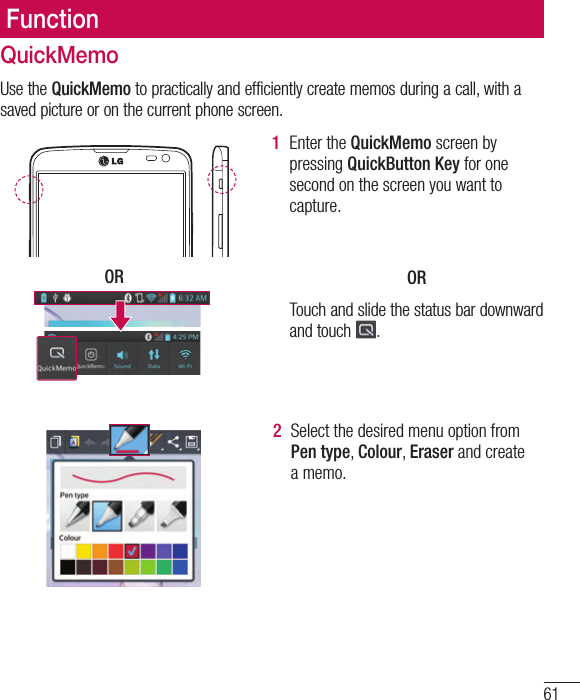
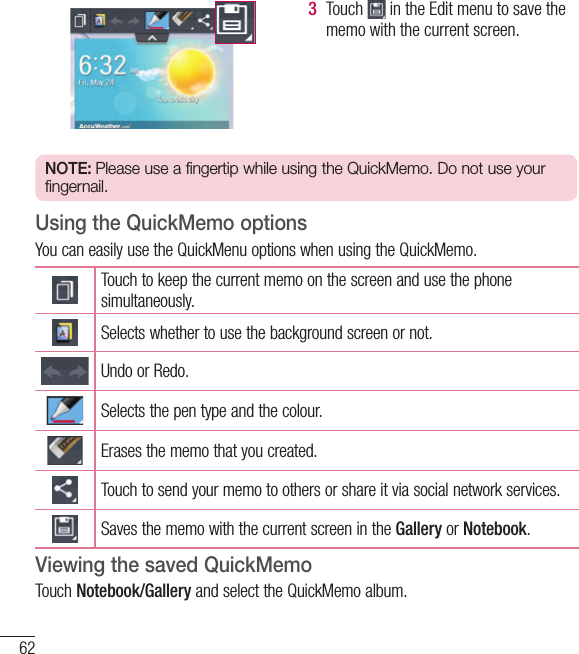
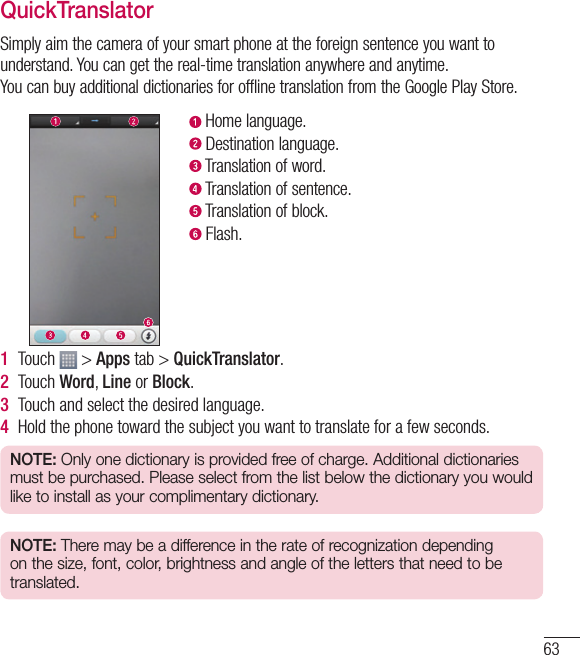


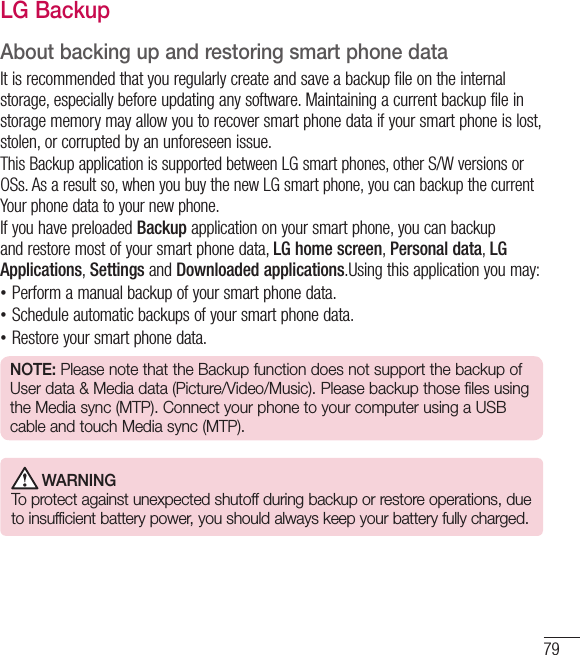
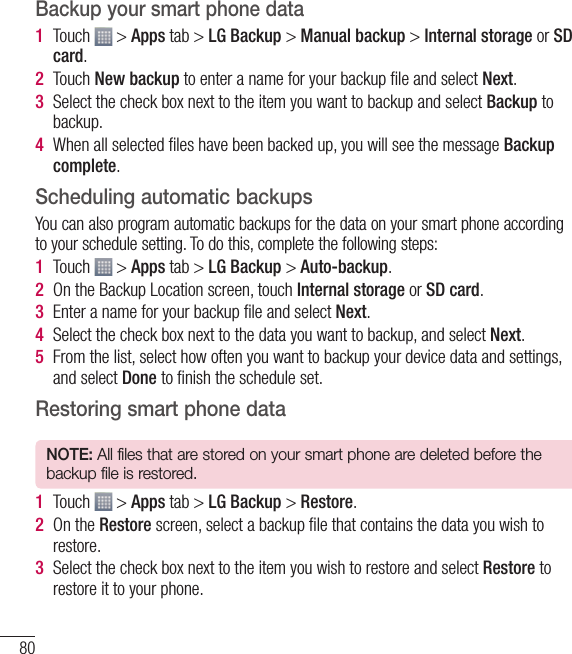
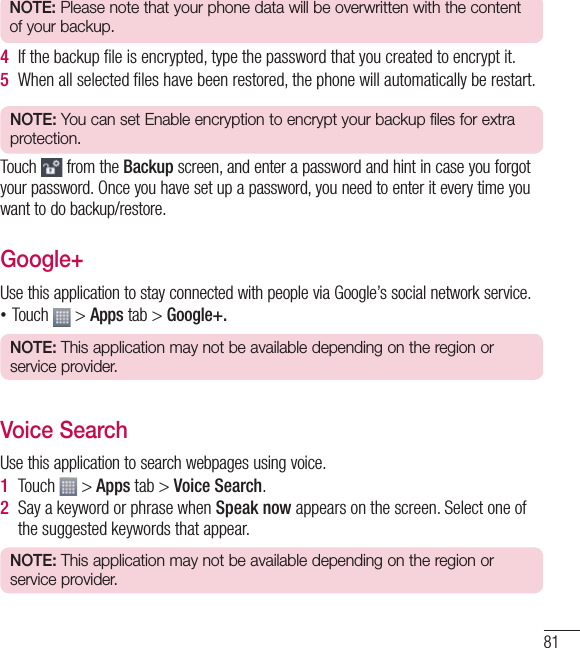
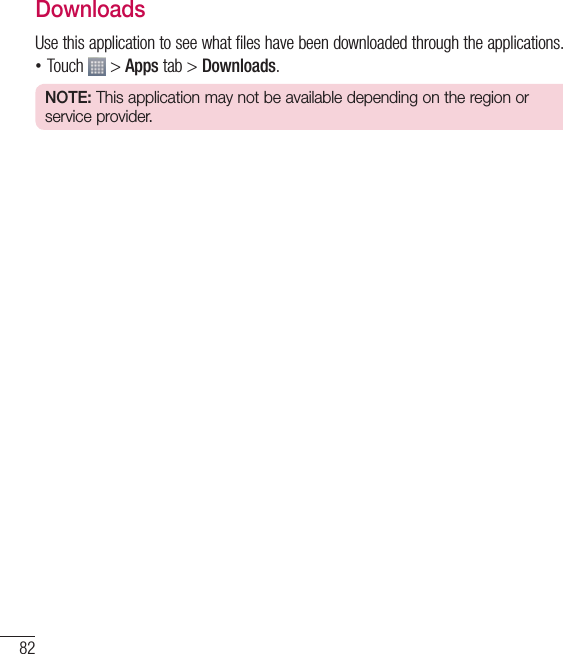
![86SettingsAccess the Settings menu1 On the Home screen, touch > Apps tab > Settings.orOn the Home screen, touch > System settings.2 Select a setting category and select an option.WIRELESS & NETWORKSHere, you can manage Wi-Fi and Bluetooth. You can also set up mobile networks and switch to airplane mode.< Dual SIM >You can choose which SIM card you’re going to use between manually or automatically. Cost save mode Every contact is added along with assigned SIM when adding in phone book. During Calling, matching operator SIM is identified and the operation is completed using the matching operator SIM. This makes possible to use benefit from using same operator.To use Cost save mode feature,make sure the feature is Checked [Settings > Dual SIM > Cost save mode]NOTE: Cost save mode doesn’t work during in-call.< Wi-Fi >Wi-Fi – Turns on Wi-Fi to connect to available Wi-Fi networks.TIP! How to obtain the MAC addressTo set up a connection in some wireless networks with MAC filters, you may need to enter the MAC address of your phone in the router.You can find the MAC address in the following user interface: touch Apps tab > Settings > Wi-Fi > > Advanced > MAC address.](https://usermanual.wiki/LG-Electronics-USA/D680/User-Guide-2057107-Page-87.png)