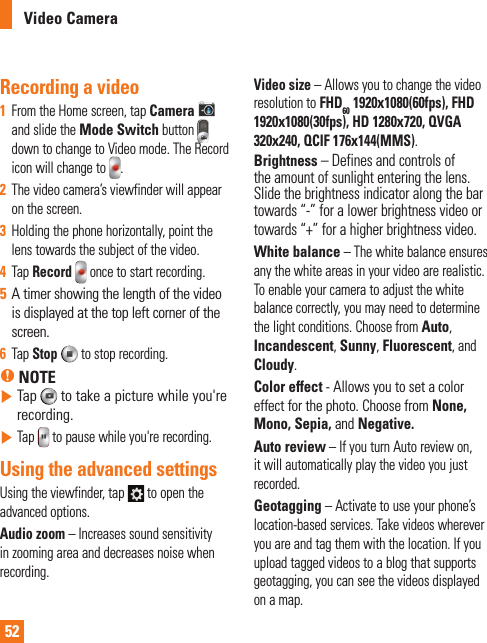
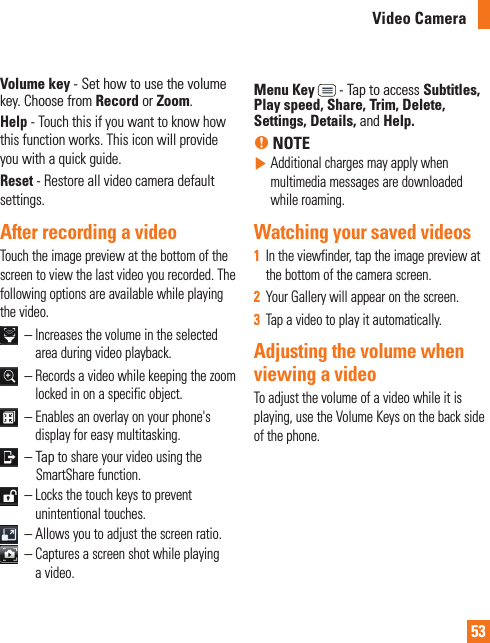
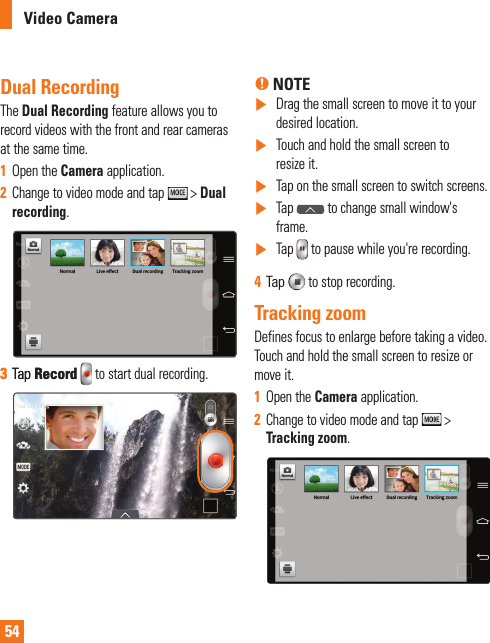
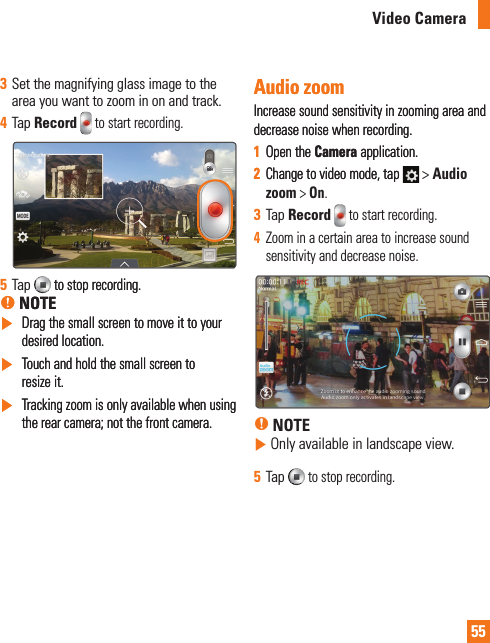
LG Electronics USA D850 Multi-band GSM/EDGE/WCDMA/LTE Phone with WLAN, Bluetooth and RFID User Manual LG D850 ATT UG EN
LG Electronics MobileComm USA, Inc. Multi-band GSM/EDGE/WCDMA/LTE Phone with WLAN, Bluetooth and RFID LG D850 ATT UG EN
Users Manual


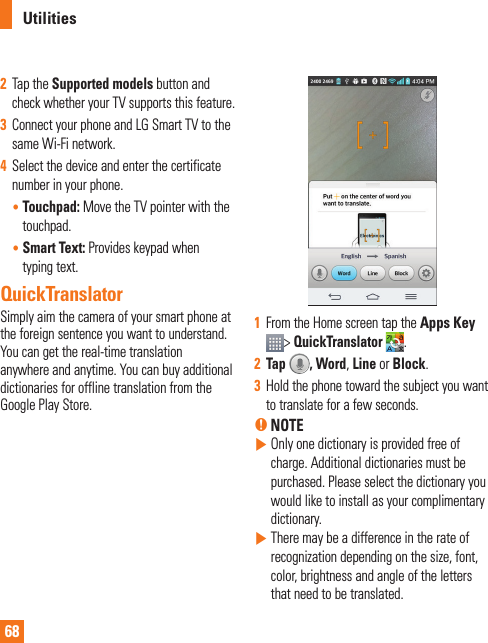


![135Safety GuidelinesWireless Phones and Hearing Aid Accessibilityhttp://www.accesswireless.org/ Gallaudet University, RERChttp://tap.gallaudet.edu/Voice/FCC Hearing Aid Compatibility and Volume Controlhttp://www.fcc.gov/cgb/dro/hearing.html The Hearing Aid Compatibility FCC Order http://hraunfoss.fcc.gov/edocs_public/attachmatch/FCC-03-168A1.pdf Hearing Loss Association of America [HLAA]http://hearingloss.org/content/telephones-and-mobile-devices](https://usermanual.wiki/LG-Electronics-USA/D850/User-Guide-2271288-Page-135.png)