LG Electronics USA E610V Cellular/PCS GSM Phone with WLAN, Bluetooth and RFID User Manual LG E610v VDF EN Cover indd
LG Electronics MobileComm USA, Inc. Cellular/PCS GSM Phone with WLAN, Bluetooth and RFID LG E610v VDF EN Cover indd
Contents
- 1. Users Manual 1
- 2. Users Manual 2
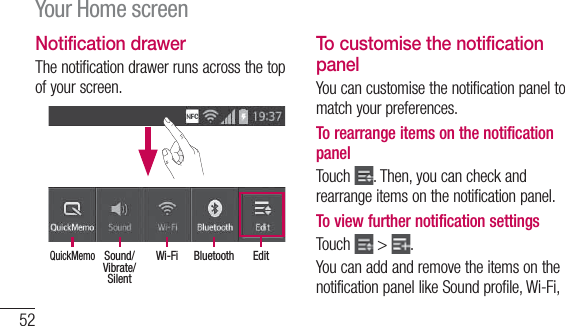
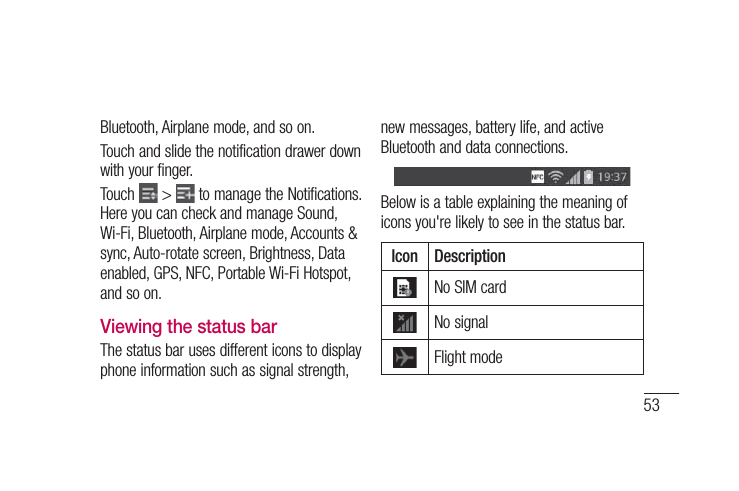
Users Manual 2


![83Moving contacts from your old device to your new deviceExport your contacts as a CSV file from your old phone to your PC, using a PC sync programme.First install LG PC Suite on the PC. Run the programme, and connect your Android mobile phone to the PC using a USB cable.From the top of the screen, select Device > Import personal information > Import contacts.1 2 A pop-up to open a contacts file will appear.Select a contacts file and click Open.A pop-up to import a new contact from the PC to the contacts in the device will appear.If the contacts in the device and new contacts from the PC are different, select a contact you want to import from the PC.Click the [OK] button to import a new contact from the PC to the device.3 4 5 6 7](https://usermanual.wiki/LG-Electronics-USA/E610V.Users-Manual-2/User-Guide-1718704-Page-46.png)