LG Electronics USA E612F Cellular/PCS GSM and Cellular WCDMA Phone with WLAN and Bluetooth User Manual LG E612f Latin Spanish UK 120220 indd
LG Electronics MobileComm USA, Inc. Cellular/PCS GSM and Cellular WCDMA Phone with WLAN and Bluetooth LG E612f Latin Spanish UK 120220 indd
Users Manual
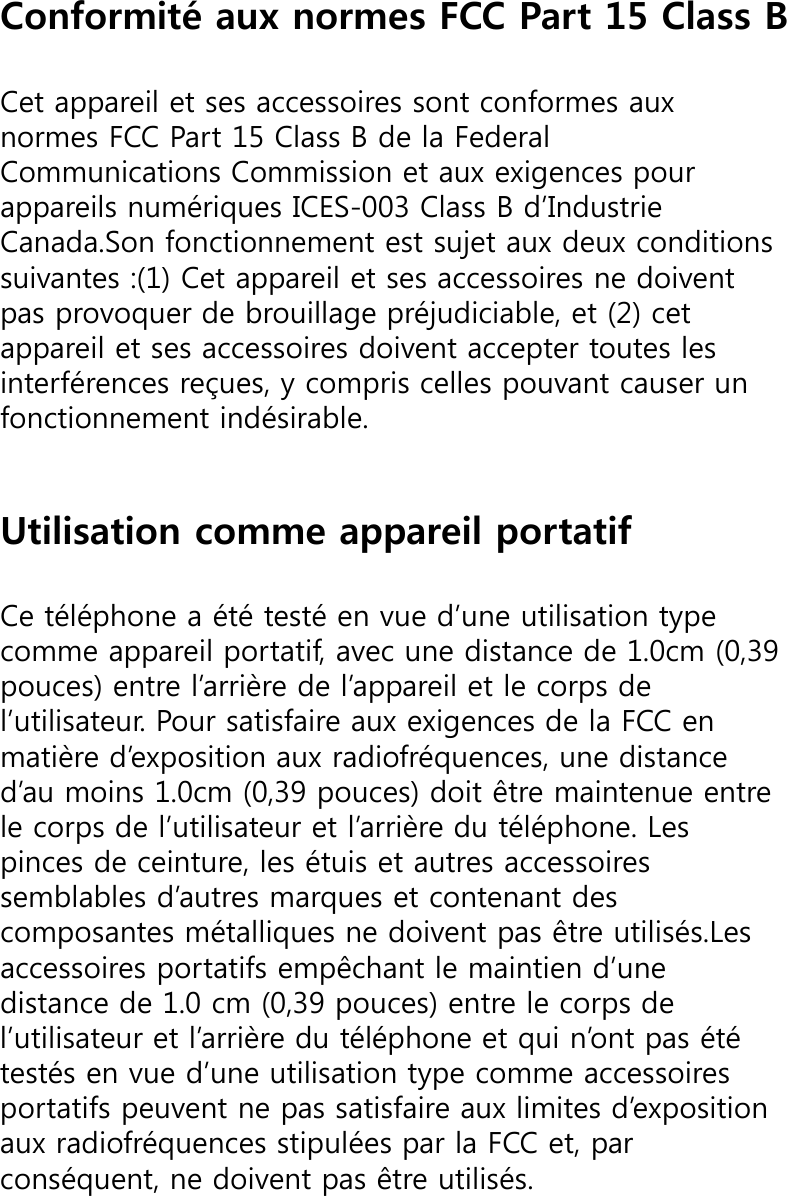
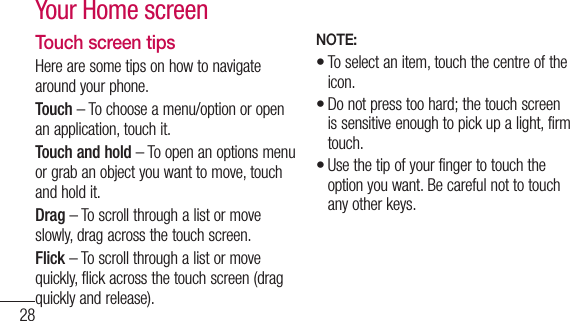

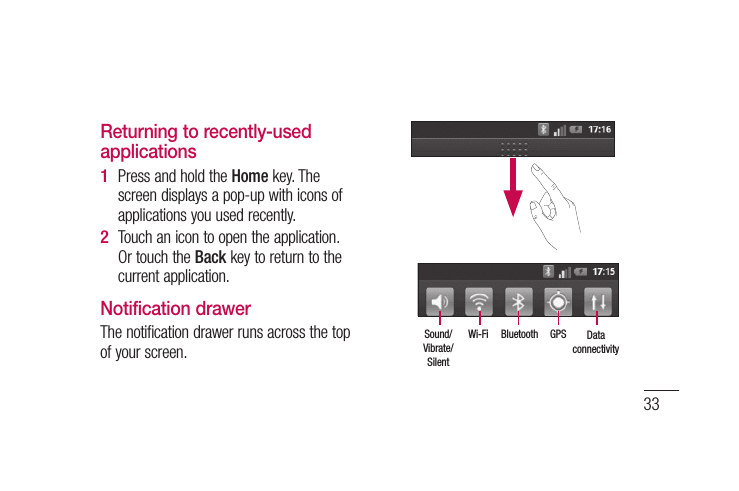
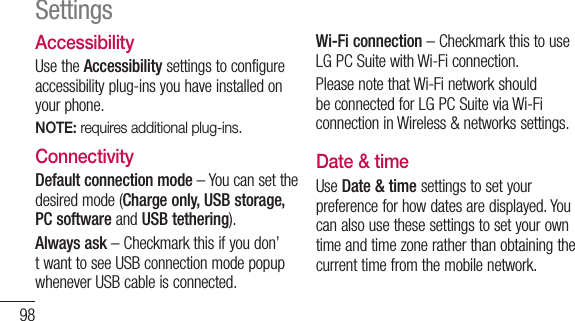
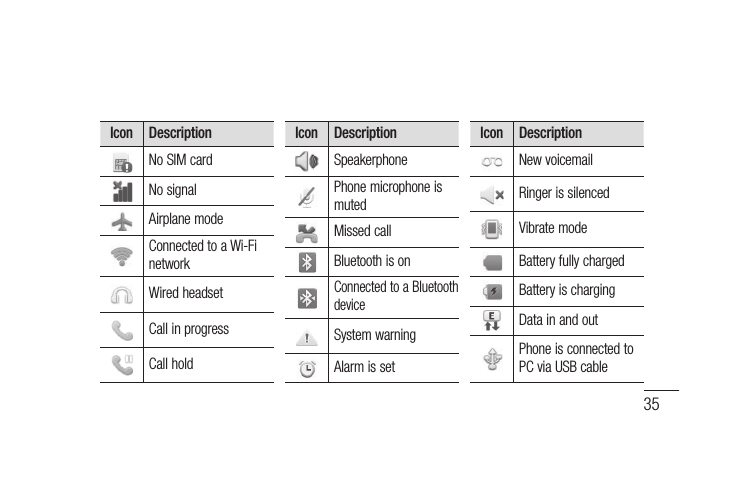
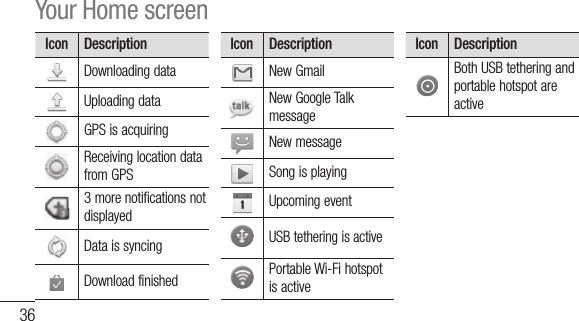
![34Touch and slide the notification drawer down with your finger. Or, in the Home screen, touch the Menu key and select Notifications. Here you can check and manage sound, Wi-Fi, Bluetooth and GPS as well as other notifications.Viewing the status barThe status bar uses different icons to display phone information such as signal strength, new messages, battery life and active Bluetooth and data connections.Below is a table explaining the meaning of icons you’re likely to see in the status bar.[Status bar]Your Home screen](https://usermanual.wiki/LG-Electronics-USA/E612F/User-Guide-1688242-Page-18.png)

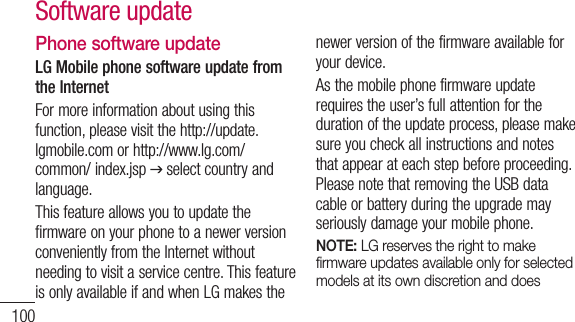
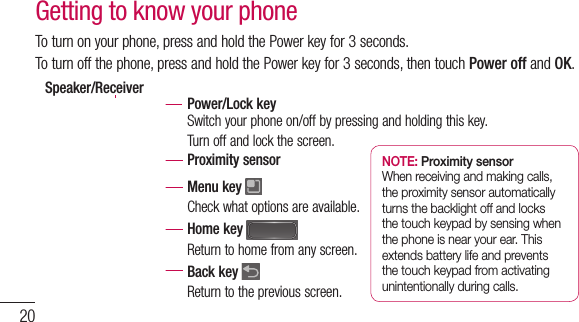
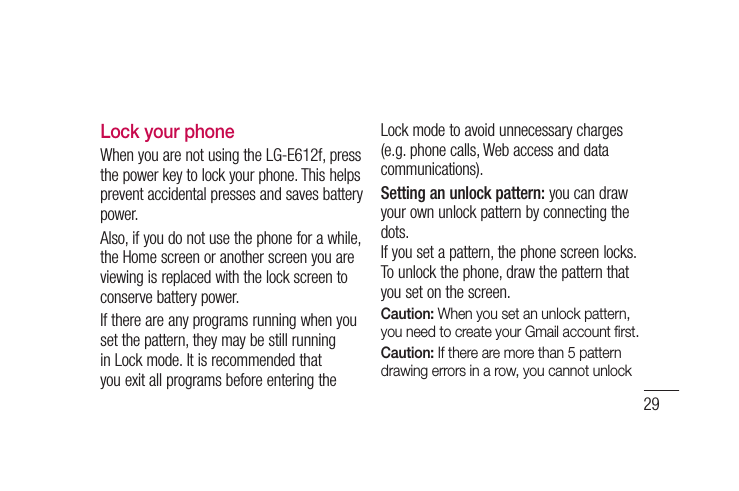
![53Moving Contacts from your Old Device to your New DeviceExport your contacts as a CSV file from your old device to your PC using a PC sync program.Install “LG PC Suite” PC application on the PC. Run the program and connect your device to the PC using a USB cable.From the top of the screen, select Device > Import personal information > Import contacts.1 2 A pop-up to open a contacts file will appear.Select a contacts file and click Open.A pop-up to import a new contact from PC to the contacts in the device will appear.If the contacts in the device and new contacts from PC are different, select a contact you want to import from PC.Click the [OK] button to import a new contact from PC to the device.3 4 5 6 7](https://usermanual.wiki/LG-Electronics-USA/E612F/User-Guide-1688242-Page-37.png)