LG Electronics USA GM630 Cellular/PCS GSM/EDGE Phone with Bluetooth User Manual
LG Electronics USA Cellular/PCS GSM/EDGE Phone with Bluetooth Users Manual
UserManual.wiki
>
LG Electronics USA
>
GM630 User Manual
Users Manual
Navigation menu
Upload a User Manual
Namespaces
Wiki Guide
HTML
PDF
Info
Views
User Manual
Discussion / Help
Navigation
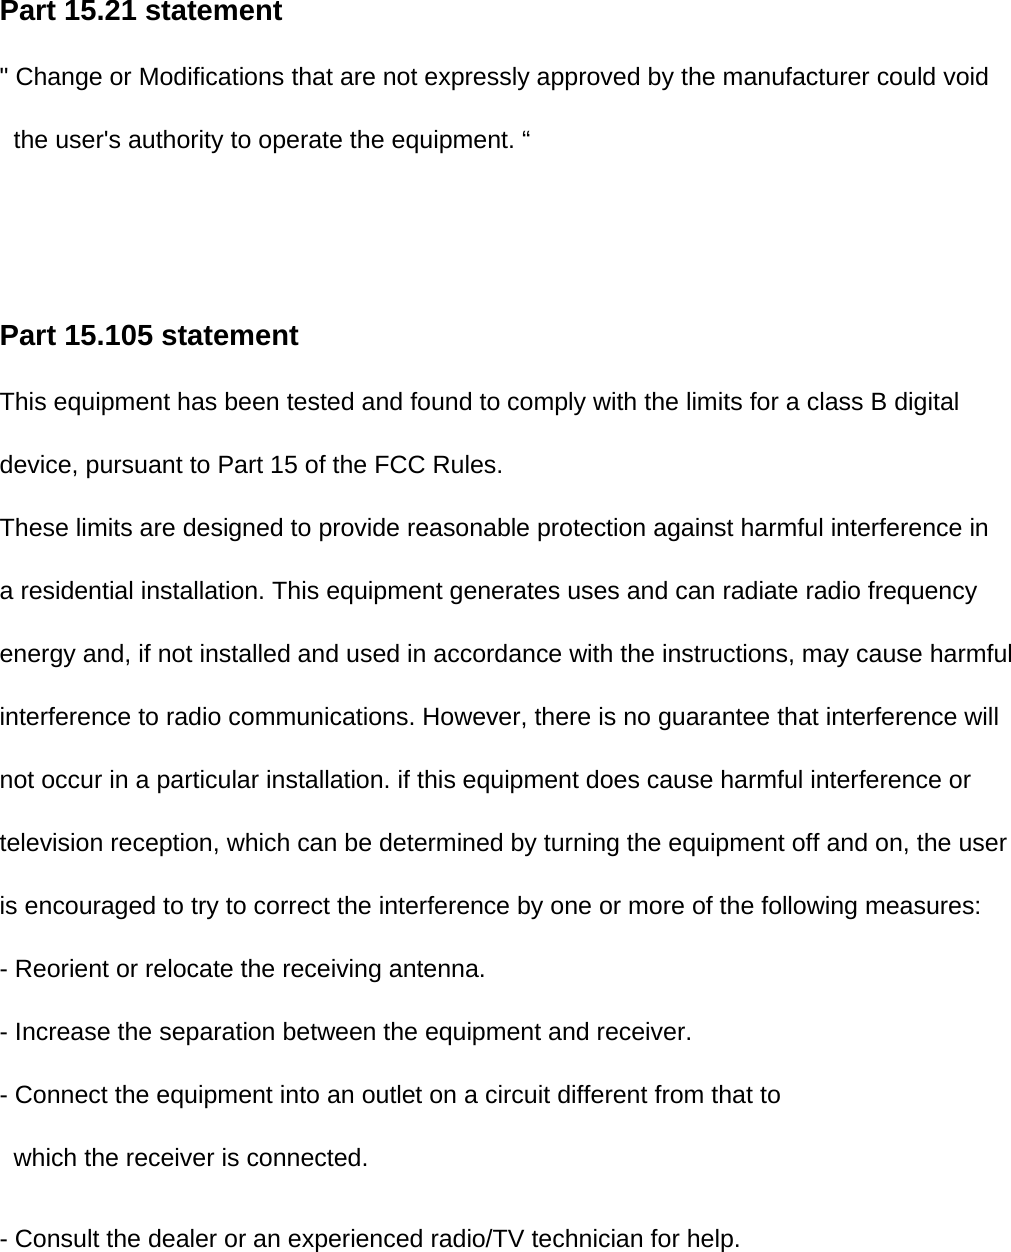

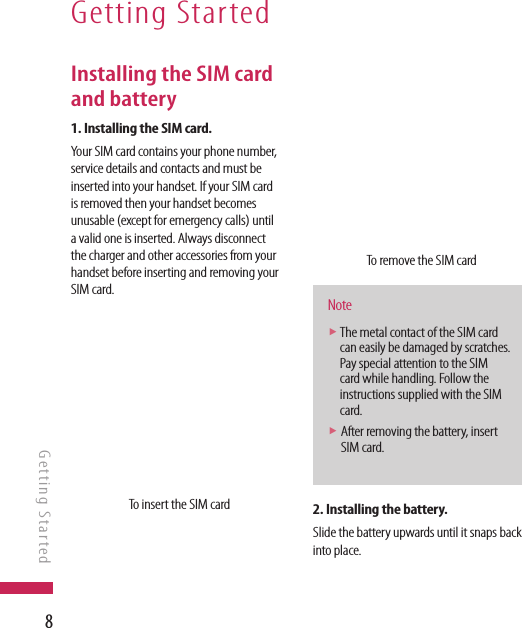
![122. If you do not want to use the speakerphone, ensure you have the headset plugged in.3. To start the video function, press the left soft key [Options] and select Video call. v You will be notified that you will need to close other applications to make the video call.Notev The video call may take some time to connect. Please be patient. The connection time will also depend on how quickly the other party answers the call. While the video call is connecting, you will see your own image; after the other party has answered, their image will be displayed on the screen.4. Adjust the camera position if necessary.5. Press e to finish the call, or Switch off the handset.Making a voice/video call from ContactsIt is easy to call anyone whose number you have stored in your Contacts.1. Press d to access the contacts list.2. Scroll to the contact to make a call.3. Press s to make a voice call. Press the left soft key and select Make video call to make a video call.4. Press e to finish the call.Making international calls1. Press and hold 0 for the international prefix. The ‘+’ character prefixes the international access code.2. Enter the country code, area code, and the phone number.3. Press s .General FunctionsGeneral Functions](https://usermanual.wiki/LG-Electronics-USA/GM630/User-Guide-1078822-Page-11.png)
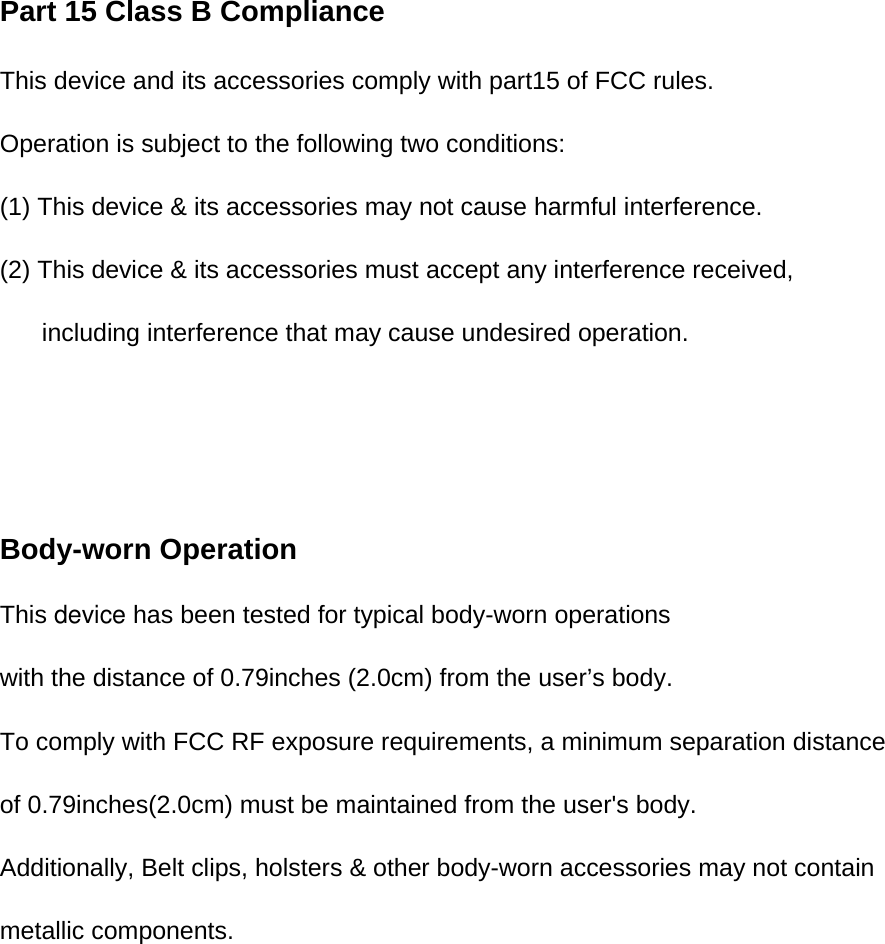
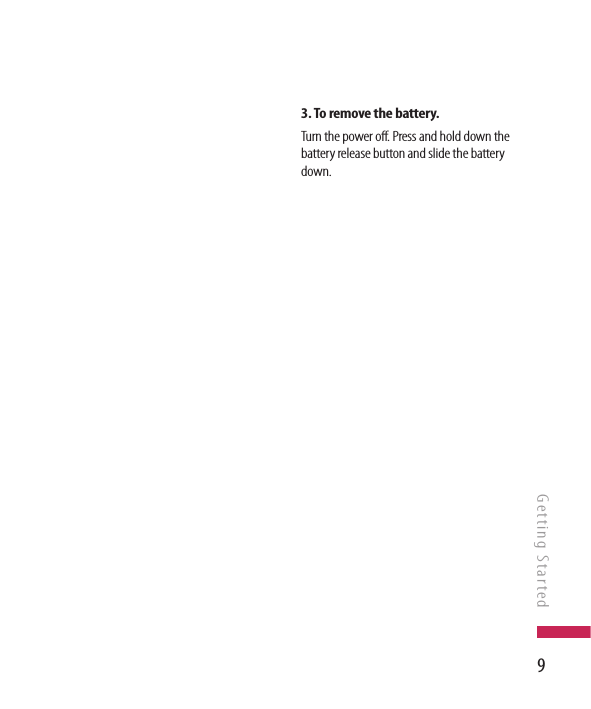
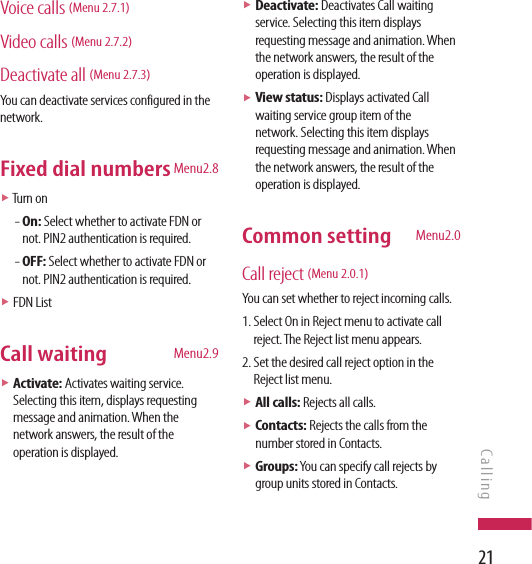
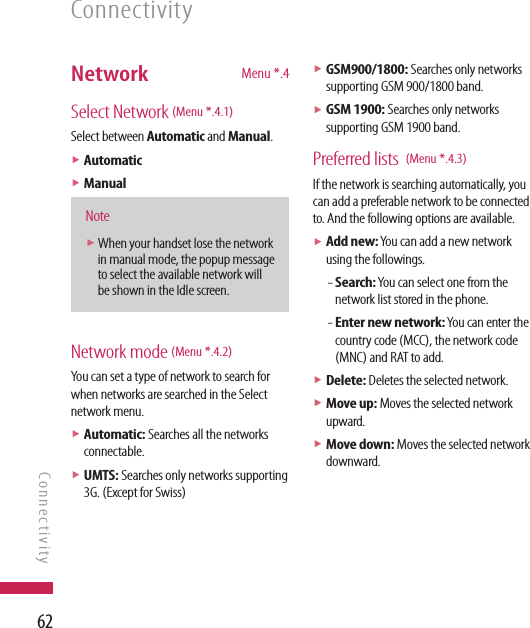
![17CallingCallingCall logs Menu2.1All calls (Menu 2.1.1)Allows you to view the missed, received, and dialled call records. You can make a call, or send a message to the number you have selected from the records. You can also save the number in Contacts.Dialled calls (Menu 2.1.2)Allows you to view dialled call records, make a call, send a message, and save the number in Contacts.Received calls (Menu 2.1.3)Allows you to view received call records, make a call, send a message, and save the number in Contacts.Missed calls (Menu 2.1.4)Allows you to view missed call records, make a call, send a message, and save the number in Contacts.Make video call Menu2.2You can make a video phone call in this menu. Call durations Menu2.3You can view call time by types. Press the left soft key [Options] to choose either partial initialisation or entire initialisation. Initialization will require your Security code.The following timers are available:All callsShows total call time.Dialled callsShows outgoing call time.Received callsShows incoming call time.Last callShows the latest call time in units of hours/minutes/seconds.](https://usermanual.wiki/LG-Electronics-USA/GM630/User-Guide-1078822-Page-16.png)
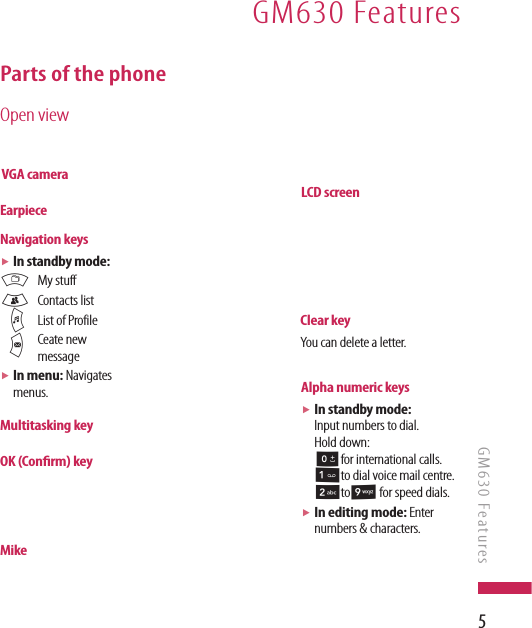
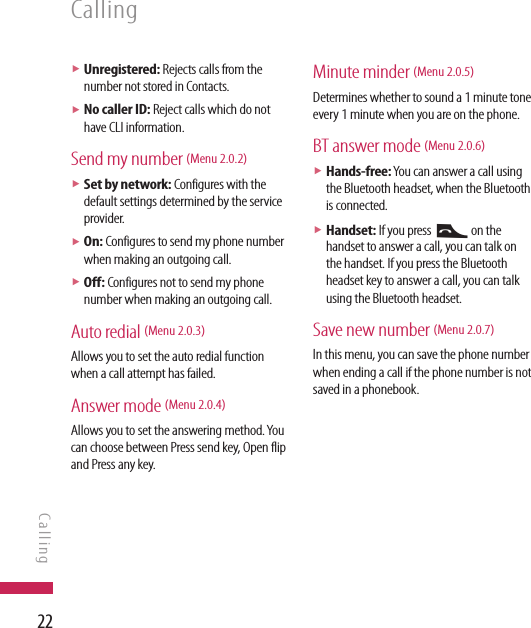
![18Data volume Menu2.4Allows you to check the sent, received and all data volume transferred.Press the left soft key [Options] and you can Choose [Clear] for the initialization of the selected volume type or [Clear all] for entire initialization. Initialization will require your Security code.Call costs Menu2.51. This function displays the call costs of the Last call and All calls.2. Press the left soft key [Options] to choose either partial Initialization or entire Initialization. Initialization will require the PIN2 code.3. You can select either Units or Currency in Set call cost. According to your setting, the call cost is displayed during a call (If SIM and Network support Advice Of Charge(AOC)).4. In the Set limit configuration, select On to configure the cost limit. When a cost limit is configured, and the call costs reach the limit, making a call will not be allowed.Call divert Menu2.6Call divert menus for voice and video calls are provided.If you press O , you can activate call divert menu.Voice calls (Menu 2.6.1)All voice calls (Menu 2.6.1.1)When busy (Menu 2.6.1.2)No answer (Menu 2.6.1.3)Not reachable (Menu 2.6.1.4)1. When the number list is not exsisted Converts to an editor for entering a divert number. You can input the number to divert a call directly or search it in phonebook. If you press [Divert], the phone will send the request to service provider after entering the number. CallingCalling](https://usermanual.wiki/LG-Electronics-USA/GM630/User-Guide-1078822-Page-17.png)
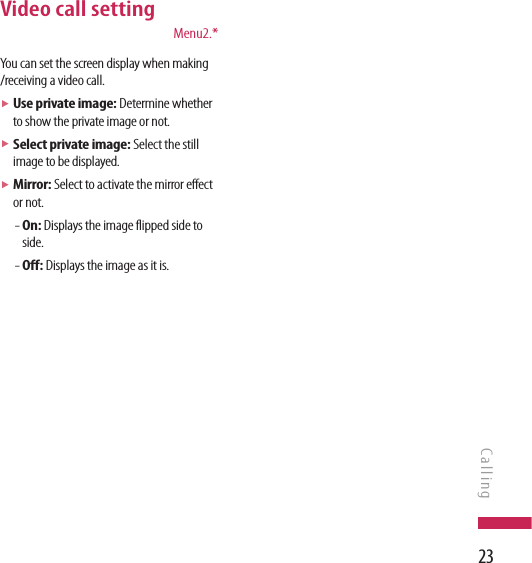
![19Calling2. When the number list is exsisted Displays To other number menu including of the number list. While waiting for the result from the network, a Requesting message and animation appears.3. Option menu After activating All voice calls menu, selecting the Options menu at the bottom of the menus displays the Deactivate, Deactivate all, View status and clear list menus. If you select the Deactivate menu, the call divert numbers registered in the network are deleted after user confirmation. Clear list menu will delete all divert number list.Video calls (Menu 2.6.2)All video calls (Menu 2.6.2.1)1. When the number list is not exsisted Converts to an editor for entering a divert number. You can input the number to divert a call directly or search it in phonebook. If you press O [Divert], the phone will send the request to service provider after entering the number. 2. When the number list is exsistedDisplays To other number menu including of the number list. While waiting for the result from the network, a Requesting message and animation appears.3. Option menu After activating the All video calls menu, selecting the Options menu at the bottom of the menus displays the Deactivate, Deactivate all, View status and clear list menus.](https://usermanual.wiki/LG-Electronics-USA/GM630/User-Guide-1078822-Page-18.png)
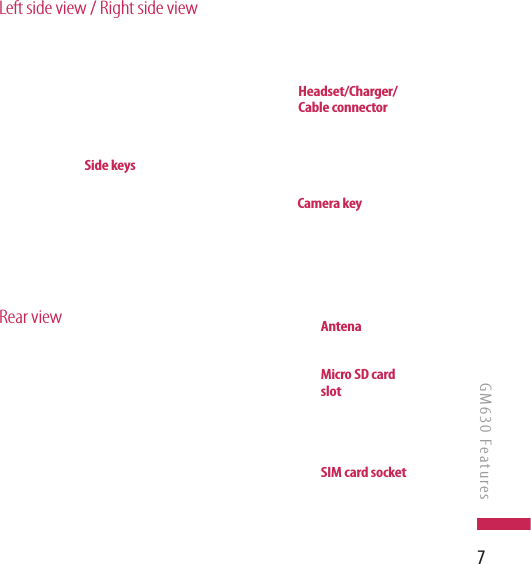
![24You can select ringtone or silent for an incoming call and configure the sound and volume of the ringtone, key tone, and sound effect, according to a profile. Select a profile, and press O to activate the profile. After pressing the left soft key [Options], select the Edit menu.v Alert by This option determines the incoming call notification mode. v Voice ringtone You can select the ringtone for incoming voice calls.v Video ringtone You can select the ringtone for incoming video calls.v Volume Set the ringtone volume.v Message alert You can set how often the phone is to inform you of a received message until it is read.v Message tone You can select a file from among your own personal files or from the default files, to be played by the phone upon receiving a message.v Key tone You can set the key tone to be played when pressing the keys.v Key tone volume You can set the volume of the chosen key tone, choosing from 7 available levels.v Flip tone Select the desired tone the phone will emit when you slide up/down the phone.v Confirmation tone You can set the confirmation tone to be played by the phone to confirm actions.v Start-up sound You can set the effect to be played when the phone is switched on.v Select start-up sound You can select which file will be played when the phone is switched on.v Shut down sound You can set the effect to be played when the phone is switched off.v Select shut down sound You can select which file will be played when the phone is switched off.ProfilesProfiles](https://usermanual.wiki/LG-Electronics-USA/GM630/User-Guide-1078822-Page-23.png)
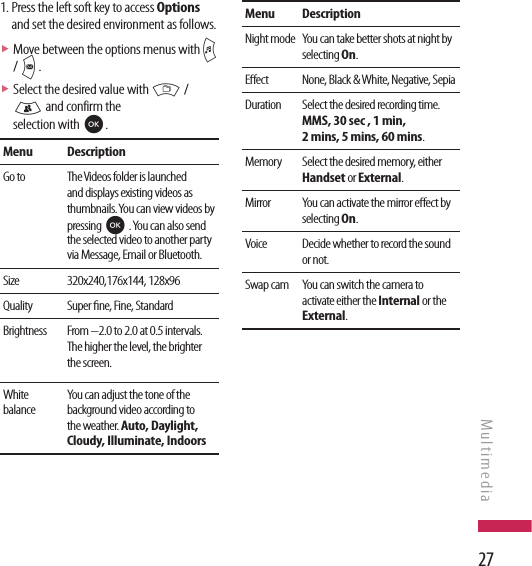
![26MultimediaMultimediaMenu DescriptionFrame Shot You can apply one of 9 frame efects when taking a picture. (available only in case of Wallpaper size)Timer You can delay the camera shutter time. None, 3 secs, 5secs, 10secs. “ ” is shown when the timer is activated.Eect None, Black & White, Negative, SepiaSound Select the desired shutter Sound.Memory Select the desired memory, either Handset or External.Mirror You can activate the mirror eect by selecting On.Swap cam You can switch the camera to activate either the Internal or the External camera.2. After finishing all the settings, press the right soft key [Close].3. Focus the camera on what you want to take and press O.4. Press O to save the picture. It is saved in the Images folder of My stuff.Notev Press the right soft key [Back] to go back to the preview mode.Video camera Menu 4.2This application enables you to record a video clip. You can play and watch a saved video file in this menu. Once recorded, a video clip can be sent by Message, Email or Bluetooth.](https://usermanual.wiki/LG-Electronics-USA/GM630/User-Guide-1078822-Page-25.png)
![28Multimedia2. After finishing all the settings, press the right soft key [Close].3. Focus the camera on what to record and press O to start recording. And press O to stop recording.v You can pause the recording by pressing the left soft key [Pause].4. Press O to save the video clip. It is saved in the Videos folder of My stuff. Notev Press the right soft key [Back] to go back to the preview mode.Music Menu 4.3Recently played (Menu 4.3.1)This menu shows the last 20 tracks that were played. And, if it starts to play, the menu "Now playing" will be displayed.You can activate media player on playing through Now playing menu.All tracks (Menu 4.3.2)You can view all the music files stored in the phone/external memory.Artists (Menu 4.3.3)You can view and play music sorted by Artists.Albums (Menu 4.3.4)You can view and play music sorted by Albums.Genres (Menu 4.3.5)You can view and play music sorted by Genres.Playlists (Menu 4.3.6)You can create your own playlists by choosing tracks from the All tracks menu list.Shue tracks (Menu 4.3.7)If you want to play the music continuously and randomly, select this option.Multimedia](https://usermanual.wiki/LG-Electronics-USA/GM630/User-Guide-1078822-Page-27.png)
![29MultimediaVideo play list Menu 4.4You can create your own playlists by choosing Video clip from the All Videos list.Voice recorder Menu 4.51. Press the left soft key [Option] to display the option pop up menu before recording.2. Move to the desired menu item using u / d and press O .v Duration: You can set the recording duration to Multi. Msg size, 30 secs, or 1 min. No limitv Quality: You can select a recording quality from Super fine, Fine, and Normal.v Memory in use: You can view the memory in use. v Go to my sounds: Opens the Voice recordings folder in Sounds.3. Pressing O starts recording. When a recording is started, the recording time appears on the LCD. To cancel the recording, press the Back.4. When you finish the recording, press O to exit. The recorded file is automatically saved in the Voice recordings of My sounds folder in My stuff. If you press O again, you can start recording new voice.5. Press the left soft key to select the various options after the voice recording.6. Select the desired menu using u / d and press O .v Send: To send the recorded file. Select one from Message, Email and Bluetooth using u / d and press O.v Use as: You can set the recorded file as the Voice Ringtone, Video Ringtone.v Move: You can move the voice record to the other folder.v Copy: You can copy the voice record.v Delete: Select this menu to delete a recorded file.v Mark/Unmark: You can select one or more files for multiple deletion.](https://usermanual.wiki/LG-Electronics-USA/GM630/User-Guide-1078822-Page-28.png)
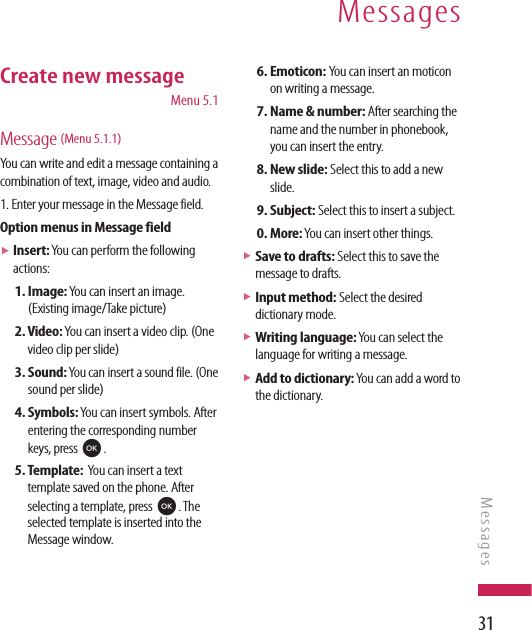
![32MessagesMessages2. Press the right soft key [Back] to exit the menu or go to previous menu after setting submenus.3. Press the confirmation key [Send] to send the message. The message will automatically be saved in the Sent Items folder. If the message has not been sent, it will remain in the Outbox with a failed status.Email (Menu 5.1.2)To send/receive an Email, you should set up the Email account. (Refer to page 43-44 for how to set up an Email account.)1. Enter the Email addresses of the recipients in the To, Cc, Bcc fields. You can search the Contacts by pressing O.Notev Enter the reference Email address to forward the Email in Cc(Carbon copy) field.v Enter a hidden reference Email address to forward the Email without forwarding information in Bcc(Blind Carbon Copy) field.v Only valid Email addresses are allowed for the recipient (To), reference address (Cc) and hidden reference address (BCC) fields. When an Email address has been specified, another field where you can specify another address appears. You can specify up to 20 recipients for the To and Cc address fields and 10 recipients for the BCC address field.](https://usermanual.wiki/LG-Electronics-USA/GM630/User-Guide-1078822-Page-31.png)
![332. Move the cursor to the Subject field and key in the subject.3. You can enter the message contents by moving the cursor to the Message field.4. Use the following functions by using the left soft key [Options].v Recently used: You can use the latest Email address you saved temporarily. (Only shown in Option menu when cursor is located in To/Cc/Bcc fields.) v Insert: Select this menu to insert special characters, templates, and contacts. It is also possible to attach multimedia files (Image, videos and sound, Symbols, More, Bcc).v Save to drafts : Select this menu to save the message in Drafts.v View attachment: Shows the attached files. (This item is only available when some files have been attached.)v Remove: Deletes the attachment file. (This item is only available when the files are already attached.)v Input method: Select the desired dictionary mode.v Writing language: You can change the writing language.v Add to dictionary: You can add a new word to the dictionary.v Set mail priority: You can configure the priority of the Email you wish to send.5. When you have finished writing an Email, press O to send the Email.Inbox Menu 5.21. You can view received messages. Select a message and then press Oto view the message.2. You can view the previous or next message by using l / r.3. To view a multimedia message (Notification), select Retrieve in the message notification view screen. The file is then transmitted, and you can view the file when the transmission is complete.Messages](https://usermanual.wiki/LG-Electronics-USA/GM630/User-Guide-1078822-Page-32.png)
![34You can use the following functions by using the left soft key [Options] in the Inbox.v Reply: Creates a reply to the sender or all recipients of the selected message.vSort: You can sort the messages.- By Subject:You can sort the messages by Subject.- By Date:You can sort the messahes by date.- By Sender:You can sort the messages by sender.vSearch: You can search the messages.- By Subject:You can search the messages by Subject.- By Date:You can search the messahes by date.- By Sender:You can search the messages by sender.v Forward: Forwards the selected message.Notev Not supported for multimedia message (Notification) and WAP push messages.v Call: You can make a video call or a voice call.- Make voice call: You can make a voice call.- Make video call: You can make a video call.v Delete: Deletes the current message.v Create new message: You can write a new message or an Email. v Mark/Unmark: You can select one or more messages for multiple deletion.v Copy&Move: In case of SMS, you can copy/move the message into hadset or SIM and move the message into "My Folder" In case of MMS, you can move the Message into "My Folder"v Move to my folders: In case of MMS, you can move the Message into "My Folder"v Filter: Displays messages by desired message types.v Message Info: You can check the message type, date and time.Notev You can check the saved emails in Email [Menu 5.0.3].MessagesMessages](https://usermanual.wiki/LG-Electronics-USA/GM630/User-Guide-1078822-Page-33.png)
![35Mailbox Menu 5.3Viewing Email message list1. Select an Email account and then press Oto view the received Email list.2. In Email list, you can use the following functions by using the left soft key [Options].v Reply: Creates a reply to the selected Email.v Forward: Forwards the selected Email message to others.v Retrieve (POP3 only): Retrieves new Email messages.v Copy to (IMAP only): Copies the selected email .v Search: Searches the Email you want to find out.v Delete: Deletes the Email.v Delete from server (POP3 only): Deletes the message or Email from server.v Create new message: Creates a Message, Email, Voice message.v Mark/Unmark: Use mark/unmark option for multiple deletion.v Set as read/unread: You can set the selected Email to read or unread.v Sort by: You can sort Email according to the conditions.v Expunge (IMAP only): Removes the selected Email data at a time.v Message synchronisation (IMAP only): Synchronises Email to retrieve Email server.v Message information: Brief information on the message including size, type, date, time and filenames.Viewing an Email message1. Select one of the received Emails and press the View key to receive the contents of the Email.2. The contents of the received Email are automatically displayed in the View screen.3. You can view the contents of the previous or next Email by using l/r.4. In the Email View screen, you can select the following functions by using the left soft key [Options].Messages](https://usermanual.wiki/LG-Electronics-USA/GM630/User-Guide-1078822-Page-34.png)
![36v Reply: Creates a reply to the selected Email.v Forward: Forwards the selected Email message to others.v Save address: Saves the sender's address to Contacts.v Delete: Deletes the Email.v Extract: Extracts the number, Email address or Web address from Email message.v View attachment: Shows the attached file.v View recipients: Shows the Email addresses of the recipients and reference (Cc).v Create new message: Creates a Message, Email,Postcard,Voice message.v Message infomation: Brief information on the message including size, type, date, time and filenames.Drafts Menu 5.4You can view saved messages. Select a message and then press Oto edit the message.You can use the following functions by using the left soft key [Options].v Send: Sends the selected message.v Sort: You can sort the messages.- By Subject:You can sort the messages by Subject.- By Date:You can sort the messahes by date.- By Sender:You can sort the messages by sender.v Search: You can search the messages.- By Subject: You can search the messages by Subject.- By Date: You can search the messahes by date.- By Sender: You can search the messages by sender.MessagesMessages](https://usermanual.wiki/LG-Electronics-USA/GM630/User-Guide-1078822-Page-35.png)
![37v Call: You can make a voice call or a video call.v Delete: Deletes the selected message.v Create new message: You can write a message or an Email.v Mark/Unmark: You can select one or more messages for multiple deletion.v Filter: Displays messages by desired message types.v Message info.: In case of SMS, you can check the message type, subject, from, date, time, size and where it's saved.Outbox Menu 5.5The Outbox is a temporary storage place for messages waiting to be sent. Failed messages are also placed in Outbox. For example, Emails will be placed in Outbox if the Email account is not correctly configured.1. Select a message.2. You can use the following functions by using the left soft key [Options].[For sending / waiting messages]v Cancel sending: You can stop sending/waiting status.v Call: You can make a video call or a voice call.v Create new message: You can write a new message or an Email.v Message information: You can check the message type, subject, from, date, time, size and where it's saved.[For a failed message]v Resend: Resends the selected message.v Save to drafts: Select this to save the message to drafts.v Call: You can make a video call or a voice call.v Delete: Deletes the current message.v Create new message: You can write a new message or an Email.v Message info.: You can check the message type, subject, from, date, time,size and where it is saved using Message Info. You can check the report information including from and retrieving status using Report Info.Messages](https://usermanual.wiki/LG-Electronics-USA/GM630/User-Guide-1078822-Page-36.png)
![38Sent items Menu 5.6Shows the messages you sent (Message/Email/Postcard/Voice message).[Options]v Reply: Creates a reply to sender or all recipients of the selected message.v Forward: Forwards the selected message.v Sort: You can sort the messages.- By Subject:You can sort the messages by Subject.- By Date:You can sort the messahes by date.- By Sender:You can sort the messages by sender.v Search: You can search the messages.- By Subject: You can search the messages by Subject.- By Date: You can search the messahes by date.- By Sender: You can search the messages by sender.v Call: You can make a video call or a voice call.v Delete: Deletes the selected message.v Create new message: You can write a Message or an Email.v Mark/Unmark: You can select one or more messages for multiple deletion.v Capy &Move: You can move the Message into "My Folder"v Filter: Displays messages by desired message types.v Information: You can check the message type, subject, from, date, time,size and where it is saved using Message Info. You can check the report information including from and retrieving status using Report Info.My folder Menu 5.7 You can move messages existed in Inbox or Sent messages into My folders, and then you can move those messages existed in My folders into the original message box.MessagesMessages](https://usermanual.wiki/LG-Electronics-USA/GM630/User-Guide-1078822-Page-37.png)
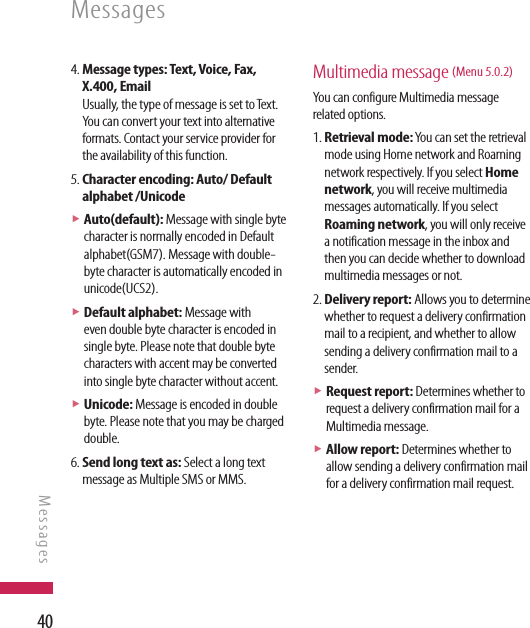
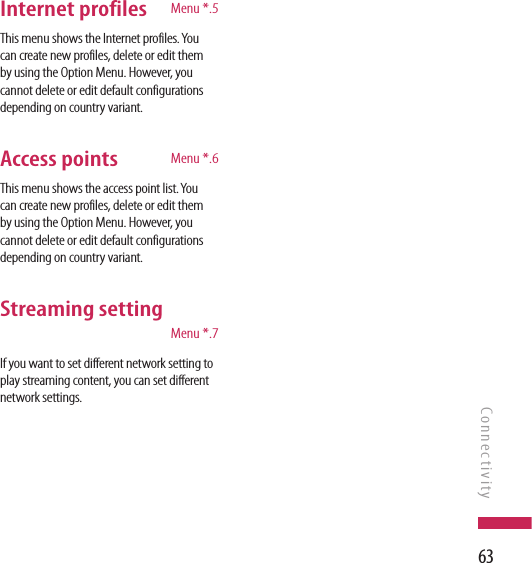
![39Templates Menu 5.8Text templates (Menu 5.8.1)You can add, edit, and delete frequently used useful phrases using the left soft key [Options].Notev Depending on your service provider, useful phrases are saved as a default.Multimedia templates (Menu 5.8.2)You can create, edit and view available templates when creating multimedia messages. Five types of template (Birthday, Greeting, Holiday, Thanks, Sorry) are saved by default.The following options are available.v Add new: You can create a new multimedia template.v Write multimedia message: Creates a multimedia message with the selected template.v Edit: Edits the selected template.Emoticons Menu 5.9You can add, edit and delete emoticons. You can insert the emoticon which you preferred on writing a message. If you press confirmation key, you can view the icon.Settings Menu 5.0Text message (Menu 5.0.1)You can configure text message related options.1. Text message centre: Input the address of the Text message centre.2. Delivery report: By enabling this option, you can verify whether your message has been sent successfully.3. Validity period: This network service allows you to set how long your text messages will be stored at the message centre.Messages](https://usermanual.wiki/LG-Electronics-USA/GM630/User-Guide-1078822-Page-38.png)
![413. Read reply: Allows you to determine whether to request a read confirmation mail to a recipient, and whether to allow sending a read confirmation mail to a sender.v Request reply: Determines whether to request a read confirmation mail for a Multimedia message.v Allow reply: Determines whether to allow sending a read confirmation mail for a read confirmation mail request.4. Priority: You can select the priority level of the messages (Low, Normal and High).5. Validity period: Allows you to configure the term of validity for a message when transmitting a multimedia message. The message would be saved in the multimedia message server only for the configured term.6. Slide duration: Allows you to configure the duration of each page when writing a message.7. Delivery time: Allows to select the contents type supported by MMS. (Immediately, After 1 hour, After 1 day and After week)Configures the delivery time of message to the recipient. The Multimedia message centre will deliver the message after the delivery time.8. Multi. msg. centre: Allows you to configure network information such as the MMSC and the WAP gateway, to send a multimedia message.v Title: Profile name.v MMSC URL: Enter the multimedia message centre URL.v Internet profiles: choose the Internet Profile from the list.Press the right soft key [Save] to save the changes and complete Multi. msg. centre setting.Email (Menu 5.0.3)You can configure settings for receiving and transmitting emails.1. Email accounts: You can create or configure an Email account including the Email server and user ID. You can edit a selected Email account by pressing the left soft key[option]- 2.Edit. You can select an Email account to be used to send an Email using . You can select the following functions using the left soft key [Options].Messages](https://usermanual.wiki/LG-Electronics-USA/GM630/User-Guide-1078822-Page-40.png)
![42v Add new: Create a new Email account.v Edit: To edit the selected Email account.v View: Views a selected Email account.v Mark/Unmark: Use mark/unmark option for multiple deletion.v Delete: Deletes a selected Email account. All the emails included in the account will be deleted.2. Allow reply Email: Determines whether to allow sending a read confirmation mail for a read confirmation mail request.3. Request reply Email: Determines whether to request a read confirmation mail.4. Retrieve interval: You can configure Retrieve interval to retrieve emails automatically from the incoming mail server. When a new Email arrives, an icon appears at the top of the screen. You can select the auto receiving time slot to Off, 15 minutes, 30 minutes, 1 hour, 2 hours, 4 hours or 8 hours. Please note that additional charges may be incurred using the Retrieve interval feature.5. Include message in Fwd & Reply: Determines whether to include the original message when you forward the message or reply to it.6. Include attachment: Determines whether to include the attachment file when you forward the message.7. Auto Retrieval in Roaming: Retrieves Email account automatically when you move in roaming area.8. New email noti. Info: Receives the notification information when arriving new Email.9. Signature: You can configure a text signature to be attached to the end of an Email. The configured signature text is automatically or manually attached to the end of the Email when it is sent.0. Priority: You can select the priority level of Emails (Low, Normal and High).Creating a new Email account1. Select Add new from the Email account menu options.2. Press the centre soft key [Save] to complete the Email account configuration.Editing an Email account1. Select a desired Email account from the Email account list and press the left soft [Options] then select Edit.2. You can edit desired fields by moving the cursor up and down.MessagesMessages](https://usermanual.wiki/LG-Electronics-USA/GM630/User-Guide-1078822-Page-41.png)
![433. When configuration is complete, press the centre soft key [Save] to complete the Email account configuration.Notev When you try to change the mailbox type, all emails downloaded before would be deleted.Videomail (Menu 5.0.4)You can send or receive the mail with a video file.Voicemail (Menu 5.0.5)You can send or receive the mail with a voice file.Service message (Menu 5.0.6)You can configure the option settings such as Push(SI/SL) messages.v Message receive: If you set On, all service messages will be received.v Service security: You can manipulate the overall receipt options related to Push(SI/SL) messages.- Service security set: If you set Service loading to Prompt, you will see popup asking you whether process the SL message.- Trusted list: If you set Service loading to Disable, you cannot receive SL message. SL message will be discarded at the time of arrival.- Untrusted list: If you set Service loading to Always, SL message is automatically launched to the Internet with URL that is preset in the SL message.Info. service (Menu 5.0.7)v Cell broadcast: You can set the reception status.v Channels: You can add or modify the channels.v Languages: You can select the language you want by pressing O . Then, the info service message will be shown in the language that you have selected.Messages](https://usermanual.wiki/LG-Electronics-USA/GM630/User-Guide-1078822-Page-42.png)
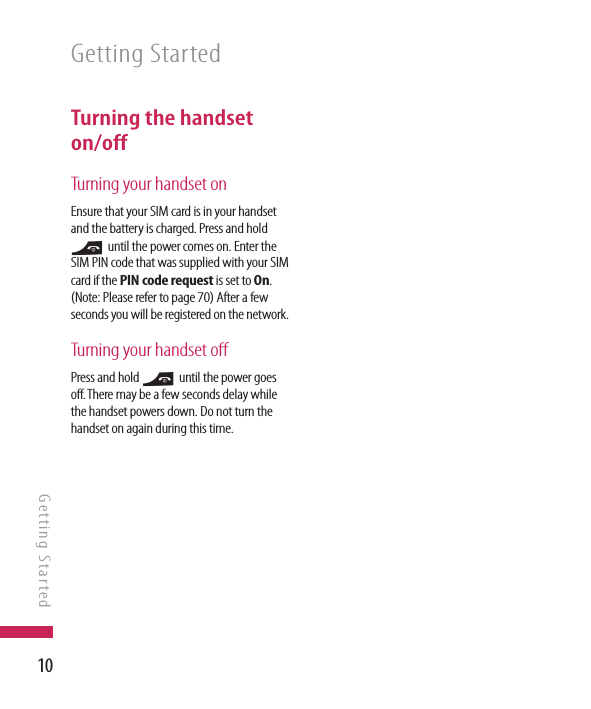
![44My Stuff My images Menu 6.1The Pictures folder consists of embedded links for downloading pictures through the Internet and Default images.When a file is selected, the following options will be displayed by pressing the left soft key [Options].v Send: You can send the selected image via Message, Email or Bluetooth.v Move: Enables the file to be moved to other folder.v Copy: Enables the file to be copied to other folder.v Delete: Deletes the selected image.v Mark/Unmark: Using the Mark function, you can send, delete, move and copy multiple files.v Print via Bluetooth: You can print the selected image via bluetooth. v File- Rename: You can rename the image.- Edit: Enables the image to be edited.Notev Edit menu is not displayed in default images folder.- File info.: Shows information on the selected image file.v Create new folder: You can create a new folder within the folder currently selected.v Slide show: You can view the images as a slide show.v Sort by: You can sort the files by Date, file Type or Name.v List view: You can view the images as a List view.My sounds Menu 6.2The Sounds folder consists of embedded links for downloading ringtones and music as well as folders containing the Default sounds and Voice recordings. Here you can manage, send or set sounds as ringtones.My Stuff](https://usermanual.wiki/LG-Electronics-USA/GM630/User-Guide-1078822-Page-43.png)
![45v Use as- Voice ringtone: You can set the sound file as a ringtone when incoming a voice call.- Video ringtone: You can set the sound file as a ringtone when incoming a video call.- Message tone: You can set the sound file as a ringtone when receiving a message.- Start-up: You can set the sound file as a ringtone when handset starts up.- Shut down: You can set the sound file as a ringtone when handset shut down.v File: Shows the information on the selected sound file.v Sort by: You can sort the files by date, file type or name.v Memory manager: You can view the memory status (handset or external memory card).My videos Menu 6.3Here you can manage or send downloaded or captured videos clips.If you press O, you can activate the video file.The following are available using the left soft key [Options] in the Video list.v Send: You can send the selected video clip via Message, Email or Bluetooth if not protected by Digital Rights Management (DRM).v Use as: You can set the video file as voice ringtone or video ringtone.v Move: Moves the file into handset memory or external memory.v Copy: Copies the file in handset memory or external memory.v Delete: Deletes the selected video.v Mark/Unmark: Using the Mark function, you can send, delete, move and copy multiple files.My Stuff](https://usermanual.wiki/LG-Electronics-USA/GM630/User-Guide-1078822-Page-44.png)
![46v File- Rename: You can rename the video.- File info.: You can check information on video.v Create new folder: You can create a new folder.v Sort by: You can sort files by Date, Type or Name.v List view/Grid view: You can view the images as a List view or Grid view.v Memory manager: Displays the memory status (handset or external memory card).You can view a video using the video player. Video files are displayed in the list as thumbnails. You can select a desired video by using the u / d/l/ r. Select a desired video and select Play to view the recorded video.Select the left soft key [Send] to attach the selected video to a message, Email or Bluetooth.When option Play is selected, the video clip will be played with the Media Player. To pause the playback, Opress during the playback. To resume the paused playback, press Oonce again.When viewing video clips in the Media Player, the following options are available:v Full screen: You can view the video in wide view mode.Notev You can also view the video in wide view mode by pressing #key.v Mute: If the Volume is set to more than 0, Mute mode is activated and if the Volume is set to 0, the Unmute mode is activated.v Capture: Capture the frozen frame as a picture.v Repeat: You can set the repeat option (Off/One/All).v File info.: You can check information on files being played.v Send: You can send the video via Message, Email or Bluetooth if the file is not protected by Digital Rights Management (DRM).My Stuff My Stuff](https://usermanual.wiki/LG-Electronics-USA/GM630/User-Guide-1078822-Page-45.png)
![47v Delete: Deletes the selected video.v Use as: You can set the video file as voice ringtone or video ringtone. This menu is dependent upon the contents.My games & apps Menu 6.4You can easily download games and other applications in this menu. It may have two folders, no folders at all, or Games and Applications. The default folder can be dependent on the operator/country. Flash contents Menu 6.5The Flash contents folder contains all of your default and downloaded SWFs files.When a file is selected, the following options will be displayed by pressing the left soft key [Options].v Pause: Pause or resume playback.v Full screen: You can view the file as full screen. v Mute: Switch the sound on/off.v Use as wallpaper: Set the SWF file as a wallpaper.v File info.: View the Name, Size, Date, Type , Protect, installof the file.Others Menu 6.6Other files except pictures, sounds, videos, games & applications are stored in this folder.My memory card Menu 6.7If you purchase an optional external microSD memory card, you can manage more content. Refer to the section How to use a microSD memory card on page 21 and 22 to learn how to insert and remove the memory card. You can manage content as you do on your phone.My Stuff](https://usermanual.wiki/LG-Electronics-USA/GM630/User-Guide-1078822-Page-46.png)
![48My games & apps Menu 7.1You can easily download games and other applications in this menu. It may have two folders, no folders at all, or Games and Applications. The default folder can be dependent on the operator/country. Settings Menu 7.2Activating a prole1. Move the cursor to the profile you would like to activate.2. Press O .Adding a new prole1. Select Add new from the Options menu. 2. Press the O [Save] to save any configuration changes.You can edit and delete a profile by selecting Edit and Delete from the Options menu.Games & AppsGames & Apps](https://usermanual.wiki/LG-Electronics-USA/GM630/User-Guide-1078822-Page-47.png)
![52BrowserHome Menu 9.1You can launch the web browser and access the homepage of the activated profile on Browser settings.Enter address Menu 9.2You can manually enter a URL address and access the associated web page.v To enter a symbol, press the left soft key [Options] and select 5.Insert Symbol from Options menu.v To switch input mode, press the left soft key [Options] and select 2. Input method.Bookmarks Menu 9.3You can store frequently accessed or favourite URLs/Pages. Send, Add new, Edit, Mark/Unmark or Delete operations can be performed on Bookmarks. Several preconfigured URLs are stored as bookmarks.Adding a new bookmark1. Press the left soft key [Options] and select 2.Add new from Options menu.2. Enter the title and associated URL information.3. Press O to save.Connecting to a desired bookmarkPress O to connect a desired bookmark.Sending the bookmark to others Select Send from Options menu. You can send it via Message or Email.Bro ws er](https://usermanual.wiki/LG-Electronics-USA/GM630/User-Guide-1078822-Page-51.png)
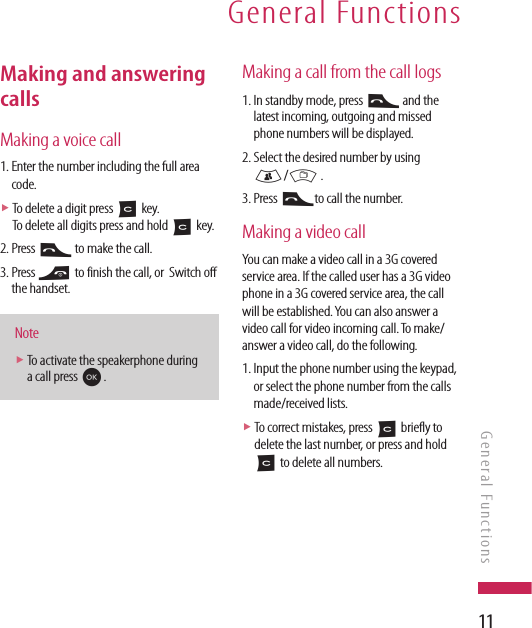
![55Bluetooth Menu *.1Bluetooth connectionBluetooth enables compatible mobile devices, peripherals and computers that are in close proximity to communicate directly with each other without wires.This handset supports built-in Bluetooth connectivity, which makes it possible to connect them with compatible Bluetooth headsets, computer applications and soon.Notev We recommend that your phone and the Bluetooth device you are communicating with be within a range of 10 meters. The connection may be improved if there are no solid objects between your phone and the other Bluetooth device.v Your phone supports Dual Profile. Although connecting with Bluetooth headset, it can be used to send files or take services like DUN etc. via Bluetooth. But some services get low capacity cause it works at the same time. 1. Getting started• Menu → * Connectivity → 1. Bluetooth → 1. Turn on/offTo use the Bluetooth function, you must first set Turn on.2. Configuring Bluetooth settings• Menu → * Connectivity → 1. Bluetooth → 4. Settings- My device visitility: Set [My handset’s visibility] to [Show to all] so that other devices can detect your phone when they are searching for a Bluetooth device. If you select [Hidden], other devices will not be able to detect your phone when they are searching for a Bluetooth device. If you select [Visble for 1 min], other devices will be able to detect your phone for one minute.- My device name: You can name or rename your phone as it will appear on other devices. Your phone's name will be shown on other devices only when [My handset’s visibility] is set to [Show to all]. If you select [Visble for 1 min], other devices will be able to detect your phone for1 minute.ConnectivityConnectivity](https://usermanual.wiki/LG-Electronics-USA/GM630/User-Guide-1078822-Page-54.png)
![56- Supported services: You can view the list of devices sich as hedsets and handsfree kits supported by this Bluetooth enabled phone.- Remote SIM mode: If you want to use SIM access profile, select the [on] for enabled SIM Access Mode. Then you can connect from the carkit that support SIM access profile.- My address: You can check the address of Bluetooth.Notev When user uses Bluetooth Device in the handset, the security of the handset is at risk. Therefore, we recommend that Bluetooth visibility be set to Hidden after configuration or device pairing. For incoming files via Bluetooth regardless of paired devices, you can choose to accept or reject the connection, after checking the sender details.3. Search and pair new device<Searching new device>You can search new device as following menu.• Menu → * Connectivity → 1. Bluetooth → 2. Search new device<Pairing devices>1. To search for a Bluetooth device to pair, press Add new device.2. Screen shows Searching for devices. Bluetooth devices within a range of 10m will be found.3. If Bluetooth devices are found, these devices are listed on the screen. If no Bluetooth device is found, you will be asked if you want to search again.4. Pairing procedure- Press O . A window will appear on the screen asking you to enter your password.- After creating a password (of 1 to 16 digits), the user of the other device must enter the password for pairing. The user of the other device must know the password in advance for authentication.ConnectivityConnectivity](https://usermanual.wiki/LG-Electronics-USA/GM630/User-Guide-1078822-Page-55.png)
![57v GM630 supports follow Bluetooth services- Object push- File transfer- Serial port- Dial up- Headset- Handsfree- Advanced audio distribution- AV remote control- Basic printing- SIM AccessOptionv Add new device: Using this menu, you can pair a new Bluetooth device with your phone. Allow connection:1. If you select the [Ask before connecting], it need to confirm before connection. 2. If you select the [Always connect], it need not to confirm. v Connect1. If you want to open the connection to the selected device, select the Connect.2. If you want to close the connection to the selected device, select the Disconnect.v Delete: Using this menu, you can delete the paired Bluetooth device.v Delete all: Using this menu, you can delete all of the paired Bluetooth devices.Notev If you connect the handset via Bluetooth, you can use options: Add new device, Allow connection, Rename, Connect/Disconnect, Delete, Delete all.Connectivity](https://usermanual.wiki/LG-Electronics-USA/GM630/User-Guide-1078822-Page-56.png)
![59<Transmitting data using Bluetooth>1. To transmit data from your phone to another Bluetooth device, first select the application where the target data is saved. For example, to send data in the My Files to another device, select Menu → 6.My stuff →1.My images →2.My sounds → 3.My video → 4.My games & apps → 5.Flash contents → 6.Others → 7.My memory card 2. Transmitting data1) Paired device found is displayed. If the desired device does not exist in the list, select [Refresh].2) Select the device to which you want to transmit data from the devices on the screen and press O.3) If the other party selects [Yes] for [Connection request], the data is transmitted.Server synchronisation Menu *.2If Sync service is supported by your network operator, this service function synchronizes the data in a phone and the data on a server such as Contacts, Calendar, To do, and Memo via a wireless network.Connect1. Select the Connect item and then press O.2. Connect to the server with the selected server profile and the synchronization animation is displayed while the synchronization is performed.LogSelect the Logs item and then press O to view the log for the last synchronization operation performed.Connectivity](https://usermanual.wiki/LG-Electronics-USA/GM630/User-Guide-1078822-Page-58.png)
![64Alarms Menu 0.1You can set the alarm clock to expire at a specified time.1. Select Add new and enter the alarm time you want.2. Select the repeat period: Once, Daily, Mon- Fri, Mon-Sat, Sat-Sun, Except holiday.3. Scroll down to choose the alarm sound.4. Scroll down and enter a name for the alarm or keep the suggested name.5. Select the snooze interval : 5mins, 10mins, 20mins, 30mins, 1hour, off6. Press Done. Notev Although your phone is off, alarm function is working at the time set. If you tap Snooze then after 5 minuites alarm is turn on again and if you tap QUIT, the message "Turn your phone on" is pop up.Calendar Menu 0.2Schedule inquiry and search 1. Reference by Months You can refer to your schedule by months. The cursor is on the current date, and the registered date is marked.The schedule saved for the date where the cursor is located is represented by a grey box. Pressing the shortcut key 1 moves to the previous year and pressing 3 move to the next year and pressing 5 moves to today. Pressing 7 moves to the previous month, and 9 moves to the next month. You can move the date using u / d/l/ r. 2. Detailed reference You can refer to a detailed schedule, that is the whole contents of the schedule configured by the user. You can send the schedule to another phone or an Internet site through SMS (Text message) or MMS (Multimidia message) or Email or Bluetooth using the left soft key [Options].Organiser & ToolsOrganiser & Tools](https://usermanual.wiki/LG-Electronics-USA/GM630/User-Guide-1078822-Page-63.png)
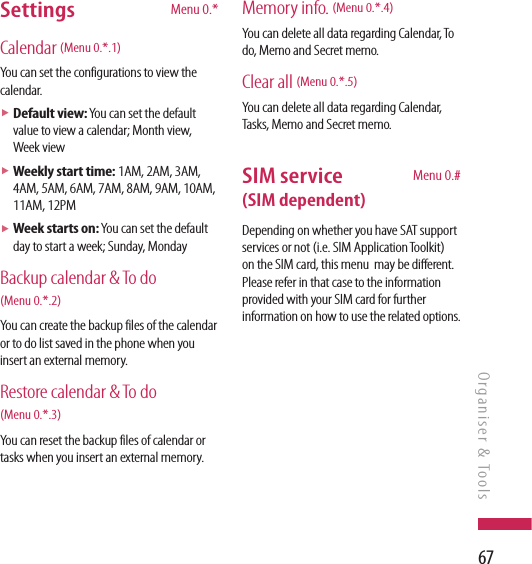
![65Add new eventYou can add an event. You can configure the start date, end date, start time, end time, contents, type of event, repetition, alarm of the schedule.v Set Category: Appointment, Anniversary, Birthdayv Set repeat: Not repeated, Daily, Weekly, Monthly, Annually, User setting.v Set alarm: No alarm, On time, 15 mins before, 30 mins before, 1 hour before, 1 day before, 3 days before, 1 week before.Delete all schedulesYou can delete all saved schedule contents using this function.Set up and release holidayYou can set up or release user holidays. Press the left soft key [Options] and select Set holiday. The selected date will be displayed in red.To release the holiday, press the left soft key [Options] and select Clear holiday.Schedule noticationIf the user has configured the alarm setting, the specified alarm sound will ring. If the notification time is before the schedule start time, you can set up the alarm again.To do Menu 0.3You can specify functions to save in the Quick menu. If you save the functions frequently used in the Quick menu, you can quickly start the functions simply by pressing key.Memo Menu 0.4Using the memo management function, you can view and manage saved memo contents, and add new memo.Calculator Menu 0.5The calculator module allows you to perform basic arithmetic functions such as addition, subtraction, multiplication, and division as well as some scientific functions. (sin, cos, tan, log, ln, exp, sqrt, deg, rad)Organiser & Tools](https://usermanual.wiki/LG-Electronics-USA/GM630/User-Guide-1078822-Page-64.png)
![66Stopwatch Menu 0.6This menu allows you to record the elapsed time of an event.Converter Menu 0.7Using this menu, users can convert Currency, Surface, Length, Weight, Temperature, Volume and Velocity.1. Select the unit menu.2. Users can set a exchange rate using option menu.3. Enter the current rate, and then you can convert from one currency to another.4. You can view the value of units.5. Press [Reset] to clear the current input Field.6. To exit the conversion function, press the [Back] key.World time Menu 0.8The World time provides time information on major cities worldwide.1. You can select a desired city as a base using the left soft key Options → Add city → Press the left soft key [Map].2. You can Change the city using the left soft key Options → Change city or Change time zone.3. You can apply to Daylight Saving time using the left soft key Options → Daylight saving.4. You can Select the Analog clock mode Options → Analog clock.Date finder Menu 0.9You can find the target date with inputting after some days. Quick menu Menu 0.0You can specify functions to save in the Quick menu. If you save the functions frequently used in the Quick menu, you can quickly start the functions simply by pressing key.Organiser & ToolsOrganiser & Tools](https://usermanual.wiki/LG-Electronics-USA/GM630/User-Guide-1078822-Page-65.png)
![68Screen Menu #.1This menu allows you to personalise the display options of the screens and of the menus entire graphic interface.Main screen theme (Menu #.1.1)You can set the screen theme to be displayed on the main screen.Home screenv Wallpaper: You can select an image to be displayed on the main screen.v Display items: You can select the homescreen item to be displayed on the main screen.Start upYou can select the image to be displayed while the phone is being switched on.Shut downYou can select the image to be displayed while the phone is being switched off.Menu style (Menu #.1.2)Your phone provides you with Grid and List menu themes. Set the menu style by scrolling and pressing the left soft key [OK].Dialing style (Menu #.1.3)Your phone provides you with three dialing styles.Backlight (Menu#.1.4)You can set the light-up of the display.Handset theme (Menu #.1.5)You can choose the color. Greeting message (Menu #.1.6)You can input the greeting message.SettingsSettings](https://usermanual.wiki/LG-Electronics-USA/GM630/User-Guide-1078822-Page-67.png)