LG Electronics USA KS1301 Portable Handset with Multi-band GSM/EDGE, WCDMA, WLAN, RFID and BT User Manual 2
LG Electronics MobileComm USA, Inc. Portable Handset with Multi-band GSM/EDGE, WCDMA, WLAN, RFID and BT Users Manual 2
Contents
- 1. Users Manual 1
- 2. Users Manual 2
- 3. Users Manual 3
Users Manual 2

31
The supplied and optional accessories are not waterproof.
Be sure to check the following points before and after
charging.
• Never charge the battery if the main unit is wet. Doing so
might cause electric shock or short circuit resulting in re or a
fault.
• Check that the main unit is not wet. If you are charging the
battery just after the product gets wet, drain water well
and wipe remaining water o with a clean dry cloth before
connecting it to the specied charging equipment (sold
separately) or the desktop holder.
• Do not touch the specied charging equipment (sold
separately) or desktop holder with wet hands. Doing so might
cause electric shock.
• Do not splash water over the specied charging equipment
(sold separately) and desktop holder when using them. Do
not use them near water such as in a bathroom, shower room,
kitchen or washroom. Doing so might cause re, electric
shock or a fault. Do not bring them into a bathroom, etc. even
when you are not charging with them.
Notes on Using Bluetooth®/
Wireless LAN Functions
• The Bluetooth® function and the wireless LAN function of this
product conforms to the domestic standards of Japan, FCC
standards, and EC directives, and has been certied.
• The 2.4 GHz band used by wireless LAN and Bluetooth®
devices is shared by various other devices. For this reason,
the communication speed and connectable range may be
decreased, or disconnection may occur, due to interference by
other devices.
• Do not use this product in places where electromagnetic
waves are generated or near electric products, AV and OA
equipment, or other magnetized devices.
• Subjecting this product to magnetic or electrical noise
might increase noise and prevent it from performing
communications. (This product is particularly susceptible to
noise when it used near a microwave oven.)
• Using this product near a TV, radio or similar appliance might
cause reception interference and disrupt TV images.
• Searching might not be successful if there are multiple
wireless LAN access points near to the product or the same
channel is being used.
• The wireless LAN function cannot be used in airplane. Be sure
to turn o the power even in a Wi-Fi compliant airplane. Some
airline companies, however, allow their passengers to use cell
phones. For details, contact the airline company you use.
• The communication speed and connectable range vary
depending on the distance between communication devices,
obstacles and the Bluetooth® devices used.
32
The frequencies used by the Bluetooth® and/or wireless
LAN function of this product are in the 2.4 GHz band. In
this frequency band, other similar wireless stations, in-plant
wireless stations for mobile unit identication that require
a license for use, such as factory production lines, specic
small power wireless stations that do not require licenses,
amateur wireless stations (collectively called "other wireless
stations" from here on) are operated in addition to home
electrical appliances such as microwave ovens, devices for
industrial, scientic and medical devices.
1. Before using the product, make sure that "other wireless stations"
are not in operation nearby.
2. In the event that instances of radio wave interference have
occurred between this product and "other wireless stations",
immediately either relocate this product or stop operation of the
device (stop emission of radio waves).
3. If you are unclear on any points or are troubled by anything, contact
an au shop or Customer Service Center.
Bluetooth® and wireless LAN functions of this product use
frequencies in the 2.4 GHz band.
2.4FH1/DS4/OF4
• Bluetooth® function: 2.4FH1
This product uses the 2.4 GHz band. FH-SS is used as the
modulation scheme. The interference distance is about 10 m
or less.
• Wireless LAN function: 2.4DS/OF4
This product uses the 2.4 GHz band. DS-SS and OFDM are
used as the modulation schemes. The interference distance
is about 40 m or less.
• Bandwidth to use: Full band
This means that full band can be used, and that bands of
mobile unit identication devices can be avoided.
• Available channels dier depending on the country.
• For use in airplane, check with the airline company in advance.
33
memo
• Connections between this product and all other Bluetooth®
and wireless LAN devices have not been conrmed.
Therefore, connections with all Bluetooth® and wireless
LAN devices are not guaranteed.
• This product supports security features for wireless
communications that are compliant with the Bluetooth®
and wireless LAN standard specications, but the security
may not be sucient depending on the usage environment
and conguration. Be careful when making data
communication using Bluetooth® or wireless LAN function.
• Wireless LAN has the advantage that it can be freely
connected anywhere within the radio wave range, as it
uses radio waves for exchanging information. At the same
time, there is a risk that a malicious third party may obtain
unauthorized access if security settings have not been
congured. You are recommended to congure security
settings before using wireless LAN at your decision and
responsibility.
• The Company assumes no responsibility for leakage of
data or information that may occur during Bluetooth®/
wireless LAN communication.
• Since Bluetooth® and wireless LAN functions use the same
frequency band, using the both functions at the same
may cause radio wave interference resulting in decreased
communication speed or disconnection from the network.
If connection fails, stop using either of the Bluetooth® and
wireless LAN functions.
Notes on Packet Communication
Charge
• Since constant Internet connection is possible with
this product, packet communication may be performed
automatically by some applications, resulting in high packet
communication charges.
Therefore, subscription to a packet communication charge
discount service or at late plan is recommended.
• To browse websites, download applications, communicate
using applications, send/receive e-mails, and congure
various settings, connection to the Internet is required, to
which packet communication charge applies.
* Packet communication charge does not apply to Wi-Fi®
connection.

34
Notes on Google Play/au Market/
Applications
• Be sure to check the security of the application, then install
it at your own risk. Some applications might cause virus
infection, damage various data, and send out your location
information, usage history or personal information stored in
your cell phone via the Internet.
• The Company assumes no responsibility for any operation
problems that might be caused by applications you have
installed. In such case, you may be charged a repair fee even
during the warranty period.
• The Company assumes no responsibility for any disadvantage
brought to you or any third party by applications you have
installed.
• Insertion of a microSD memory card is necessary to use some
applications.
• Some applications prohibit the product from entering sleep
mode while they are active, or rapidly drain the battery while
running in the background.
• Operation procedures and screen appearances of the
applications preinstalled in this product and those installed
by you are subject to change without notice as a result of
version upgrade. In addition, operation procedures described in
this manual may dier from the actual procedures.
35
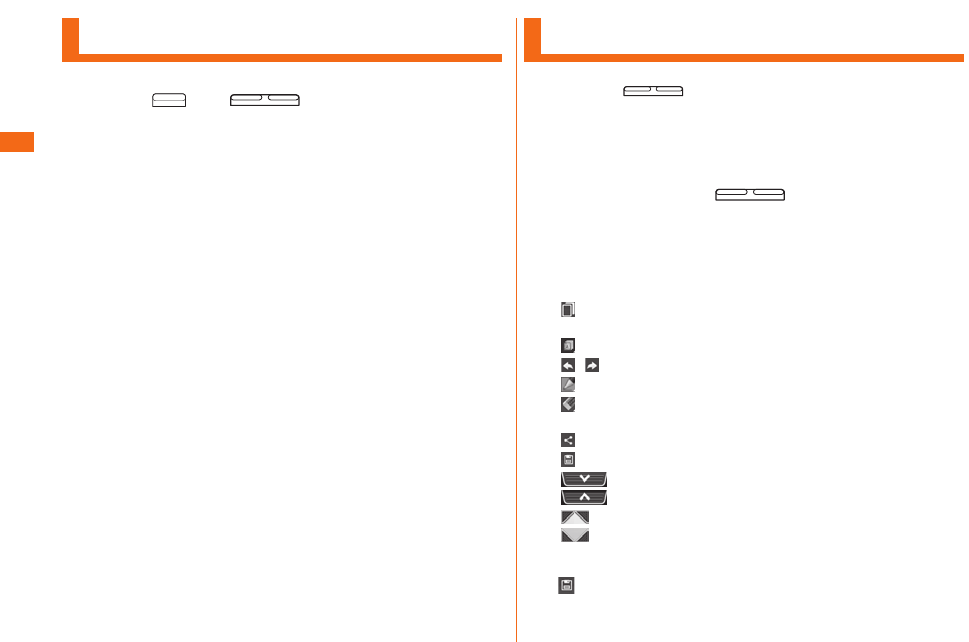
Names and Functions of Parts a
b
Sets/Cancels sleep mode.
Presses and holds to switch manner mode (sets Sound
prole to "Vibrate only" or "Silent") and Airplane mode, turn
on/o the power, and restart.
c
Extends it to use when watching TV (1Seg). It has no
inuence on calls or data communication if you extend the
TV antenna when calling or using browser.
d
e
Allows you to hear the other party's voice during a call or via
voicemail, etc.
f
Proximity sensor prevents erroneous operation during a call.
Brightness sensor detects surrounding brightness and
adjust the display brightness.
g
Adjusts volume.
h
i
Returns to the previous screen.
j
Displays Home screen.
k
Displays option menu.
l
Transmits your voice to the other caller. Also uses it when
recording voice. While talking on the phone or shooting a
video, do not cover microphone with your ngers, etc.

36
m
Uses it when connecting the specified AC adapter (sold
separately) etc.
n
o
When using Wi-Fi®, Bluetooth® function or GPS, do not cover
the built-in antenna with your hands.
p
q
r
s
t
u
v
You can hear the ringtone, alarm, etc.
w
Hold it over a reader/writer to exchange data in the NFC
data/FeliCa chip.
x
When calling or using Internet, do not cover the built-
in antenna with your hands. Also, do not put stickers on
the built-in antenna part. Call/data communication quality
becomes worse.

37
Attaching/Removing the Rear
Cover
This model has an embedded battery type, so it's not removable.
Do not try to remove or attach the back side from the phone.
38
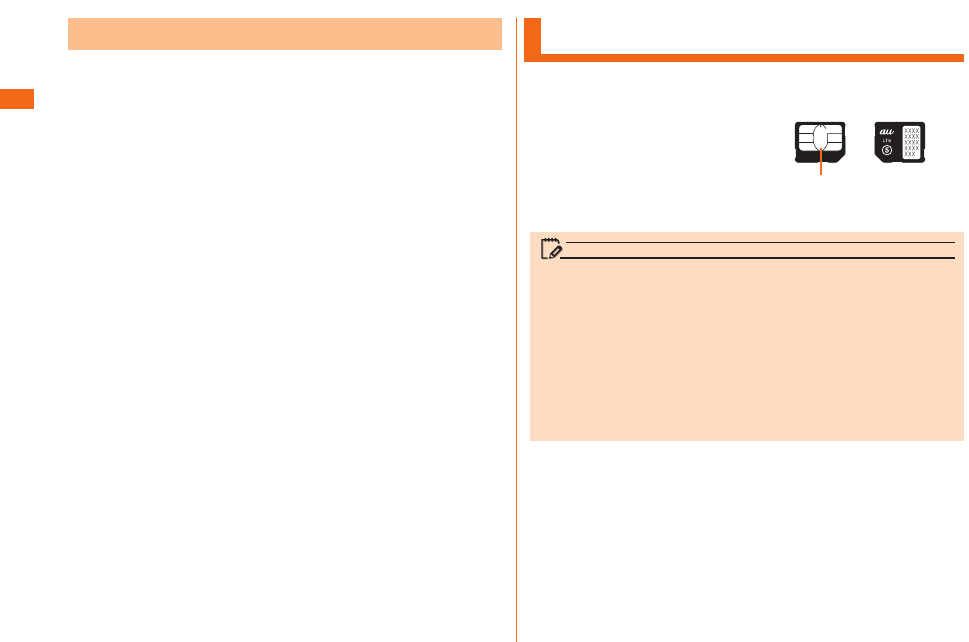
Using au Micro IC Card (LTE)
au Micro IC Card (LTE) stores
your personal information such
as a phone number.
The product is compatible with
au Micro IC Card (LTE) only.
You cannot use the product
by inserting the au IC-Card or
micro au IC-Card for phones and
smartphones instead.
《au Micro IC Card (LTE)》
IC (Metal) part
memo
Note the following points, which may cause malfunction
or damage, when handling the au Micro IC Card (LTE).
• Do not touch the IC (metal) part of the au Micro IC Card
(LTE) or the IC card terminal inside the product.
• Insert the au Micro IC Card (LTE) in the correct
orientation.
• Do not use force to attach or remove the IC card.
Do not lose the au Micro IC Card (LTE) after it has been
removed.
This model has an embedded battery type, so it's not removable.
Do not try to remove or attach the back side from the phone.

39
You cannot use this product with any cards other than au
Micro IC Card (LTE).
If you turn the product on when the au Micro IC Card (LTE)
is not inserted or when you insert any cards other than au
Micro IC Card (LTE), is displayed on the status bar and
the following operations are not available.
• Making* or receiving a call
• 3G/LTE data communication
• Receiving/sending and initial settings of e-mail (@ezweb.ne.jp)
• Receiving/sending SMS
• Conrm your own phone number
• Set up SIM card lock
* Emergency calls to 110 (Police), 119 (Fire department or
ambulance service), 118 (Japan Coast Guard), and 157
(Customer Service Center) are also not available.
Besides the above, some functions requiring your phone
number might not be available.
You can set the product to restrict the use of the product
by others through changing the PIN code or locking the UIM
card in order to protect your important private information
while you are using your au Micro IC Card (LTE). (uP.25
"PIN Code")
Attaching/Removing the au Micro
IC Card (LTE)
Before attaching/removing the au Micro IC Card(LTE),
turn off the product , and insert it.
40
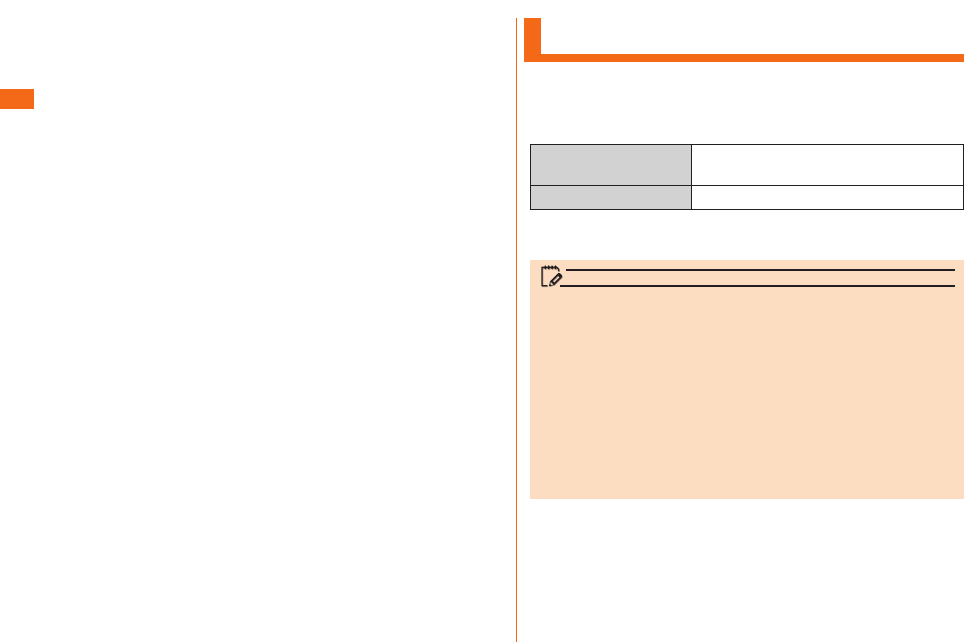
Charging
Approx. XXX hours (when using LTE)
Approx. XXX hours (when using 3G)
Approx. XXX minutes
* Time for using in Japan. It may dier depending on the
environment or the battery pack condition.
memo
• While charging, the product and its battery pack might
become hot. It is not abnormal. (When activating camera or
communicating data while charging, battery pack becomes
hot.)
• It may take longer to charge the battery pack when you
use camera function, etc. while charging the battery.
• Operating with the specied charging equipment (sold
separately) being connected might cause short-time
charge/discharge repeatedly. Life of the batter pack
becomes shorter when you repeatedly charge the battery
frequently.

41
This section describes how to charge using a desktop
holder.
Charging time when connected to a common AC adapter
04 (sold separately) is approximately 110 minutes.
a
b
c
• Insert the product with the Phone guide (detachable)
attached.
• When charging with the au phone main unit cover
attached, remove the Phone guide beforehand.
d
Describe how to charge using the common AC adapter 04
(sold separately).
Charging time is approximately 110 minutes.
a
• Insert the microUSB cable straight with the "B" mark
facing up.
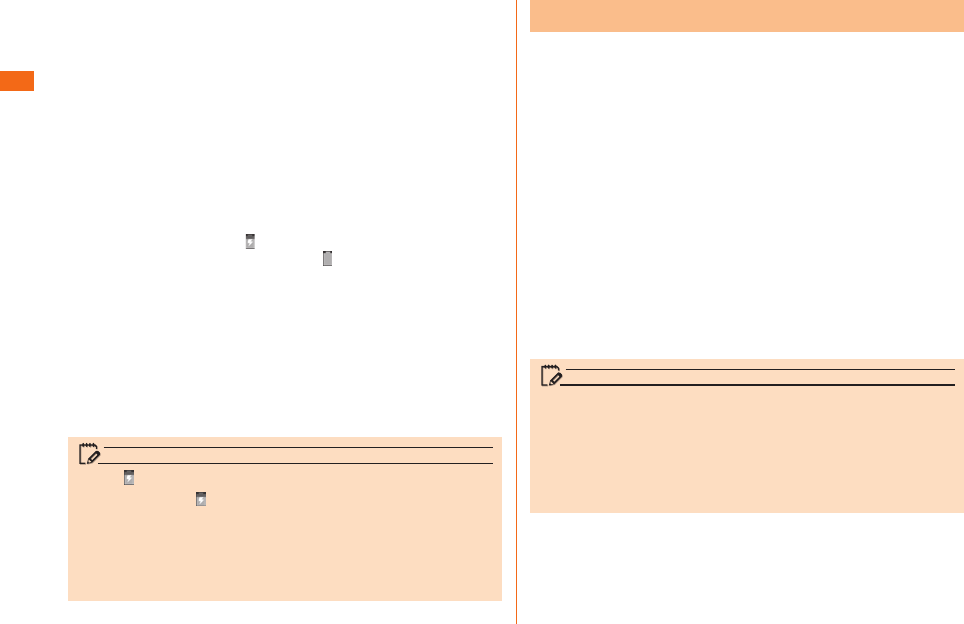
42
b
Charging starts when is displayed on the status bar
(uP.47) at the top of the screen. appears on the
status bar when charging nishes.
c
d
memo
• Please wait till is displayed on the status bar at the top
of the screen. Bad connection is assumed if it does not
appear after a while. Check if the common AC adapter
04 (sold separately) is securely connected. If it still does
not appear, stop charging and contact an au shop or the
Secure cell phone support center.
a
b
memo
• Although charging with the power on is available, it takes
longer.
• It may take longer to charge with USB than the specified
AC adapter (sold separately).
• When the "Start new hardware search wizard" window
appears, select "Cancel".
43
Turning the Power On/O
a
Unlock screen is displayed.
Swipe the screen to unlock.
memo
• After turning on the power, do not touch the screen until
"au" logo is displayed. Initial settings of touch panel will be
set. Touch panel may operate improperly.
a
Phone options screen is displayed.
b
u
memo
• Hold down for more than 8 seconds to restart the
product. Holding down for more than 12 seconds will
turn the power o.
Initial Settings
The rst time the product turns ON, the initial setting
screen appears automatically.
Follow the onscreen instructions to set each function.
• Procedures may differ depending on the network connection
or the settings skipped.
• Tap "Skip", "Not now", etc. to skip the setting of the current
item.
a
b
c
d
• Add a Google Account screen is displayed. For the detailed
information of Google Account setup, refer to "Setting Guide".
• For details on how to input characters, refer to "Setting Guide".
e
f
g
h
i
44
a
u uu
Wi-Fi settings screen is displayed.
If Wi-Fi® is activated, available access points are displayed
under WI-FI NETWORKS eld on Wi-Fi settings screen.
b
c
u
Enable "Show password" to show the password being
entered.
memo
• A password may not be required depending on access
points.
• Communication speed may become slower or not available
to use depending on the communication environment used.
After Google Account is set up, online service provided by
Google are available.
Google Account setup screen appears such as when
launching a software that requires a Google Account for
the rst time.
For details on the initial settings, refer to "Setting Guide".
memo
• Although you can use the product without setting Google
account, you cannot use Google services such as Google
Talk, Gmail, and Google Play.
• To sign into a Google account, you must have a Google
account and password.
When you have created an au ID, you can use various au
services including "au Simple Payment Service" which oers
you a simple way to purchase applications from au Market.
Tap "au ID Setting" on Applications screen to display au ID
Setting screen.
For details on the initial settings, refer to "Setting Guide".

45
Using the Touch Panel
• The touch panel is designed to be touched lightly by your
nger. Do not exert too much pressure with your nger or
press sharp-pointed objects (ngernails, ballpoint pens, pins,
etc.) against it.
• In the following cases, the touch panel may not work even if
you touch it. It may also malfunction.
- Operation with a gloved nger
- Operation with your ngernails
- Operation with foreign objects placed on the operation pad
- Operation with protective sheets or stickers on the touch
panel
- Operation when the display is wet or fogged
- Operation with wet or sweaty ngers
- Operation under water
Tap: Gently touch a screen and then
immediately release your nger.
Double tap: Tap the same position twice.
Keep touching an item with your nger.
While your nger is gently touching the
screen, trace it to the desired direction to
move over.
Operate the screen by quickly moving
(icking) your nger up, down, right, or left.
Touch the screen with two ngers and
widen (pinch-out) or narrow (pinch-in) the
ngers' distance.
Keep touching an item or icon, trace it to
the desired direction to move.
46
Using the Home Screen
a
b
c
d
e
f
Application list screen is displayed.
Tap an application icon to launch the application.
memo
•
When you tap an icon to use function, communication fees may
be charged depending on the function.
47
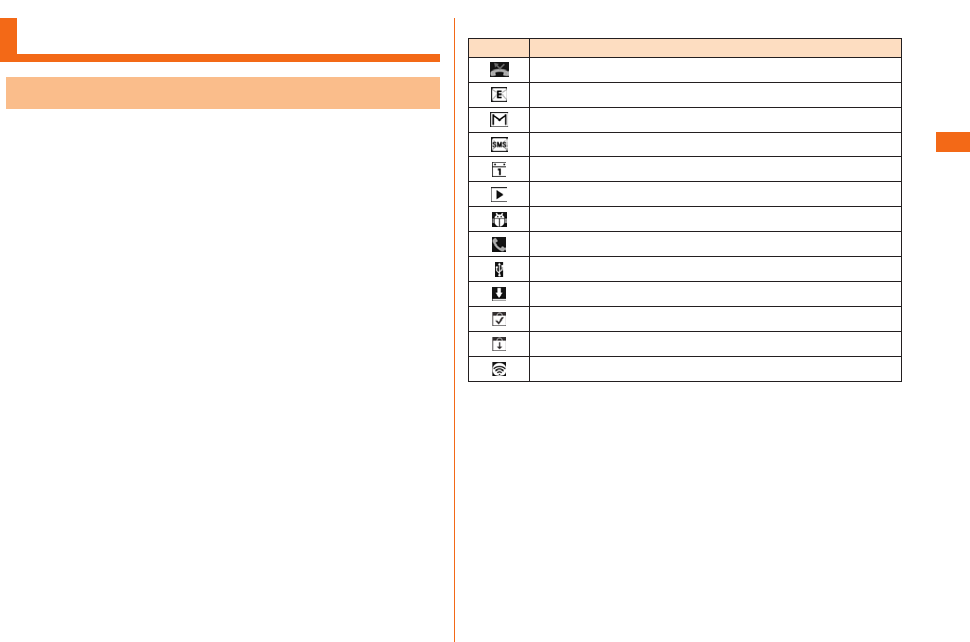
Monitoring the Product's Status
Notication icons such as a missed call, new mail, or other
operations in use are displayed on the left side of status
bar. On the right side, status icons showing the state of
the product are displayed.
Also slide the status bar downwards to display the
notication panel.
Missed call
New e-mail message
New Gmail message
New SMS message
Upcoming calendar event
Playing a track
USB debugging is connected
Receiving a call
USB is connected
Downloading data or application
Installation is completed
Available updates
Wi-Fi® tethering
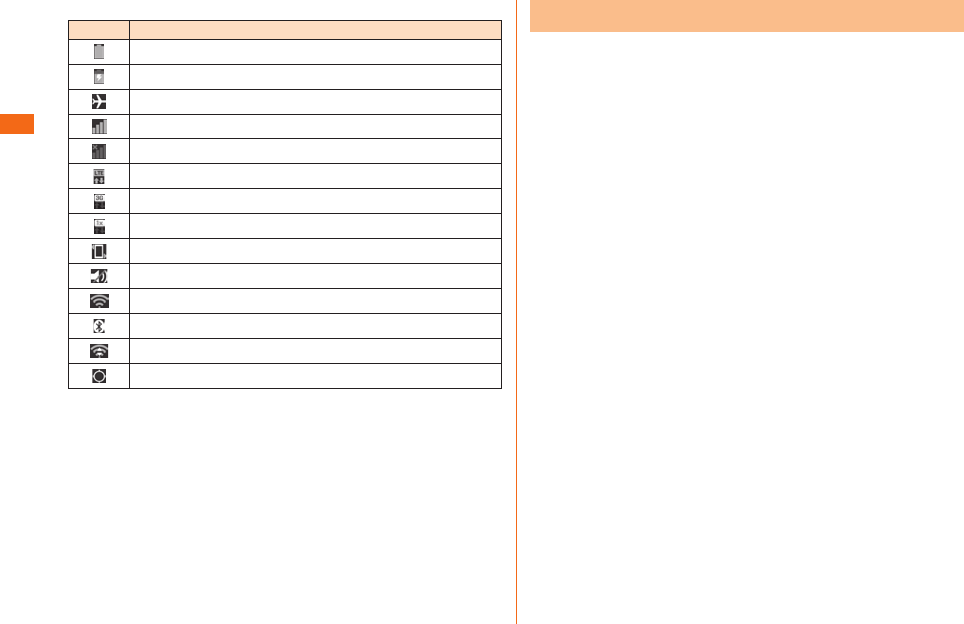
48
Battery level
Charging
Airplane mode
Strength of radio wave (Receiving electric eld)
Out of service
LTE data communication status
3G data communication status
CDMA 1X
data communication status
Vibrate only
Silent
Strength of Wi-Fi® signal
Bluetooth in use
Wi-Fi® in use
GPS in use
When a notication icon appears on the status bar, slide
the status bar down to open the notication panel to check
the notication or launch the application.
a
49
a
Tap QMemo, manner mode
(sound prole), GPS settings,
Wi-Fi® setting, etc. to start
the application or change the
settings.
b
Turn on the music player.
Select a song to play.
c
The date is displayed.
d
The system setting screen is
displayed.
e
Clear notication information and notication icons.
Some notications might not be cleared depending on their
contents.
f
Details on the notication information are displayed.
g
The name of the carrier of the network that you are
connected to is displayed.
h
Slide it upward to close the notication panel.
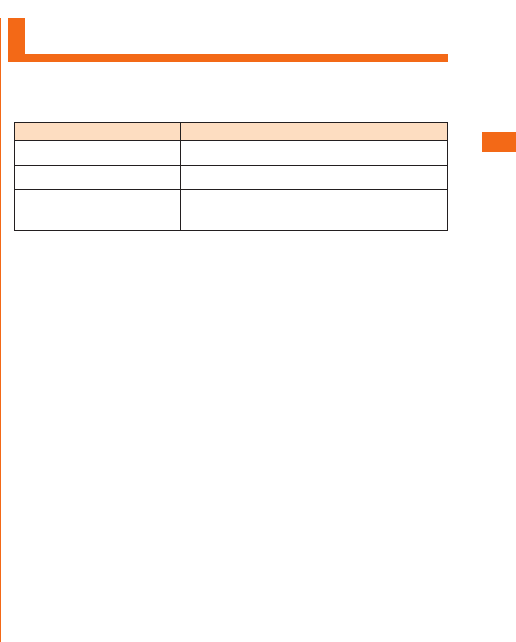
Notication Flash
Red Indicates that it is charging.
Green Indicates that charging is complete.
Flashing blue Indicates that there is a missed call,
alarm, calendar reminder, or new SMS.
* The color of the ashing LED to indicate receipt of e-mail can
be selected from "red, green, blue, yellow, or purple".
50
Capturing a Screenshot
a
The captured screenshot can be viewed on "Screenshots" in
"Gallery".
Using the QMemo Function
a
b
The following information will appear at the top of the
screen or at the four corners.
Use other functions with the memo remaining on
the screen.
Display/hide the screen in the background.
To undo or redo.
Select the pen type and color.
Use the eraser. Tap again to display "Clear all".
Tap "Clear all" to delete the entire written memo.
Send the written memo by Bluetooth®, e-mail, etc.
Save the written memo.
Tap to display/hide the tool bar.
Adjust the screen size. They appear in the four
corners when you hide the tool bar while the
screen in the background is displayed.
c u
Save the written memo.
51
memo
• You can also tap "QMemo" on the notication panel to
start QMemo.
• Touch gently with your nger to operate. It might not work
when using a commercially available touch pen.
52
Entering Text
a
u
b
memo
• "LG Japanese keyboard" is initially installed as an input
software.
• Tap " " to switch Input Mode. It changes in order of "Half-
width Alphabet", "Half-width Numeric", and "Hiragana-Kanji"
every time you tap the key.
• To set touch tones, vibration, etc. while using LG Japanese
keyboard, Character input screen u Long touch " " u "LG
Japanese Keyboard Settings".

53
Tap the same key repeatedly or ick up/down/left/right to
enter the desired character.
* Displaying the keyboard for Hiragana-Kanji input mode.
a
b
c
d
Inputs the characters of each key.
e
f
g
Switches Input Mode.
h
Deletes the selected character or characters on the left side
of cursor.
i
Enters a space at the cursor position. Displays the normal
conversion candidate list when entering hiragana.
j
Inserts a line feed at the cursor position. Determines the
entered characters when entering hiragana.
k
Tap the key of your desired character to enter. Romaji input
is applied for "Hiragana-Kanji" mode.
a
b
c
d
Inputs the characters of each key.
e
f
g
Switches Input Mode.
h
Deletes the selected character or characters on the left side
of cursor.
i
Enters a space at the cursor position. Displays the normal
conversion candidate list when entering hiragana.
j
Inserts a line feed at the cursor position. Determines the
entered characters when entering hiragana or alphabet.
k

54
a
u u
b
55
Making Calls
a
u
Phone number entry screen is displayed.
a
b
c
d
e
f
b
When calling to a fixed-line phone, you also need to enter
the area code.
c
Dialing screen is displayed. Press (DOWN/UP)
during a call to adjust earpiece volume (the other party's
voice volume).
d
When "Call settings" u "Save unknown numbers" is enabled,
after you nish a call of which the number is not registered
to Contacts, a conrmation screen appears asking if you
want to register the number with Contacts. This function is
disabled by default.
memo
• Screen background light turns o when proximity sensor is
covered while making or answering a call.
• If you make a call by dialing a number with "1401" at the
beginning, communication fee will be charged from your au
prepaid card.
• Note that the other party can hear your voice even if you
cover the mouthpiece.
• An emergency call to 110, 119, and 118 is available even
when it is set to "Airplane mode". Also, "Airplane mode" is
set to OFF automatically when making an emergency call to
110, 119, or 118.
a
u
b
c
56
You can make international calls without any special
procedure from your product.
Example: To call 212-123-XXXX in the USA
a
u
Phone number entry screen u " " u Select a country from
"Country code" to make an international call.
International
access code*1
Country code
(USA)
Phone
number
Area
code*2
001010
or 010 1 212 123XXXX
*1 Long touch "0" to enter "+", "001010" is added
automatically while dialing.
*2 If the area code begins with "0", omit "0". (there are
some exceptions such as xed-line phones in Italy and
Moscow.)
memo
• The au international call services sets monthly usage limit
amounts. From the point in time that au has checked that
the usage limit amounts have been exceeded until the last
day of the same month, the au international call services
cannot be used.
• Even if the service is suspended due to exceeding usage
limit amounts, the service resumes from the first day of
the following month. In addition, even if international calling
is suspended, domestic calling can be used as always.
• International call charges are billed together with monthly
local call charges.
• If you do not use au international telephone service, do not
apply this service when subscribing.
• For more information on au International call service, dial
either of the following numbers:
- From au cell phones (toll-free): 157 (area code not
required)
- From xed-line phones (toll-free): 0077-7-111
- Open 9:00 to 20:00 everyday
57
This product supports "Emergency call location notication"
so that if you make an emergency call to the police, re
station or Regional Coast Guard Headquarters, your current
location (GPS information) will be transmitted to the agency
receiving the emergency call.
memo
• In this section, the police (110), re station (119) and
Regional Coast Guard Headquarters (118) are collectively
referred to as the emergency call receiving agency.
• This feature may not yet be available at some emergency
call receiving agencies.
• If you add "184" before the emergency call number
110/119/118, the emergency call receiving agency will
not be notied of your location and phone number.
• In places where signal reception from GPS satellites or a
base station is relatively poor, such as in an underground
mall, inside a building or behind a tall building, the
emergency call receiving agency may be notied of some
other place dierent from your actual location.
• When GPS cannot be used to notify of your location, base
station signal is used instead.
• When making an emergency call to the police, fire station
or Regional Coast Guard Headquarters, always confirm
where you are, and tell them your exact location on the
phone. Note that depending on the area where you are
calling, your call may not be connected to the agency
having jurisdiction over that area.
• If the emergency call receiving agency determines that
human lives and health are in danger, they will be able to
acquire the caller's location information during the call or
within a certain period of time after the call.
Receiving Calls
a
When an incoming call arrives with background light on
(except when unlock screen is being displayed), tap " ".
b
u
When "Call settings" u "Save unknown numbers" is enabled,
after you nish a call of which the number is not registered
to Contacts, a confirmation screen appears asking if you
want to register the number with Contacts. This function is
disabled by default.
The following items are displayed.
• If a number is notied by the other party, the number will
be displayed on the screen. If the number and name are
registered to Contacts, information of name, etc. are also
displayed.
• If a number is not notied by the other party, the reason
will be displayed on the screen, such as "Number withheld",
"Payphone", and "Not Support*".
* When the other party is calling using a phone which cannot
send any phone number.

58
memo
• During an incoming call, press or (DOWN/
UP) to mute ringtone and stop vibration.
• When an incoming call arrives while using Contacts, mail,
etc., an incoming call is prioritized. After answering the
call, continue to use the function you were using.
• If you are using voice recorder, recording is stopped and
the data is saved.
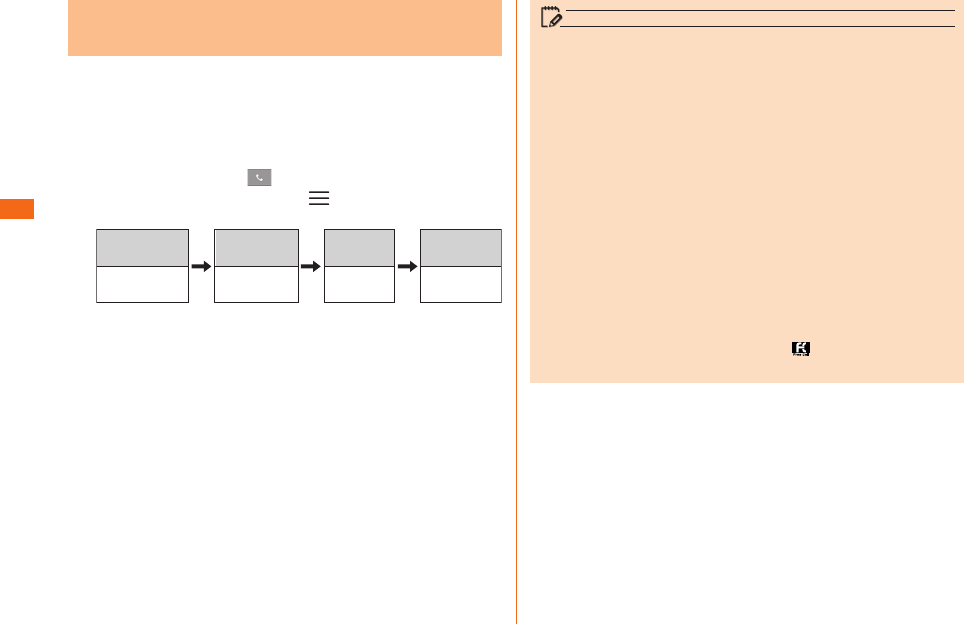
Checking Your Phone Number
a
u uu
u
Phone identity screen appears and your phone number is
shown under My phone number.
59
Registering a Contact
a
uuu
Contacts list screen is displayed.
If you have not registered contact information for "ME", "Set
up my prole" appears.
b
New contact screen is displayed.
• When activate Contacts for the rst time, the screen
asking which account you want to synchronize new
contacts with appears. Select an account to be
synchronized with.
c
Enter your name, phone number, mail address, etc.
d
memo
Phone numbers, names registered on Contacts may get lost
by accident or malfunction. It is recommended to back up
your phone number. For details, refer to "Setting Guide".
The company takes no responsibility for any change or loss
of Contacts data caused by accident or malfunction.
60
Using E-mail
memo
• To use e-mail functions, subscription to LTE NET is
required. If you have not subscribed at the time of
purchase, contact an au shop or Customer Service Center.
• Packet communication connection is required before using
e-mail. Also, initial settings are necessary. For details, refer
to "Setting Guide".
Using SMS
memo
• There is no charge for receiving SMS.
• Depending on their content, some messages may not be
displayed correctly.