LG Electronics USA L23LC 23" LCD Color Monitor User Manual Microsoft PowerPoint F User s Manual
LG Electronics USA 23" LCD Color Monitor Microsoft PowerPoint F User s Manual
UserManual.wiki
>
LG Electronics USA
>
L23LC User Manual
User Manual
Navigation menu
Upload a User Manual
Namespaces
Wiki Guide
HTML
PDF
Info
Views
User Manual
Discussion / Help
Navigation


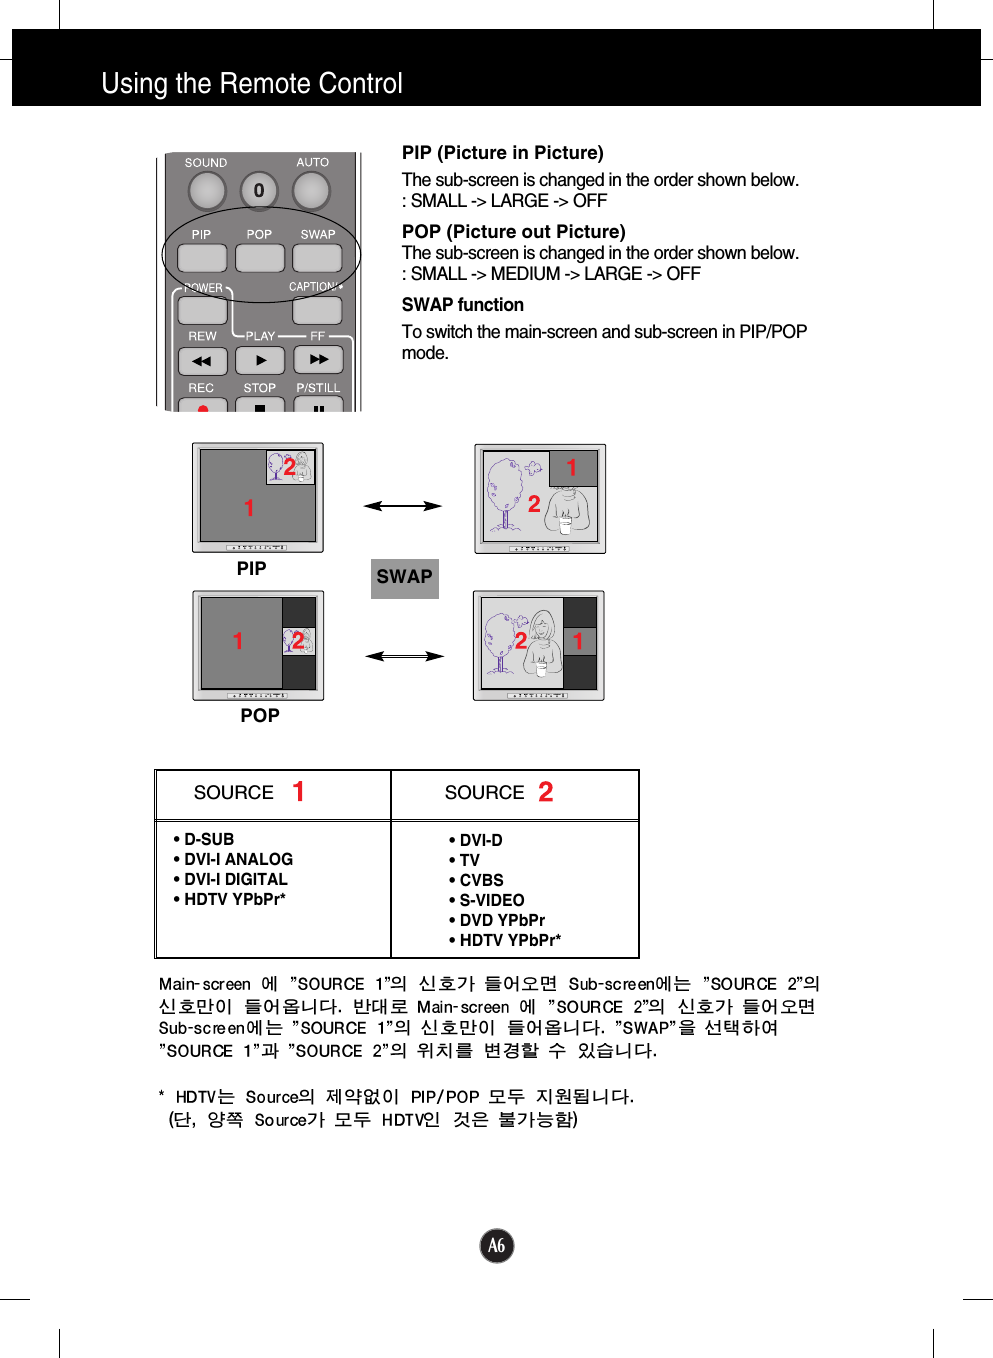

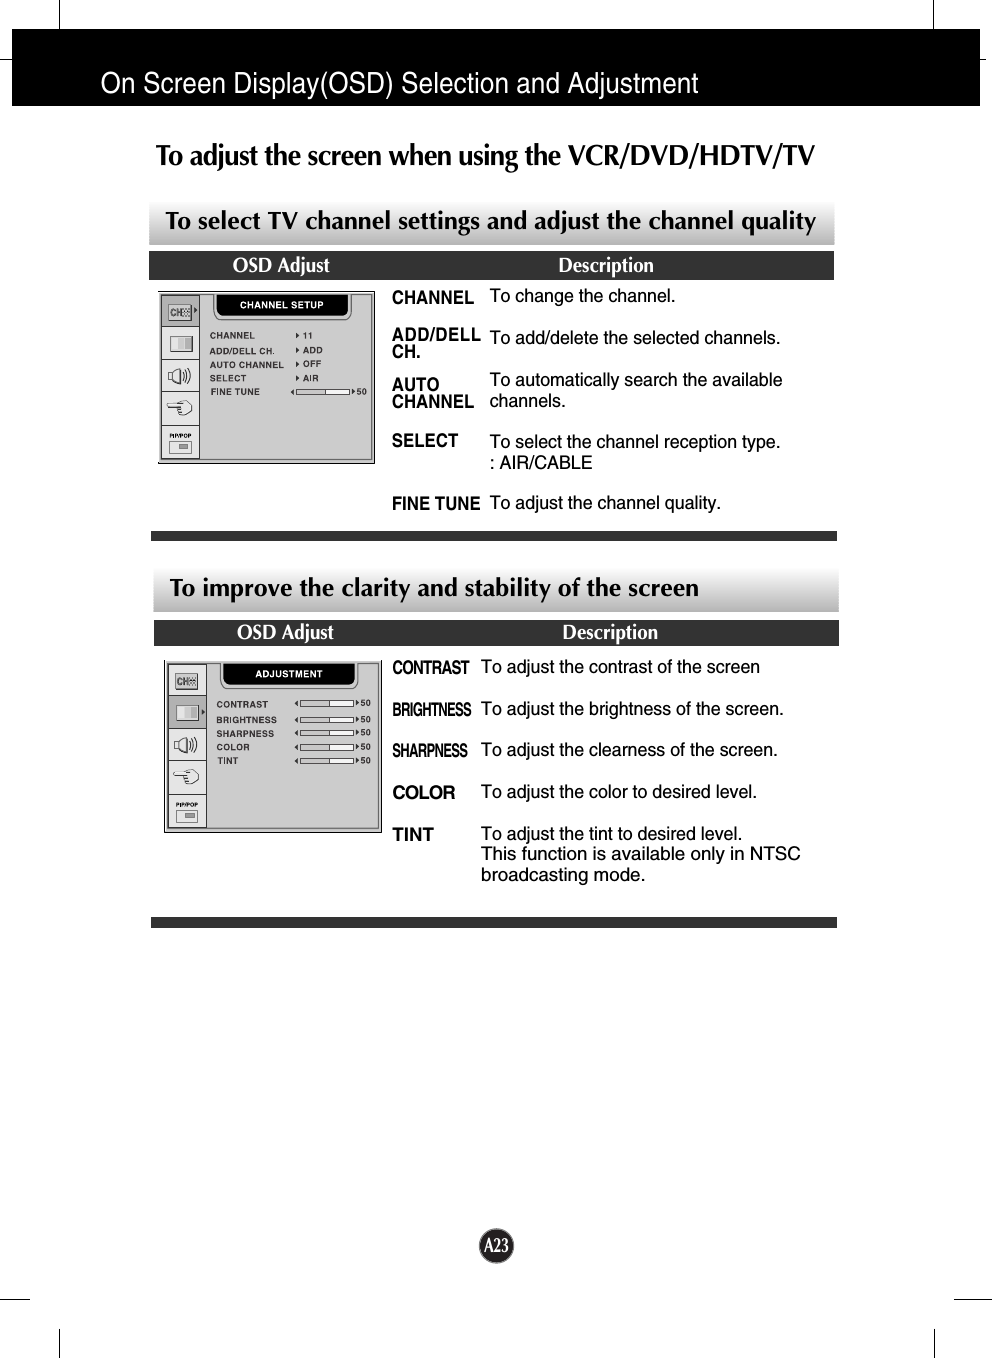

![A25ToOn Screen Display(OSD) Selection and Adjustment To adjust the image of the PIP screen; Press the button todisplay the submenu for PIP IMAGE. Use the buttons toadjust the item to the desired level. To adjust the PIP(Picture in Picture) of the screenOSD Adjust DescriptionPIP SOURCEPIP SIZEPIP POSITIONPIP IMAGEPIP CONTRAST To adjust the contrast of the screen. PIP BRIGHTNESS To adjust the brightness of the screen. PIP SHARPNESS To adjust the clearness of the screen.PIP COLOR To adjust the color to desired level.PIP TINT To adjust the tint to desired level. This function is available only inNTSC broadcasting mode.To select an input signal for PIP.To adjust the size of the PIP screen: SMALL/LARGETo adjust the position of PIP screen. Press the button todisplay the submenu for PIP POSITION.[PC] [VCR/DVD/TV/HDTV][PC] [VCR/DVD/TV/HDTV][PC] [VCR/DVD/TV/HDTV]PIP/POP/BRIGHT WINDOW function](https://usermanual.wiki/LG-Electronics-USA/L23LC/User-Guide-320522-Page-30.png)
![A26ToOn Screen Display(OSD) Selection and Adjustment To adjust the POP(Picture out Picture) of the screenOSD Adjust DescriptionOSD Adjust DescriptionTo select an input signal for POP.To adjust the size of the POP screen: SMALL/MEDIUM/LARGETo adjust the image of the POP screen; Press the button todisplay the submenu for POP IMAGE. Use the buttons toadjust the item to the desired level. To turn the POP sound on/off.To switch the main-screen and sub-screen in POP mode.POP SOURCEPOP SIZEPOP IMAGEPOP SOUNDPOP SWAP[PC] [VCR/DVD/TV/HDTV]To turn the PIP sound on/off.To switch the main-screen and sub-screen in PIP mode.PIP SOUNDPIP SWAP](https://usermanual.wiki/LG-Electronics-USA/L23LC/User-Guide-320522-Page-31.png)