LG Electronics USA L62VL CDMA/LTE PHONE WITH BT & DTS WLAN b/g/n User Manual LG L62VL TRF UG EN V1 0 151028
LG Electronics MobileComm USA, Inc. CDMA/LTE PHONE WITH BT & DTS WLAN b/g/n LG L62VL TRF UG EN V1 0 151028
UserManual.wiki
>
LG Electronics USA
>
L62VL User Manual
User Manual
Navigation menu
Upload a User Manual
Namespaces
Wiki Guide
HTML
PDF
Info
Views
User Manual
Discussion / Help
Navigation
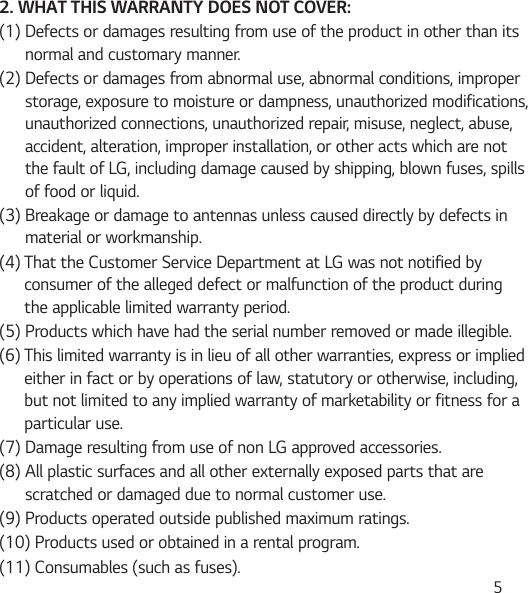
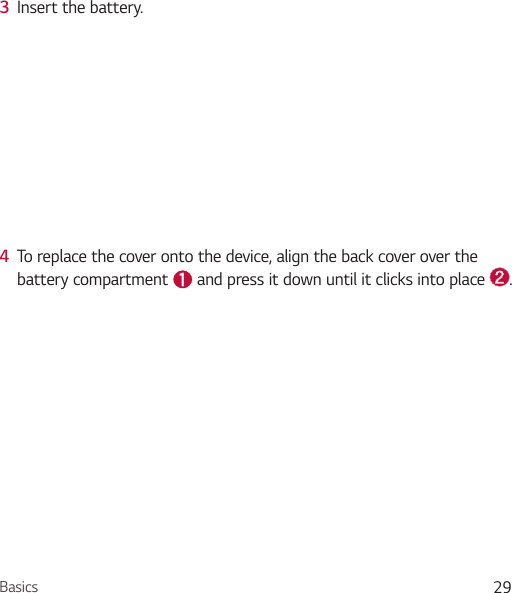
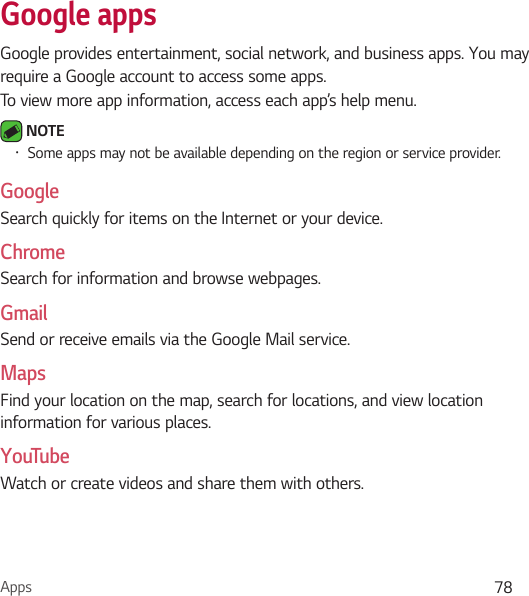
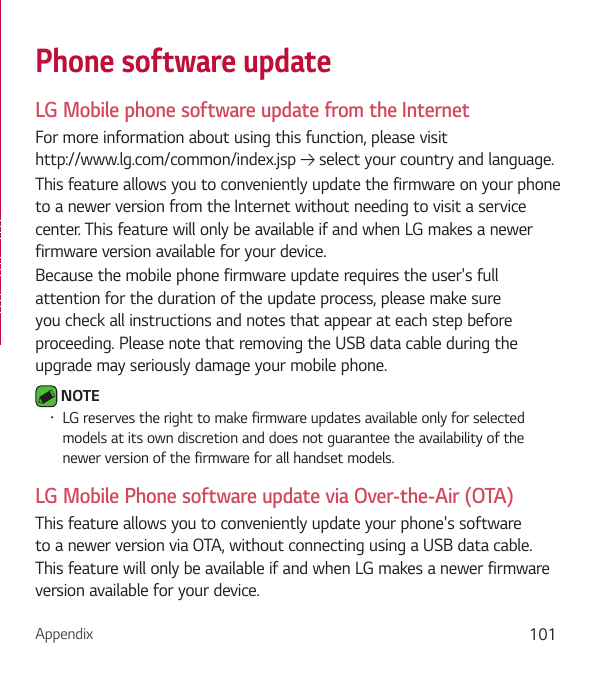
![3LIMITED WARRANTY STATEMENTARBITRATION NOTICE: THIS LIMITED WARRANTY CONTAINS AN ARBITRATION PROVISION THAT REQUIRES YOU AND LG TO RESOLVE DISPUTES BY BINDING ARBITRATION INSTEAD OF IN COURT, UNLESS YOU CHOOSE TO OPT OUT. IN ARBITRATION, CLASS ACTIONS AND JURY TRIALS ARE NOT PERMITTED. PLEASE SEE THE SECTION TITLED “PROCEDURE FOR RESOLVING DISPUTES” BELOW.Warranty LawsThe following laws govern warranties that arise in retail sales of consumer goods:Ţ The California Song-Beverly Consumer Warranty Act [CC §§1790 et seq],Ţ The California Uniform Commercial Code, Division Two [Com C §§2101 et seq], and Ţ The federal Magnuson-Moss Warranty Federal Trade Commission Improvement Act [15 USC §§2301 et seq; 16 CFR Parts 701– 703]. A typical Magnuson-Moss Act warranty is a written promise that the product is free of defects or a written promise to refund, repair, or replace defective goods. [See 15 USC §2301(6).] Remedies include damages for failing to honor a written warranty or service contract or for violating disclosure provisions. [See 15 USC §2310(d).] Except for some labeling and disclosure requirements, the federal Act does not preempt state law. [See 15 USC §2311.]](https://usermanual.wiki/LG-Electronics-USA/L62VL/User-Guide-2865359-Page-4.png)
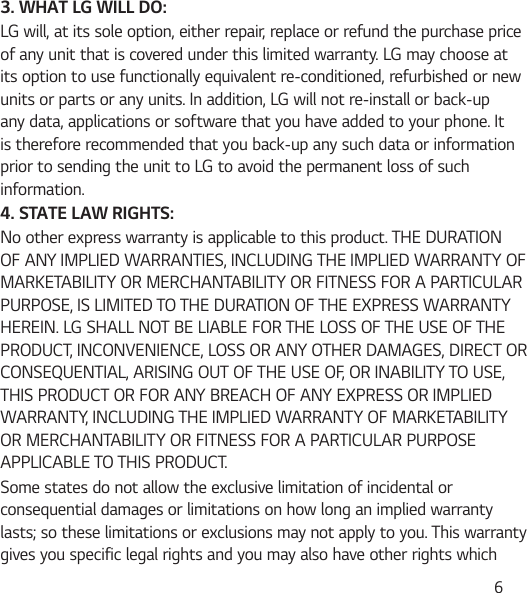


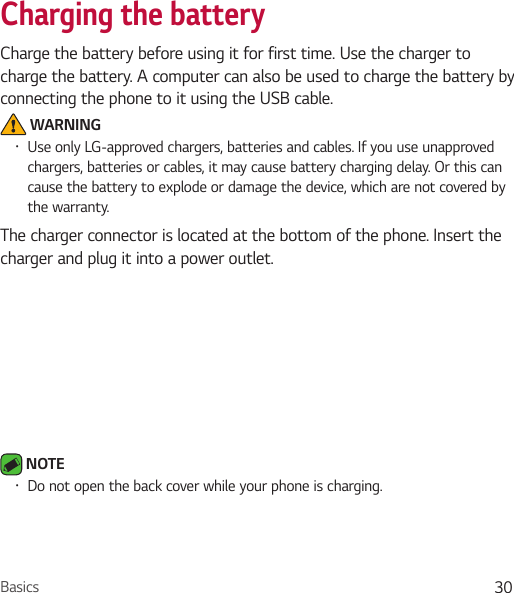


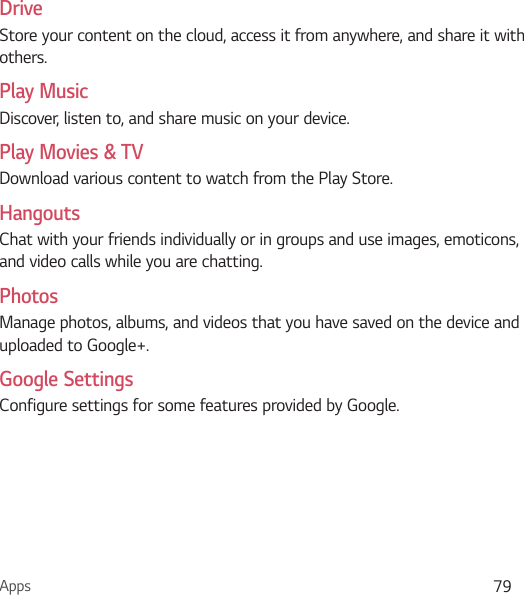


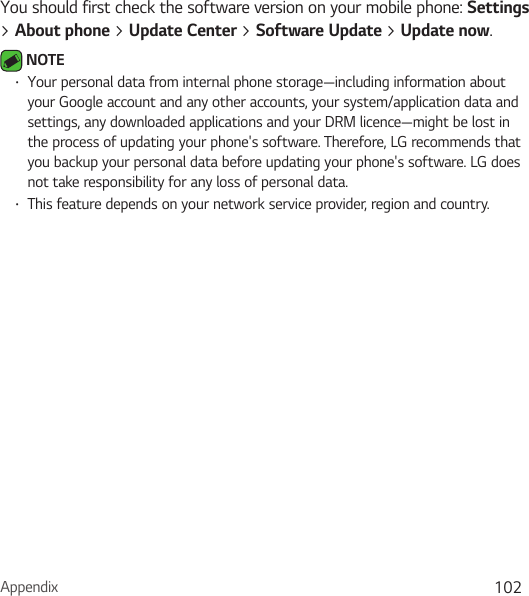

![For Your Safety 113acceptable for normal operation.The M mark is intended to be synonymous with the U mark. The T mark is intended to be synonymous with the UT mark. The M and T marks are recommended by the Alliance for Telecommunications Industries Solutions (ATIS).The U and UT marks are referenced in Section 20.19 of the FCC Rules. The HAC rating and measurement procedure are described in the American National Standards Institute (ANSI) C63.19 standard. To ensure that the Hearing Aid Compatibility rating for your phone is maintained, secondary transmitters such as Bluetooth and WLAN components must be disabled during a call.When you’re talking on a cell phone, it’s recommended that you turn the BT (Bluetooth) or WLAN mode off for HAC.For information about hearing aids and digital wireless phonesWireless Phones and Hearing Aid Accessibilityhttp://www.accesswireless.org/Gallaudet University, RERChttp://tap.gallaudet.edu/Voice/FCC Hearing Aid Compatibility and Volume Controlhttp://www.fcc.gov/cgb/dro/hearing.htmlThe Hearing Aid Compatibility FCC Orderhttp://hraunfoss.fcc.gov/edocs_public/attachmatch/FCC-03-168A1.pdfHearing Loss Association of America [HLAA]http://hearingloss.org/content/telephones-and-mobile-devices](https://usermanual.wiki/LG-Electronics-USA/L62VL/User-Guide-2865359-Page-114.png)