LG Electronics USA L84VL Multi-Band CDMA/LTE Handset with Bluetooth and WLAN User Manual
LG Electronics MobileComm USA, Inc. Multi-Band CDMA/LTE Handset with Bluetooth and WLAN Users Manual
UserManual.wiki
>
LG Electronics USA
>
L84VL User Manual
Users Manual
Navigation menu
Upload a User Manual
Namespaces
Wiki Guide
HTML
PDF
Info
Views
User Manual
Discussion / Help
Navigation
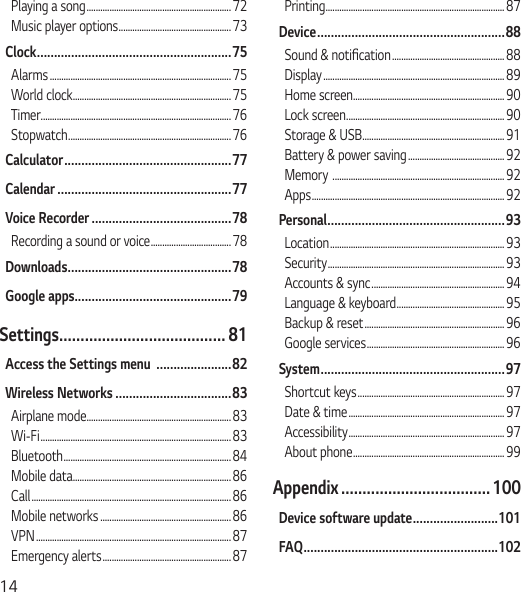
![3LIMITED WARRANTY STATEMENTARBITRATION NOTICE: THIS LIMITED WARRANTY CONTAINS AN ARBITRATION PROVISION THAT REQUIRES YOU AND LG TO RESOLVE DISPUTES BY BINDING ARBITRATION INSTEAD OF IN COURT, UNLESS YOU CHOOSE TO OPT OUT. IN ARBITRATION, CLASS ACTIONS AND JURY TRIALS ARE NOT PERMITTED. PLEASE SEE THE SECTION TITLED “PROCEDURE FOR RESOLVING DISPUTES” BELOW.Warranty LawsThe following laws govern warranties that arise in retail sales of consumer goods:• The California Song-Beverly Consumer Warranty Act [CC §§1790 et seq],• The California Uniform Commercial Code, Division Two [Com C §§2101 et seq], and • The federal Magnuson-Moss Warranty Federal Trade Commission Improvement Act [15 USC §§2301 et seq; 16 CFR Parts 701– 703]. A typical Magnuson-Moss Act warranty is a written promise that the product is free of defects or a written promise to refund, repair, or replace defective goods. [See 15 USC §2301(6).] Remedies include damages for failing to honor a written warranty or service contract or for violating disclosure provisions. [See 15 USC §2310(d).] Except for some labeling and disclosure requirements, the federal Act does not preempt state law. [See 15 USC §2311.]](https://usermanual.wiki/LG-Electronics-USA/L84VL/User-Guide-3278776-Page-4.png)
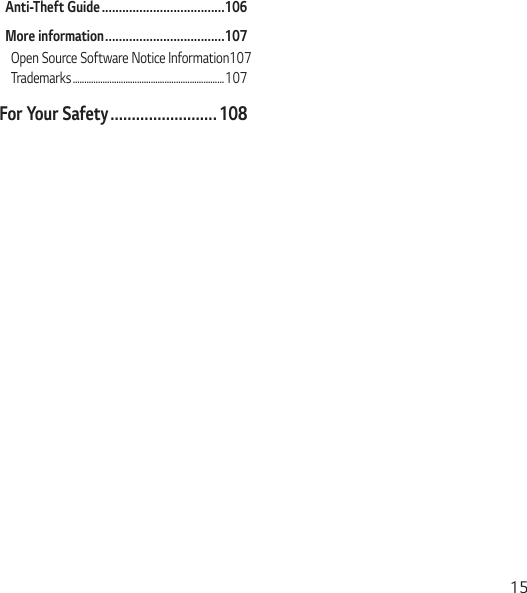


![For Your Safety 113http://www.fcc.gov/cgb/dro/hearing.htmlThe Hearing Aid Compatibility FCC Orderhttp://hraunfoss.fcc.gov/edocs_public/attachmatch/FCC-03-168A1.pdfHearing Loss Association of America [HLAA]http://hearingloss.org/content/telephones-and-mobile-devicesBody-worn Operation This device was tested for typical use with the back of the phone kept 0.39 inches (1.0 cm) from the body. To comply with FCC RF exposure requirements, a minimum separation distance of 0.39 inches (1.0 cm) must be maintained between the user's body and the back of the phone. Any belt-clips, holsters, and similar accessories containing metallic components may not be used. Avoid the use of accessories that cannot maintain 0.39 inches (1.0 cm) distance between the user's body and the back of the phone and have not been tested for compliance with FCC RF exposure limits. Part 15.19 statement This device complies with part 15 of the FCC rules. Operation is subject to the following two conditions: (1) This device may not cause harmful interference, and (2) This device must accept any interference received, including interference that may cause undesired operation. Part 15.21 statement Changes or modifications that are not expressly approved by the manufacturer for compliance could void the user's authority to operate the equipment.](https://usermanual.wiki/LG-Electronics-USA/L84VL/User-Guide-3278776-Page-114.png)