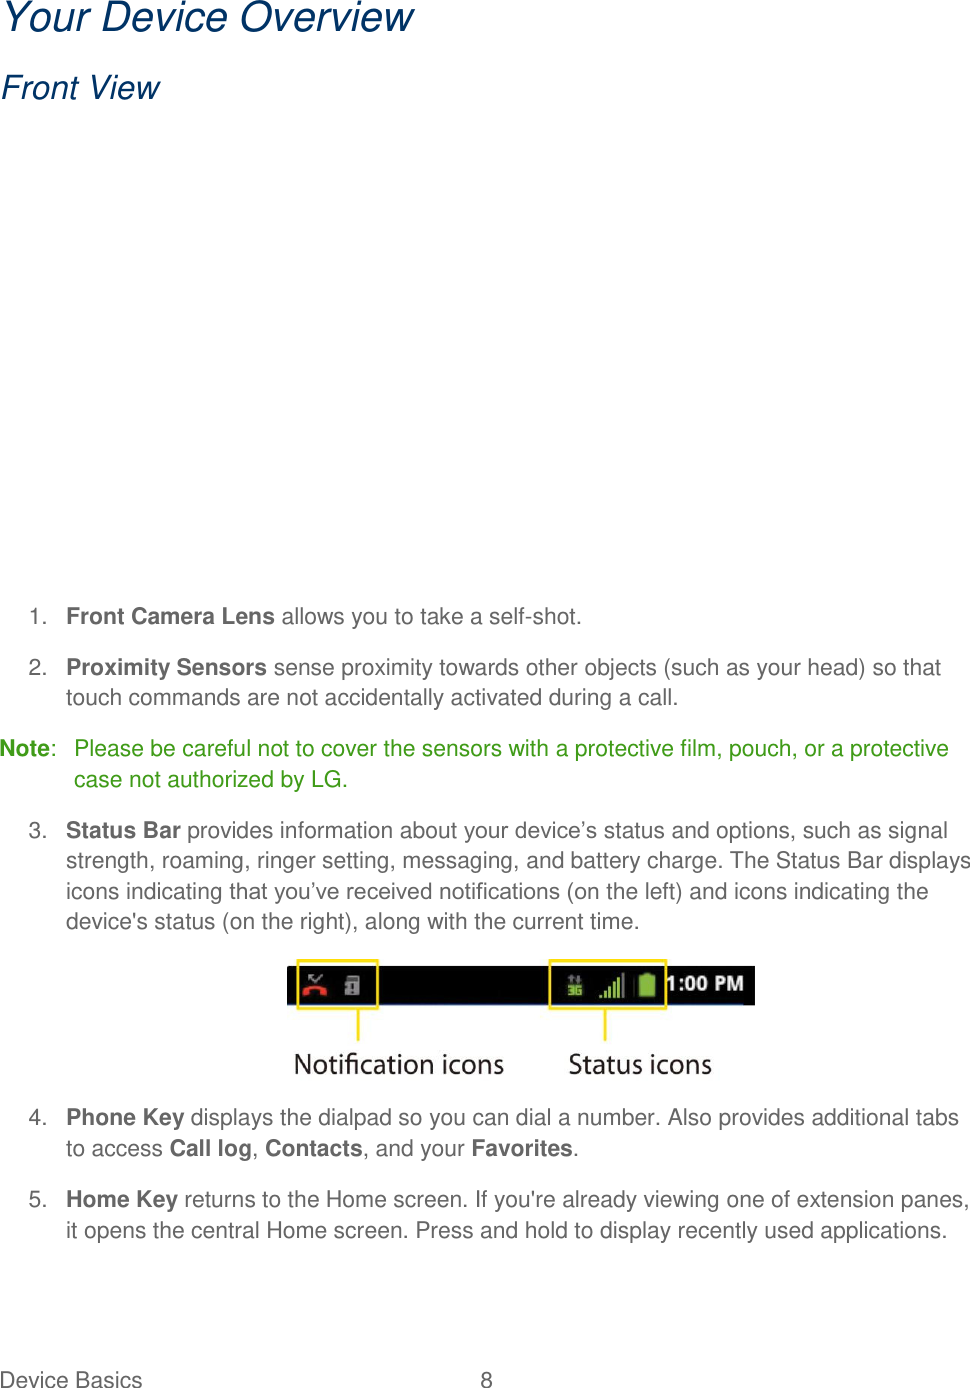
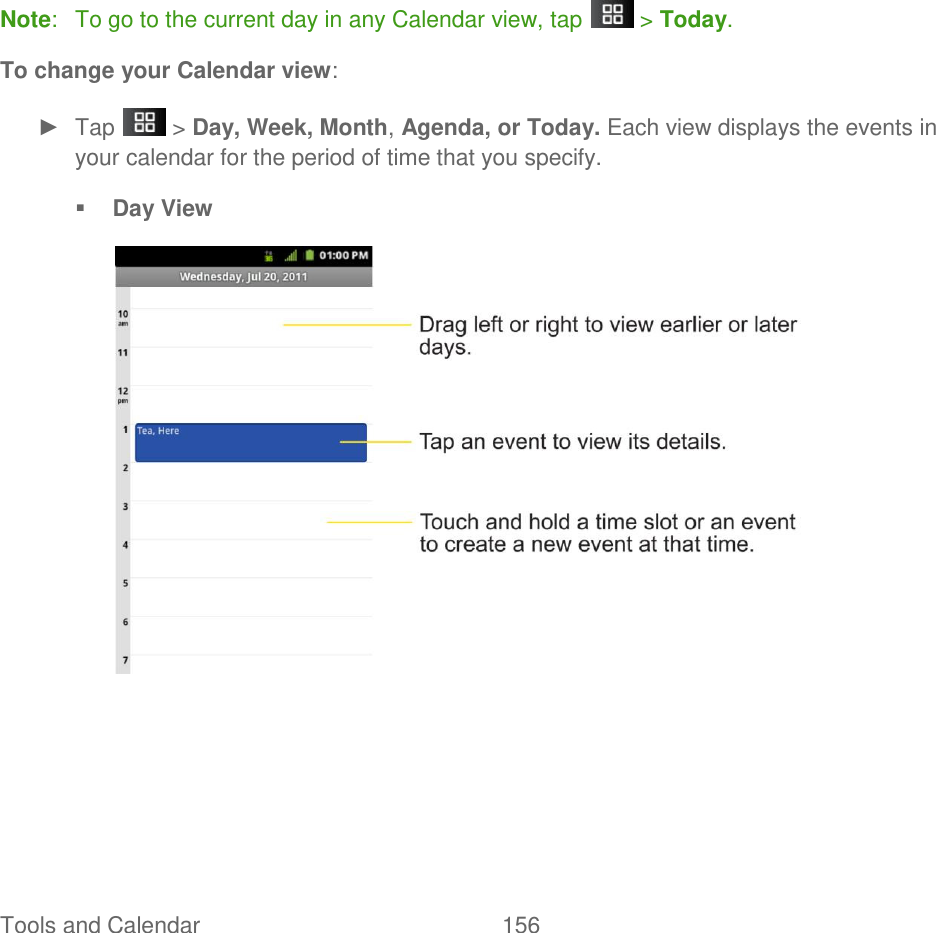
LG Electronics USA LS696 Cellular/PCS CDMA Phone with WLAN, RFID and Bluetooth User Manual
LG Electronics MobileComm USA, Inc. Cellular/PCS CDMA Phone with WLAN, RFID and Bluetooth Users Manual
UserManual.wiki
>
LG Electronics USA
>
LS696 User Manual
Users Manual
Navigation menu
Upload a User Manual
Namespaces
Wiki Guide
HTML
PDF
Info
Views
User Manual
Discussion / Help
Navigation


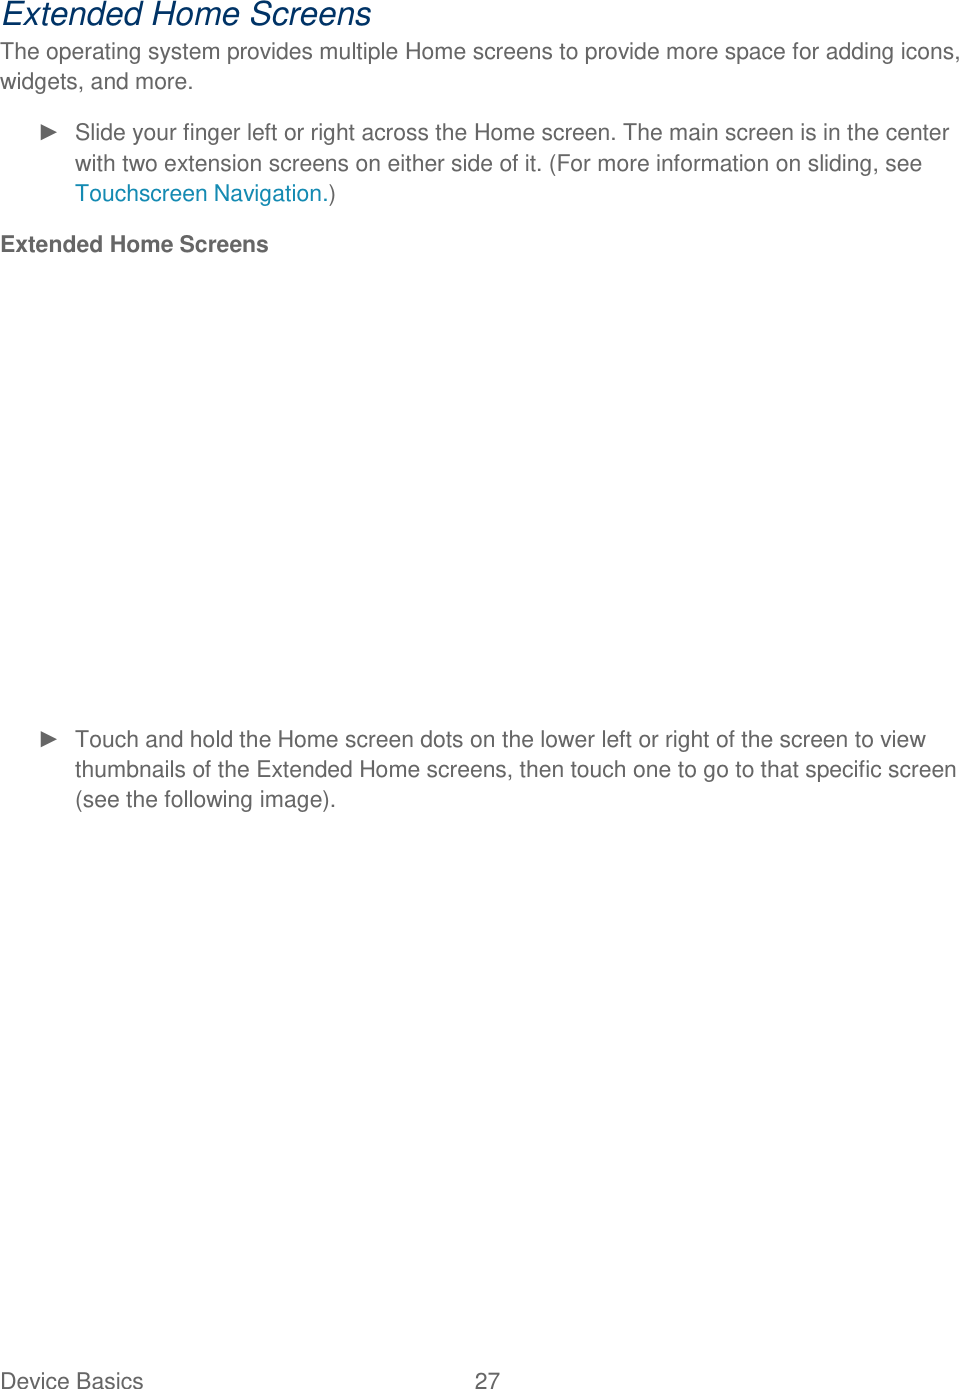

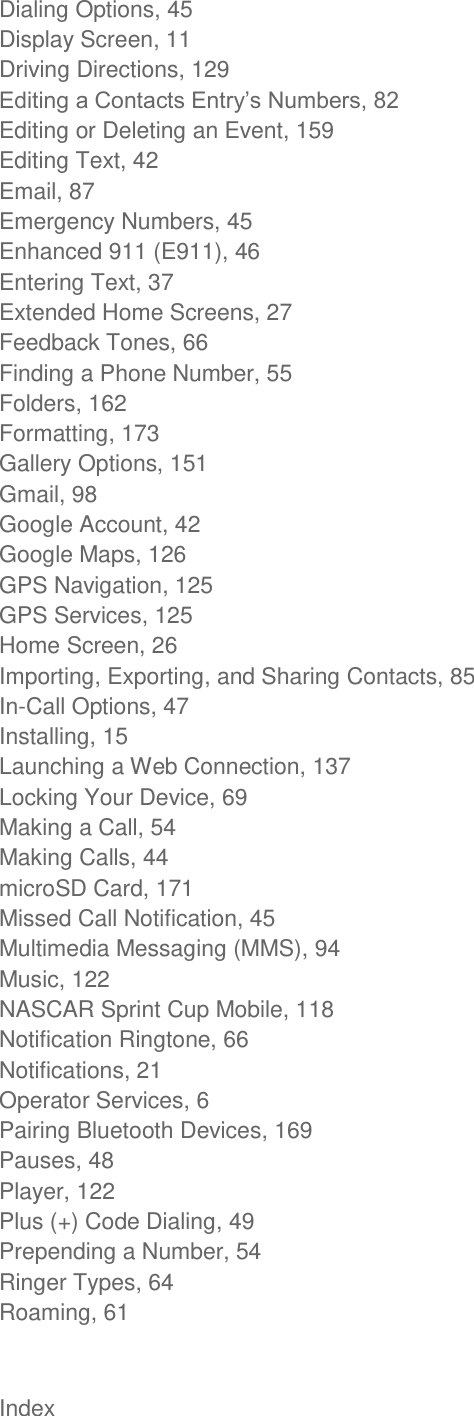
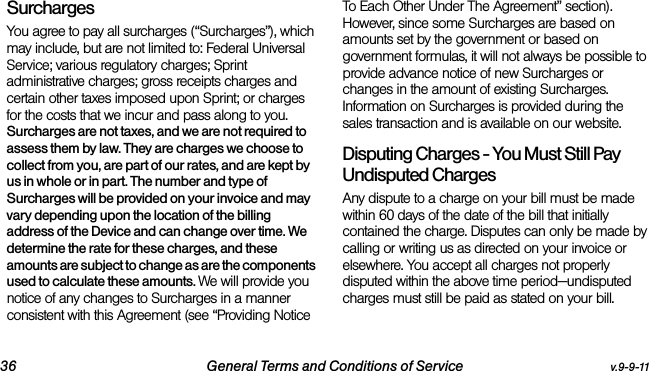
![Accounts and Messaging 94 Options include: Call, Add subject, Attach, Set priority, Insert Smiley or More [Preset Message, Delete thread, All threads, and Add to Contacts]. 5. Review your reply and tap Send. Multimedia Messaging (MMS) With multimedia messaging (MMS), you can send and receive instant multimedia messages that contain text, pictures, audio, recorded voice, or a picture slideshow. Messaging is available via the Messaging application in your Applications screen. Note: See your service plan for applicable charges for multimedia messaging. Composing MMS Messages 1. Tap > > Messaging > New message. 2. Tap the To field and enter the recipient‘s phone number or email information. As you enter the phone number or email address, matching contacts appear on-screen. Tap an available matching recipient or continue entering the phone number or email address. 3. Tap the text field and enter your message. 4. Tap > Attach. 5. Select a multimedia attachment type: Pictures: Opens the Gallery application. Use the on-screen navigation to select the picture you wish to send with the outgoing message. Capture picture: Opens the Camera application. Take a picture, and then tap OK to use this image in your message. (See Taking Pictures.) Videos: Opens the Gallery application. Use the on-screen navigation to select a video and attach it to your outgoing message. Capture video: Opens the Camcorder application. Record a video, then tap OK to use this video in your message. (See Recording Videos.) Audio: Opens a menu that allows you to choose between Select music track and Sound Recorder. Use the on-screen navigation with the Select music track option to select an audio file and tap OK or record a new audio file using the Sound Recorder option. Record audio: Opens the message recorder. • Record Duration: Displays the length of the recorded voice message. • Record: Starts recording your message.](https://usermanual.wiki/LG-Electronics-USA/LS696/User-Guide-1611151-Page-104.png)


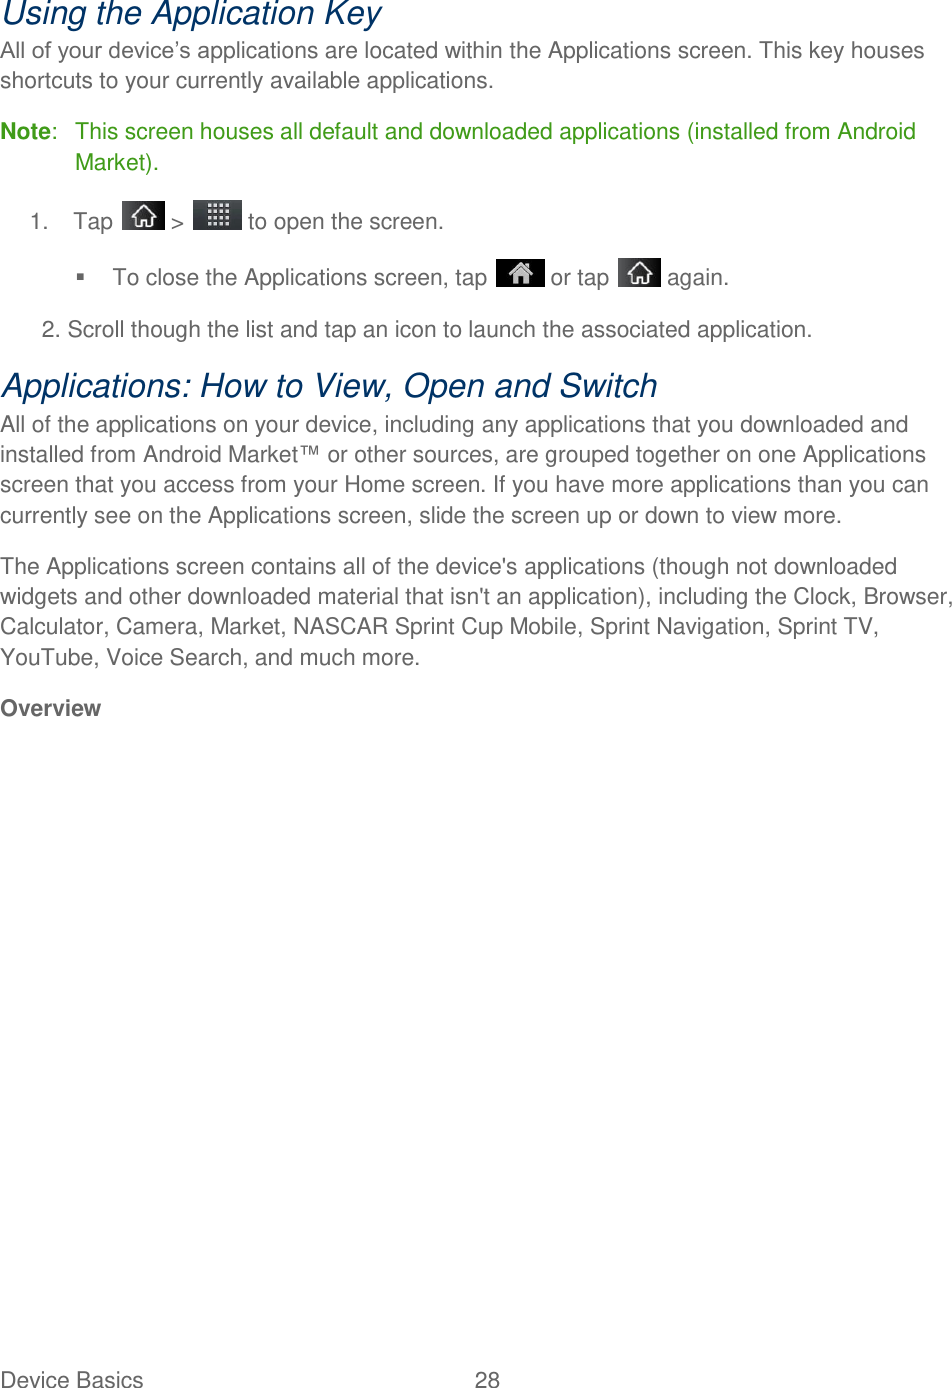
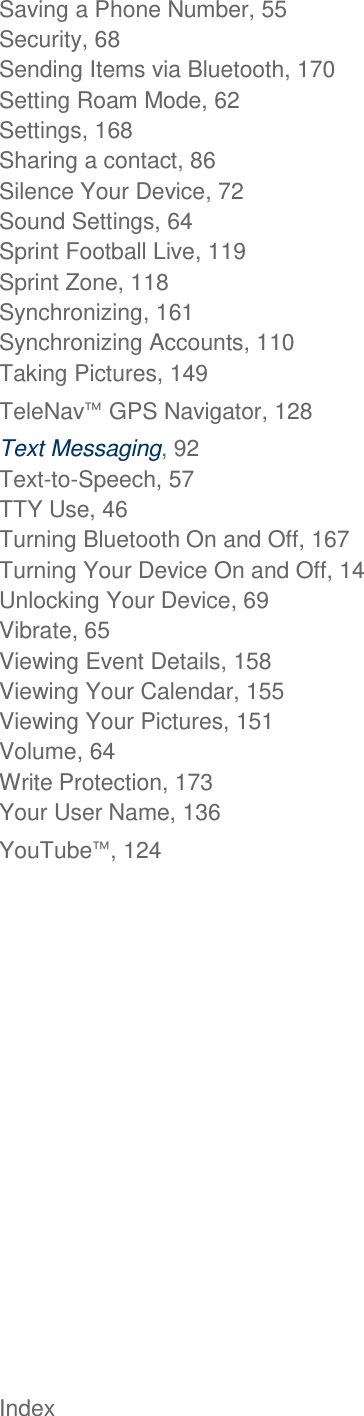
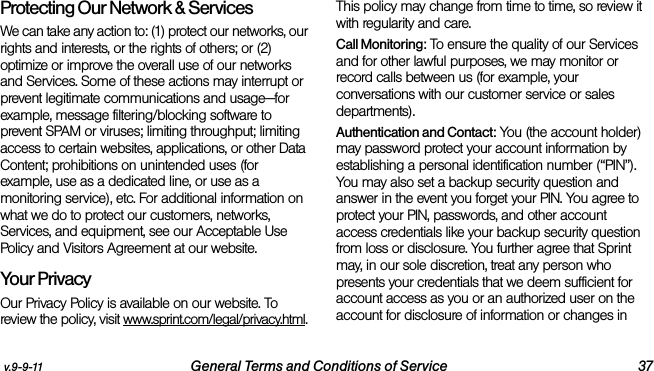
![Applications and Entertainment 117 7. Tap > > More > Notifications. If the download is complete, tap ID ready to install to install the ID Pack. Switching ID Packs 1. Tap > (Sprint ID). 2. Tap an ID Pack to replace your current pack. – or – Tap Get New to install a new ID Pack and follow steps 2–7 of Installing Your First ID Pack. Note: Certain features of Sprint ID are subject to change. For the most up-to-date information about using Sprint ID, please visit www.sprint.com. Applications You can access a wide variety of Sprint applications in many different categories with your phone and data service. Currently, various applications, such as NASCAR, Sprint Football Live, TeleNav GPS Navigator, Sprint Music Plus, and Sprint TV are available when you download and install the Sprint ID pack. Note: Some Sprint data applications may not work with a Wi-Fi connection present. If prompted, disable your device's Wi-Fi feature while using these applications. Download the Sprint ID Pack ► Tap > . On the Choose your ID screen, tap Get New > Sprint Pack. Follow the on-screen prompts to install the Sprint ID Pack. – or – Tap > > Sprint Zone > Sprint Applications. Follow the on-screen prompts to install the Sprint ID Pack. Note: Once you download and install the Sprint pack, Sprint applications such as NASCAR Sprint Cup Mobile, Sprint Football Live, Sprint Music Plus, and TeleNav™GPS Navigator will appear on your Applications screen. When you switch from the Sprint pack to another ID pack, or choose a new ID pack, the Sprint applications will remain installed and visible on your Applications screen. To download and install Sprint apps: 1. Tap > > [application name]. The application will then be downloaded.](https://usermanual.wiki/LG-Electronics-USA/LS696/User-Guide-1611151-Page-127.png)


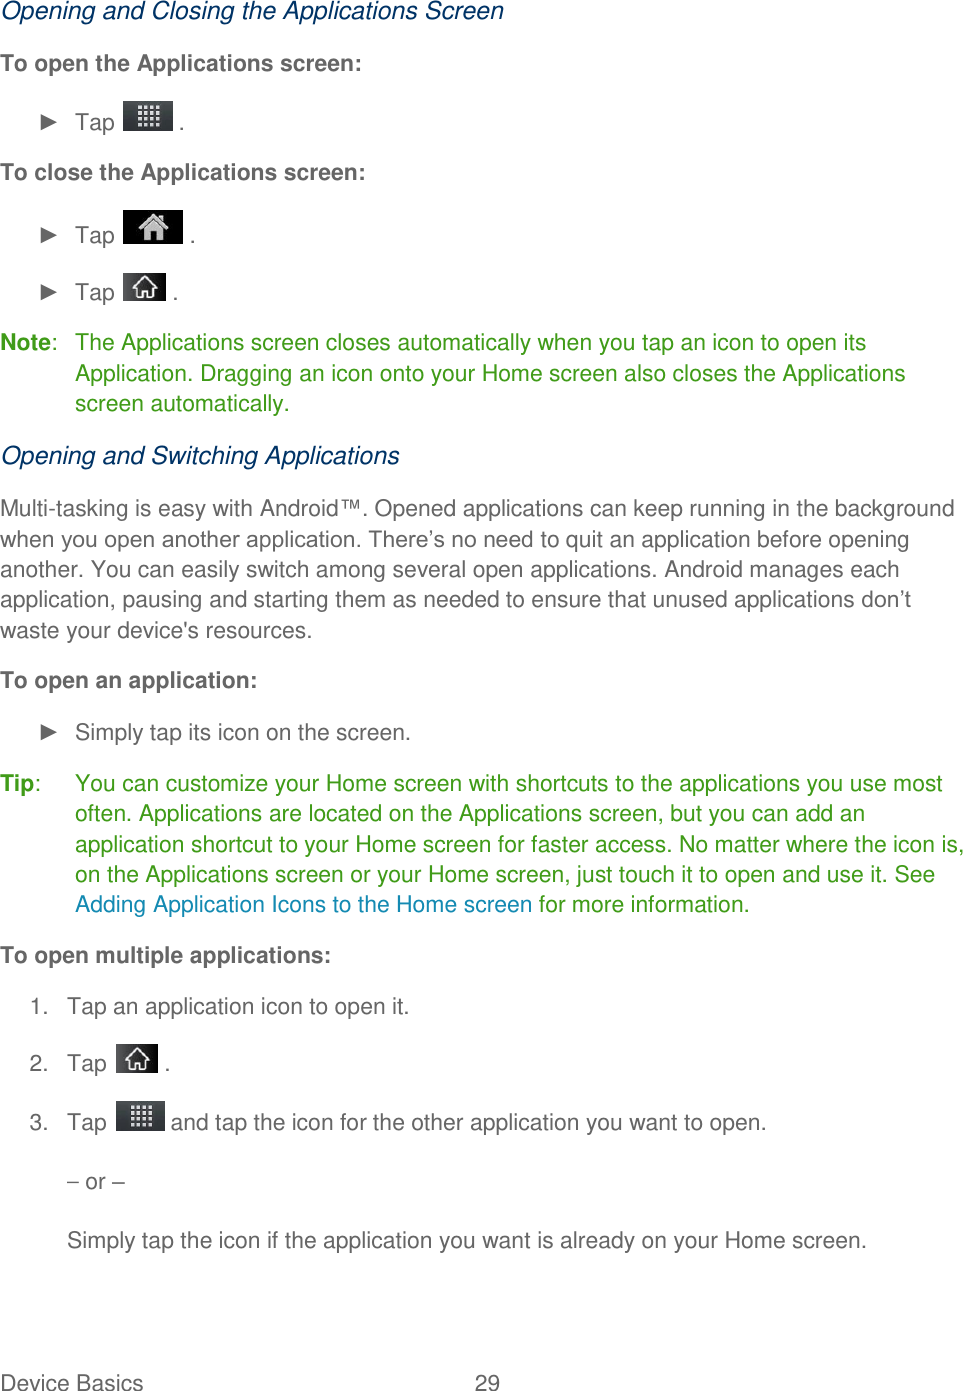
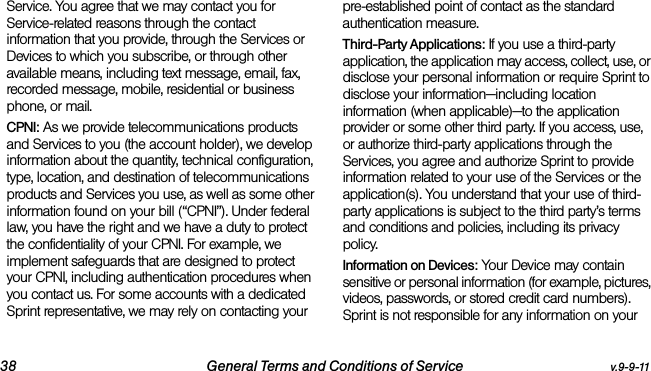
![8SW[MXGL2*'SRSVSJJ*VSQXLI,SQIWGVIIRXSYGLERHWPMHIXLIRSXMJMGEXMSRHVE[IVHS[R[MXL]SYVJMRKIVXLIRWIPIGXXLI2*'MGSR XSXYVRMXSR;LIRXLI*PMKLXQSHIMWEGXMZEXIH2*'ETTPMGEXMSRGERFIYWIH9WMRK2*'8SYWI2*'QEOIWYVI]SYVHIZMGIMWW[MXGLIHSRERHEGXMZEXIXLI2*'WIXXMRKMJHMWEFPIH9WMRK8EK[VMXMRK0EYRGLXLIQEMRQIRYERHWIPIGXXLI2*'ETTPMGEXMSR2*' 7IPIGX2I[XEFERHWIPIGXXLIHIWMVIHSTXMSR'SRXEGX9601IQS'EPP8I\XQIWWEKIERH7GLIHYPI/I]MRXLIMRJSVQEXMSRWXS[VMXIXSEXEKSVEHIZMGIERHWIPIGX7LEVI8SYGLXLIFEGOSJ]SYVHIZMGIXSEXEKSVEHIZMGIXSWLEVI9WMRK8EKVIEHMRK8SVIEHEWIVZMGIXEKXSYGLXLIWIVZMGIXEKSVSXLIV2*'HIZMGI[MXLXLIFEGOSJ]SYVHIZMGI;LIREXEKSVHIZMGIMWVIGSKRMWIHGSVVIWTSRHMRKMRJSVQEXMSRMWHMWTPE]IH1YPXMQIHMENFC Your LG-LS696 is NFC-enabled mobile phone. NFC (Near Field Communication) is a wireless connectivity technology that enables two-way communication between electronic devices. It operates over a distance of a few centimeters. You can share your contents with a NFC tag or another device via simple touch with your device. If you touch a NFC tag with your device, it will display the tag contents on your device.](https://usermanual.wiki/LG-Electronics-USA/LS696/User-Guide-1611151-Page-189.png)


![v.9-9-11 General Terms and Conditions of Service 47agents, and predecessors and successors in interest. You can’t assign the Agreement or any of your rights or duties under it. We can assign the Agreement without notice. You cannot in any manner resell the Services to another party. The Agreement and the documents it incorporates make up the entire agreement between us and replaces all prior written or spoken agreements—you can’t rely on any contradictory documents or statements by sales or service representatives. The rights, obligations and commitments in the Agreement that—by their nature—would logically continue beyond the termination of Services (for example, those relating to billing, payment, 911, dispute resolution, no class action, no jury trial) survive termination of Services.[End General Terms and Conditions of Service]](https://usermanual.wiki/LG-Electronics-USA/LS696/User-Guide-1611151-Page-236.png)