LG Electronics USA LS700 Cellular/PCS CDMA Phone with WLAN and Bluetooth User Manual
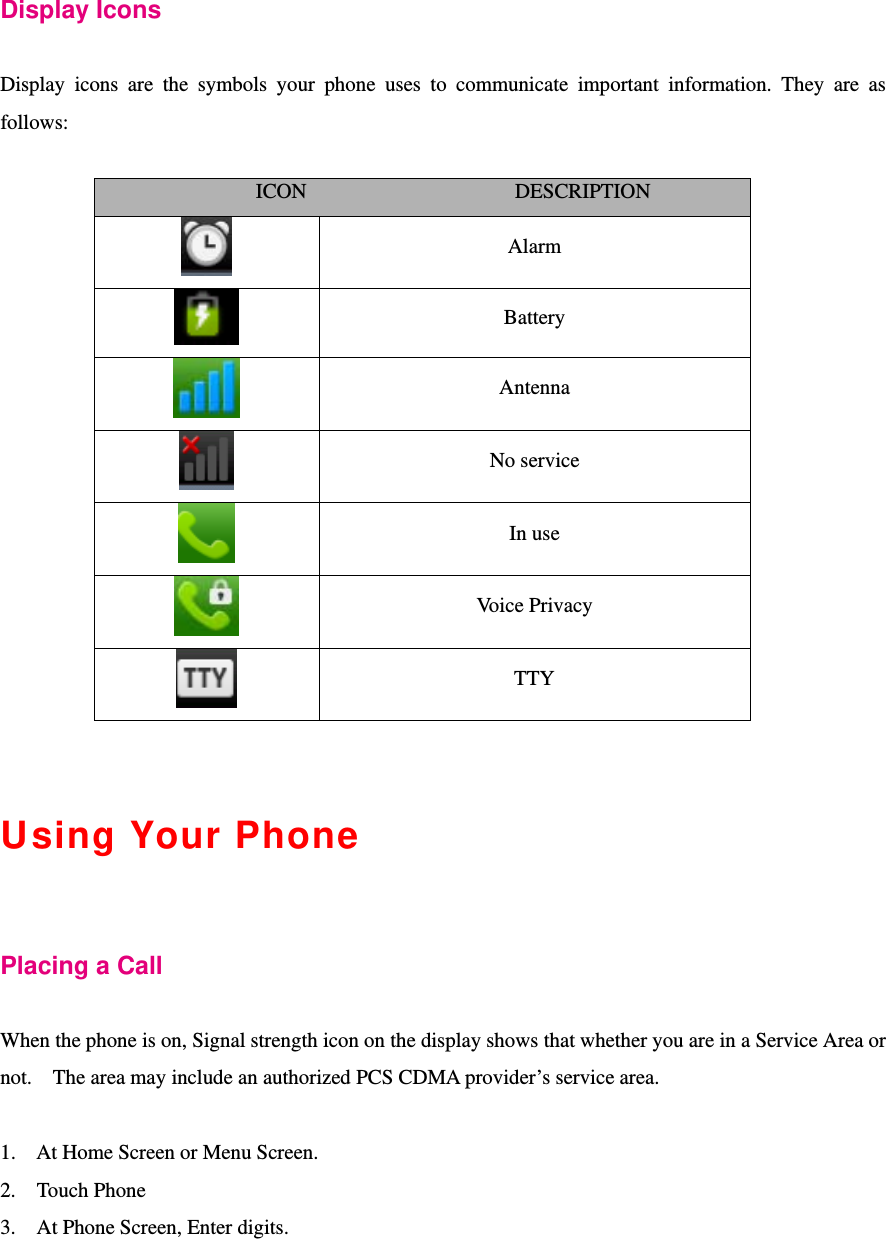
LG Electronics USA Cellular/PCS CDMA Phone with WLAN and Bluetooth Users Manual
UserManual.wiki
>
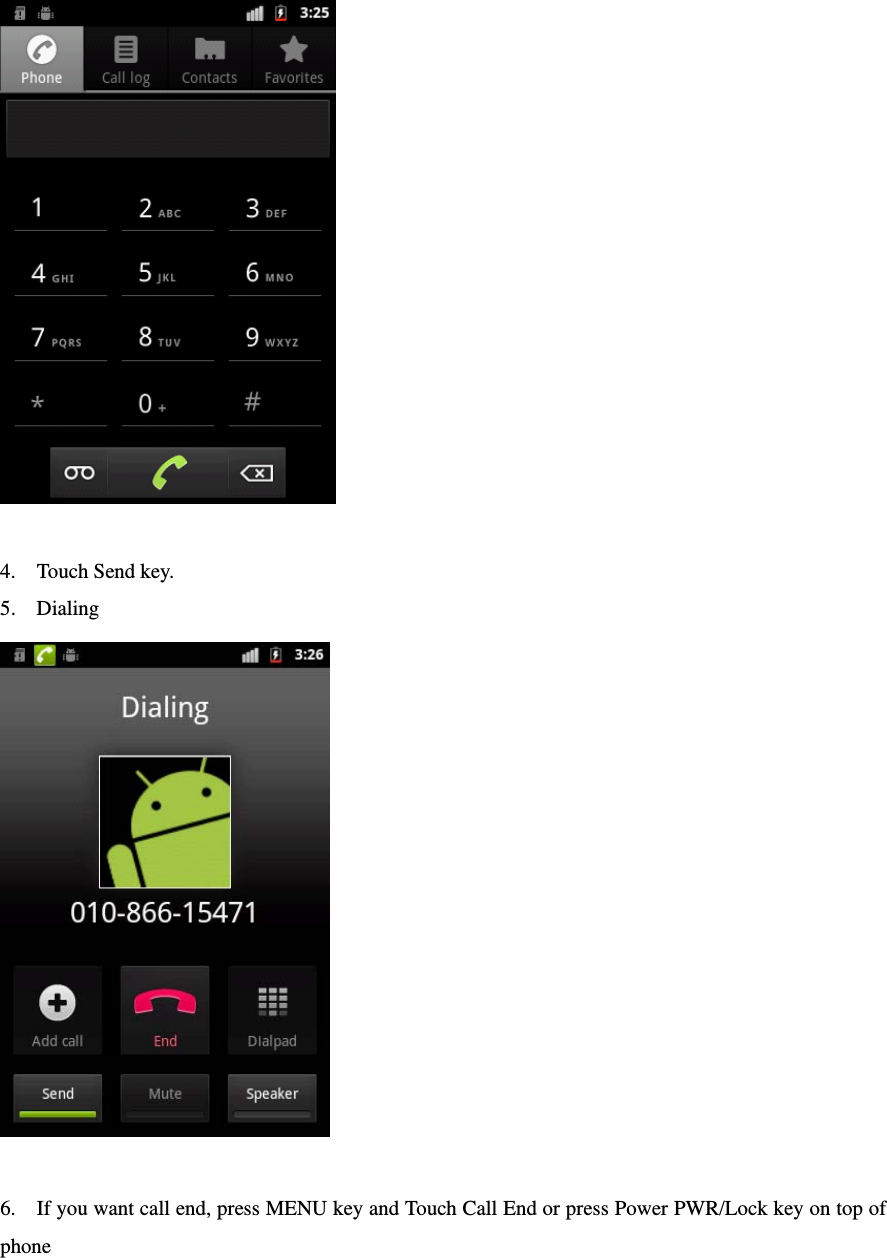
LG Electronics USA
>
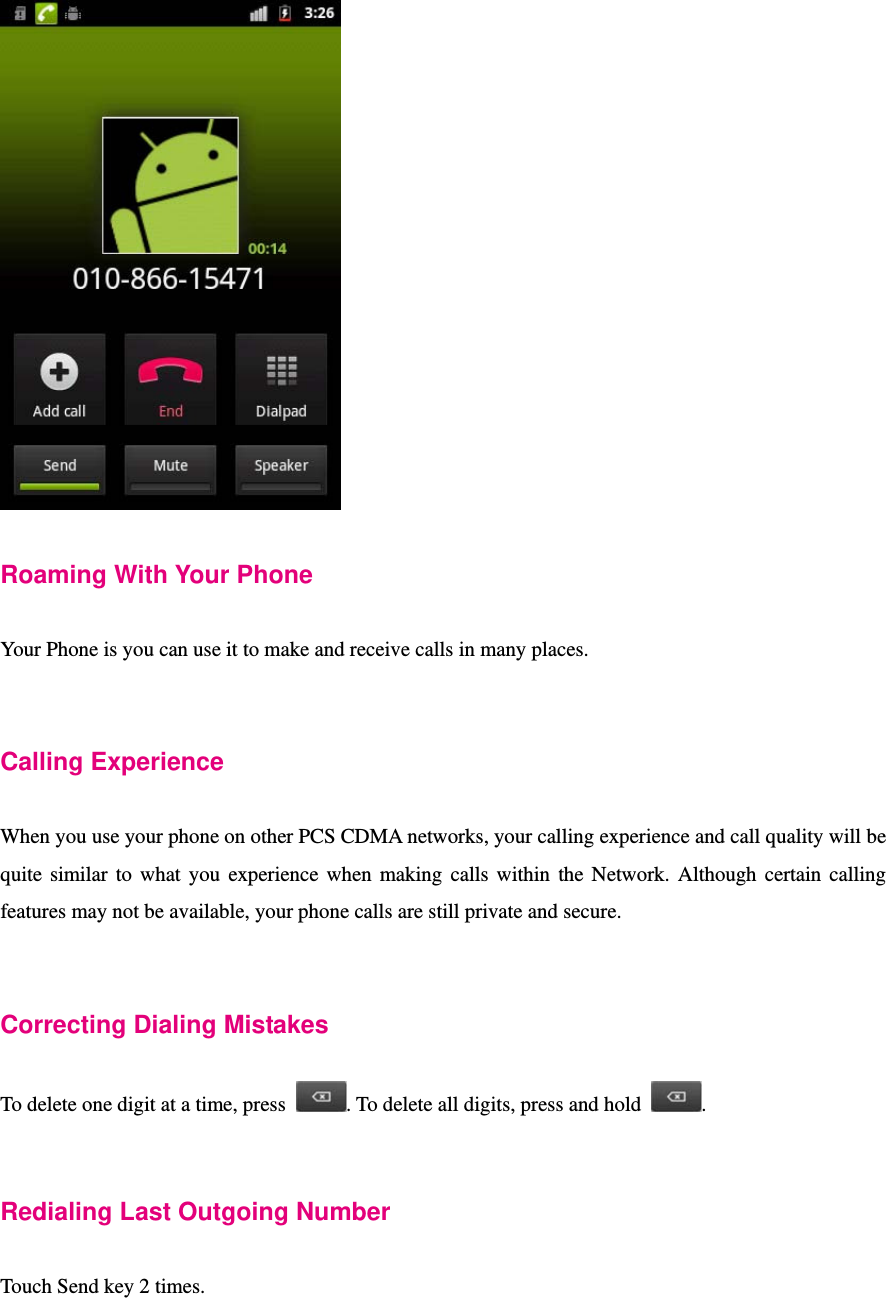
LS700 User Manual
Users Manual
Navigation menu
Upload a User Manual
Namespaces
Wiki Guide
HTML
PDF
Info
Views
User Manual
Discussion / Help
Navigation

![ The caller’s name is displayed if the phone number is in your Contacts The following options are also displayed. To select an option, touch the appropriate button Answer – answers the call. Ignore – ignores the ringer. Note: You can mute the ringer by pressing the up or down Volume Control key. Answering Calls To answer incoming calls, touch the button [Answer]. To answer incoming roam calls, highlight Answer and press [SEND]. Displaying Your Phone Number To display your phone number: 1. From the Main Menu, select Settings. 2. And touch the menus as follows (About phone – Status – My phone number) Setting the Ring Volume to Vibrate To set the phone to Vibrate Mode, press the down side of Volume Control key until is displayed. The phone will vibrate and – is displayed above the Main Menu. To set the phone to Vibrate Mode using the Main Menu, see “Adjusting the Volume”.](https://usermanual.wiki/LG-Electronics-USA/LS700/User-Guide-1497689-Page-10.png)
![Getting the Most from Ser vice Retrieving Page/Text Messages To retrieve page/text messages: 1. Touch the menu Messaging To select an option, touch the message to be selected more than 1 second. Text Message options are: Forward Save Quick-Text. Add To Contacts Lock Message Info. Erasing All Page/Text Messages 1. From the Messages, Touch the Menu . 2. Touch Delete and check [Select All]. 3. Touch Delete. Page/Text Message Storage Your LS685 can store more than 50 page/text messages. When the message memory is 100% full, a warning message prompts you to erase messages to obtain more memory space.](https://usermanual.wiki/LG-Electronics-USA/LS700/User-Guide-1497689-Page-11.png)
![Roaming on to Other Service Providers Roaming occurs when you are in an area serviced by another authorized service provider. When this situation occurs, the R icon and Digital Roam of Analog Roam are displayed. If there is no service available, the i is islay. Call History You can see your call history. 1. Touch the menu Phone. 2. Touch the tab Call log Sounds Following contents provide the information about adjusting sound features. Adjusting the Volume 1. From the Main Menu, touch the icon Settings. 2. Touch the menu Sound. 3. Touch the menu Volume. ☞Tip! You can use the Volume Control keys to adjust the Ring Volume in the Main Menu or the Voice Volume during a call. 4. Adjust the slide bar to the level you want to set. Sound will play continuously to aid you to set the volume when you are adjusting it. 5. Touch the button [OK].](https://usermanual.wiki/LG-Electronics-USA/LS700/User-Guide-1497689-Page-12.png)
![Note: When the phone is in Vibrate Mode and attached to and accessory (Desktop Charger, Hands-Free Car Kit, etc.), it uses the Standard Ring Type to alert you of incoming calls, alarms or messages. 1. Highlight Voicemail, Page/Text of MiniBrowser and press [OK]. 2. Highlight a Ring Type and press [OK]. You will hear a preview of the Ring Type when you highlight it. Display For information on changing Backlight, Greeting or Contrast settings, see Handy Tips.](https://usermanual.wiki/LG-Electronics-USA/LS700/User-Guide-1497689-Page-13.png)