LG Electronics USA LS751 CDMA/LTE PHONE + BLUETOOTH, DTS b/g/n User Manual
LG Electronics MobileComm USA, Inc. CDMA/LTE PHONE + BLUETOOTH, DTS b/g/n
UserManual.wiki
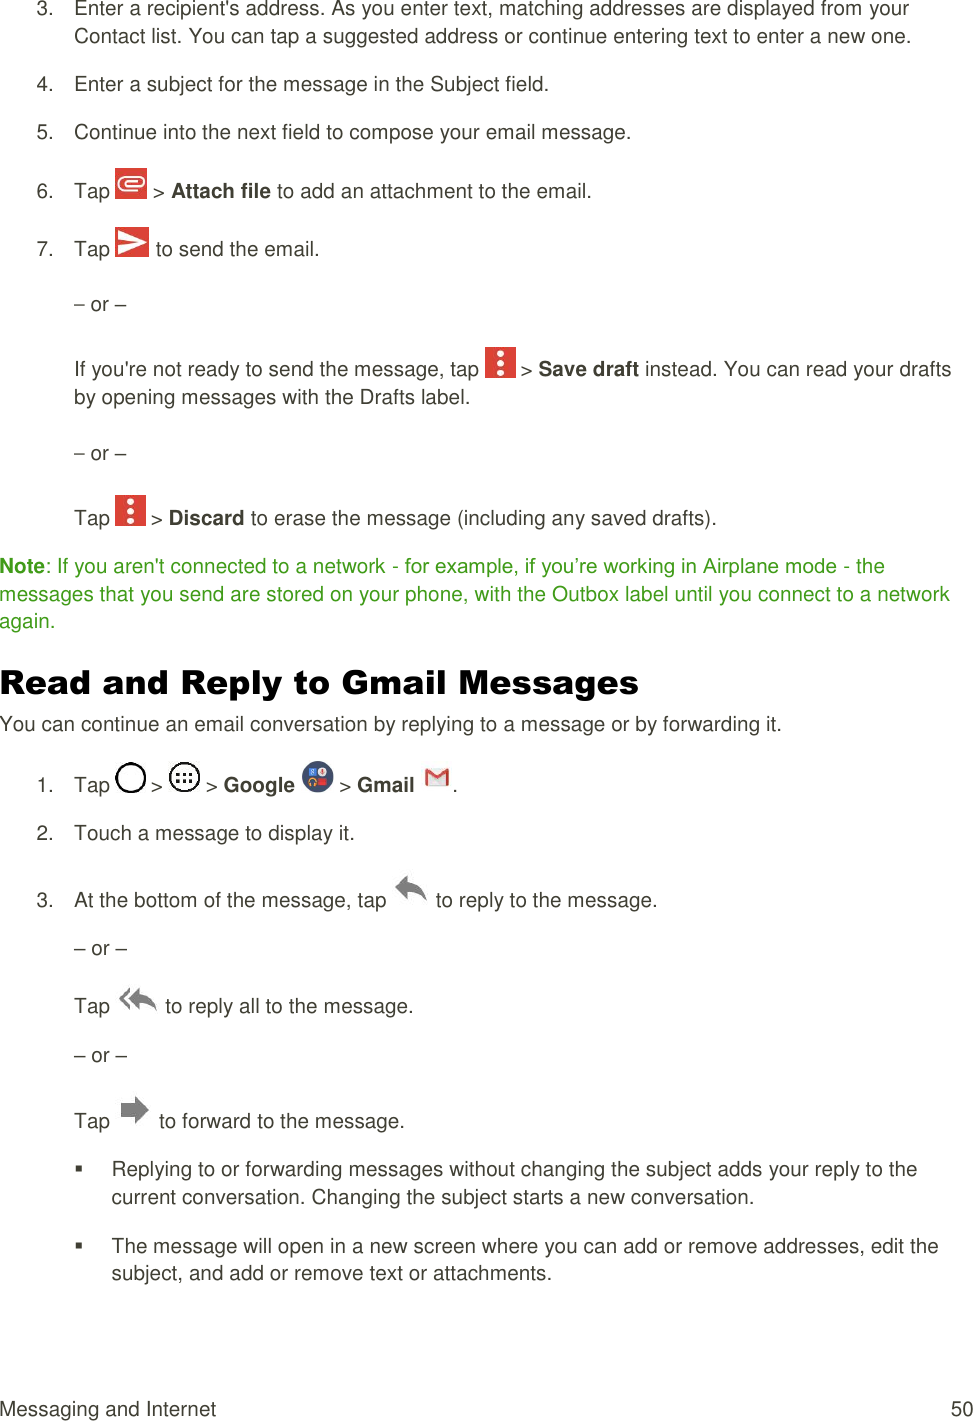
>
LG Electronics USA
>
LS751 User Manual
User Manual
Navigation menu
Upload a User Manual
Namespaces
Wiki Guide
HTML
PDF
Info
Views
User Manual
Discussion / Help
Navigation
![LGLS751 User Guide [UG template version 15a]](https://usermanual.wiki/LG-Electronics-USA/LS751/User-Guide-2578714-Page-1.png)


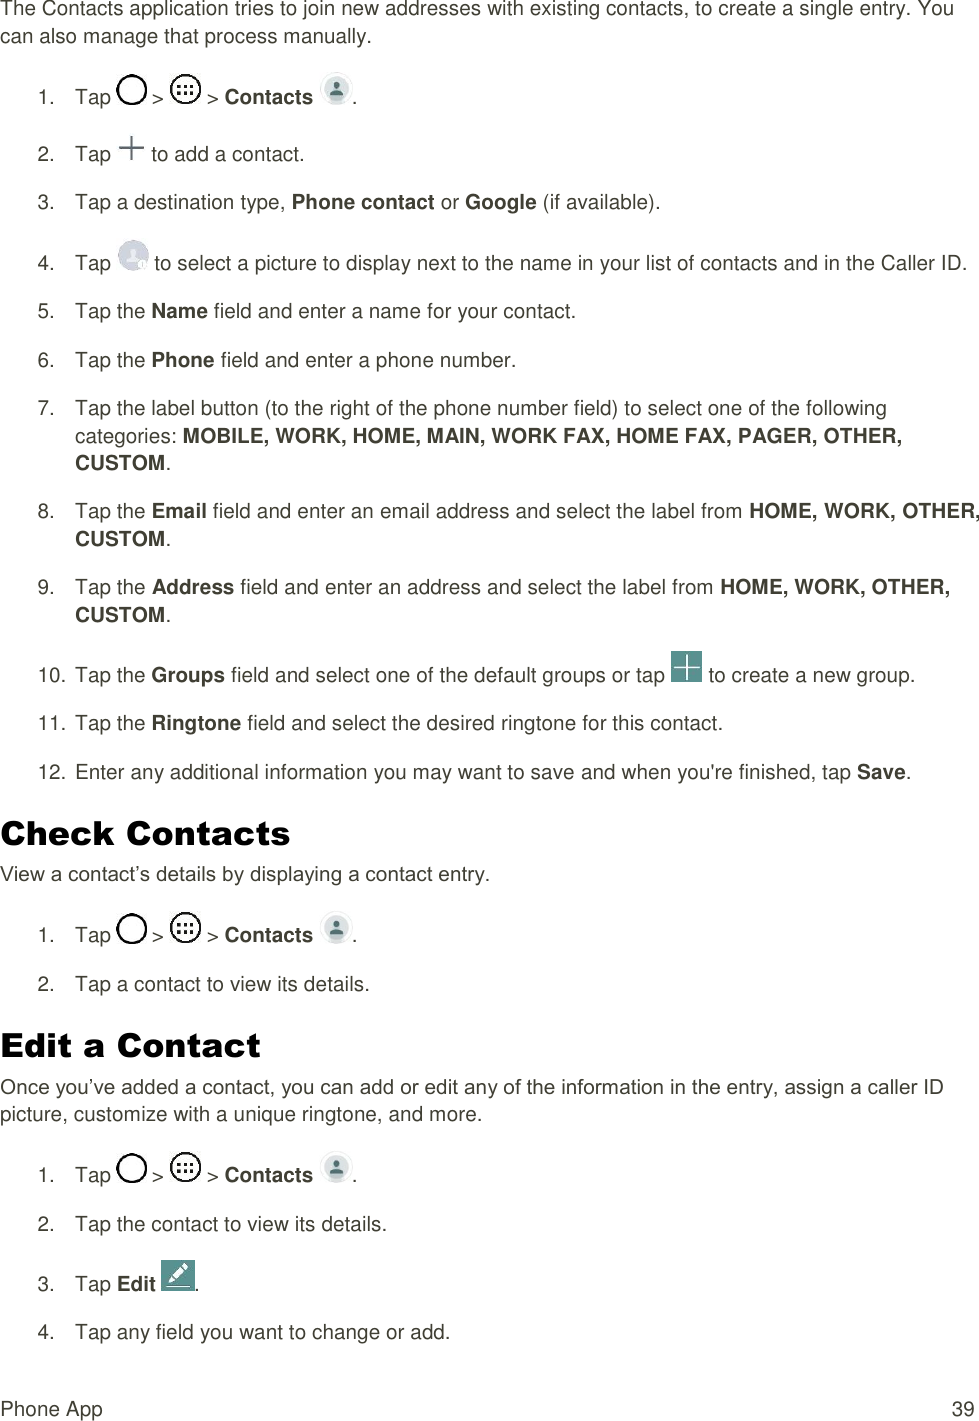
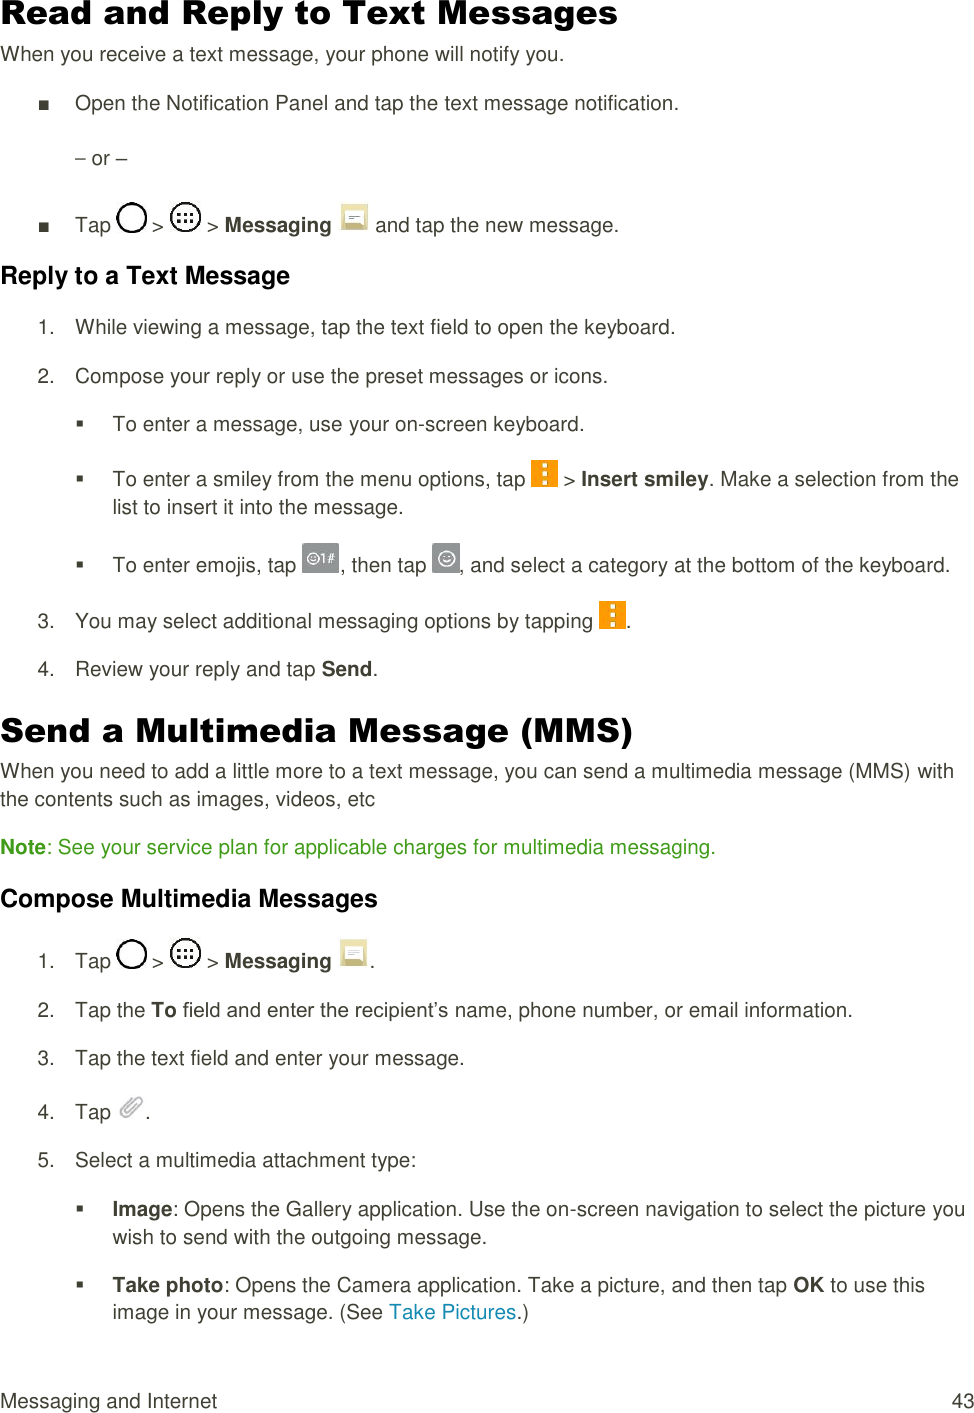


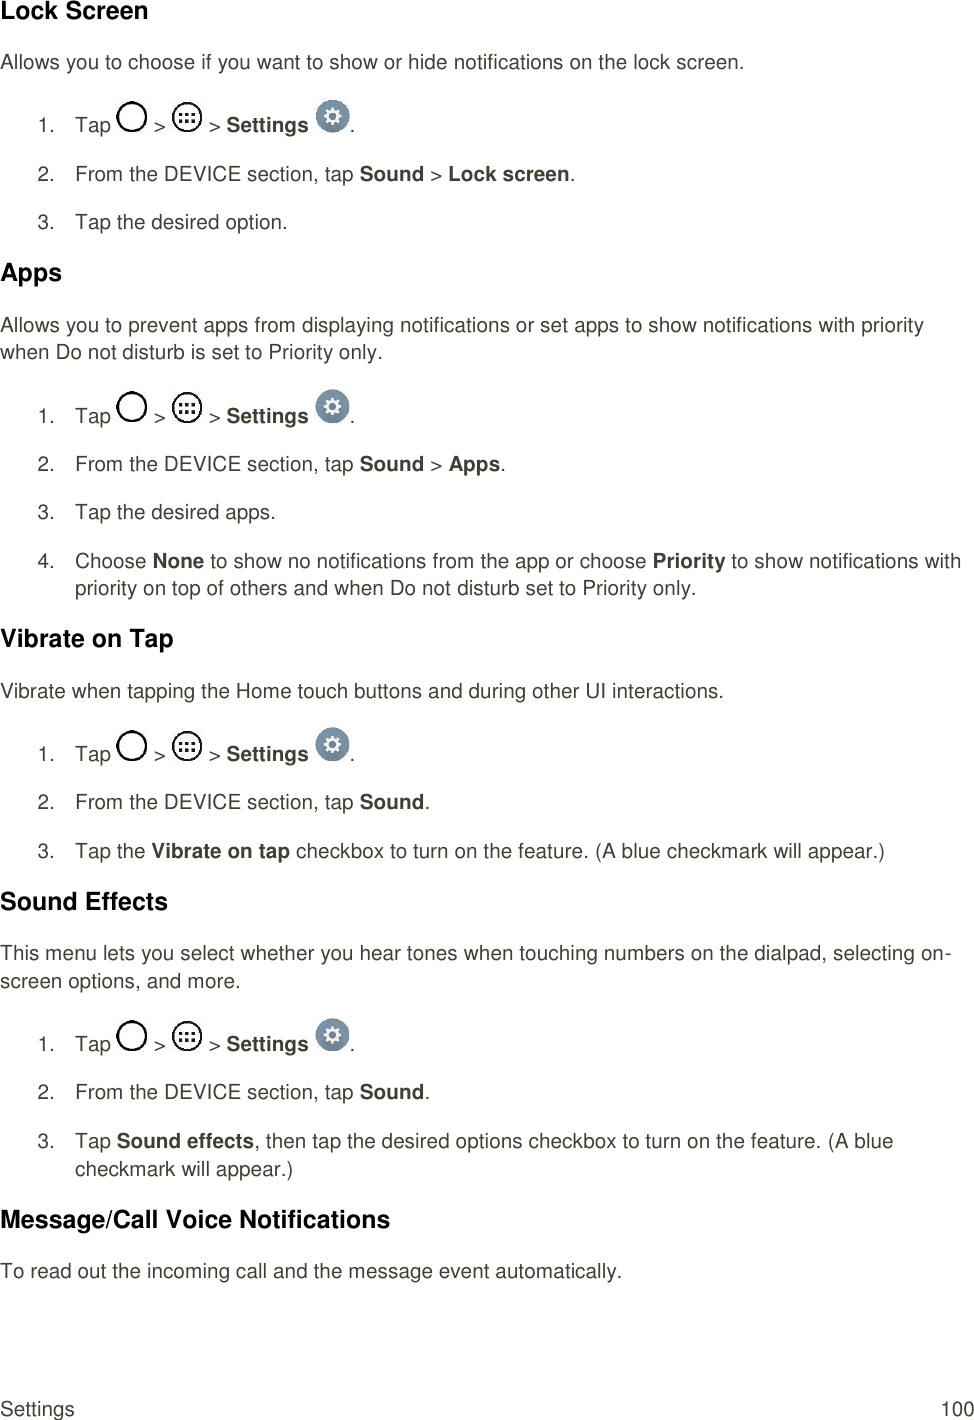
![Important Information for the LGLS751 127 FCC Hearing Aid Compatibility and Volume Control http://www.fcc.gov/cgb/dro/hearing.html The Hearing Aid Compatibility FCC Order http://hraunfoss.fcc.gov/edocs_public/attachmatch/FCC-03-168A1.pdf Hearing Loss Association of America [HLAA] http://hearingloss.org/content/telephonesandmobile-devices Note: HAC statement This phone has been tested and rated for use with hearing aids for some of the wireless technologies that it uses. However, there may be some newer wireless technologies used in this phone that have not been tested yet for use with hearing aids. It is important to try the different features of this phone thoroughly and in different locations, using your hearing aid or cochlear implant, to determine if you hear any interfering noise. Consult your service provider or the manufacturer of this phone for information on hearing aid compatibility. If you have questions about return or exchange policies, consult your service provider or phone retailer. Hearing aid devices may also be measured for immunity to interference noise from wireless phones and should have ratings similar to phones. Ask your hearing healthcare professional for the rating of your hearing aid. Add the rating of your hearing aid and your phone to determine probable usability: ● Any combined rating equal to or greater than six offers excellent use. ● Any combined rating equal to five is considered normal use. ● Any combined rating equal to four is considered usable. Thus, if you pair an M3 hearing aid with an M3 phone, you will have a combined rating of six for “excellent use.‖ This is synonymous for T ratings. Sprint further suggests you experiment with multiple phones (even those not labeled M3/T3 or M4/T4) while in the store to find the one that works best with your hearing aid device. Should you experience interference or find the quality of service unsatisfactory after purchasing your phone, promptly return it to the store within 14 days of purchase. (A restocking fee may be applied to exchanges. Visit sprint.com/returns for details.) More information about hearing aid compatibility may be found at: fcc.gov, fda.gov,and accesswireless.org. Getting the Best Hearing Device Experience With Your Phone To further minimize interference: ● Set the phone‘s display and keypad backlight settings to ensure the minimum time interval: 3. Tap > > Settings > Display > Screen timeout. 4. Tap the minimum time interval setting. ● Position the phone so the internal antenna is farthest from your hearing aid. ● Move the phone around to find the point with least interference.](https://usermanual.wiki/LG-Electronics-USA/LS751/User-Guide-2578714-Page-137.png)
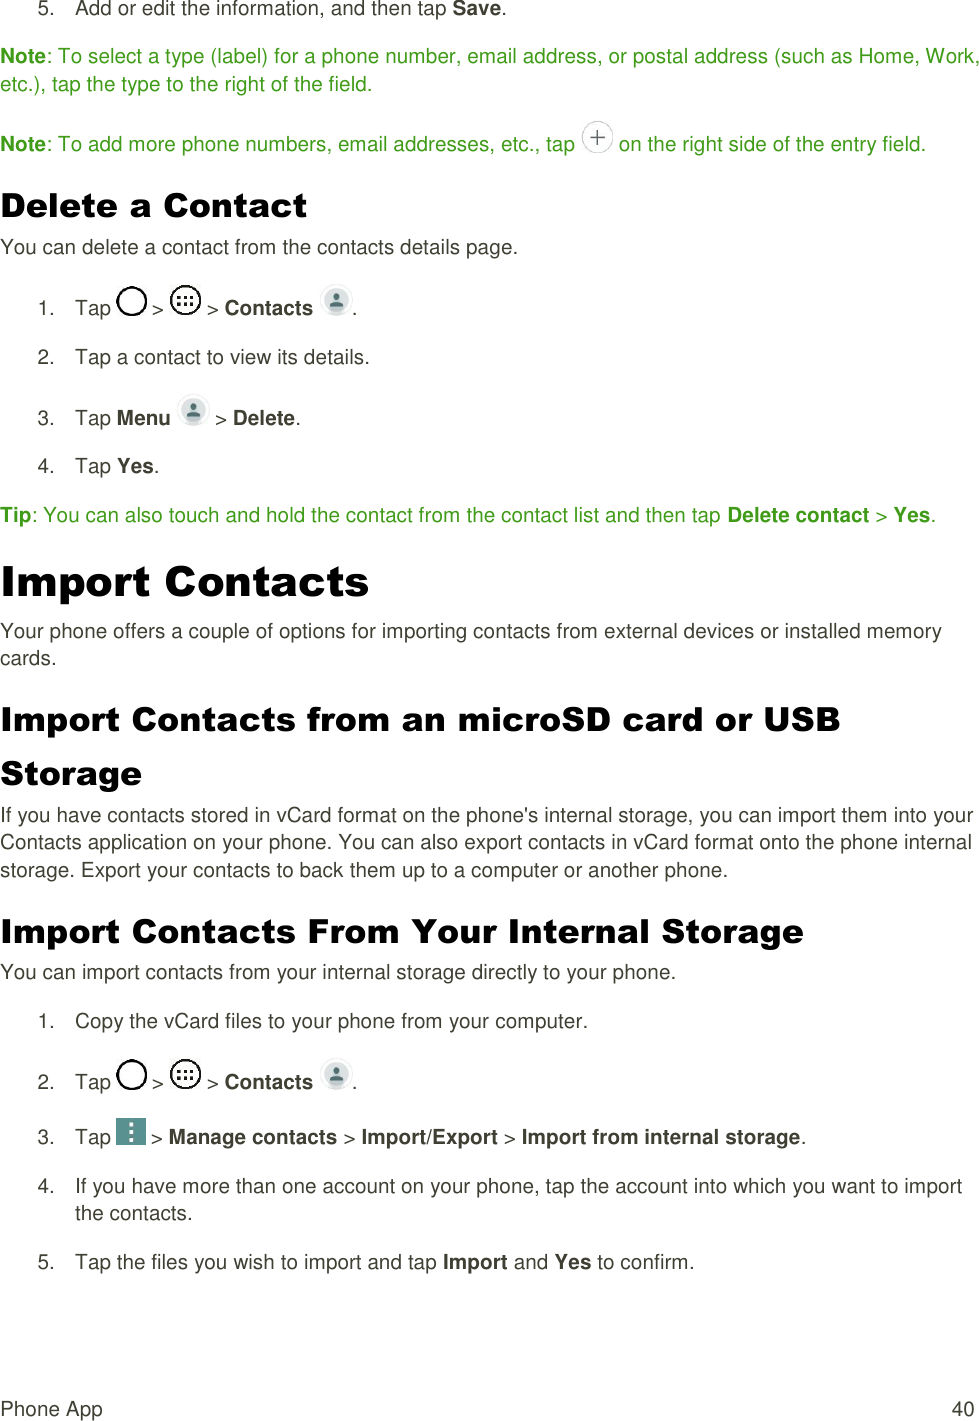
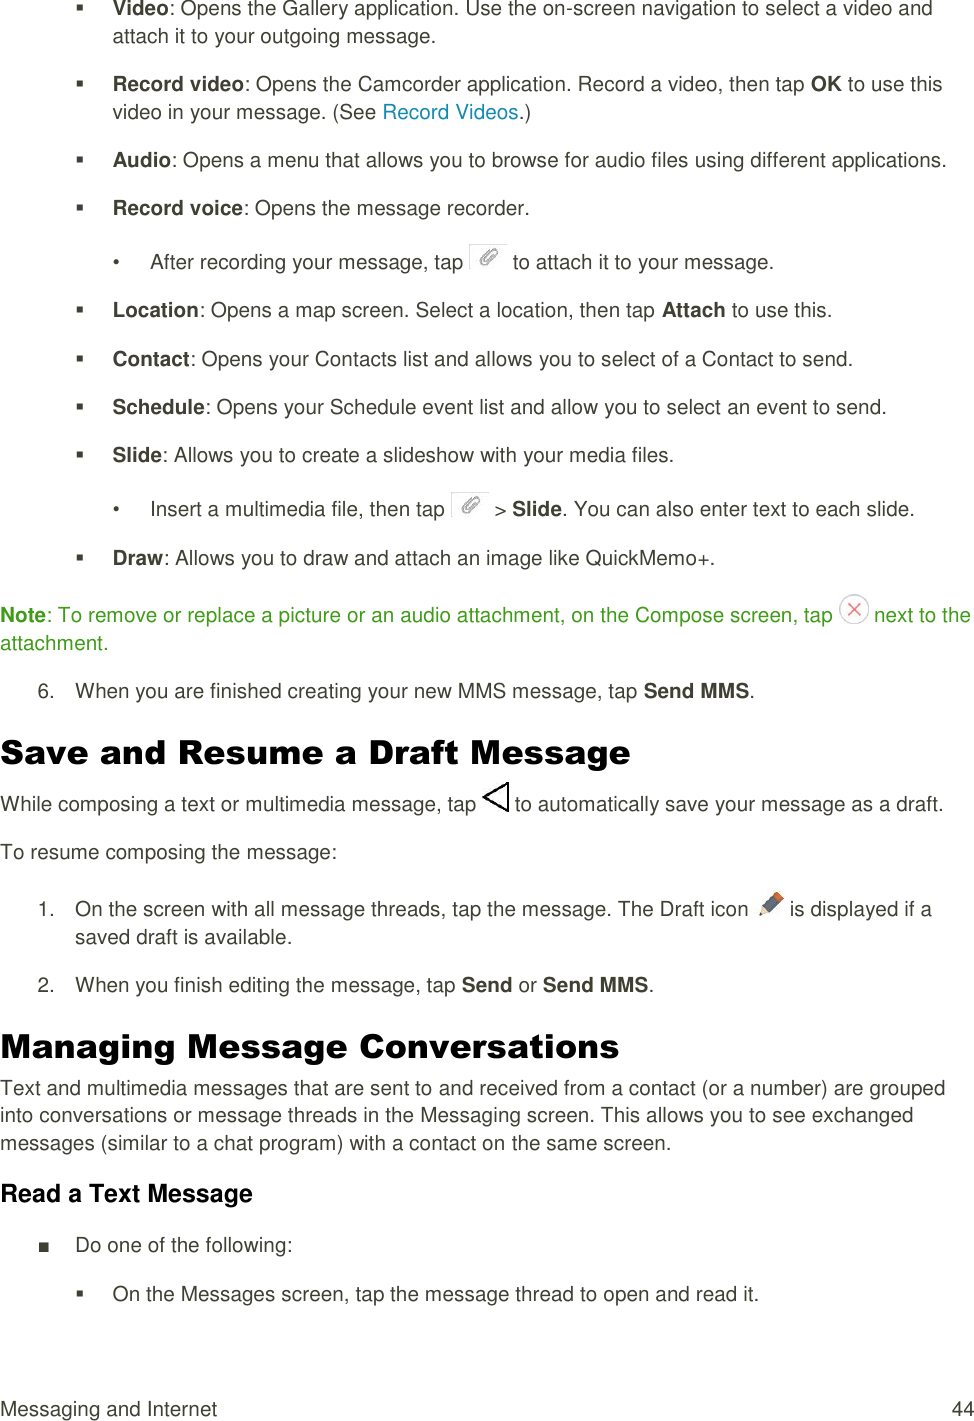
![Important Information for the LGLS751 134 (10) Products used or obtained in a rental program. (11) Consumables (such as fuses). 3. WHAT LG WILL DO: LG will, at its sole option, either repair, replace or refund the purchase price of any unit that does not conform to this limited warranty. LG may choose at its option to use functionally equivalent re-conditioned, refurbished or new units or parts or any units. In addition, LG will not reinstall or back-up any data, applications or software that you have added to your device. It is therefore recommended that you back-up any such data or information prior to sending the unit to LG to avoid the permanent loss of such information. 4. STATE LAW RIGHTS: No other express warranty is applicable to this product. THE DURATION OF ANY IMPLIED WARRANTIES, INCLUDING THE IMPLIED WARRANTY OF MARKETABILITY OR MERCHANTABILITY OR FITNESS FOR A PARTICULAR PURPOSE, IS LIMITED TO THE DURATION OF THE EXPRESS WARRANTY HEREIN. LG SHALL NOT BE LIABLE FOR THE LOSS OF THE USE OF THE PRODUCT, INCONVENIENCE, LOSS OR ANY OTHER DAMAGES, DIRECT OR CONSEQUENTIAL, ARISING OUT OF THE USE OF, OR INABILITY TO USE, THIS PRODUCT OR FOR ANY BREACH OF ANY EXPRESS OR IMPLIED WARRANTY, INCLUDING THE IMPLIED WARRANTY OF MARKETABILITY OR MERCHANTABILITY OR FITNESS FOR A PARTICULAR PURPOSE APPLICABLE TO THIS PRODUCT. Some states do not allow the exclusive limitation of incidental or consequential damages or limitations on how long an implied warranty lasts; so these limitations or exclusions may not apply to you. This warranty gives you specific legal rights and you may also have other rights which vary from state to state. 5. HOW TO GET WARRANTY SERVICE: To obtain warranty service, please call or fax to the following telephone numbers from anywhere in the continental United States: Tel. 1-800-793-8896 or Fax. 1-800-448-4026 Or visit http://us.lgservice.com. Correspondence may also be mailed to: LG Electronics Service-Mobile Handsets P.O. Box 240007, Huntsville, AL 35824 DO NOT RETURN YOUR PRODUCT TO THE ABOVE ADDRESS. Please call or write for the location of the LG authorized service center nearest you and for the procedures for obtaining warranty claims. 7.11 Warranty Laws The following laws govern warranties that arise in retail sales of consumer goods: ● The California Song-Beverly Consumer Warranty Act [CC §§1790 et seq], ● The California Uniform Commercial Code, Division Two [Com C §§2101 et seq], and](https://usermanual.wiki/LG-Electronics-USA/LS751/User-Guide-2578714-Page-144.png)
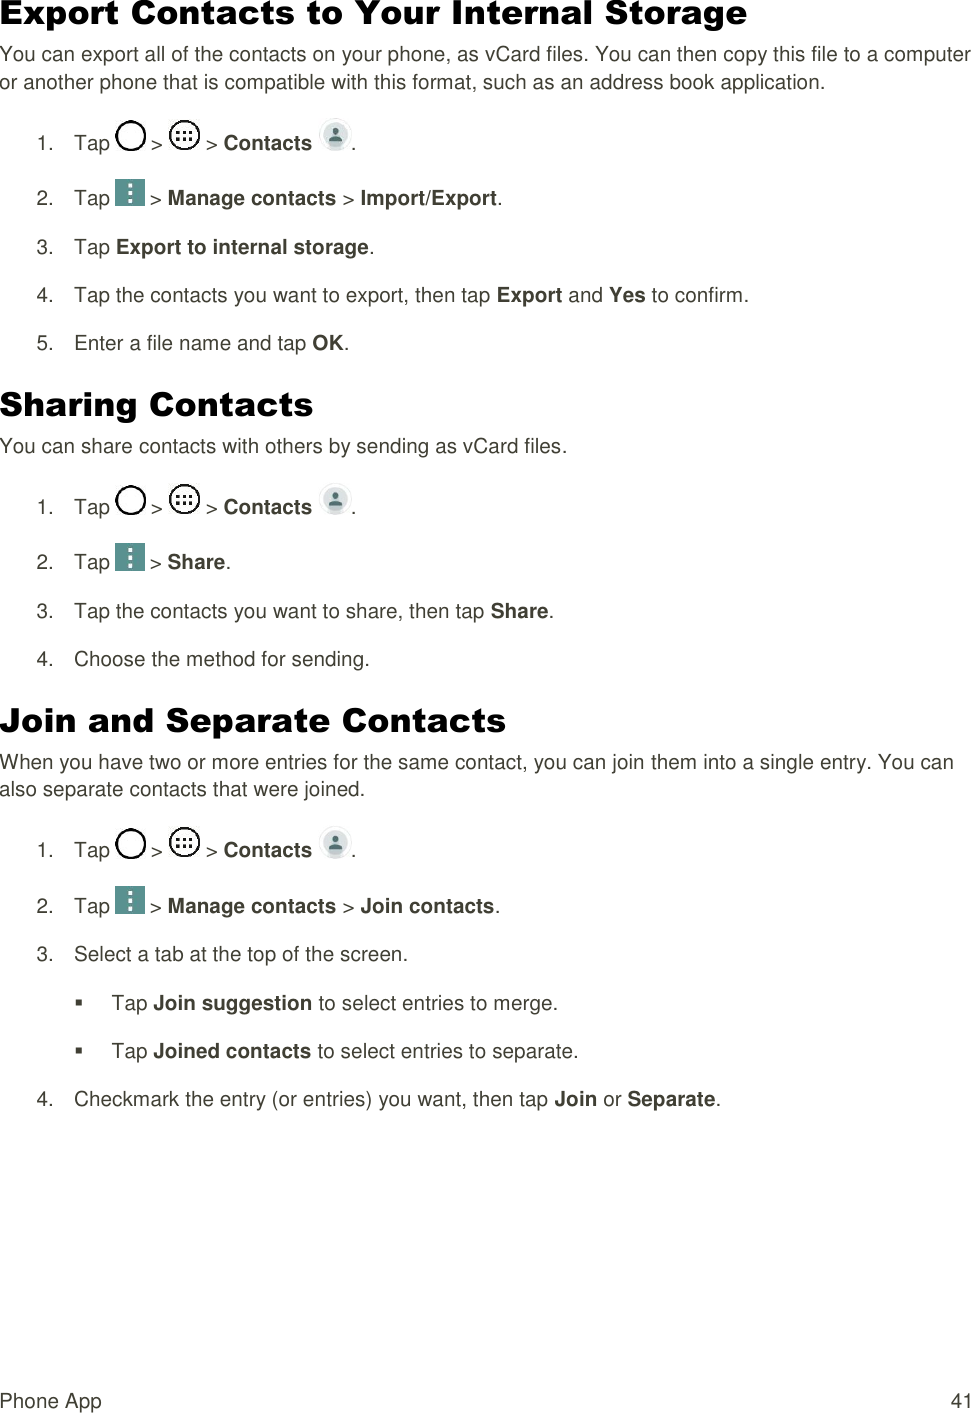
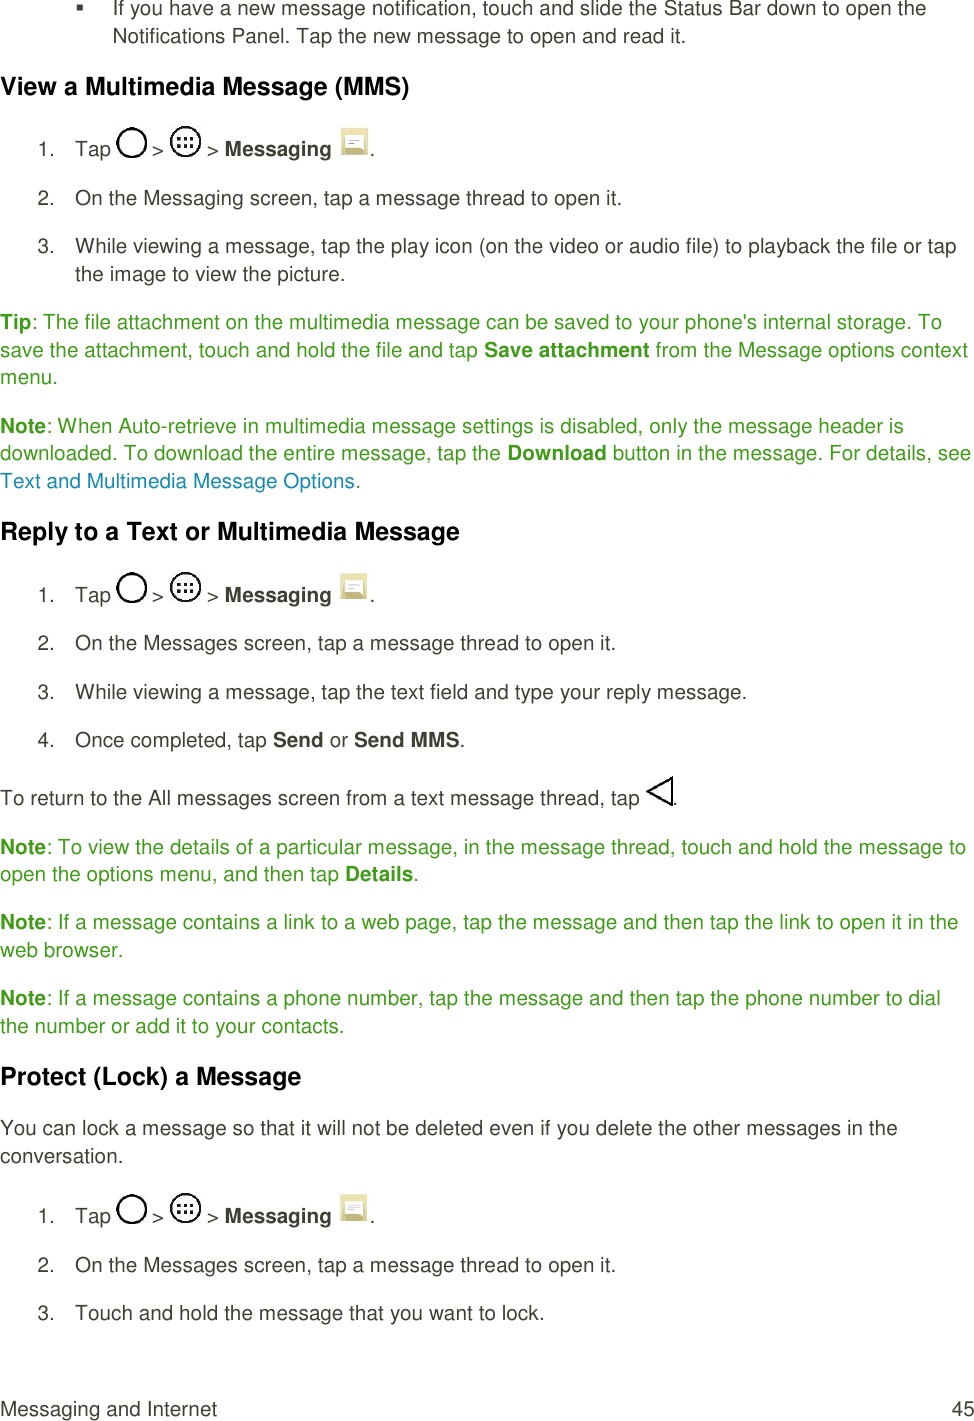
![Important Information for the LGLS751 135 ● The federal Magnuson-Moss Warranty Federal Trade Commission Improvement Act [15 USC §§2301 et seq; 16 CFR Parts 701– 703]. A typical Magnuson-Moss Act warranty is a written promise that the product is free of defects or a written promise to refund, repair, or replace defective goods. [See 15 USC §2301(6).] Remedies include damages for failing to honor a written warranty or service contract or for violating disclosure provisions. [See 15 USC §2310(d).] Except for some labeling and disclosure requirements, the federal Act does not preempt state law. [See 15 USC §2311.] The Consumer Warranty Act does not affect the rights and obligations of parties under the state Uniform Commercial Code, except the provisions of the Act prevail over provisions of the Commercial Code when they conflict. [CC §1790.3.] For purposes of small claims actions, this course will focus on rights and duties under the state laws. General Terms and Conditions of Service Please note that these terms may not be the most current version. A current version of the terms is available at our website at sprint.com/ termsandconditions or upon request. Para solicitar esta literatura en español, por favor contactar a 1-800-777-4681 o visitar a sprint.com/espanol. Basic Definitions In this document: (1) ―we,‖ ―us,‖ ―our,‖ and ―Sprint‖ mean Sprint Solutions, Inc., as contracting agent on behalf of the applicable Sprint affiliated entities providing the products and Services; (2) ―you,‖ ―your,‖ ―customer,‖ and ―user‖ mean an account holder with us or any user of our Devices or Services; (3) ―Device‖ means any phone, aircard, mobile broadband device, any other device, accessory, or other product that we provide you, we sell to you, or is active on your account with us; and (4) ―Service‖ means Sprint-branded offers, rate plans, options, wireless services, billing services, applications, programs, products, software, or Devices on your account with us. ―Service(s)‖ also includes any other product or service that we offer or provide to you that references these General Terms and Conditions of Service (―Ts&Cs‖). The Service Agreement These Ts&Cs are part of your service agreement with us (the ―Agreement‖) and constitute a contract under which we provide you Services under terms and conditions that you accept. THIS AGREEMENT CONTAINS A MANDATORY ARBITRATION PROVISION WITH A CLASS WAIVER, A REPRESENTATIVE ACTION WAIVER, AND A JURY WAIVER PROVISION. In addition to these Ts&Cs, there are several parts of the Agreement, which includes but is not limited to the following: (i) the subscriber agreement and transaction materials that you receive and accept; (ii) the plan(s) that you chose as set forth in our written services and transaction materials that we provide or refer you to during the sales transaction, including on-line and telephone transactions (if your service plan is not specifically set forth in any in-store brochure or printed materials, the requirements and terms set forth in the current written Agreement and transaction materials apply); (iii) any confirmation materials and invoices that we may provide to you; and (iv) the terms set forth in the coverage map brochures. It is important that you carefully read all of the terms of the Agreement.](https://usermanual.wiki/LG-Electronics-USA/LS751/User-Guide-2578714-Page-145.png)