LG Electronics USA P940H Cellular/PCS GSM/EDGE/WCDMA Phone with WLAN, Bluetooth and RFID User Manual 1
LG Electronics MobileComm USA, Inc. Cellular/PCS GSM/EDGE/WCDMA Phone with WLAN, Bluetooth and RFID Users Manual 1
Contents
- 1. Users Manual 1
- 2. Users Manual 2
Users Manual 1
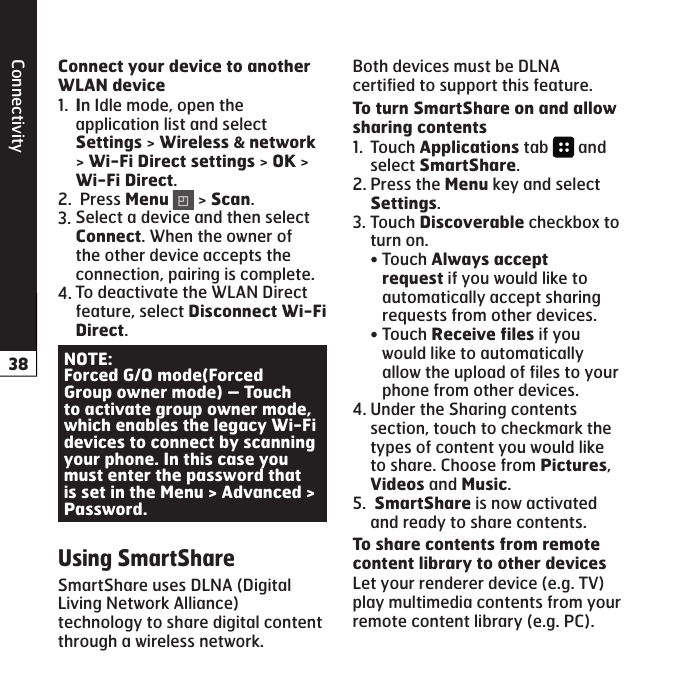
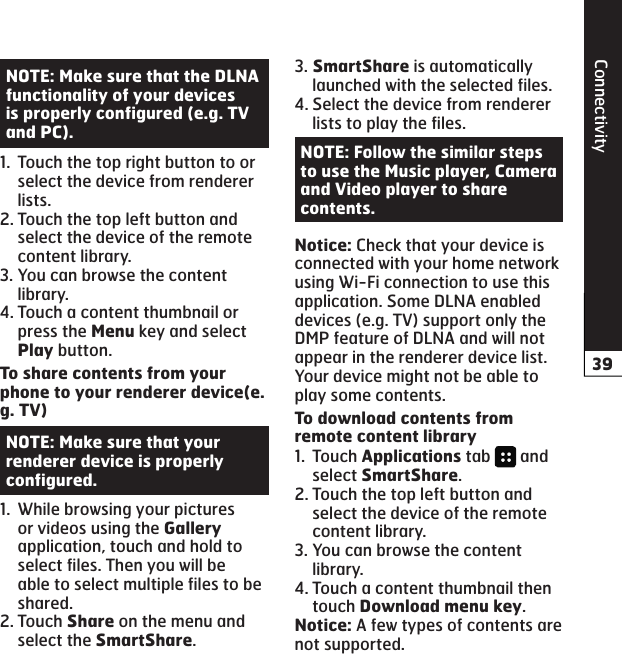
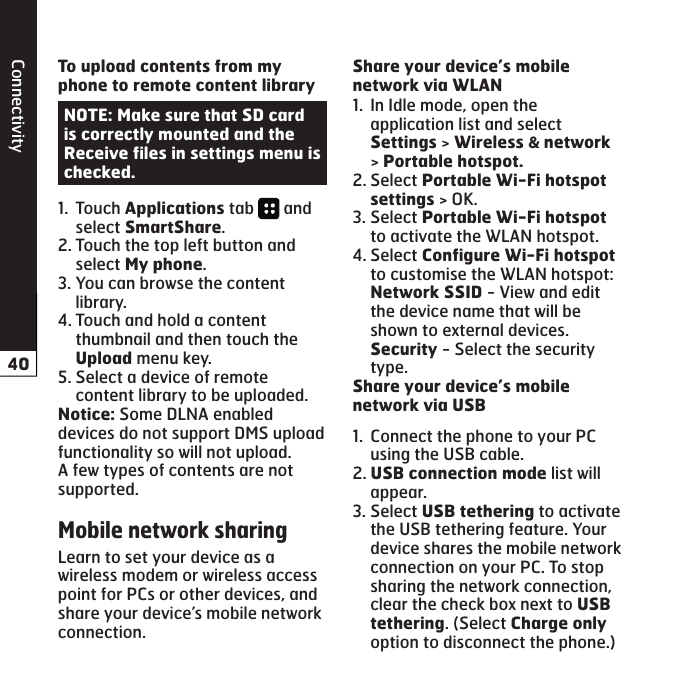
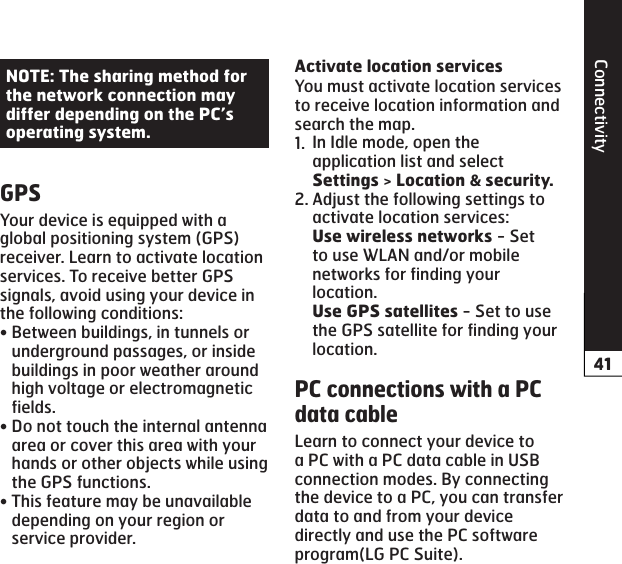
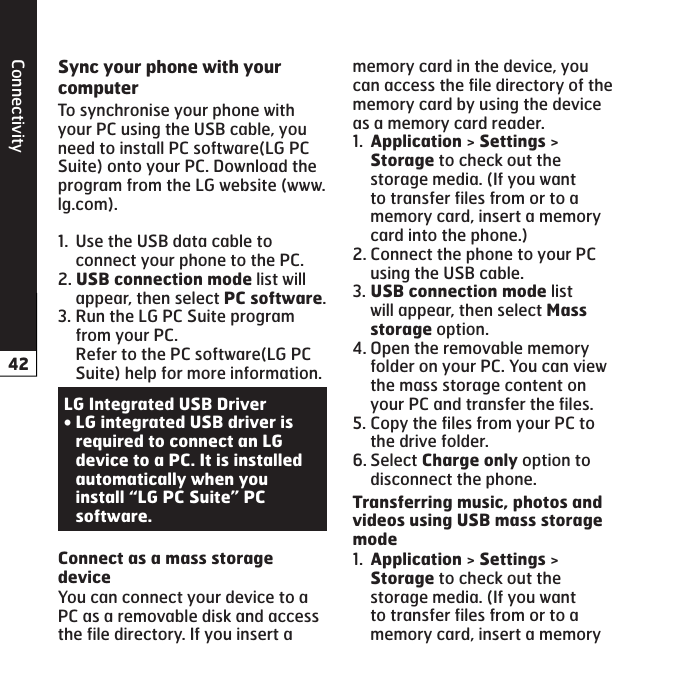
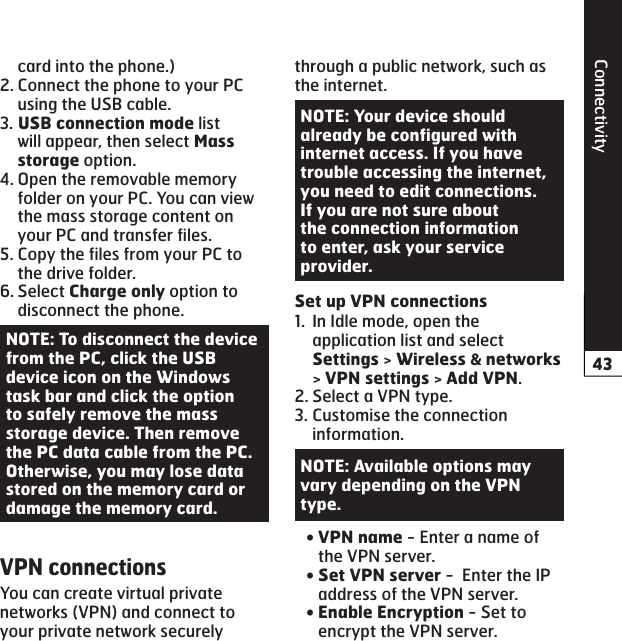
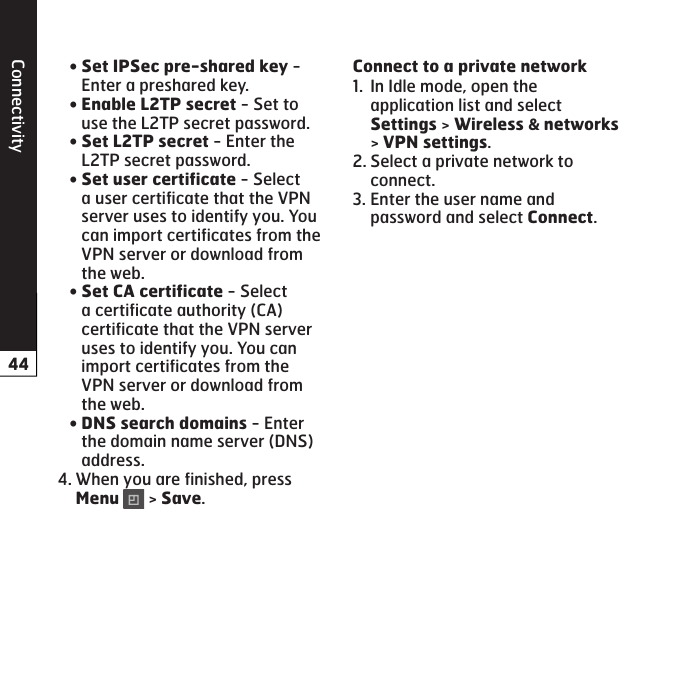
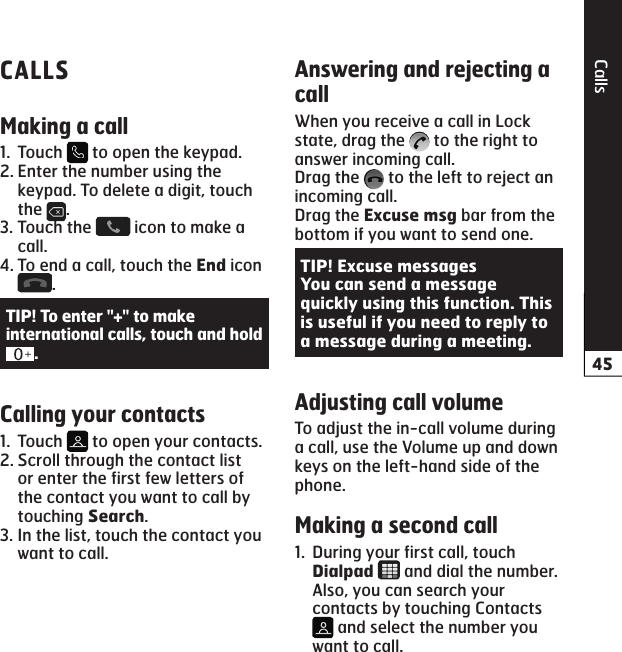
![Getting to know your phoneData from your device and PC can be synchronised easily with "LG PC Suite" PC application for your convenience. Contacts, schedules, and bookmarks can be synchronised. The procedure is as follows:Connect your device to PC. (Use a USB cable or Wi-Fi connection.)After connection, run the program and select the device section from the category on the left side of the screen.Click [Personal information] to select.Select the checkbox of contents to synchronise and click the button.1.2.3.4. > > to check out the storage media. (If you want to transfer files from or to a memory card, insert a memory card into the phone.)Connect the phone to your PC using the USB cable.USB connection mode list will appear, and select option.Open the removable memory folder on your PC. You can view the mass storage content on your PC and transfer the files.Copy the files from your PC to the drive folder.1.2.3.4.5.](https://usermanual.wiki/LG-Electronics-USA/P940H.Users-Manual-1/User-Guide-1695140-Page-9.png)
![ContactsTo import/export contact files (in vcf format) from a storage memory(Internal storage/memory card) or SIM or USIM card to your device or vice versa.Touch to open your contacts.Press > > .Select an desired option for importing/exporting. If you have more than one account, select an account to which you want to add the contact.Select contact files to import/export and select to confirm.Export your contacts as a CSV file from your old device to your PC using a PC sync program.Install "LG PC Suite" PC application on the PC. Run the program and connect your device to the PC using a USB cable.1.2.3.4.1.From the top of the screen, select > > .A pop-up to open a contacts file will appear.Select a contacts file and click .A pop-up to import a new contact from PC to the contacts in the device will appear.If the contacts in the device and new contacts from PC are different, select a contact you want to import from PC.Click the [OK] button to import a new contact from PC to the device.2.3.4.5.6.7.](https://usermanual.wiki/LG-Electronics-USA/P940H.Users-Manual-1/User-Guide-1695140-Page-48.png)
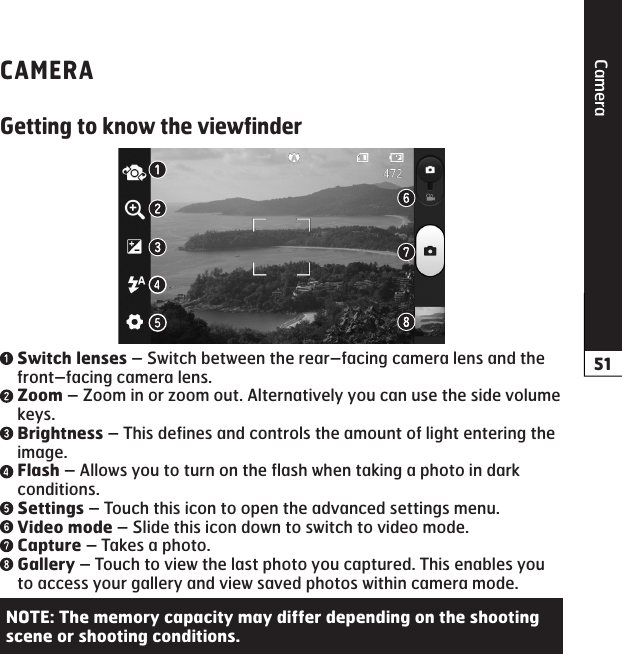
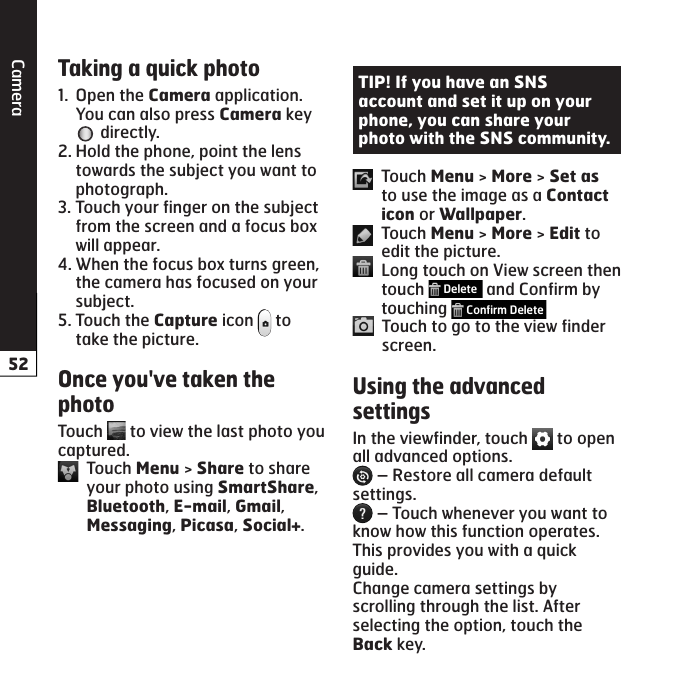
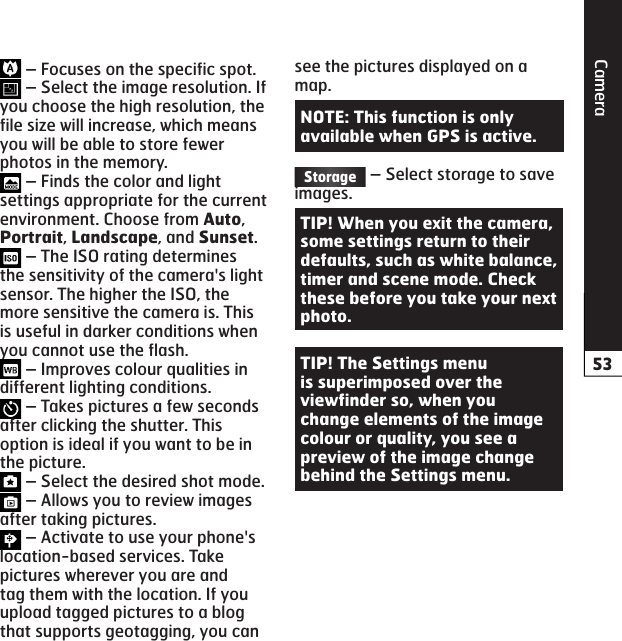
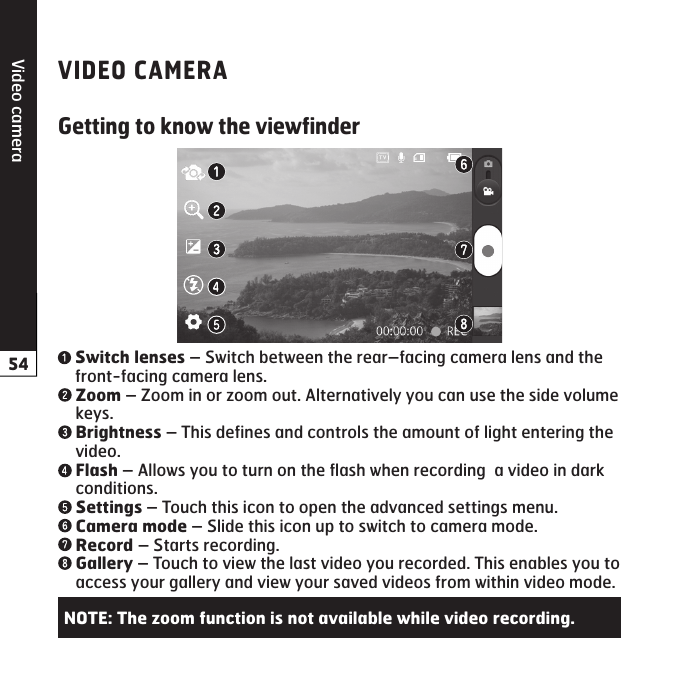
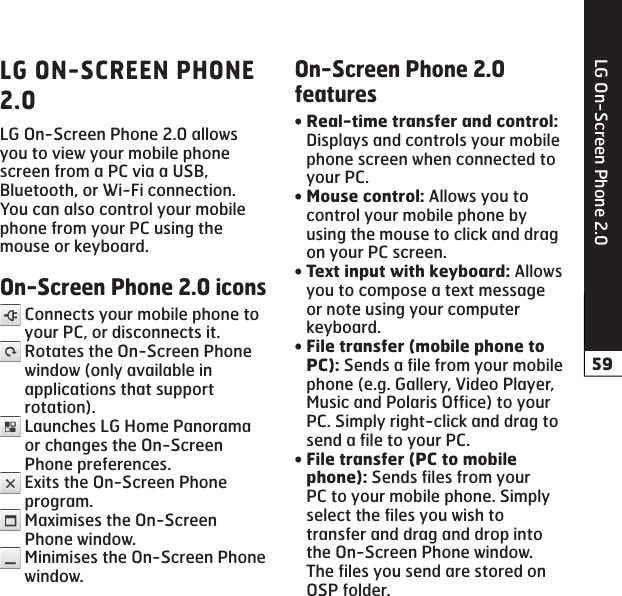
![PC software(LG PC Suite)Data from your device and PC can be synchronised easily with "LG PC Suite" PC application for your convenience. Contacts, schedules, and bookmarks can be synchronised. The procedure is as follows:Connect your device to PC. (Use a USB cable or Wi-Fi connection.)After connection, run the program and select the device section from the category on the left side of the screen.Click [Personal information] to select.Select the checkbox of contents to synchronise and click the button.Export your contacts as a CSV file from your old device to your PC using a PC sync program.Install "LG PC Suite" PC application on the PC. Run the program and connect your device to the PC using a USB cable.1.2.3.4.1.](https://usermanual.wiki/LG-Electronics-USA/P940H.Users-Manual-1/User-Guide-1695140-Page-76.png)
![PC software(LG PC Suite)From the top of the screen, select > > .A pop-up to open a contacts file will appear.Select a contacts file and click .A pop-up to import a new contact from PC to the contacts in the device will appear.If the contacts in the device and new contacts from PC are different, select a contact you want to import from PC.Click the [OK] button to import a new contact from PC to the device.Connect the device and PC with a USB cable.Run "LG PC Suite" PC application.After connection, select the device section from the category on the left side of the screen.Select .Select the checkbox of the contents to send.Click Start transfer to transfer contents from the device to PC.2.3.4.5.6.7.1.2.3.4.5.6.](https://usermanual.wiki/LG-Electronics-USA/P940H.Users-Manual-1/User-Guide-1695140-Page-77.png)