LG Electronics USA PDA-PE2030B Wireless PDA User Manual iPAQ 4 manual 03 04 23
LG Electronics USA Wireless PDA iPAQ 4 manual 03 04 23
UserManual.wiki
>
LG Electronics USA
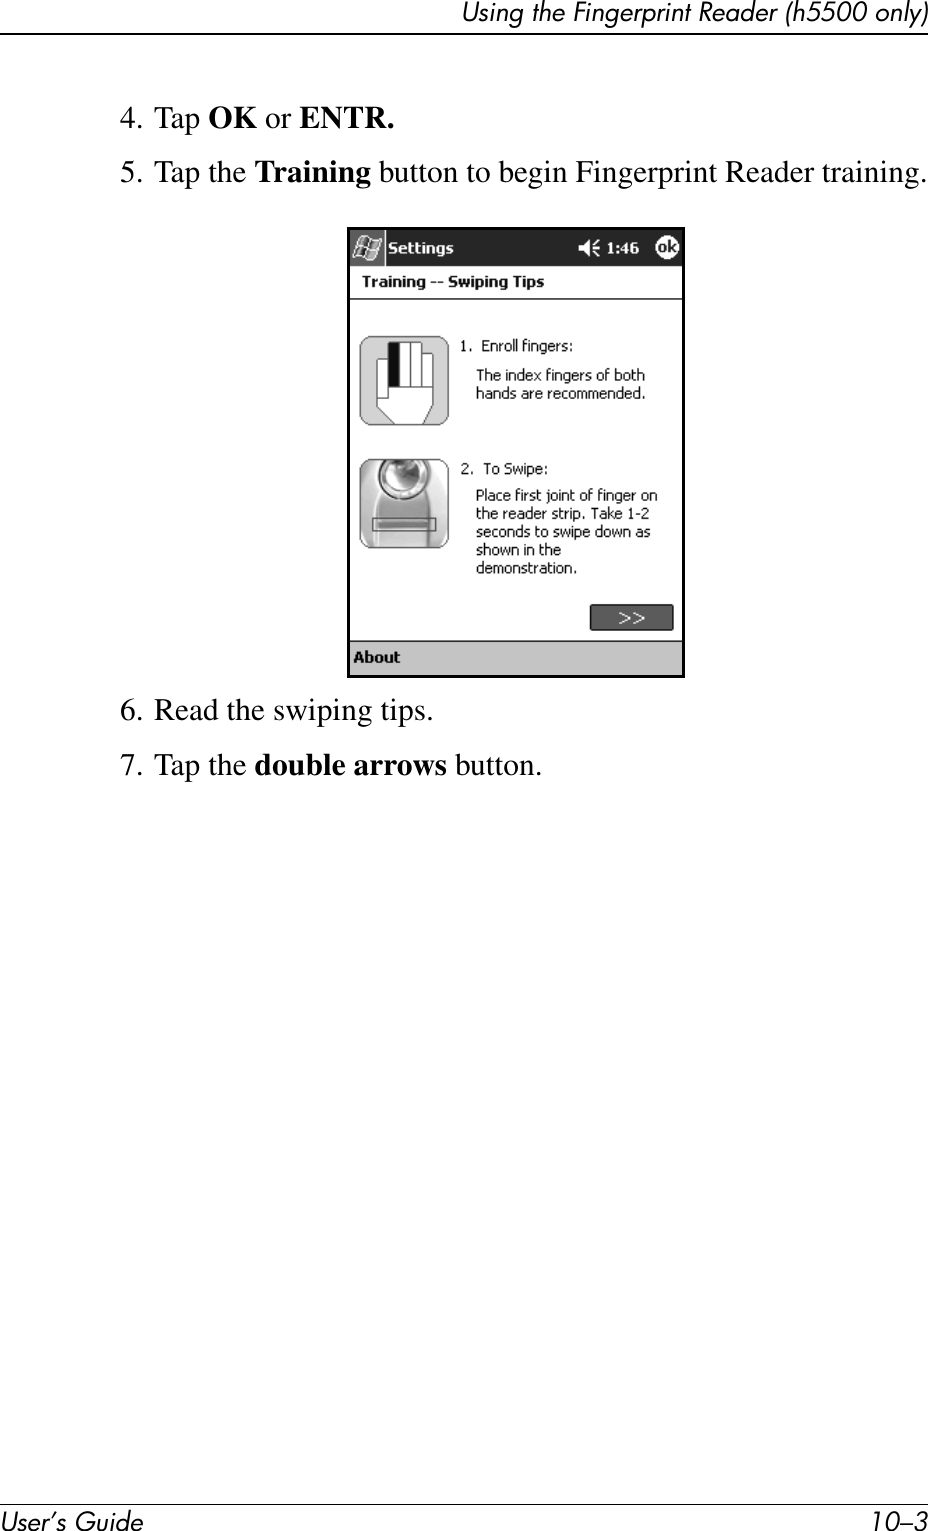
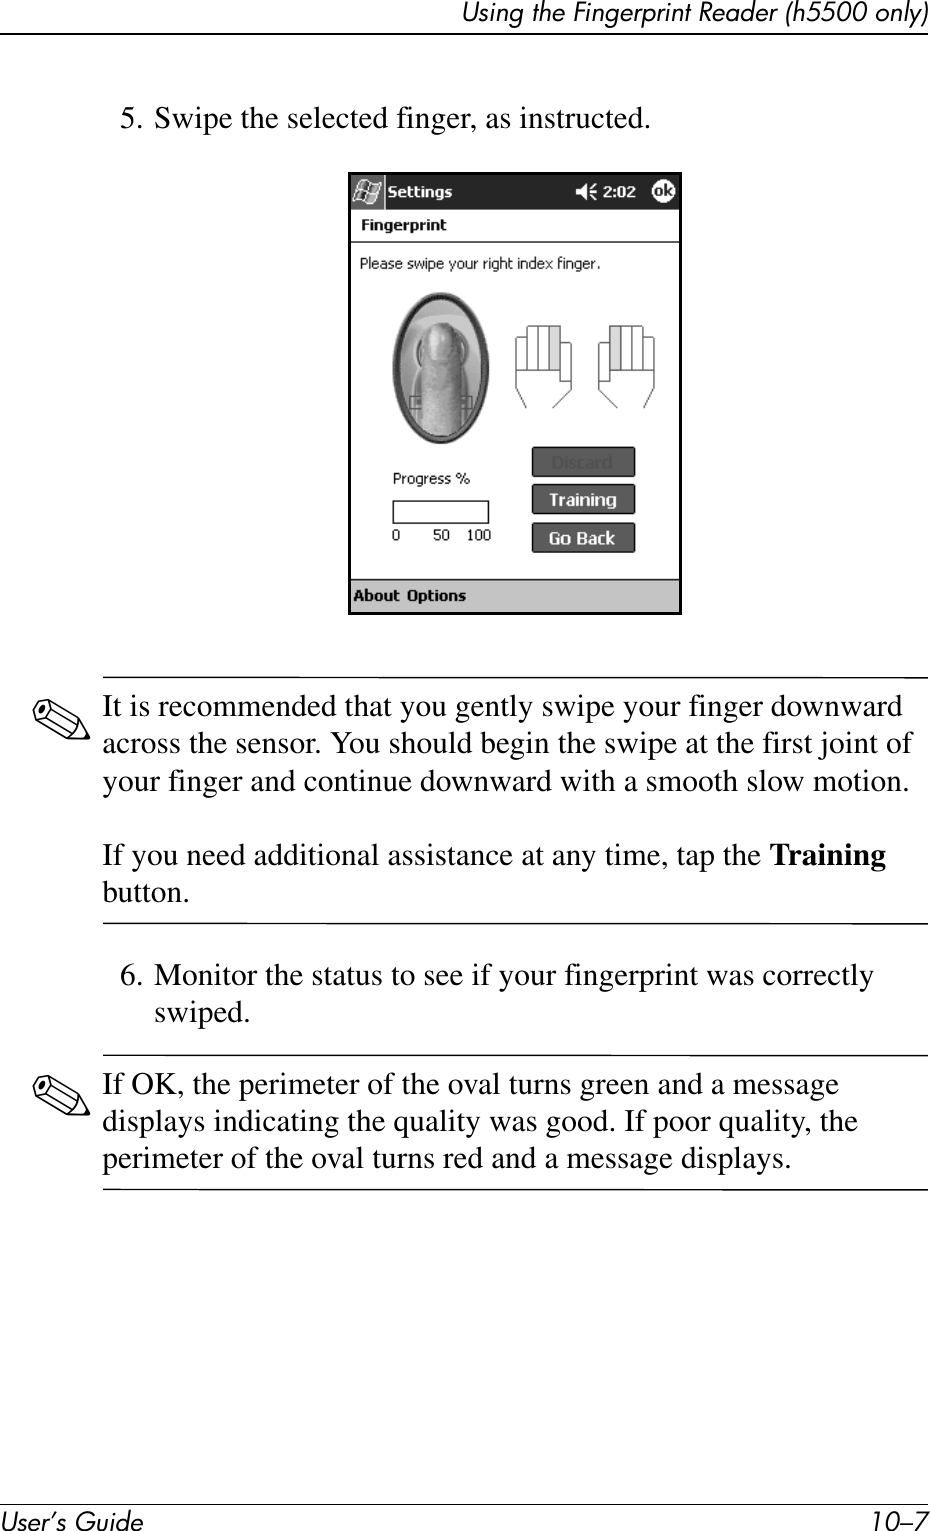
>
PDA PE2030B User Manual
Exhibit 8 User Manual
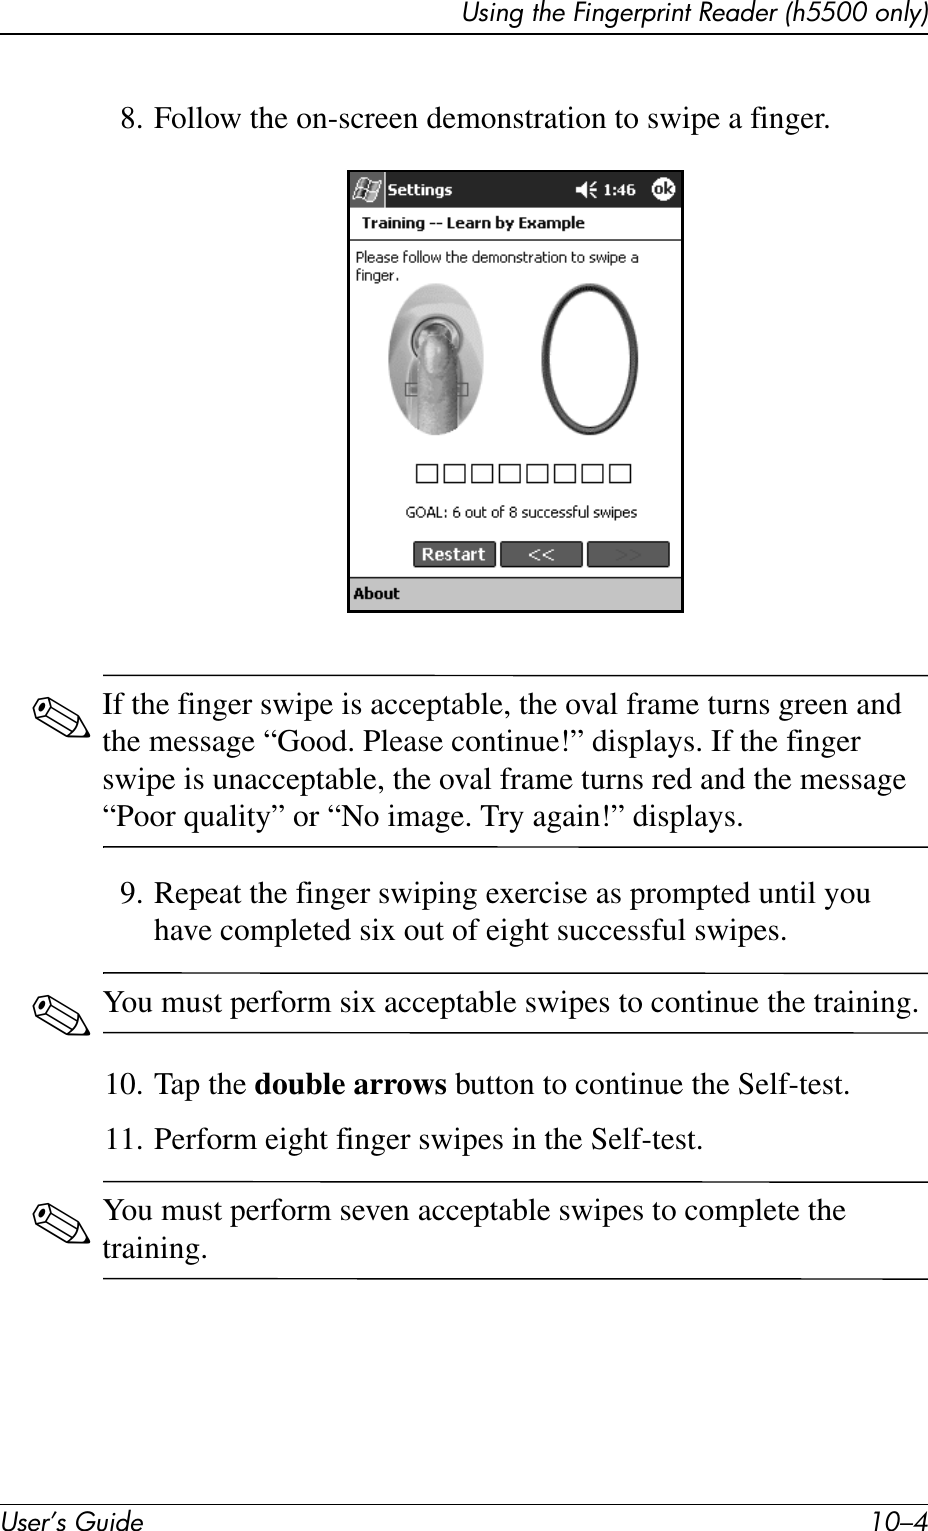
Navigation menu
Upload a User Manual
Namespaces
Wiki Guide
HTML
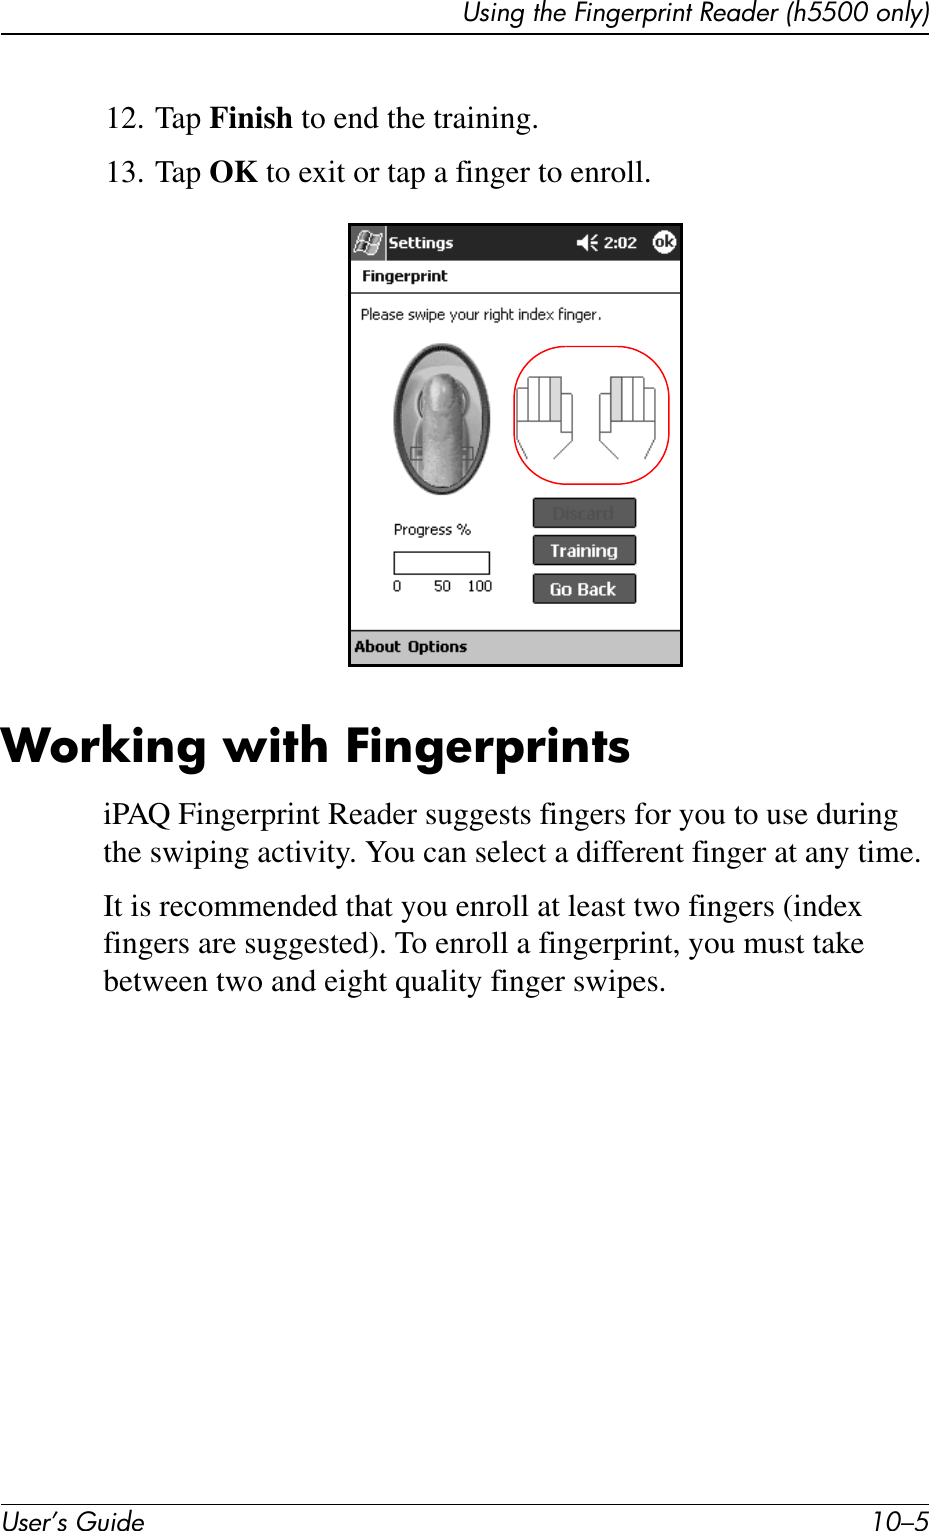
PDF
Info
Views
User Manual
Discussion / Help
Navigation

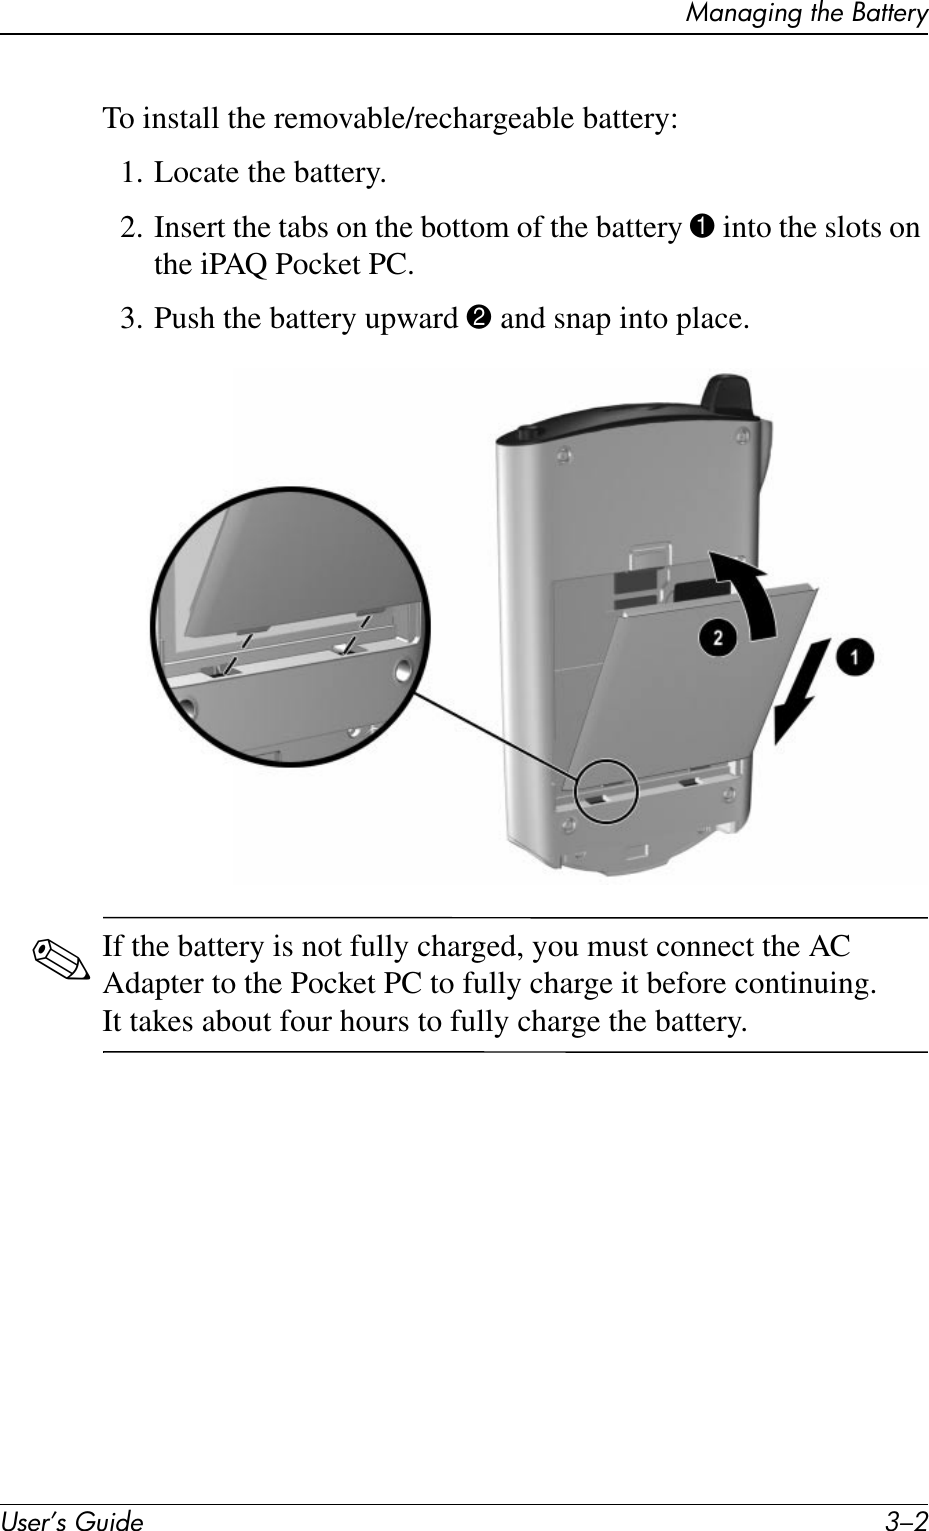
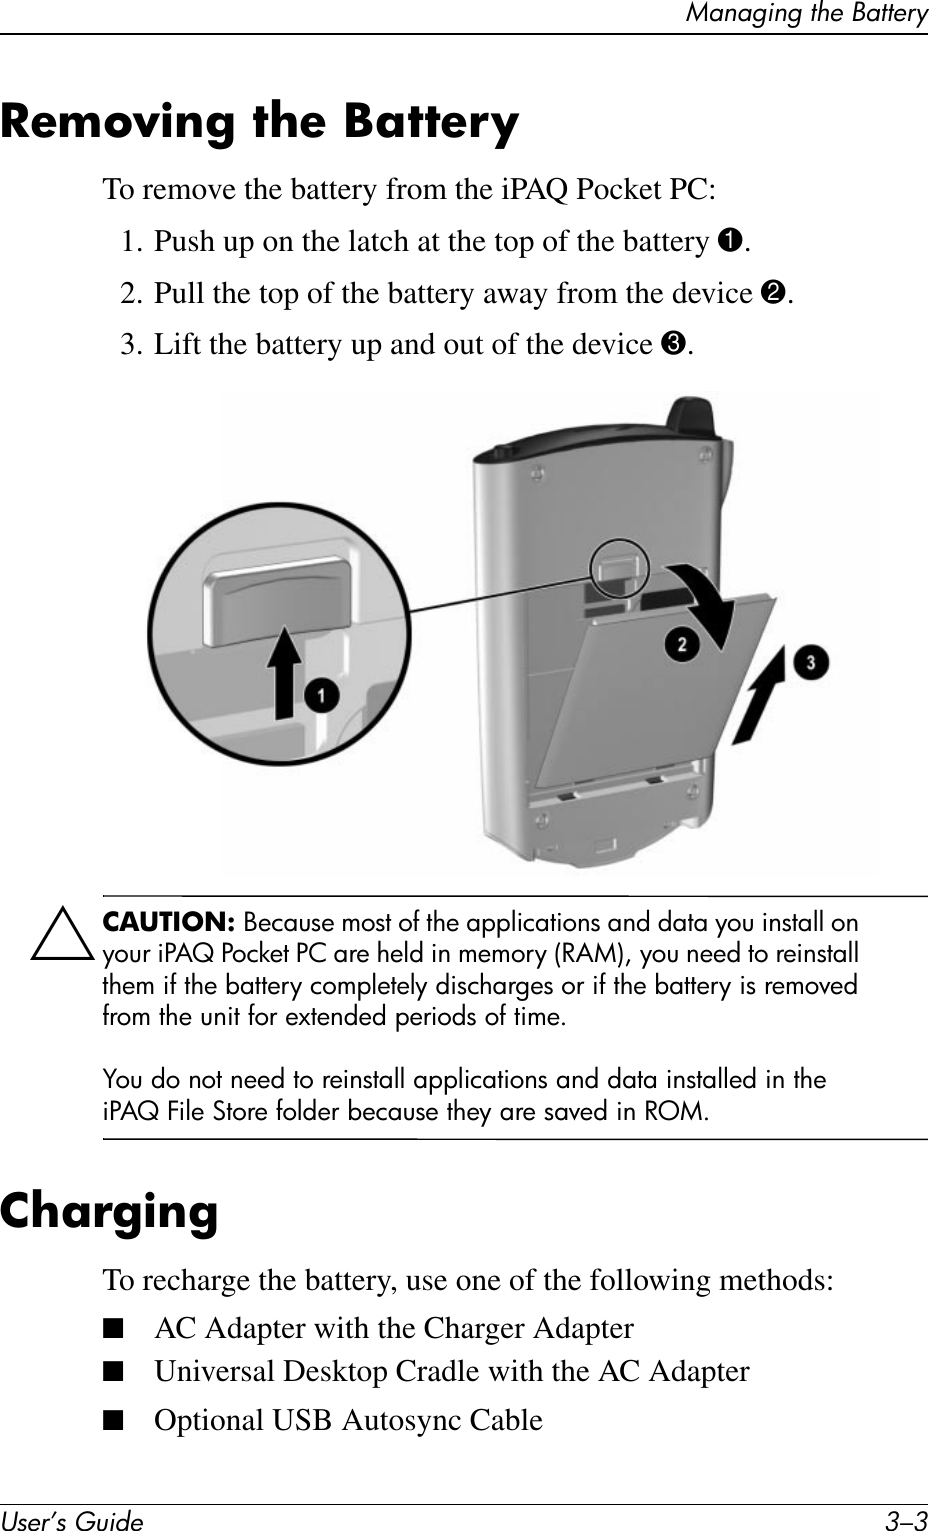
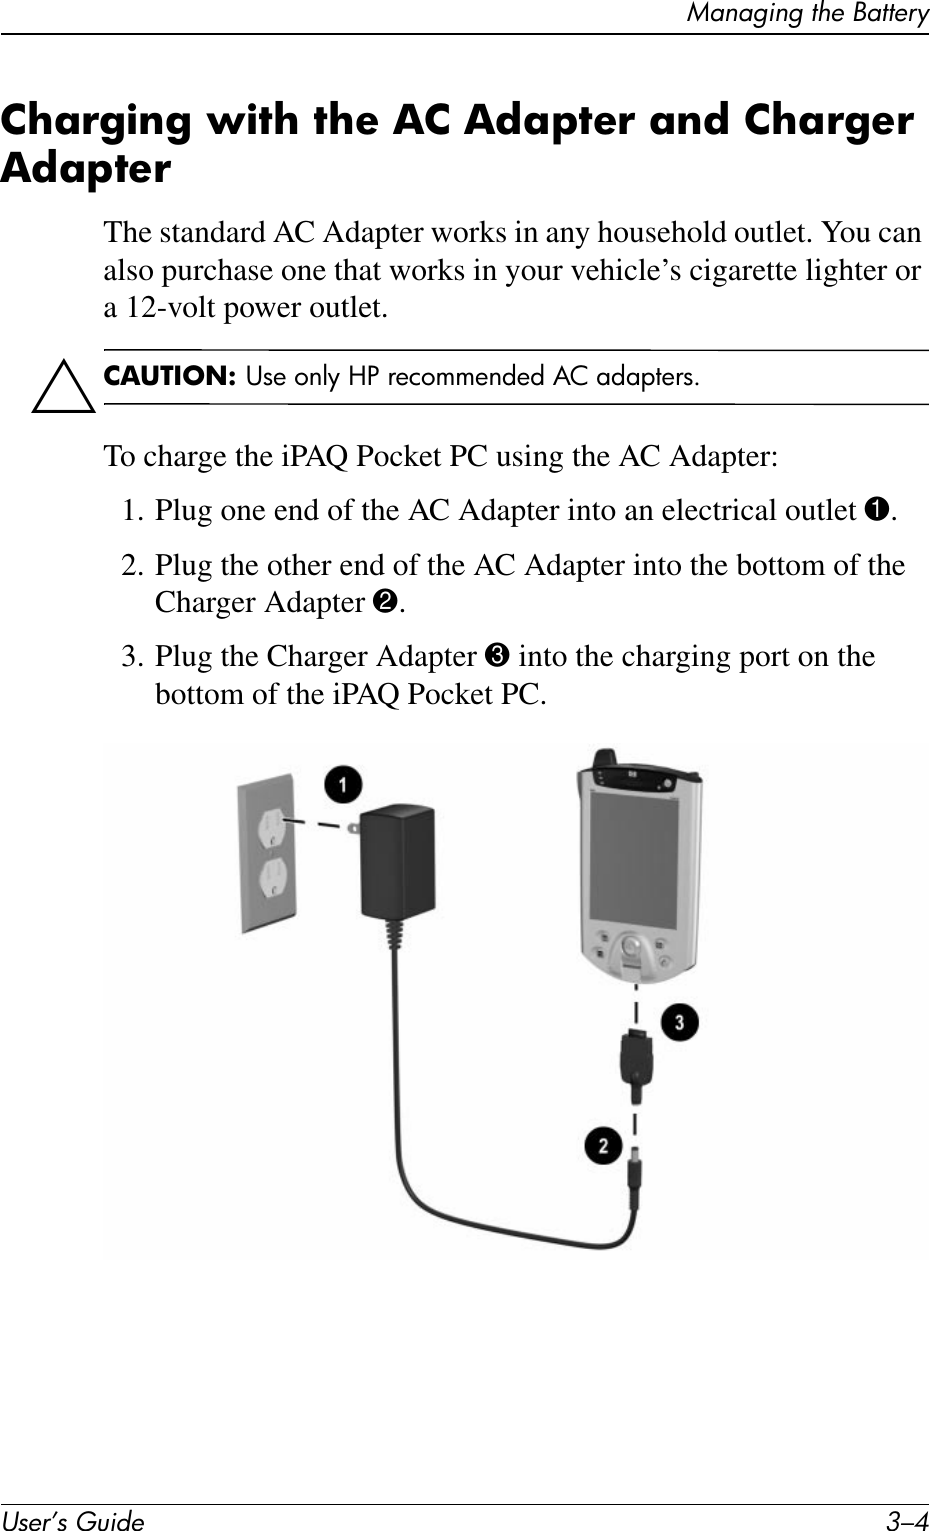

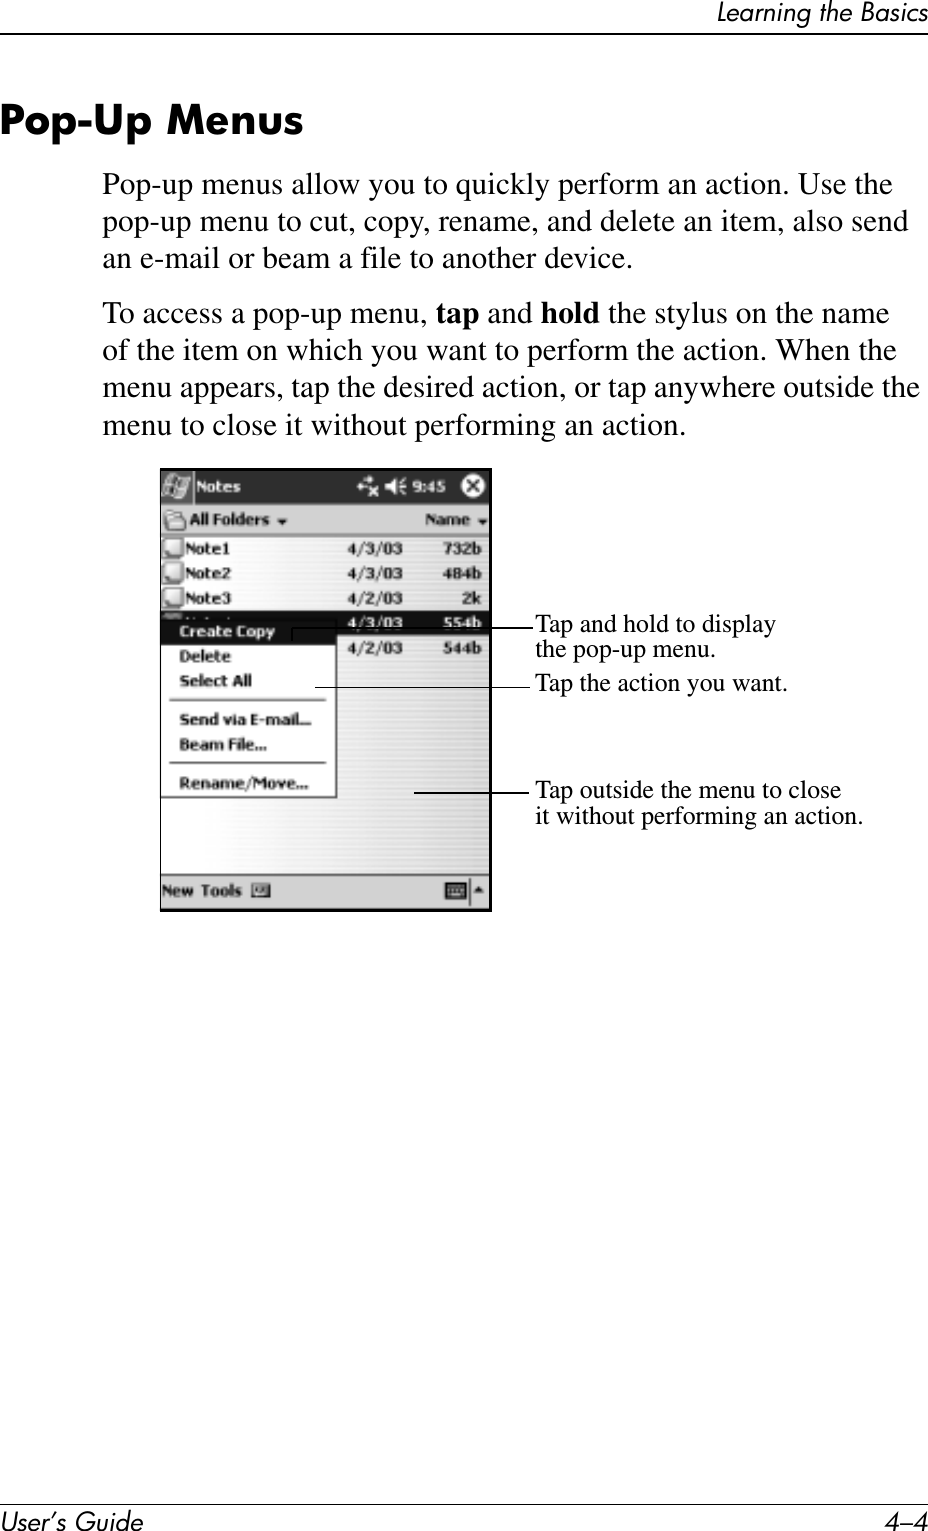

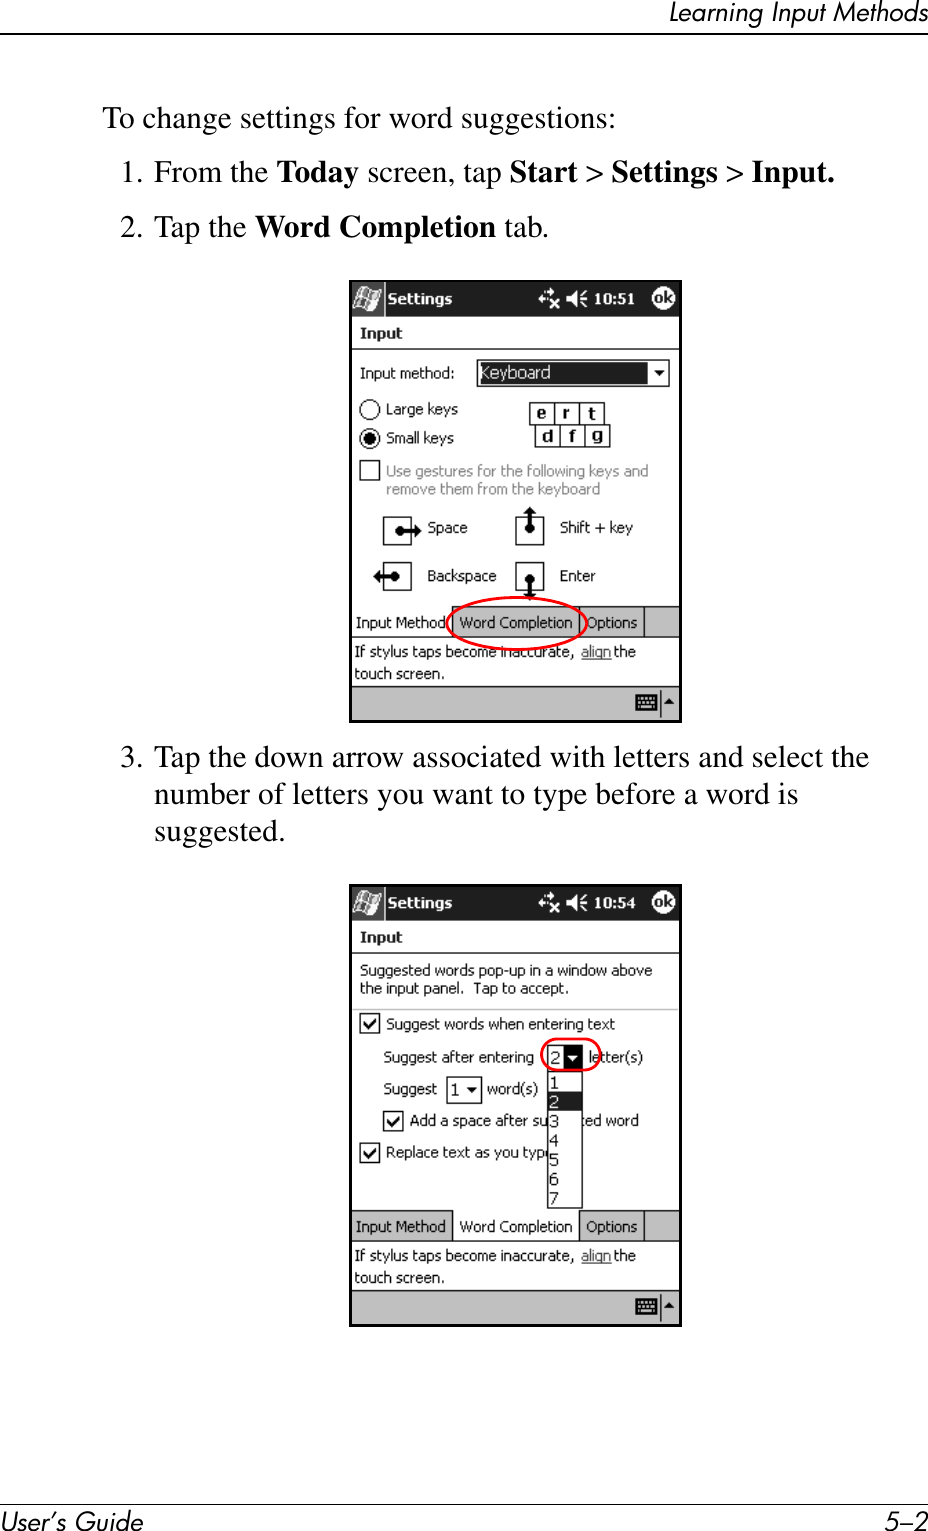
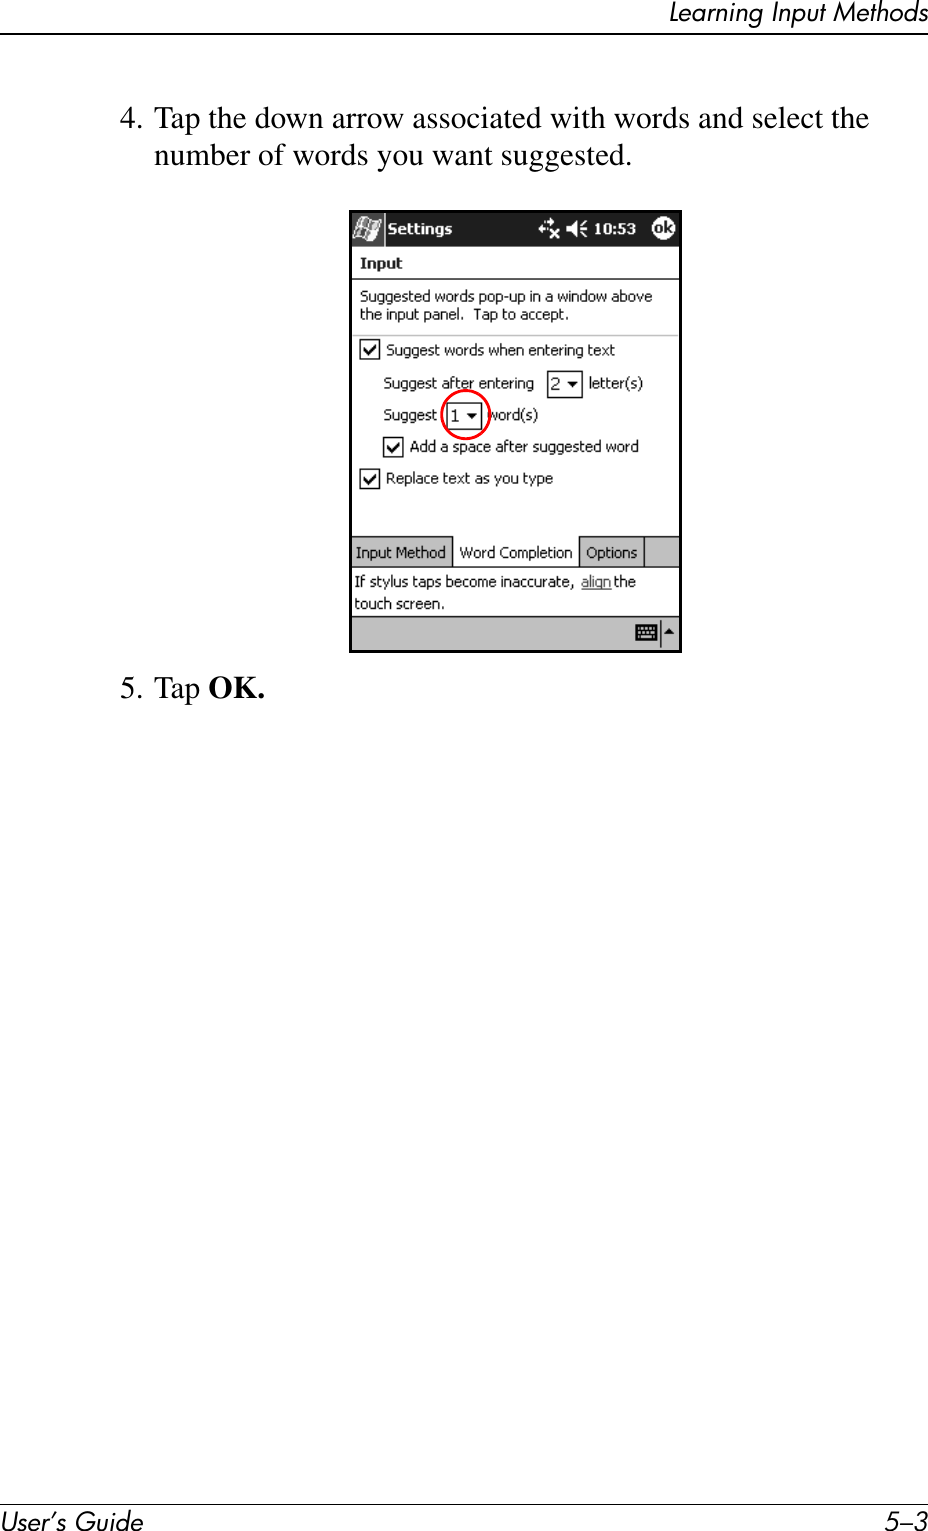
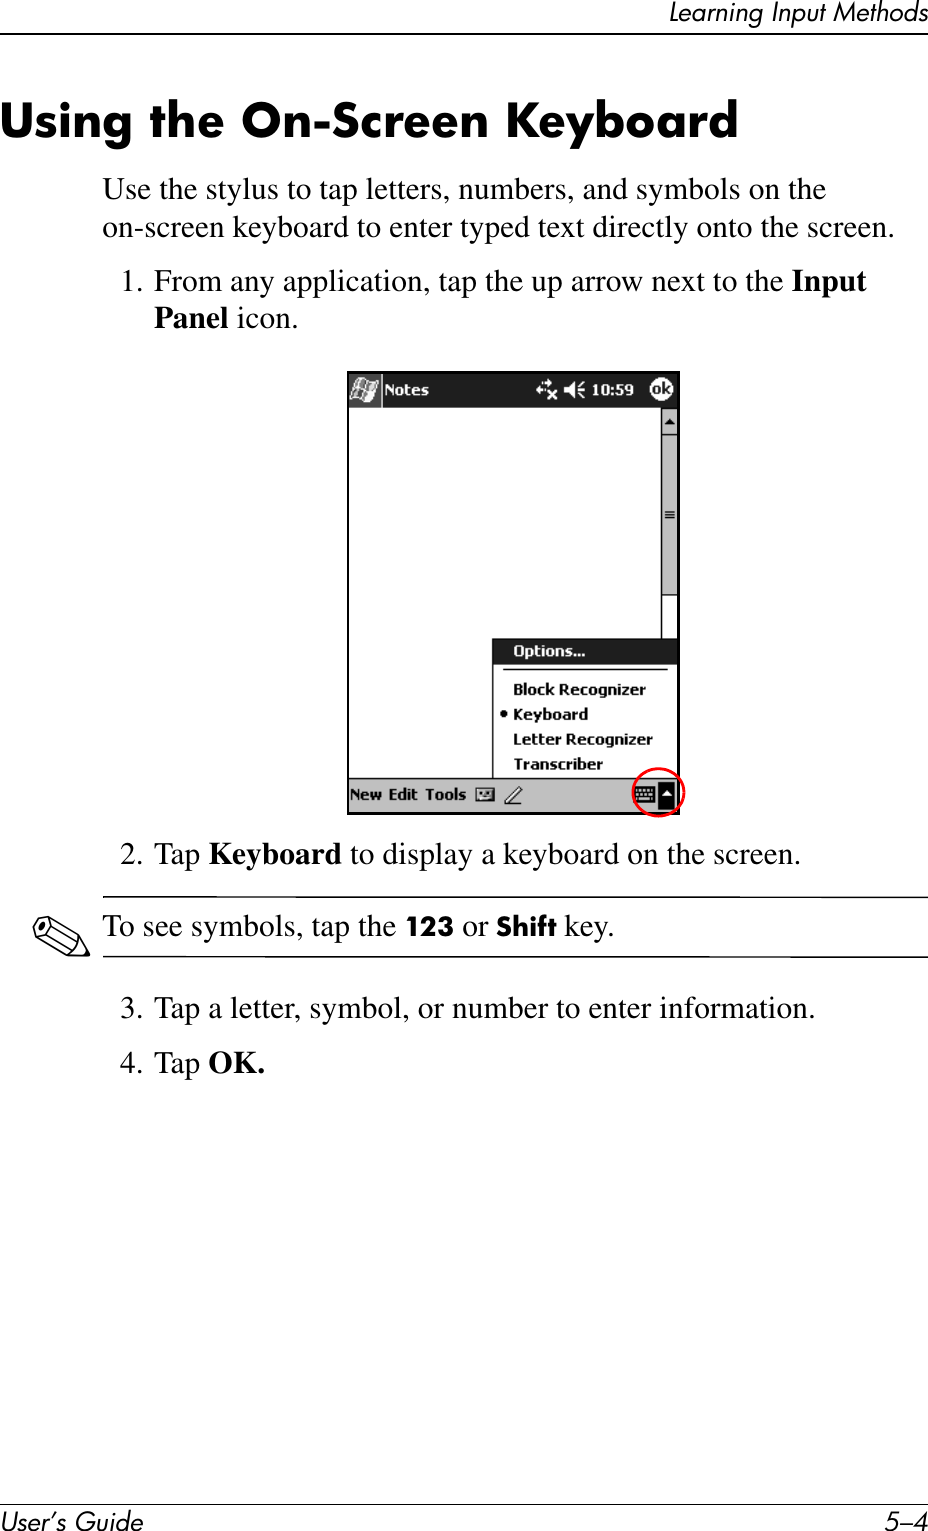

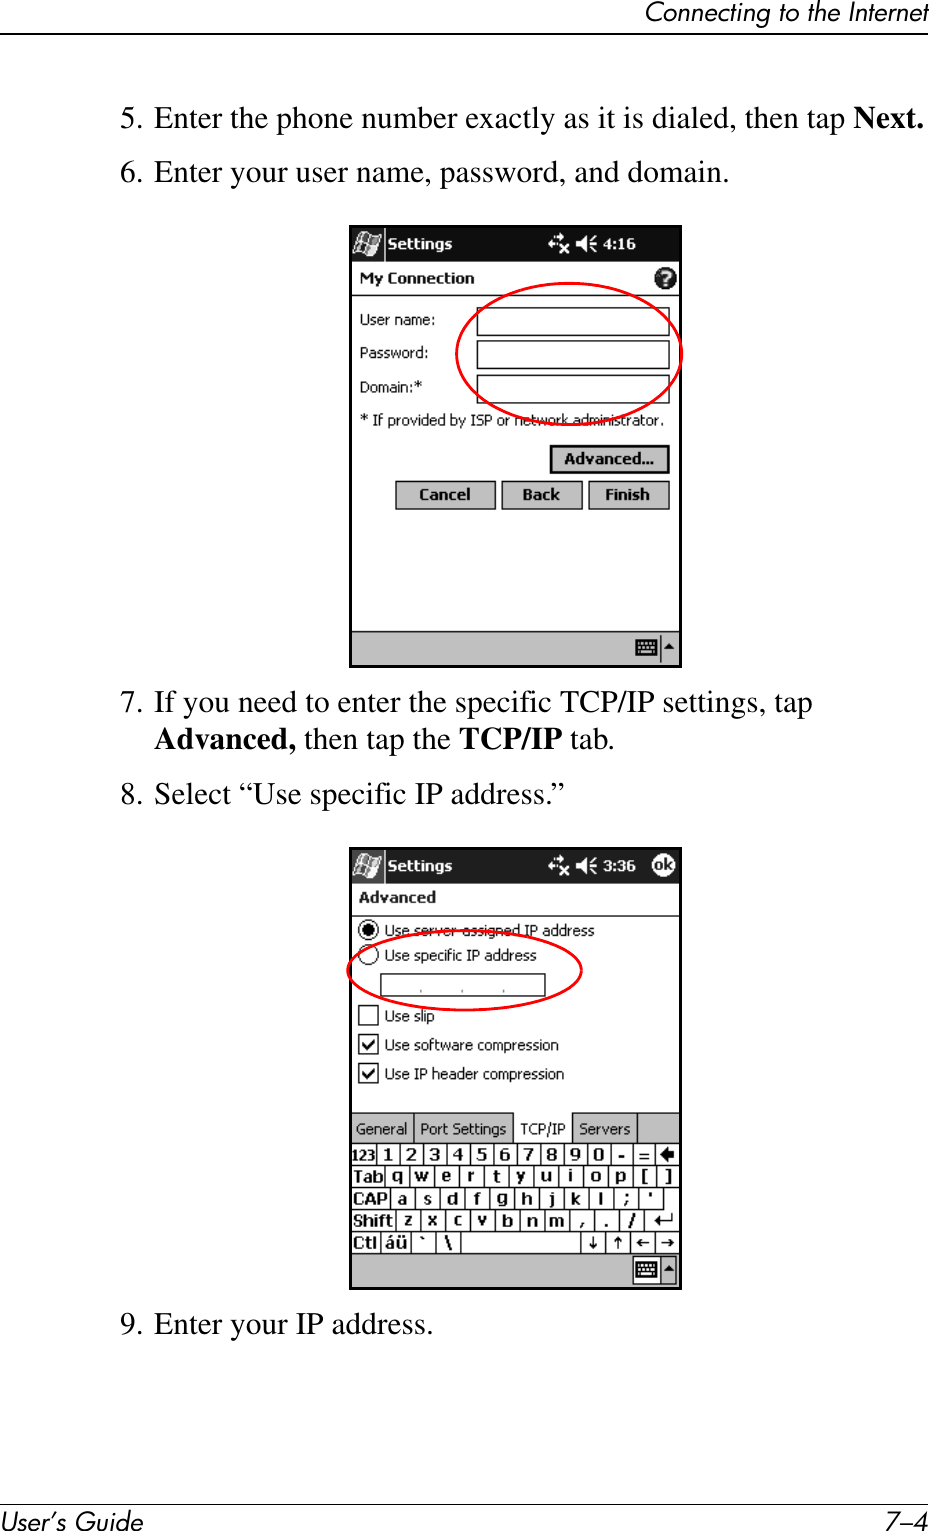
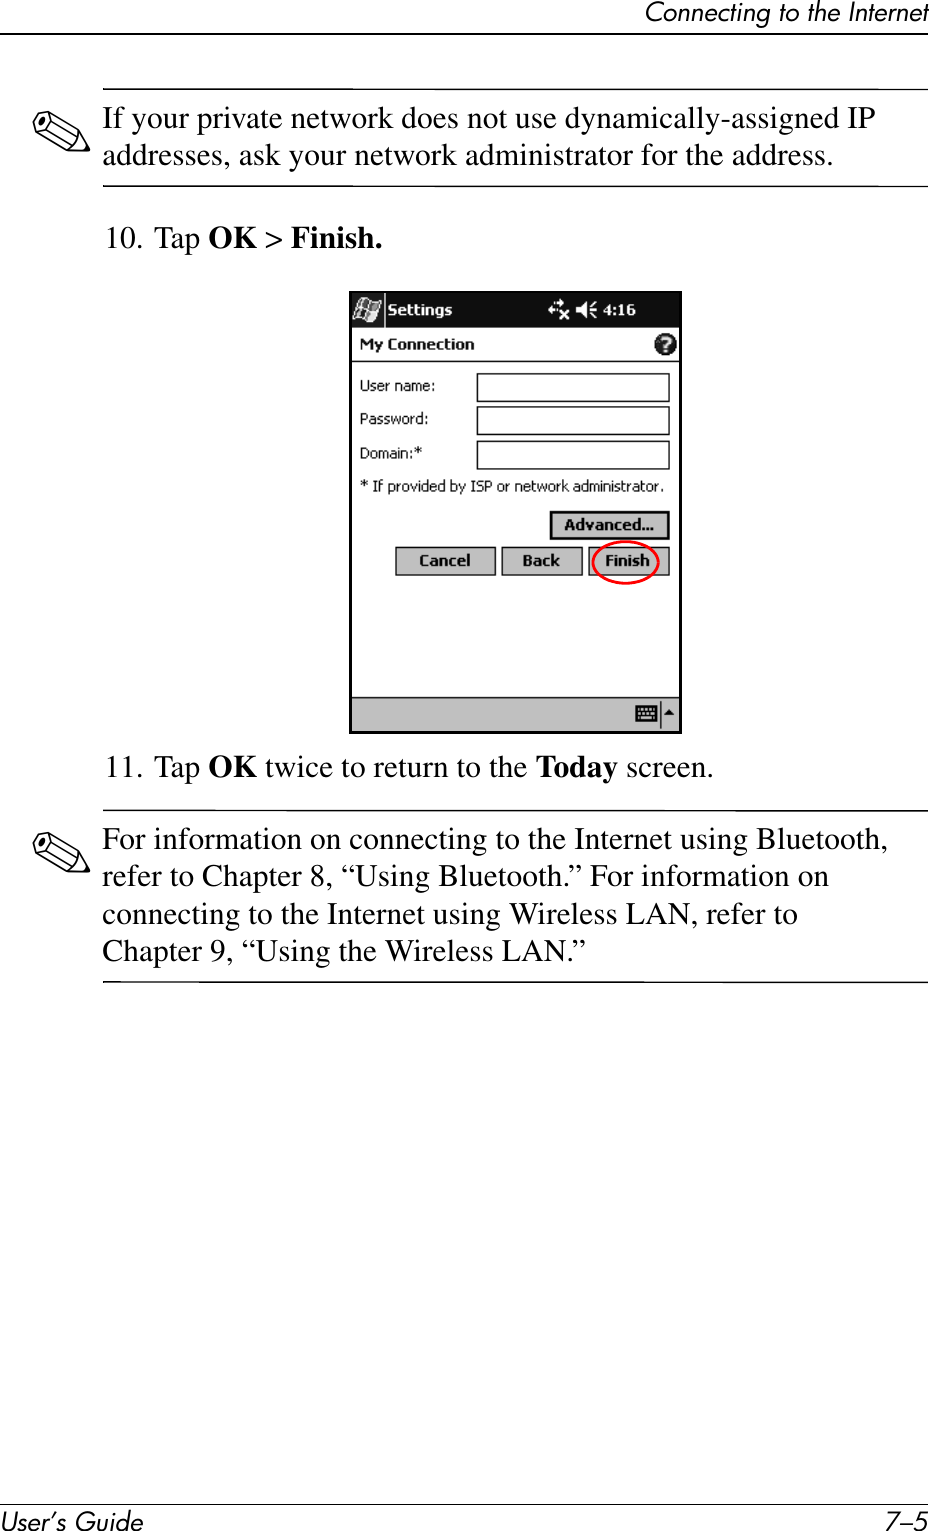
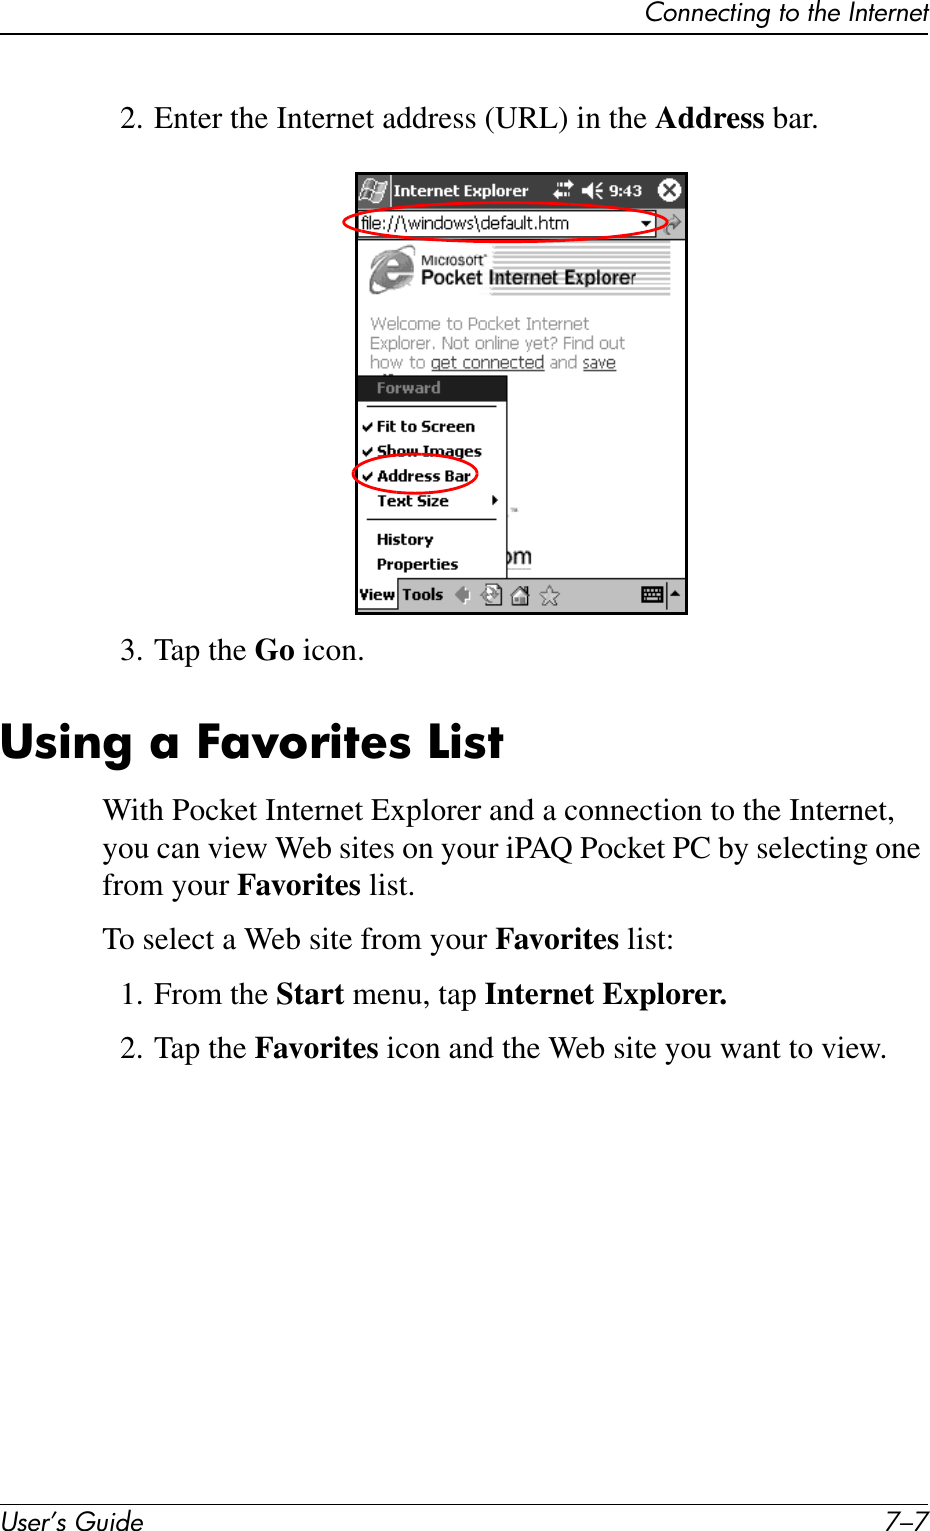

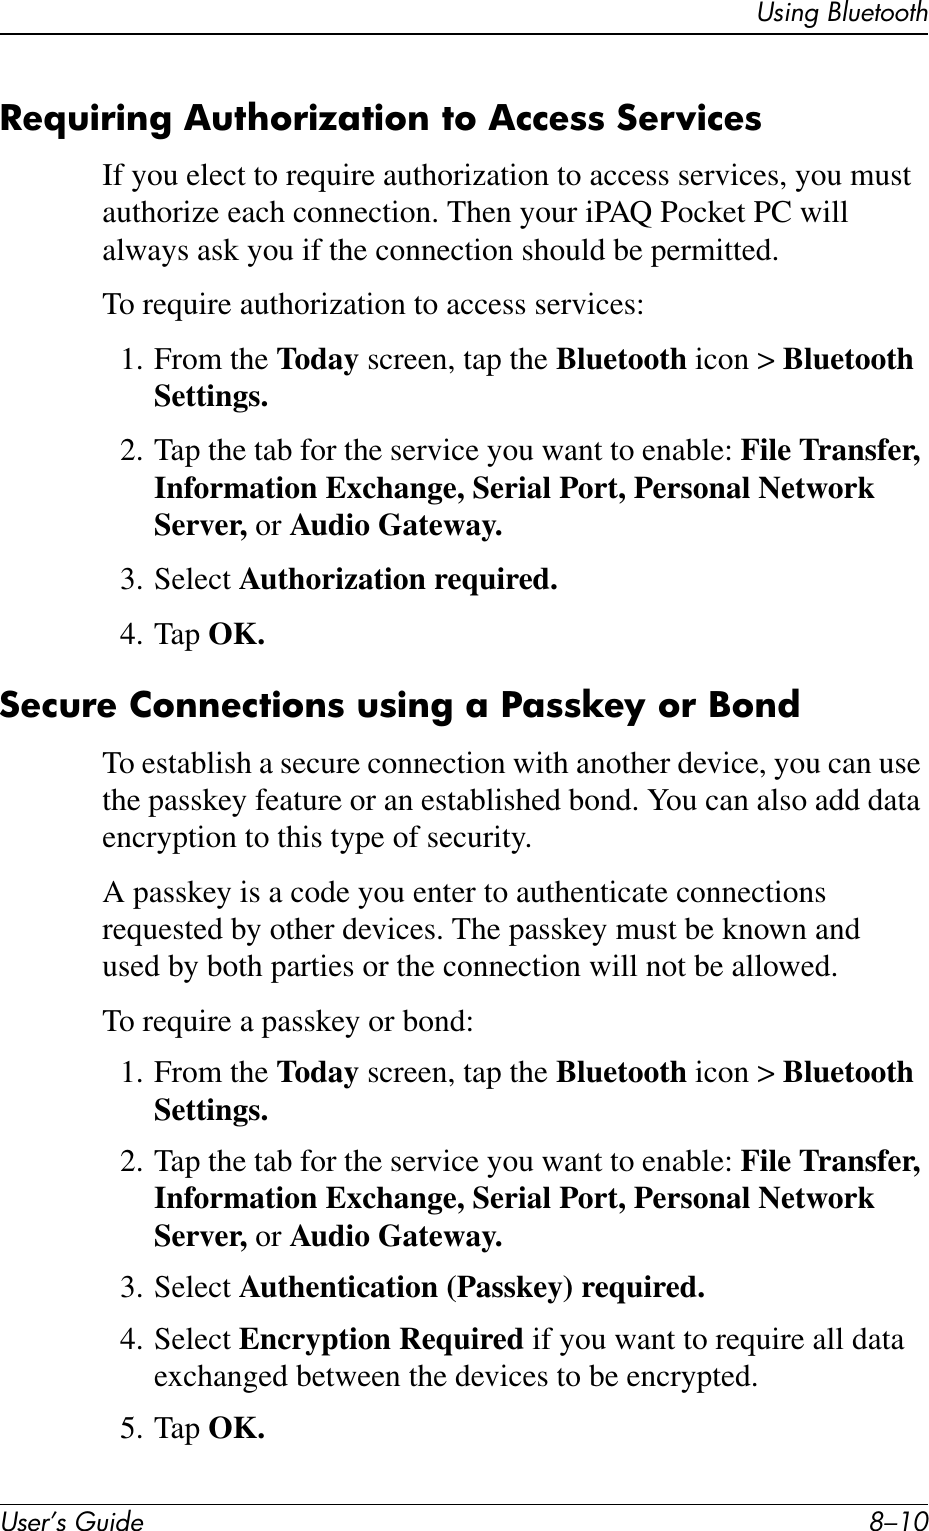

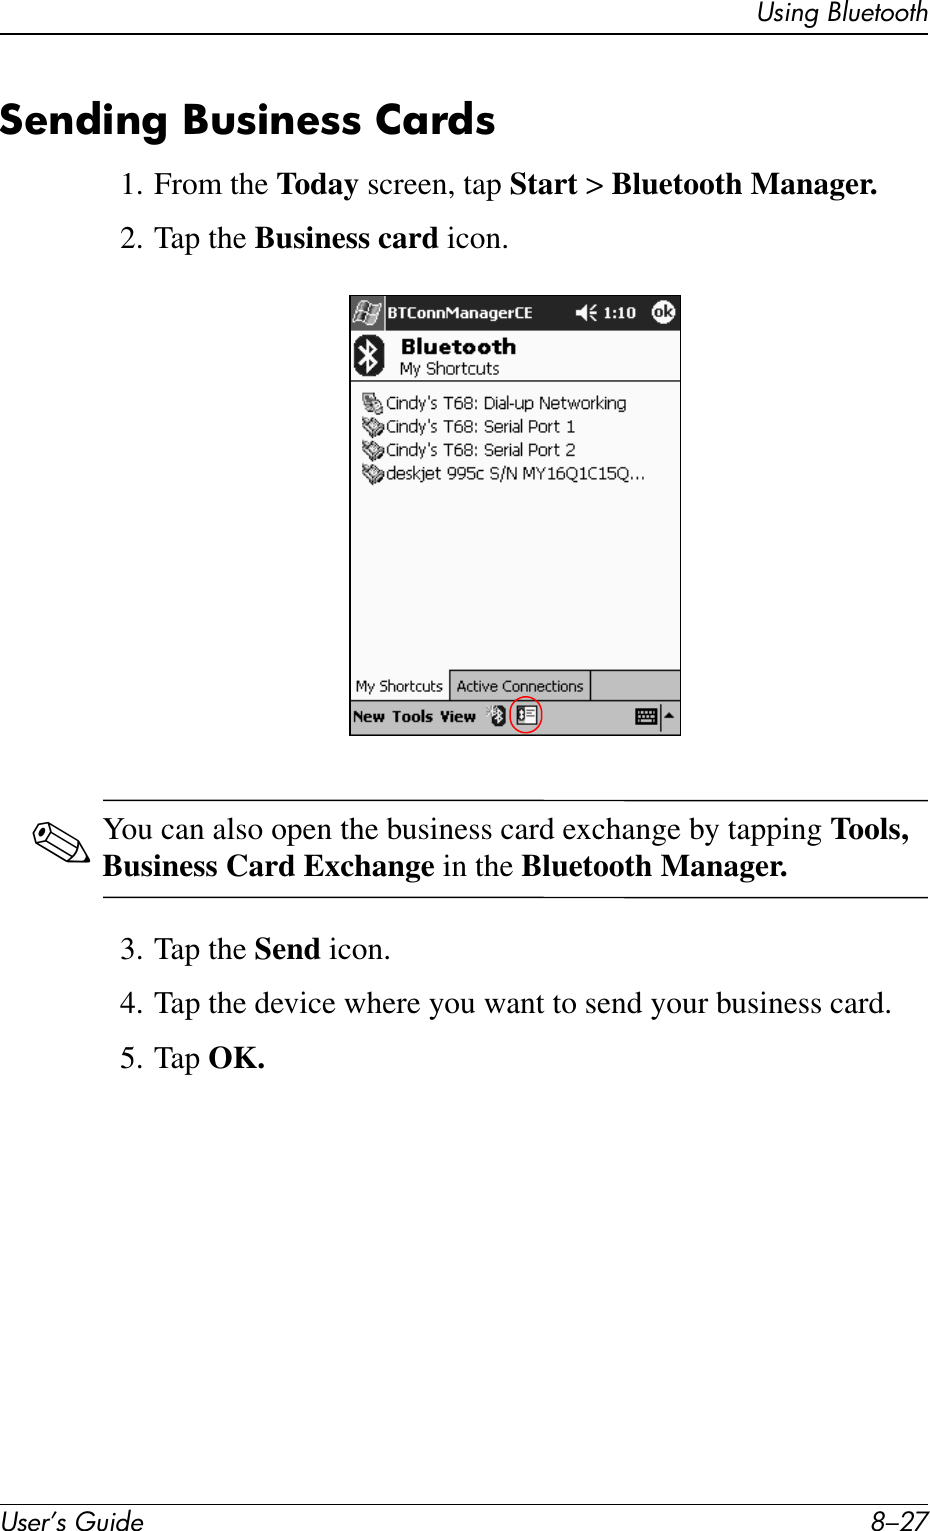


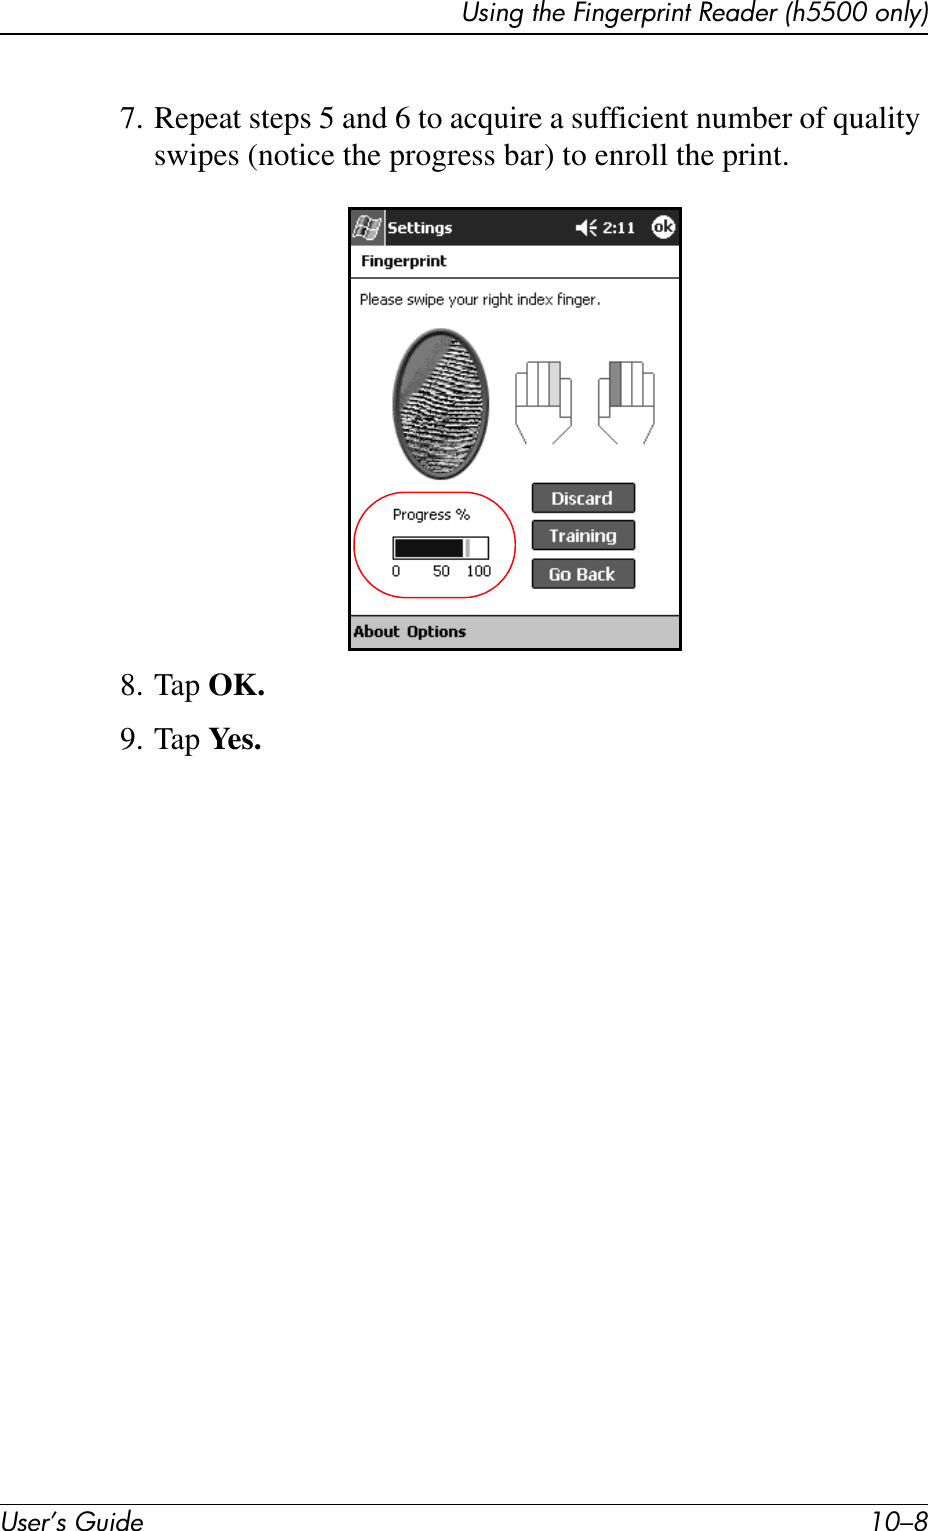
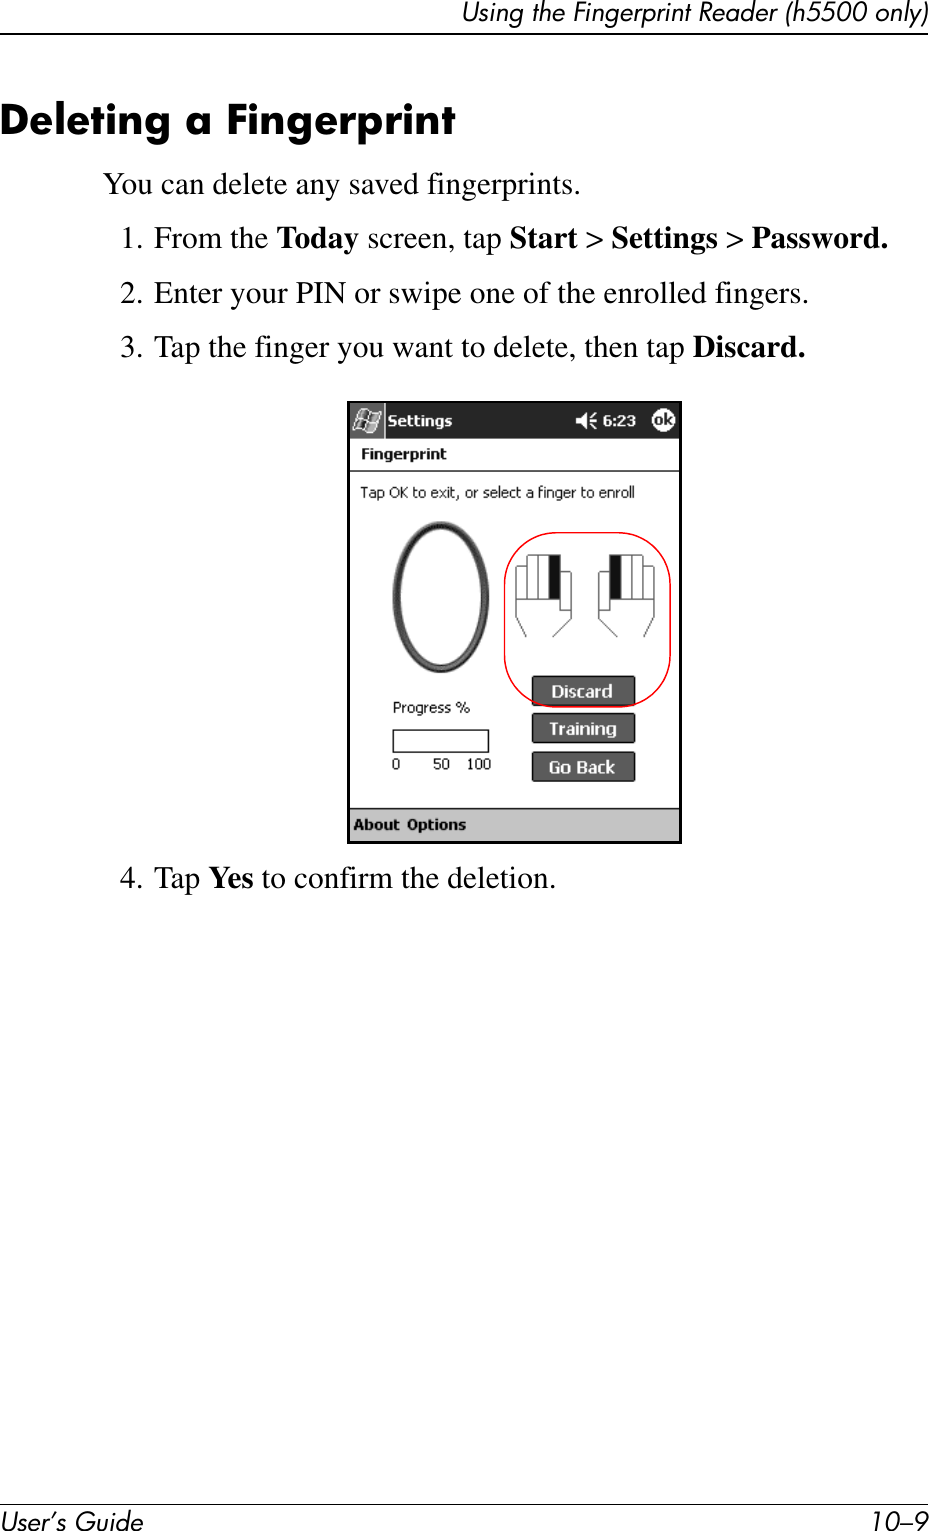
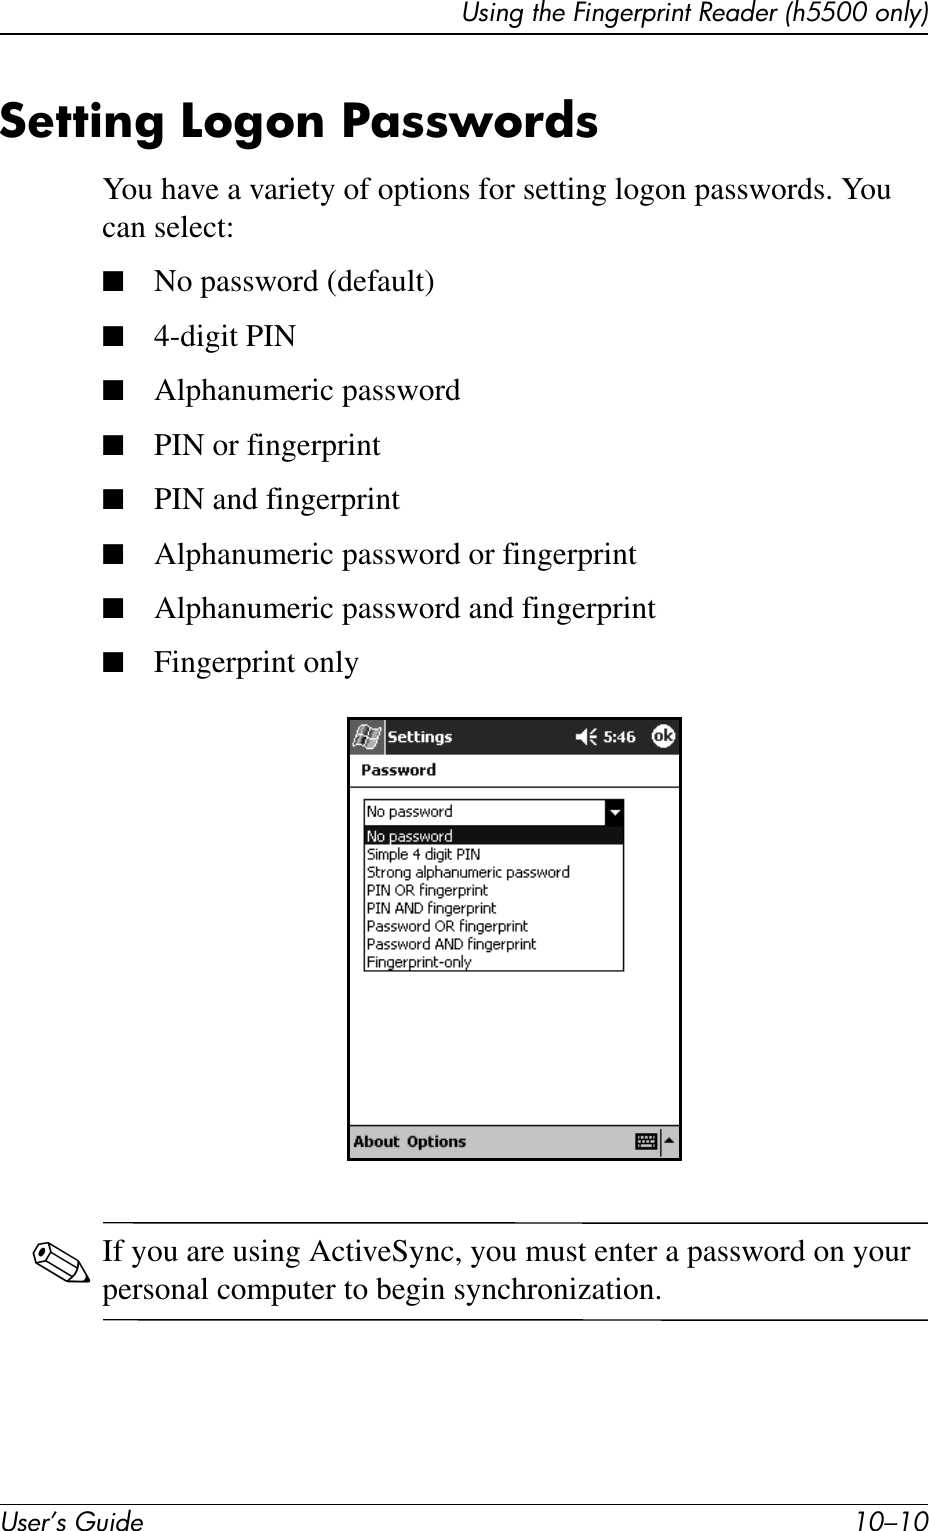
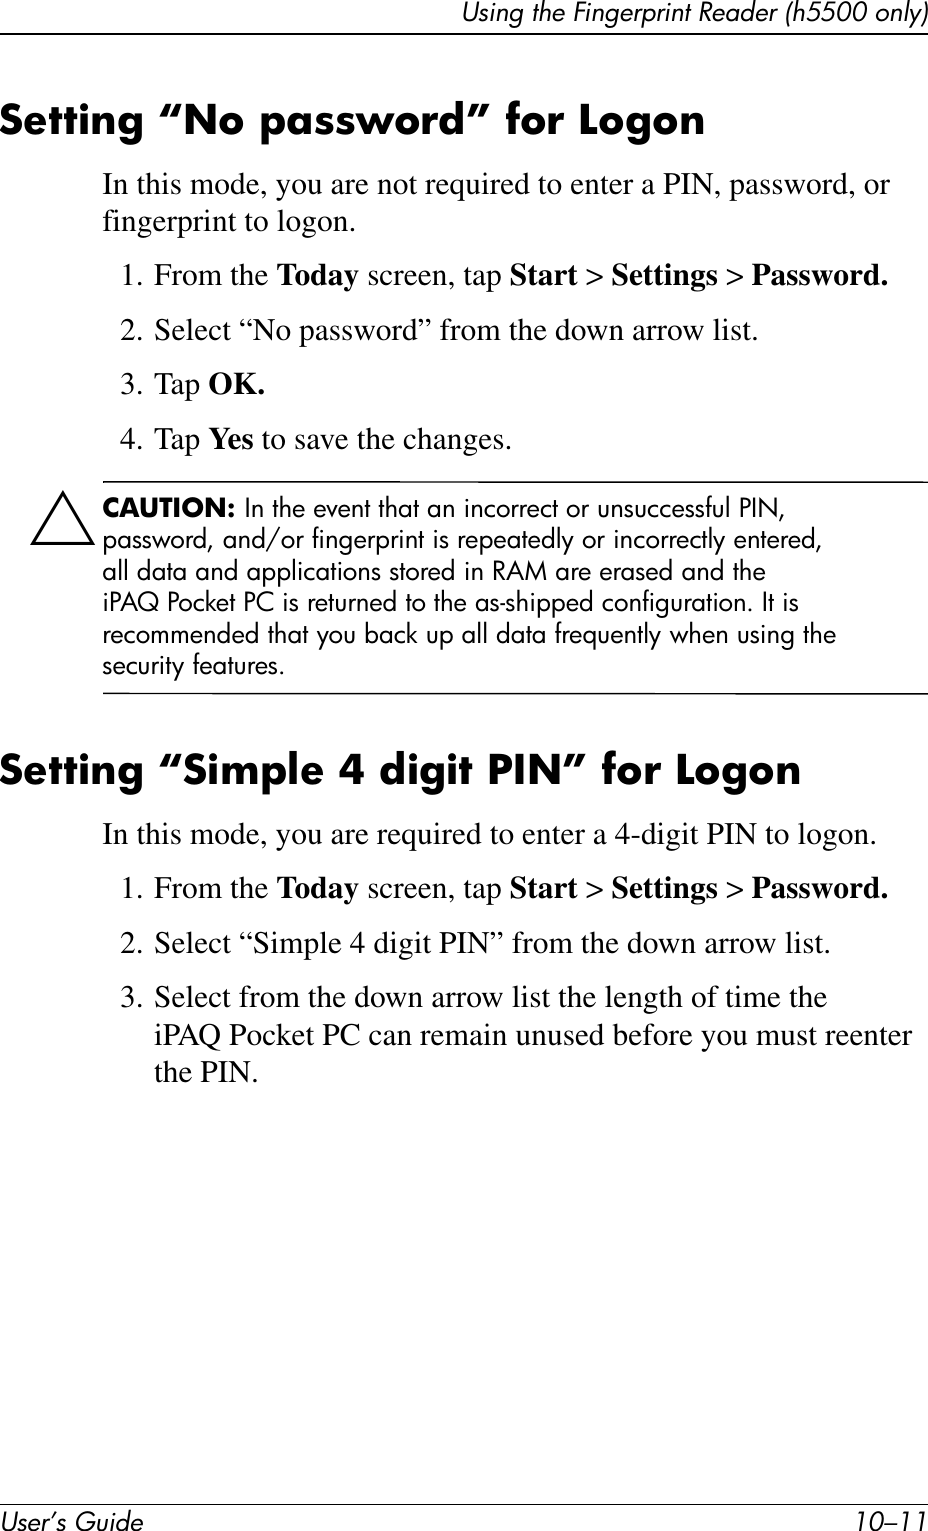


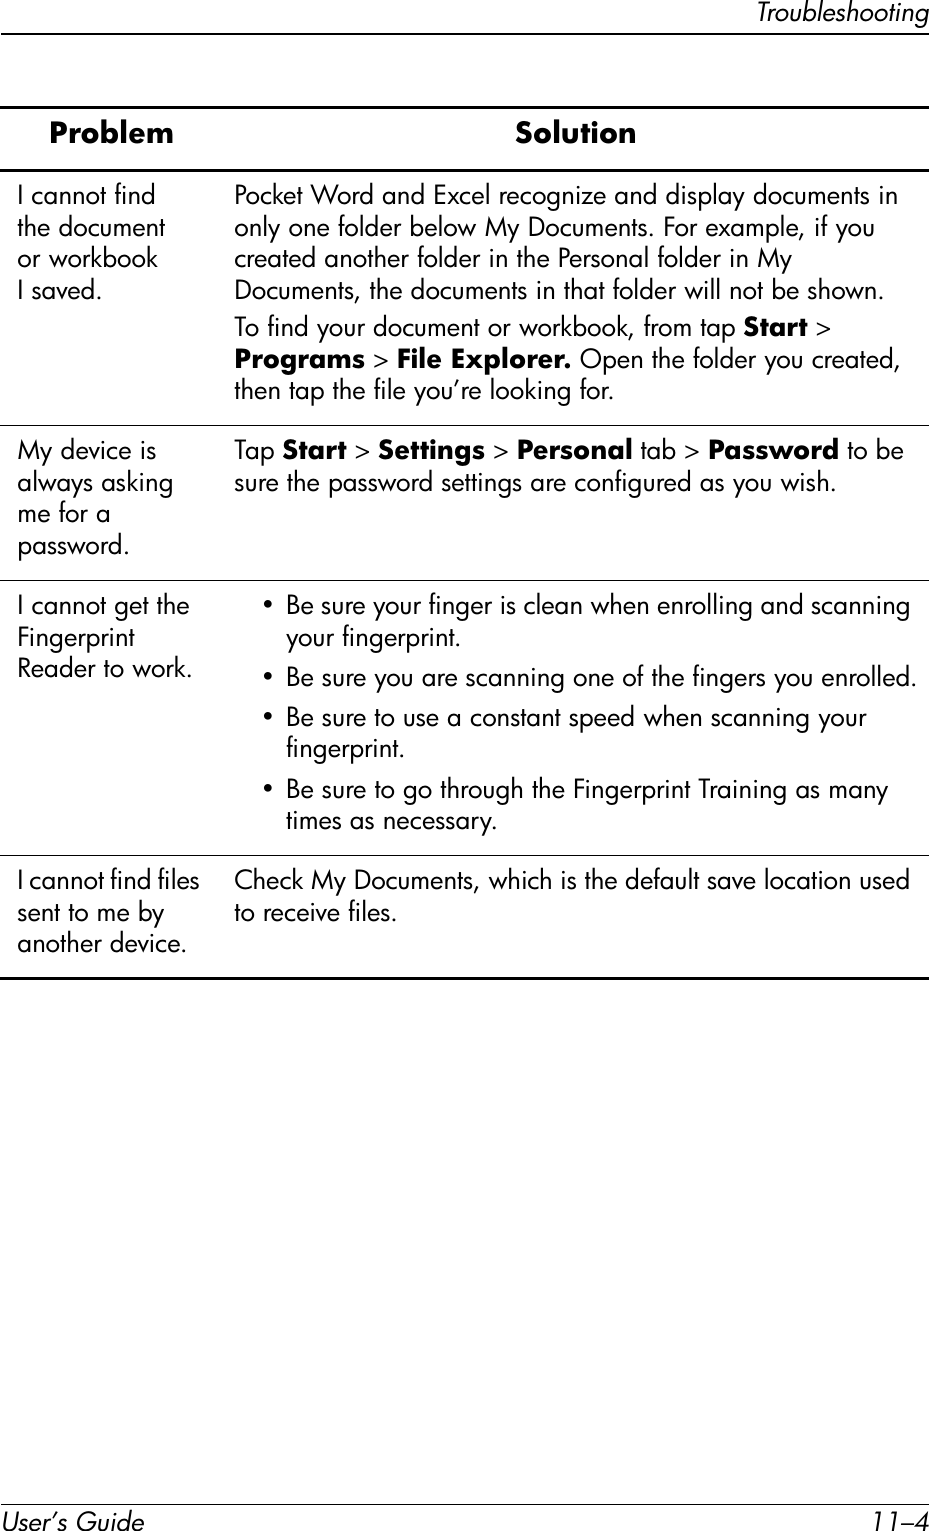
![TroubleshootingUser’s Guide 11–3I cannot connect to a network.• Be sure you have added the necessary server information.• Be sure the network you are attempting to connect to is not busy.• Be sure the proper drivers for your card are installed.• Be sure your user name and password are correct.•Tap Start > Settings > Connections tab > Connections and check your connection settings. Tap OK when you are finished to save your changes.• Be sure the hardware you are using with your iPAQ Pocket PC is properly configured and operational.• Reset the device by using the stylus to lightly press the reset button on the bottom of the unit.When I try to open the Inbox, I receive an error or the application hangs.Limit the number of e-mail services you create.I get an error when I try to record a note in Calendar or in Tasks.Try using a more compressed recording format in Calendar or Tasks (8,000 Hz, Mono [.7 KB/s] is the most compressed format available). To switch to a more compressed recording format, from the Today screen, tap Start > Settings > Input > Options tab.I want to see the current date.1. From the Today screen, tap Start > Calendar.2. Tap the Go-to-Today icon to see today’s date.I cannot see all my appointments.Be sure the appointment you created is in the selected category.Problem Solution](https://usermanual.wiki/LG-Electronics-USA/PDA-PE2030B/User-Guide-335030-Page-153.png)