LG Electronics USA Q172NYA Microwave Oven User Manual EMISSION TEST REPORT
LG Electronics USA Microwave Oven EMISSION TEST REPORT
UserManual.wiki
>
LG Electronics USA
>
Q172NYA User Manual
User manual_BEJQ172NYA
Navigation menu
Upload a User Manual
Namespaces
Wiki Guide
HTML
PDF
Info
Views
User Manual
Discussion / Help
Navigation


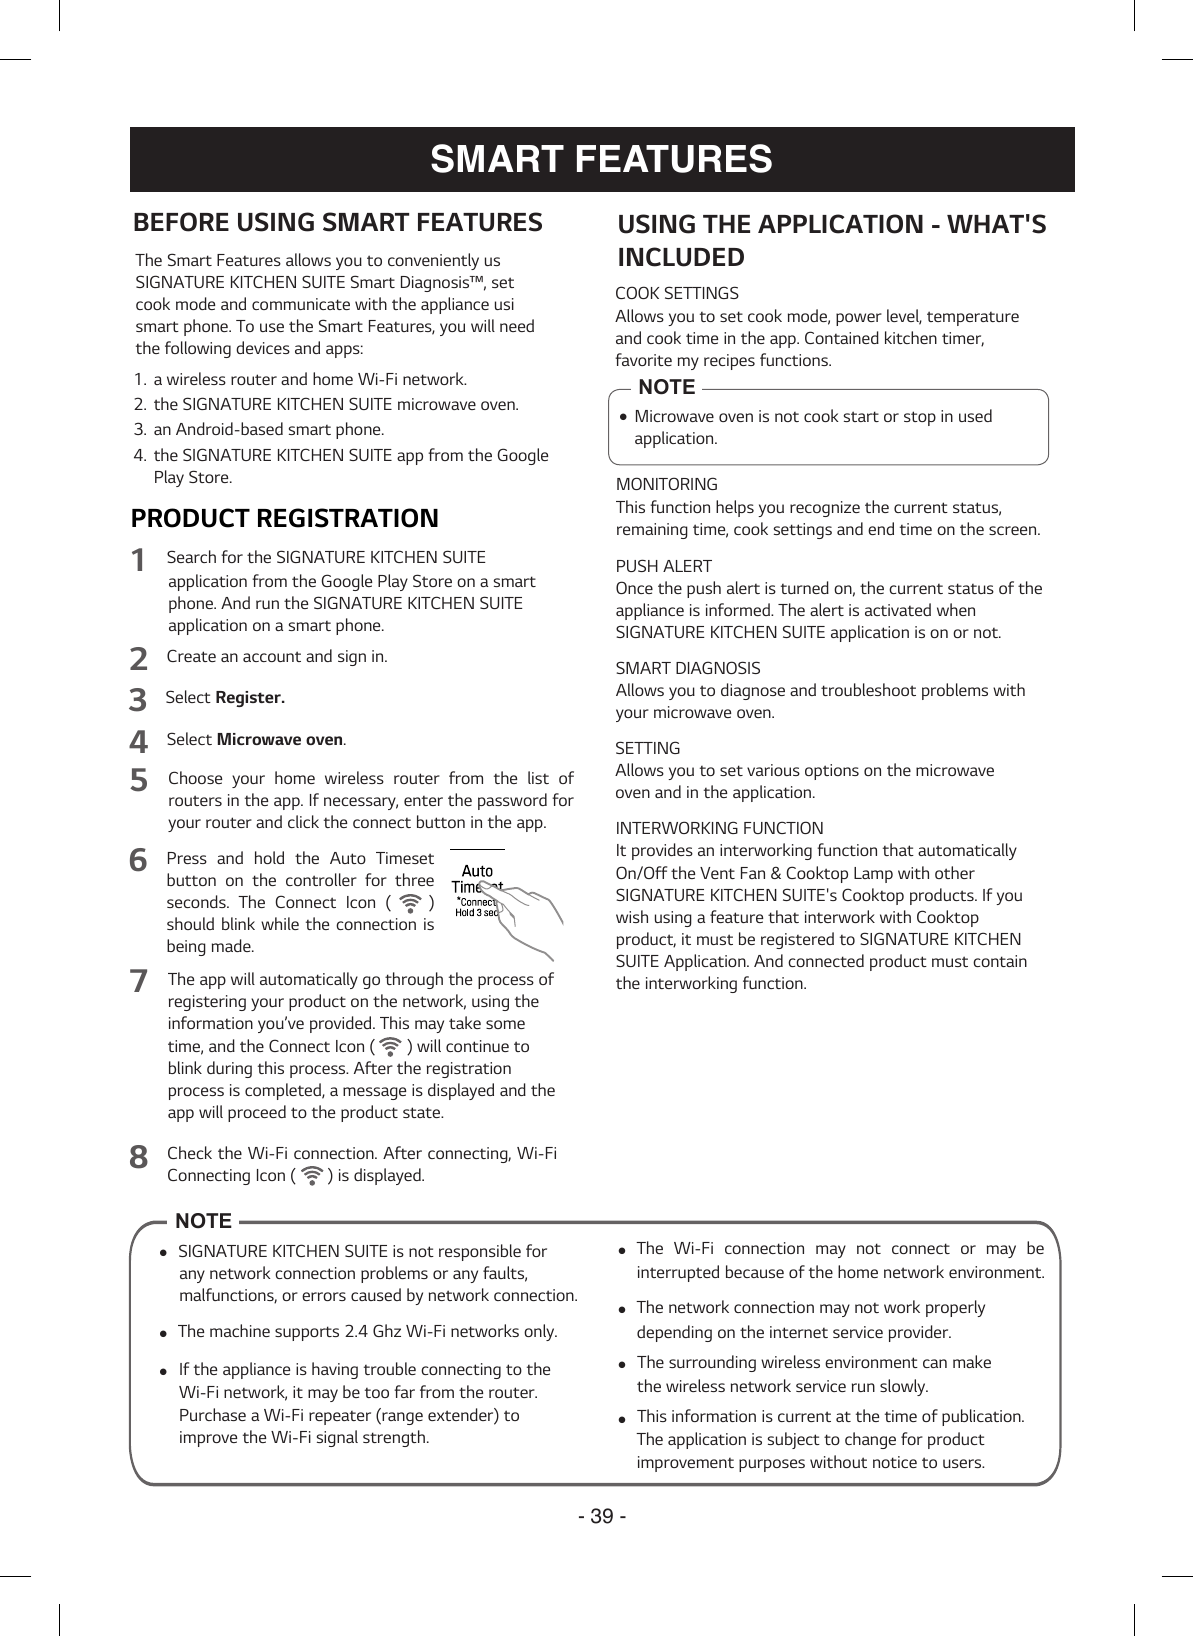
![- 46 -SMART DIAGNOSIS Should you experience any problems with your microwave oven, it has the capability of transmitting data to your smart phone using the SmartThinQ Application or via your telephone to the SIGNATURE KITCHEN SUITE call center.Smart Diagnosis™ cannot be activated unless your microwave oven is turned on. If your microwave oven is unable to turn on, then troubleshooting must be done without using Smart Diagnosis™.USING SMART DIAGNOSIS™SMART DIAGNOSIS™ USING YOURSMART PHONE1. Download the SmartThinQ application on your smart phone.2. Open the SmartThinQ application on your smart phone. Press the Smart Diagnosis™ button to advance to the next screen.3. Follow the directions in the application. Using ‘Tag on’ is recommended but, if it does not work well, the application will show how to use Audible Diagnosis.4. Press [ ] in the SmartThinQ app for a more detailed guide on how to use the Tag On function.SMART DIAGNOSIS™ THROUGH THE CALL CENTER1. Call the call center at: 1-855-790-6655.2. When instructed to do so by the call center agent, hold the mouthpiece of your phone over the Smart Diagnosis™ logo on the machine. Hold the phone no more than one inch from (but not touching) the machine.3. Press and hold the Start button for three seconds.4. Keep the phone in place until the tone transmission has nished. The display will count down the time.5. Once the countdown is over and the tones have stopped, resume your conversation with the call center agent, who will then be able to assist you in using the information transmitted for analysis.SMART DIAGNOSIS NOTE NOTE NOTE• Call quality differences by region may affect the function.• Use the home telephone for better communication performance, resulting in better service.• Bad call quality may result in poor data transmission from your phone to the machine, which could cause Smart Diagnosis™ to malfunction.Do not touch any other buttons or icons on the display screen.• For best results, do not move the phone while the tones are being transmitted.• If the call center agent is not able to get an accurate recording of the data, you may be asked to try again.](https://usermanual.wiki/LG-Electronics-USA/Q172NYA/User-Guide-2923144-Page-47.png)