LG Electronics USA T17LD COLOR MONITOR User Manual C170 1ENGLISH FINAL
LG Electronics USA COLOR MONITOR C170 1ENGLISH FINAL
UserManual.wiki
>
LG Electronics USA
>
T17LD User Manual
>
USERS MANUAL 1
Contents
1.
USERS MANUAL 1
2.
USERS MANUAL 2
USERS MANUAL 1
Navigation menu
Upload a User Manual
Namespaces
Wiki Guide
HTML
PDF
Info
Views
User Manual
Discussion / Help
Navigation


![61. Switch on your computer.2. Switch on your monitor by pushing and releasing the power switch marked [ ]at the front of the bezel.[To switch off your monitor, push and release the power switch again.]3. To update or install device drivers, follow the instructions in the Device DriverInstallation section on page 7.Switching on your Monitor](https://usermanual.wiki/LG-Electronics-USA/T17LD.USERS-MANUAL-1/User-Guide-457885-Page-9.png)

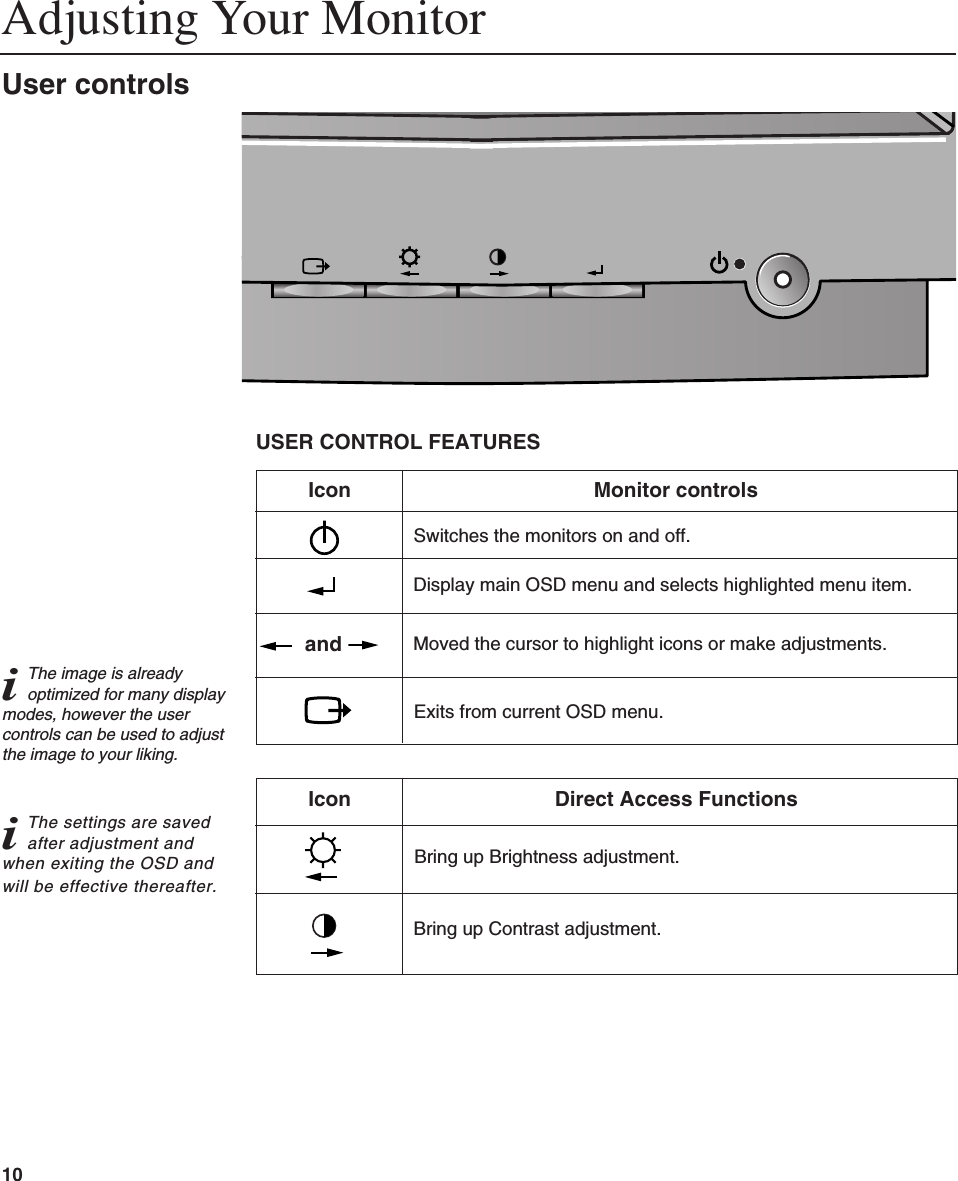
![ENGLISH11The settings adjustable with the user controls are viewed through the On -Screen Display (OSD). Press the enter button [ ] to display the main OSDmenu.Initial appearance of OSDOn-screen display (OSD) controlsiThe LCD monitor needstime to become thermallystable the first time you turn iton each day. Thus, to achievemore accurate adjustments forparameters, allow the LCDmonitor to warm up (be On) forat least 15 minutes beforemaking any screen adjustment.OSD functionsOSD Icon Description sub-menu(s) Control andAdjustmentsAdjusts brightnessAdjusts contrastBrightnessContrastsub menu; Adjustment screen; main menu; MoireDegaussTo reduce the degree of moire.The moire adjustments may affectthe focus of the screen.To manually demagnetize the screento avoid showing incorrect images orcolors.Image Quality• Horizontal• Vertical• Save• YES• NO](https://usermanual.wiki/LG-Electronics-USA/T17LD.USERS-MANUAL-1/User-Guide-457885-Page-14.png)