LG Electronics USA U370 PCS GSM Phone with Bluetooth User Manual U370 ENG 070726
LG Electronics USA PCS GSM Phone with Bluetooth U370 ENG 070726
UserManual.wiki
>
LG Electronics USA
>
U370 User Manual
Users Manual
Navigation menu
Upload a User Manual
Namespaces
Wiki Guide
HTML
PDF
Info
Views
User Manual
Discussion / Help
Navigation
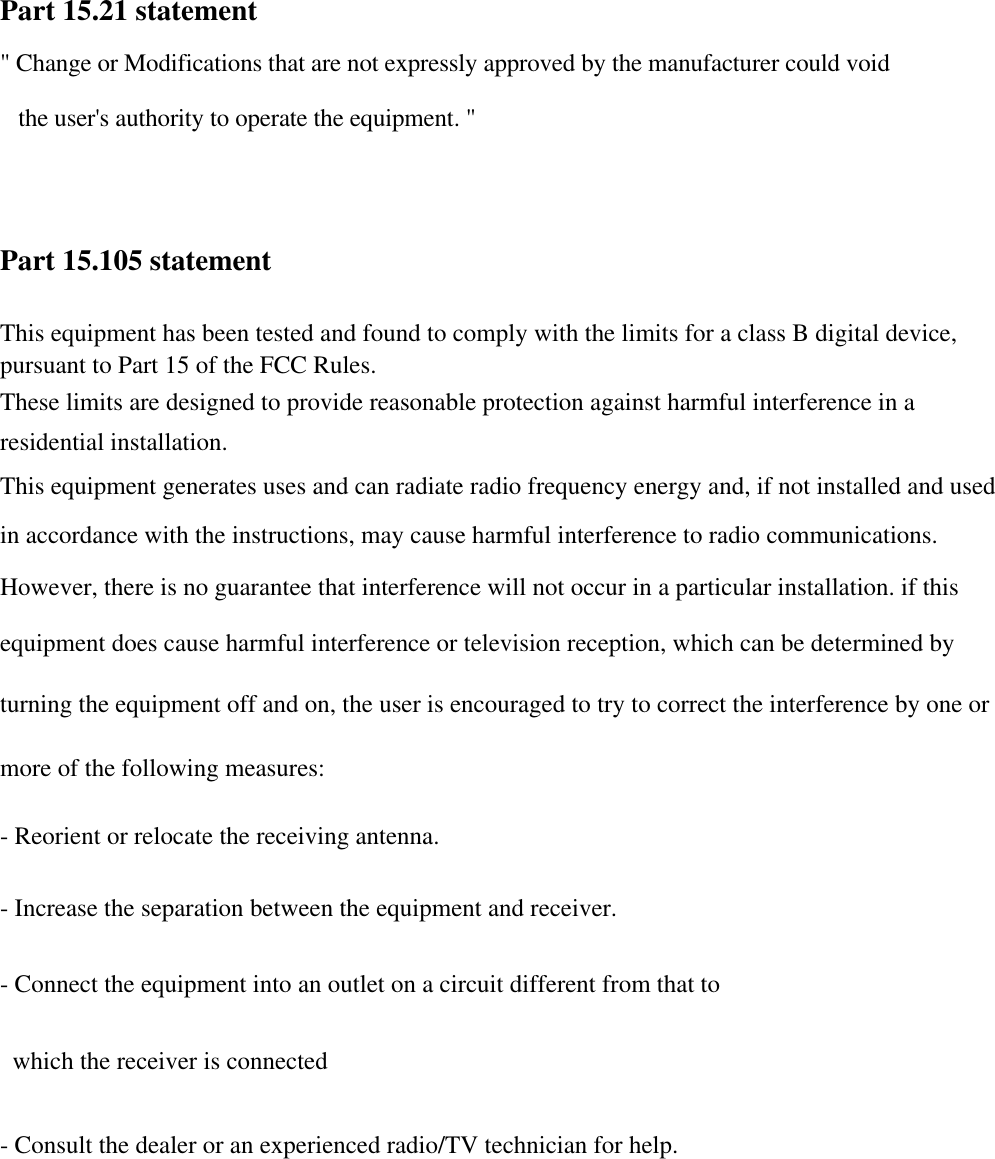
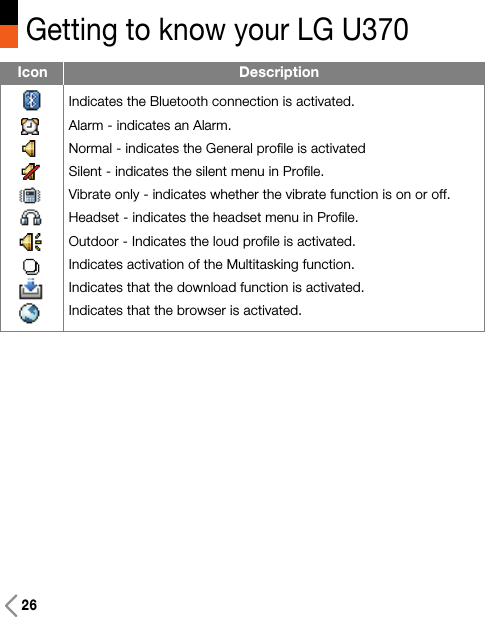
![8For Your SafetyImportant InformationThis user guide contains important information on the use andoperation of this phone. Please read all the informationcarefully for optimal performance and to prevent any damageto or misuse of the phone. Any changes or modifications notexpressly approved in this user guide could void your warrantyfor this equipment.Before You StartSafety InstructionsWARNING! To reduce the possibility of electric shock, do notexpose your phone to high humidity areas, such as thebathroom, swimming pool, etc.Always store your phone away from heat. Never store yourphone in settings that may expose it to temperatures less than32°F or greater than 104°F, such as outside during extremeweather conditions or in your car on a hot day. Exposure toexcessive cold or heat will result in malfunction, damageand/or catastrophic failure.Be careful when using your phone near other electronicdevices. RF emissions from your mobile phone may affectnearby in adequately shielded electronic equipment. Youshould consult with manufacturers of any personal medicaldevices such as pacemakers and hearing aides to determine ifthey are susceptible to interference from your mobile phone.Turn off your phone in a medical facility or at a gas station.Never place your phone in a microwave oven as this willcause the battery to explode.IMPORTANT! Please read the TIA SAFETY INFORMATION onpage 78 before using your phone.Safety InformationRead these simple guidelines. Breaking the rules may bedangerous or illegal. Further detailed information is given in thisuser guide.]Never use an unapproved battery since this could damagethe phone and/or battery and could cause the battery toexplode.]Never place your phone in a microwave oven as it willcause the battery to explode.]Do not dispose of your battery by fire or with hazardous orflammable materials.]Make sure that no sharp-edged items come into contactwith the battery. There is a risk of this causing a fire.]Store the battery in a place out of reach of children.]Be careful that children do not swallow any parts such asrubber plugs (earphone, connection parts of the phone,etc.). This could cause asphyxiation or suffocation.](https://usermanual.wiki/LG-Electronics-USA/U370/User-Guide-838254-Page-4.png)
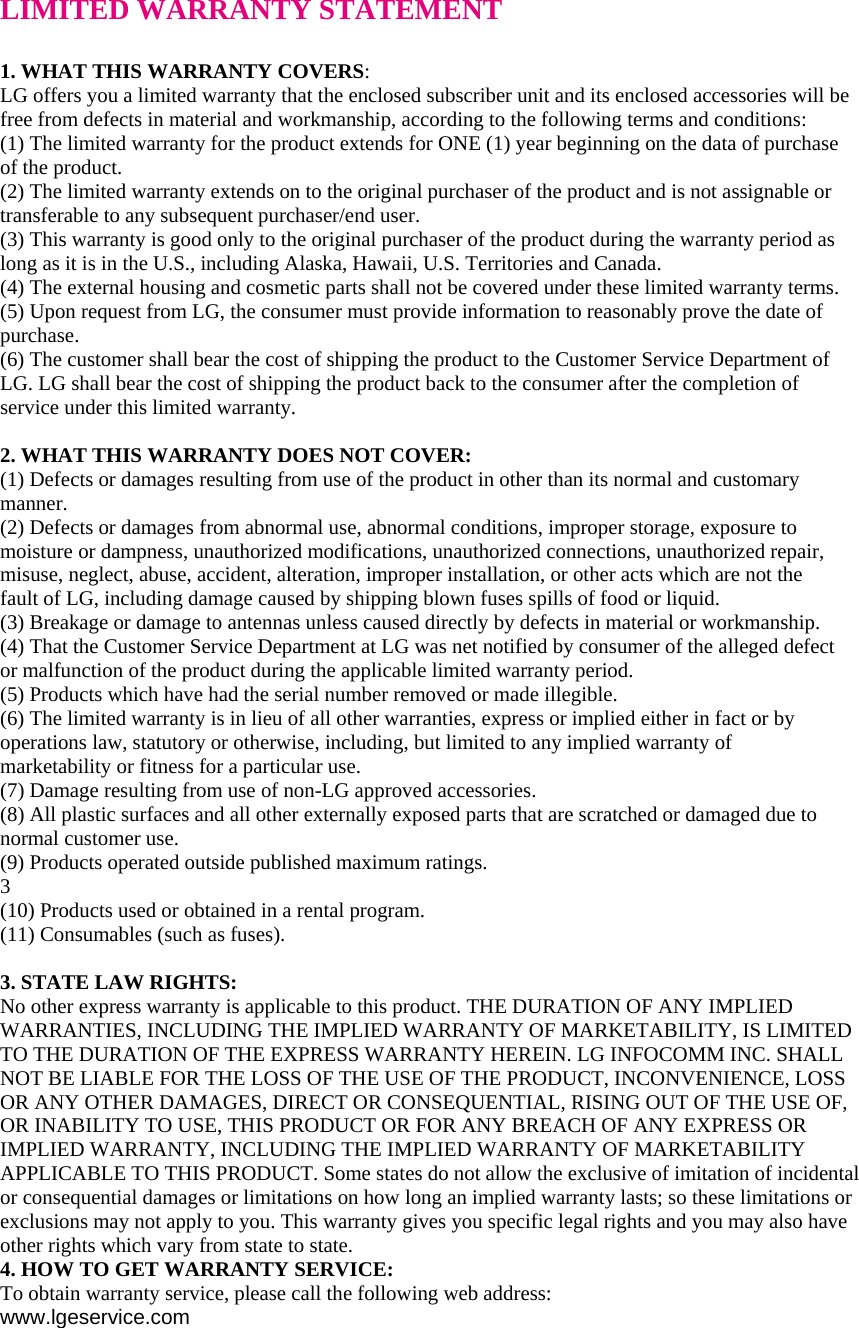
![9For Your Safety]Unplug the power cord and charger during lightning stormsto avoid electric shock or fire.]When riding in a car, do not leave your phone or set up thehands-free kit near to the air bag. If wireless equipment isimproperly installed and the air bag is activated, you may beseriously injured.]Do not use a hand-held phone while driving.]Do not use the phone in areas where its use is prohibited.(For example: aircraft).]Do not expose the battery charger or adapter to directsunlight or use it in places with high humidity, such as abathroom.]Never store your phone in temperatures less than- 4°F orgreater than 122°F.]Do not use harsh chemicals (such as alcohol, benzene,thinners, etc.) or detergents to clean your phone. There is arisk of this causing a fire.]Do not drop, strike, or shake your phone severely. Suchactions may harm the internal circuit boards of the phone.]Do not use your phone in high explosive areas as the phonemay generate sparks.]Do not damage the power cord by bending, twisting, pulling,or heating. Do not use the plug if it is loose as it may causea fire or electric shock.]Do not place any heavy items on the power cord. Do notallow the power cord to be crimped as it may cause fire orelectric shock.]Do not handle the phone with wet hands while it is beingcharged. It may cause an electric shock or seriouslydamage your phone.]Do not disassemble the phone.]Do not place or answer calls while charging the phone as itmay short-circuit the phone and/or cause electric shock orfire.]Only use the batteries, antennas, and chargers provided byLG. The warranty will not be applied to products provided byother suppliers.]Only authorized personnel should service the phone and itsaccessories. Faulty installation or service may result inaccidents and consequently invalidate the warranty.]Do not hold or let the antenna come in contact with yourbody during a call.]An emergency call can be made only within a service area.For an emergency call, make sure that you are within aservice area and that the phone is turned on.](https://usermanual.wiki/LG-Electronics-USA/U370/User-Guide-838254-Page-5.png)
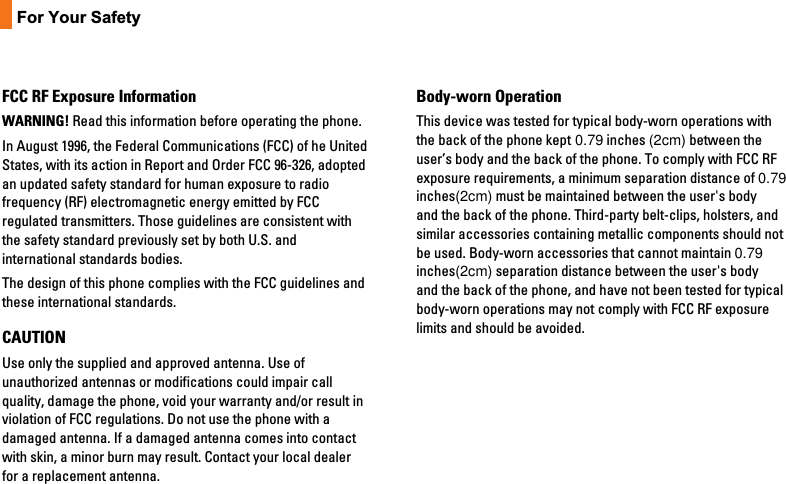
![11For Your SafetyVehicle Mounted External Antenna(optional, if available)A minimum separation distance of 8 inches (20cm) must bemaintained between the user/bystander and the vehiclemounted external antenna to satisfy FCC RF exposurerequirements. For more information about RF exposure, visitthe FCC website at www.fcc.govFCC Part 15 Class B ComplianceThis device and its accessories comply with part 15 of FCCrules. Operation is subject to the following two conditions: (1) This device and its accessories may not cause harmfulinterference, and (2) this device and its accessories mustaccept any interference received, including interference thatmay cause undesired operation.Cautions for Battery]Do not disassemble.]Do not short-circuit.]Do not expose to high temperature: 60°C (140°F).]]Do not incinerate.Battery Disposal]Please dispose of your battery properly or bring to yourlocal wireless carrier for recycling.]Do not dispose in fire or with hazardous or flammablematerials.Adapter (Charger) Cautions]Using the wrong battery charger could damage your phoneand void your warranty.]The adapter or battery charger is intended for indoor useonly.Do not expose the adapter or battery charger to direct sunlightor use it in places with high humidity, such as the bathroom.](https://usermanual.wiki/LG-Electronics-USA/U370/User-Guide-838254-Page-7.png)
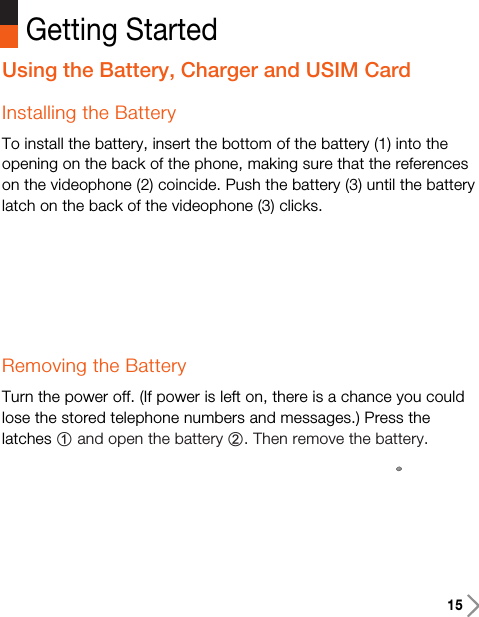

![29Turning your handset onEnsure that your USIM card is in your handset and the battery ischarged. Press the key.Enter the USIM PIN code that was supplied with your USIM card ifPIN code setting is on.After a few seconds you will be registered on the network.Turning your handset offPress and hold the key until power is off.There may be some delay while the handset powers down.Do not re-power the handset during this time.Access CodesYou can use the access codes described in this section to avoidunauthorised use of your phone. The access codes (except PUK andPUK2 codes) can be changed by using the Change codes feature[Menu #.5.3]PIN code (4 to 8 digits)The PIN (Personal Identification Number) code protects your USIMcard against unauthorised use. The PIN code is usually supplied withthe USIM card. When the PIN Code Request is set to Enable, yourGeneral Functions](https://usermanual.wiki/LG-Electronics-USA/U370/User-Guide-838254-Page-20.png)
![44Games & appsThis Handset supports JavaTM so that you can download games fromPlanet 3, and play them on your handset.NotePlease note that downloading a game usually requires additionalcharge.My games & appsThis menu is used to locate and run downloaded applications, e.g.games. SettingsThis menu is used to configure the Java Internet portal site toconnect to in order to Download games & apps.If this menu is selected, the list of currently saved Java Internetportal sites and the configured displayed.The first Settings screen: Shows the item list if there are saveditems.1. Select an item using the up or down navigation key.2. Press the key to activate the selected item service.3. Press the left soft key [Options] to display the popup menu.aAdd new: Adds new profile. aView: Shows the contents of the selected item.](https://usermanual.wiki/LG-Electronics-USA/U370/User-Guide-838254-Page-35.png)
![48CallingMake video callYou can make a video call using this menu.1. Enter the number you want to dial.-. You can key in the number.-. You can select the number from Search contacts using the leftsoft key [Options]2. Press the center key [Video call] to make a video call.Call durations Shows call duration time by type. Press the left soft key [Option] andselect [Clear] to reset. A security code will be requested.Data volumeYou can check Sent, Received, All data volumes,and Reset all. Call divertThis menu allows you to configure the call divert service whichdiverts incoming calls to a user-specified number.](https://usermanual.wiki/LG-Electronics-USA/U370/User-Guide-838254-Page-39.png)
![60CameraThis application enables you to take a still picture. You can take apicture in your desired size, and use it for the contacts photo, homescreen and other more general purposes. Once taken, a still imagecan be sent by Multimedia msg or Email or Bluetooth.Press the left soft key [Options] to display the following popup menuitems.aGo to: The Pictures folder is launched and displays existingpictures as thumbnails.aSize: Sets the size of an image. aQuality: Sets the quality of an image.aBurst shot: Sets whether to enable multi-shot photography.aBrightness: Allows the brightness level to be set.aWhite balance: Sets the white balance.aNight mode: Switches to Night mode.aFrame Shot: Selects a frame around the camera image.aTimer: Camera timer can be set to None/3 seconds/5seconds/10 seconds.aEffect: Sets the special effect to the picture.aSound: Sets the sound when the shutter is pressed. Multimedia](https://usermanual.wiki/LG-Electronics-USA/U370/User-Guide-838254-Page-51.png)
![61aMemory: Sets the memory.aMirror: Sets the mirror mode.aSwap Cam: Switches between the External and Internal camera.aPreview screen: allows you to preview the image in Full Screenmode, irrespective of which image dimensions were selected.NoticeWhen you take a picture in 1280x960, 640x480, 320x240,Wallpaper, 176x144, and Contact size, you can see the added areaon both sides of the screen compare with the preview image.Video cameraThis application enables you to record a video clip. Once recorded, avideo clip can be sent by Multimedia message or Email or Bluetooth.Press the left soft key [Options] to display the following popup menuitems.aGo to: The Video clip folder is launched and displays existingvideo clip as thumbnails.aQuality: Sets the quality of a video clip.aBrightness: Allows the brightness level to be set.aWhite balance: Sets the white balance.](https://usermanual.wiki/LG-Electronics-USA/U370/User-Guide-838254-Page-52.png)
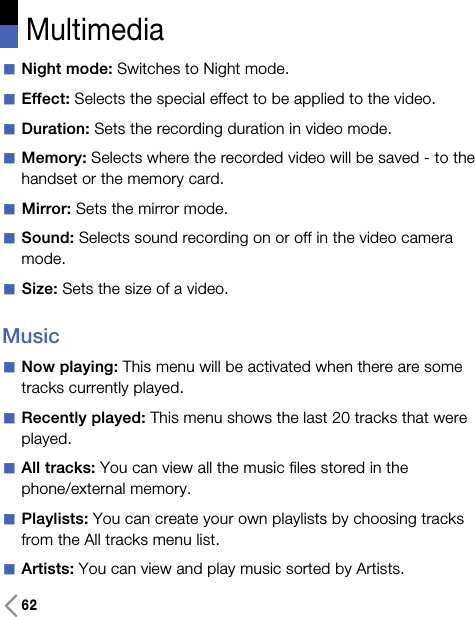
![63aAlbums: You can view and play music sorted by Albums.aGenres: You can view and play music sorted by Genres.aShuffle tracks: If you want to play the music continuously andrandomly, select this option.Video playlistsaAll videos: You can view all the video files stored in thephone/external memory.aPlaylists: You can view your own playlists by choosing from theAll videos menu list.Voice recorderThis function allows you to record a voice memo. Press the left soft key [Options] to display the following popup menuitems.aDuration: Determines the duration of a recorded voice.aQuality: Determines the quality of a recorded voice.aGo to my sounds: Show the voice lists recorded.](https://usermanual.wiki/LG-Electronics-USA/U370/User-Guide-838254-Page-54.png)
![66MessagesCreate new messageMessage Press the Message shortcut key to display Messages menu, selectCreate new message and then select Text message.You can write and edit a message containing a combination of text,image, video and audio.1. Enter your message in the Message field. 2. Press the right soft key [Back] to return to the previous menu. 3. Press the confirmation key [Send] to go to the recipients screen.You can then choose recipients by entering numbers directly orfrom contacts stored in the phonebook. 4. Press the right soft key [Back] to return to your message.5. Press the confirmation key [Send] to send the message. The message will automatically be saved in the Sent Items folder.If the message has not been sent, it will remain in the Outbox witha failed status.Email To send an email, you should first set up an email account (Forfurther details on how to set up an email account, see the page 69).](https://usermanual.wiki/LG-Electronics-USA/U370/User-Guide-838254-Page-57.png)
![67Message edit1. Select Email from the Create new Message menu.2. You can input up to 20 addresses in the To, Cc fields and up to10 addresses in the Bcc field.3. Input the title of the mail to be sent in the Subject field.4. Input the content of the mail to be sent in the Message field.5. You can attach up to 10 files in a message.6. When you have finished writing a message, press the key. You can send the message to outbox for Background sending.Inbox1. You can view saved messages. Select a message and then pressthe key to view the message.2. You can view the previous or next message by using the left andright navigation keys.3. To view a Multimedia message not yet downloaded, selectRetrieve in the message view screen. The message will begindownloading and will be displayed when it is finished.4. You can use the following functions by using the left soft key[Options].aReply to: Creates reply to the selected message.](https://usermanual.wiki/LG-Electronics-USA/U370/User-Guide-838254-Page-58.png)
![69[Options]. According to email mailbox type(POP3 or IMAP4),supported [Options] is different.aReply to: Creates a reply to the sender or all recipients of theselected message.aForward: Forwards the selected email message to others.aCopy to: Copy the selected message to other folder.(OnlyIMAP4)aRetrieve: Retrieves new email messages.(Only POP3)aMessage synchronisation: Email message synchronizes withthe server.(Only IMAP4)aDelete: In case of POP3, deletes the email. In case of IMAP4,changes the flag.aDelete from server: Deletes the email from server.(Only POP3)aCreate new message: You can write a new message or anEmail.aSet as read/unread: You can set the selected email to read orunread.aMark/Unmark: Use mark/unmark option for multiple deletion.aExpunge: Expunges the selected message from theserver.(Only IMAP4)](https://usermanual.wiki/LG-Electronics-USA/U370/User-Guide-838254-Page-60.png)
![70MessagesaSort by: Sort the email message by selected type.aMessage information: Brief information on the messageincluding size, type, date and filenames.4. Select your desired message from the retrieved mail headers toretrieve the mail contents from the server.In email viewer, you can use the following functions by using the leftsoft key [Options].aReply to: Creates a reply to the sender or all recipients of theselected message.aForward: Forwards the selected email message to others.aSave address: Saves the sender's address to Contacts.aDelete: In case of POP3, deletes the email. In case of IMAP4,changes the flag.aDelete from server: Deletes the email from server.(Only POP3)aExtract: Extracts the number, email address or URL from emailmessage.- Number: Extracts the phone number included in the text ofthe message.- Email address: View up to 10 email addresses contained inthe text of the message. You can send a message or save as acontact by selected number.](https://usermanual.wiki/LG-Electronics-USA/U370/User-Guide-838254-Page-61.png)
![71- Web address: View up to 10 URLs contained in the text of themessage. You can connect to the URL or save it as abookmark.aView attachment: Shows the attached file.aView recipients: Shows the email addresses of the recipientsand reference(Cc).aCreate new message: You can write a new message or anE-mail.aMessage information: Brief information on the messageincluding size, type, date and filenames.Drafts1. You can edit saved messages. Select a message and then pressthe key to edit the message.2. You can use the following functions by using the left soft key[Options].aSend : Sends the selected message.aDelete: You can delete a selected message.aCreate new message: You can write a new message.aMark/Unmark: You can mark or unmark the selectedmessage.](https://usermanual.wiki/LG-Electronics-USA/U370/User-Guide-838254-Page-62.png)
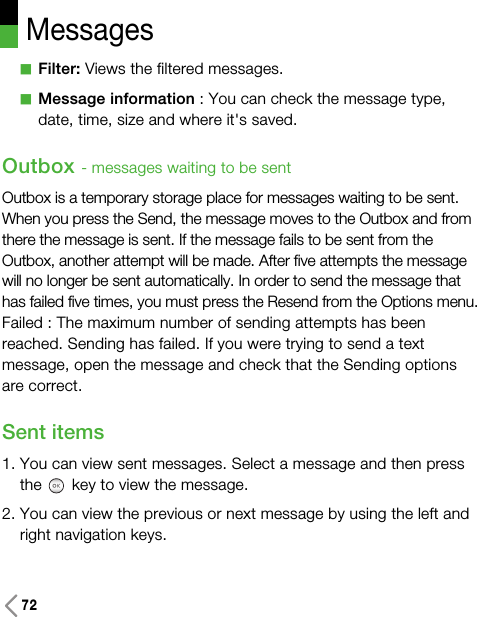
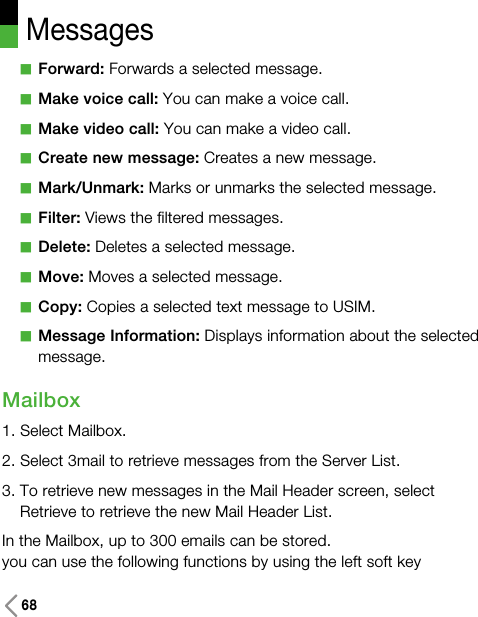
![733. You can use the following functions by using the left soft key[Options].aReply to: Creates reply to the selected message.aForward: You can forward a selected message.aEdit: You can edit a selected message.aCreate new message: You can write a new message.aMark/Unmark: You can mark or unmark the selectedmessage.aFilter: Views the filtered messages.aDelete: You can delete a selected message.aMessage Information: Displays information about the selectedmessage.Templates Text Templates- You can add, edit, and delete frequently-used phrases. Multimedia Templates- You can add, edit, and delete pre-installed or user-createdtemplates in order to create multimedia messages more easily.](https://usermanual.wiki/LG-Electronics-USA/U370/User-Guide-838254-Page-64.png)
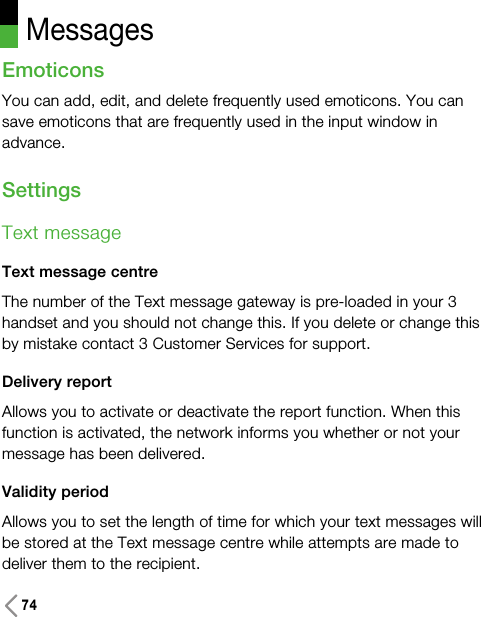

![Messages78Delivery timeConfigures the delivery time of message to the recipient. TheMultimedia message centre will deliver the message after the deliverytime.Multi. msg centreThe details for the Multimedia gateway are pre-loaded onto yourhandset and should not be changed. If you change or delete theseby mistake contact 3 customer services for support.You can add or edit the profile of multimedia message except thedefault profile.EmailEmail accounts This menu allows you to edit, delete and add an Email account.To set up an Email account, do the following.1. Select Messages/Settings/Email/Email accounts after pressing thekey in the idle screen 2. You can edit a selected Email account by pressing the left softkey[option].](https://usermanual.wiki/LG-Electronics-USA/U370/User-Guide-838254-Page-69.png)
![793. Enter details Username (your phone number with Country codewithout + eg 447782227302), Password, Email address, Replyemail address, etc.4. You can authenticate by pressing the key [Save]. Once you have set up details of your other accounts, you can collectmail from those accounts by retrieving from Mailbox. To retrieve an email, do the following:1. Select the mail server you want to retrieve in the Mailbox.2. Choose the email by using the navigation key.3.Press the left soft key [Option], and then select [Retrieve] or[Message synchronisation].4. Press the key.Allow reply emailDetermines whether to allow sending a read confirmation mail for aread confirmation mail request.Request reply emailDetermines whether to request a read confirmation mail.](https://usermanual.wiki/LG-Electronics-USA/U370/User-Guide-838254-Page-70.png)
![84My imagesThis application enables you to view still images. The image filessaved in the handset are represented by thumbnails. Select thedesired image to view the enlarged image. Press the left soft key[Options] to display the following popup menu items (in 1. Image list).aSend: Enables the selected image to be attached to a messageand the message sent.aUse as: You can set an image file as the screen theme. (Mainwallpaper, Outgoing call, Contacts image, Start-u and Shut down)aMove: Enables the file to be moved to other folder.aCopy: Enables the file to be copied to other folder.aDelete: Deletes the selected image.aMark/Unmark: You can mark or unmark the selected file.aFile: - Rename: Enables the image to be renamed.- Edit: Enables the image to be edited.- File info.: Shows information about the selected image file.aCreate new folder: You can create new folder.aExternal display: My stuff](https://usermanual.wiki/LG-Electronics-USA/U370/User-Guide-838254-Page-75.png)
![85aSlide show: You can start the slide show.aSort by: Sorts images. aList/Grid view: You can set the view style. aMemory status: Shows the current memory usage. Press the left soft key [Options] to display the following popup menuitems (in 2. Picture Viewer).aSend: Enables the selected image to be attached to a messageand the message sent.aUse as: You can set an image file as the screen theme.(Mainwallpaper, Outgoing call, Contacts image, Start-u and Shut down)aFull screen view: You can view the selected image in LCD fullsize vertically. aLandscape view: You can view the selected image in LCD fullsize horizontally. aDelete: Deletes the selected image.aFiles- Rename: Enables the image to be renamed.- Edit: Enables the image to be edited.- File info.: Shows information about the selected image file.](https://usermanual.wiki/LG-Electronics-USA/U370/User-Guide-838254-Page-76.png)
![86My stuffaSlide show: You can start the slide show.My sounds (Music)This application plays MP3, MIDI and AAC files so that you can listento them. Select your desired audio file in the list mode showing audiofiles.The following options are provided by the My sounds in theAudio Player.Press the left soft key [Options] to display the following popup menuitems (in 1. audio player status).aMinimize: Background playingaRepeat: Repeats the audio file.aShuffle: Play randomlyaEqualizer: This menu helps you to adjust various of environmenton listening to the music.aSend: Enables the selected audio file to be sent via MMS, Emailand Bluetooth.aDelete: Deletes the selected audio file. aVisualization: Control view mode (Animation view, Meta view)aFile info.: Shows information about the selected audio file.aUse as: You can set an audio file as the sound theme (Voice](https://usermanual.wiki/LG-Electronics-USA/U370/User-Guide-838254-Page-77.png)
![87ringtune, Video ringtune, Message tone, Start-up and Shut down).Press the left soft key [Options] to display the following popup menuitems(in 2. Audio list).aSend: Enables the selected image to be attached to a messageand the message sent.aUse as: You can set an audio file as the sound theme (VoiceRingtone,Video Ringtone, Message tone, Start-up and Shutdown).aMove: Enables the file to be moved to other folder.aCopy: Enables the file to be copied to other folder.aDelete: Deletes the selected audio file. aMark/Unmark: You can mark or unmark the selected file.aFile - Rename: Enables the file to be renamed.- File info.: Shows information about the selected audio file.aCreate new folder: You can create new folder.aSort by: Sorts audio files by Date,Type and Name. aMemory status: Shows the current memory usage.](https://usermanual.wiki/LG-Electronics-USA/U370/User-Guide-838254-Page-78.png)
![88My stuffMy videosThis application plays recorded video (.3gp or MPEG4 files). Select adesired video. The following options are provided by the VideoPlayer.Press the left soft key [Options] to display the following popup menuitems (in 1. video player status).aLandscape view: Enables the selected video to be shown aswide size. In Landscape mode, you can change the video size topress # key or Right soft key.aMute/Unmute: Mutes/Unmutes the sound temporarily.aCapture: Captures an image from the video file. (only pause status)aRepeat: Repeats the video file.aFile info.: Shows information about the selected video file.aSend: Enables the selected audio file to be sent via Message,Email and Bluetooth.aDelete: Deletes the selected video file.aUse as: You can set an audio file as the sound theme (Voiceringtone, Video ringtone).](https://usermanual.wiki/LG-Electronics-USA/U370/User-Guide-838254-Page-79.png)
![89Press the left soft key [Options] to display the following popup menuitems (in 2. video list). aSend: You can attach the selected video file to a message andsend the message if not content protected.aUse as: Enables the file to set as Voice Ringtone and videoRingtone.aMove: Enables the file to be moved to other folder.aCopy: Enables the file to be copied to other folder.aDelete: Deletes the selected video file.aMark/Unmark: You can mark or unmark the selected file.aFile:- Rename: Enables the video to be renamed.- File info.: Shows information about the selected video file.aCreate new folder: You can create new folder.aSort by: Sorts video files by Date,Type and Name. aList/Grid view: You can set the view style. aMemory status: Shows the current memory usage.](https://usermanual.wiki/LG-Electronics-USA/U370/User-Guide-838254-Page-80.png)
![92Quick menuQuick menu allows you to add your own favourites to the list alreadyprovided. aAdd new: In the [Empty] list, press the left soft key[Options].Select the item from the menu and save the desired menu item.aDelete all: In the added menu items, press the left soft key[Options]. Select Delete all from the menu to delete Quick menuitems 7 to 0.Select View info. from the menu to view the information about theactual location of the added menu item.Alarms The alarm function allows you to set up multiple separate alarms.You can also set the time, repetition interval and alarm sound.aSelect your desired alarm to configure in the alarm list. If there isno alarm, the left soft key [Options] to add a new alarm.aSet/Cancel alarm: Select desired set time mode using thenavigation key.aInput alarm time: Input your desired alarm time by specifyinghour and minute. Tools](https://usermanual.wiki/LG-Electronics-USA/U370/User-Guide-838254-Page-83.png)
![93aSelect repeat mode: Select desired repeat mode using thenavigation key.aSelect bell: Select the left soft key[Edit] key to display the MySound window, and select the bell to use for the alarm.aInput memo: Input alarm name.When you have completedconfiguration, press the key to save the changed alarmconfiguration.NoteAlarm function works even if the phone is turned off.CalculatorThe calculator function allows you to add, subtract, multiply anddivide. You can input numbers using the number keys, andoperators using the up, down, left, and right navigation key.You can input a decimal point by pressing the key.Whenever you press the key, characters are sequentiallydeleted in reverse direction.](https://usermanual.wiki/LG-Electronics-USA/U370/User-Guide-838254-Page-84.png)

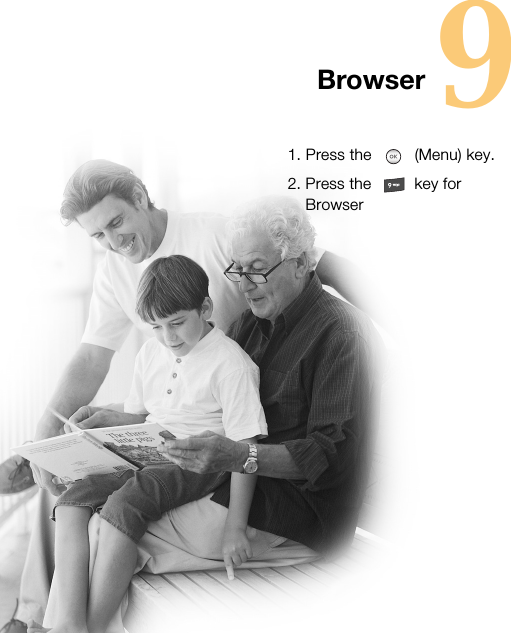
![1023 brings you a whole world of communications, information andentertainment services.You can ask for directions within major cities, get the latest news,keep up to date with sports action and much, much more.The browser is available in the 3G coverage area.HomeIf you want to reload current page, press the left soft key [Options]and select 2.Reload The following example shows the functionality of browser menu‘Forward’.1. Navigation Page A > Page B > Page C > Page D2. On Page D, press the right soft key [Back], it will place a user inPage C.3. On Page C, if press the right soft key [Back], move to Page B.Else if press the left soft key [Options], select 3.Go and select2.Forward, move to Page D again.Enter addressYou can manually enter a URL address and access the associatedweb page.Browser](https://usermanual.wiki/LG-Electronics-USA/U370/User-Guide-838254-Page-93.png)
![103BookmarksThis function allows you to store and edit frequently accessed sites.The following options are available. Press the left soft key [Options].SendSelected bookmark URL can be sent via text message, multimediamessage or Email.Add newAdds a new site to the bookmarks list.EditYou can edit and save the name and address of the selectedbookmark.Mark/UnmarkAllows you to mark or unmark the selected site.DeleteDelete the selected bookmark.](https://usermanual.wiki/LG-Electronics-USA/U370/User-Guide-838254-Page-94.png)
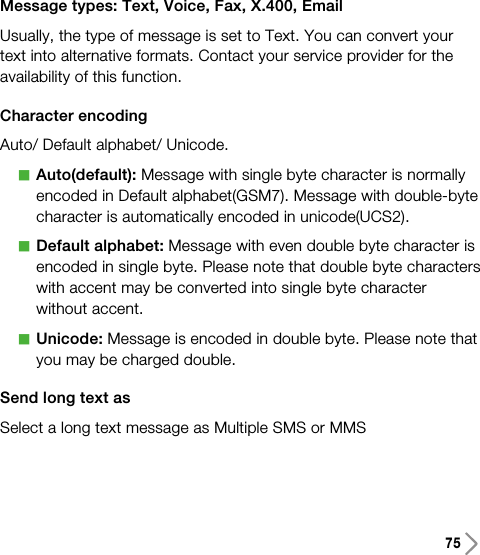
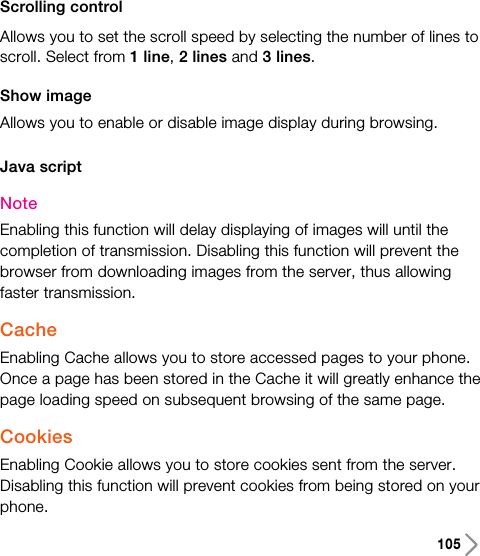
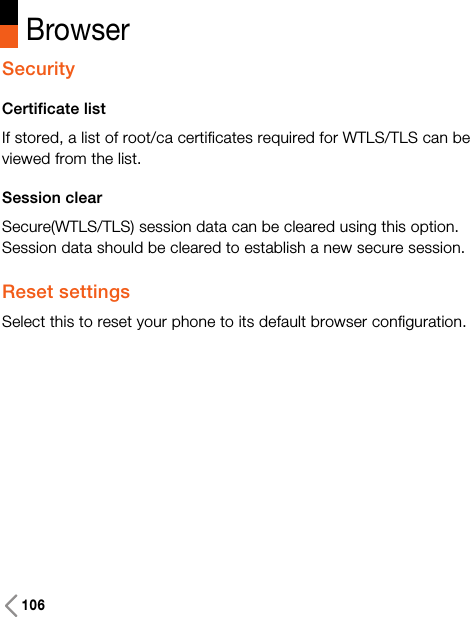
![104BrowserSaved pagesSaves the page on display as an off-line file.A maximum of 20 pages can be saved.HistoryYou can view the list of the pages you've already connected.SettingsYou can change the settings for browser connectivity, display,security, and certificates.ProfilesSelect the appropriate profile by pressing the [Select] key. This willactivate the profile to initiate browser launch.Appearance settingsCharacter encodingSets the browser default character set to one of the following.: Automatic, English(ASCII), English(ISO), English(LATIN),Unicode(UCS2 BE), Unicode(UCS2 LE), Unicode(UCS2 Auto),Unicode(UTF-16 BE), Unicode(UTF-16 LE), Unicode(UTF-16 Auto),Unicode(UTF-8).](https://usermanual.wiki/LG-Electronics-USA/U370/User-Guide-838254-Page-95.png)
![111Server synch. centreThis menu allows you to configure the profile for a Sync Server.* Server synchronisation is network and service dependent.AAdding a new profile1. In the Server synch. centre screen, press the left soft key[Options] key and select Add new to add a new profile.2. Input and choose the Profile name, Host address, Username,Password, Contacts, Contact name, Calendar, Calendar name,To do, To do name and Access point.3. Press the key to save the new profile.AEditing a profile1. Select a profile to edit.2. Press the left soft key [Options], select Edit, and edit theselected profile.ADeleting profiles1. Press the left soft key [Options] and select Delete.2. Select Yes to delete the selected profile.ASelecting a server: Select a desired server profile to synchronisein the Server synch. centre screen and then press the key.](https://usermanual.wiki/LG-Electronics-USA/U370/User-Guide-838254-Page-102.png)
![114OrganiserCalendarMonthly Schedule Management 1. Select the Organiser from the top menu.2. Select Calendar and press the key.3. The monthly schedule view is displayed.4. Initially, the cursor appears on today’s date according to yourhandset settings.5. You can move the date cursor to the desired location using theup, down, left and right navigation keys.6. On a date where a schedule item is saved, corresponding iconsand the number of saved schedule items are displayed on thebottom left of the screen.Adding a New Schedule Item1. Select the left soft key [Options] in the Monthly schedulemanagement screen, select the Add new event from the popupmenu and then press the key.2. Choose category using navigation keys. 3. Input start date&time using the numeric keys. 4. Input end date&time using the numeric keys.5. Input the subject.](https://usermanual.wiki/LG-Electronics-USA/U370/User-Guide-838254-Page-105.png)
![1156. Input the location.7. Select the alarm type using the left and right navigation keys.8. Select the repeat type using the left and right navigation keys.9. When 'User setting' is selected, Select interval type using left andright navigation keys. this field will be shown only when you select'User setting' on Set repeat field.10. Select the expiration type using the left and right navigation keys,if you choose 'Set expiration', then input the expiration datebelow using the numeric keys.11. Press the key to save the new schedule item.Deleting a Schedule Item1. Select the left soft key [Options] in the Monthly schedulemanagement screen, select Delete, and then press the key.2. Popup menus including Previous entries and All entries will bedisplayed.3. Select Previous entries and press the key to delete allschedule items prior to today.4. Select All entries, and press the key to delete all of theschedule items.](https://usermanual.wiki/LG-Electronics-USA/U370/User-Guide-838254-Page-106.png)
![116OrganiserSet holiday1. Select the left soft key [Options] in the Monthly schedulemanagement screen, select Set holiday and then press the key to set the selected date as the holiday.2. The date corresponding to the configured holiday is representedin red in the Monthly schedule management screen.Searching for a Schedule ItemSelect the left soft key [Options] in the Monthly schedulemanagement screen, select Search and then press the key todisplay the Search schedule items screen.1. Input the desired subject of the schedule item to find.2. Select the In type to find.3. Press the key.4. If there are schedule items that meet the search criteria, theschedule items are displayed. If there is no schedule itemsatisfying the search criteria, No match schedule Item messageappears.Moving to a Specific Date1. Select the left soft key [Options] in the Monthly schedulemanagement screen, select Go to date and then press the keyto display Go to date window.](https://usermanual.wiki/LG-Electronics-USA/U370/User-Guide-838254-Page-107.png)
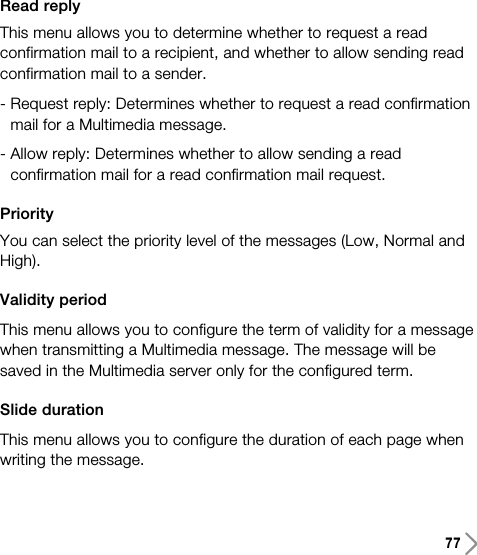
![1172. Input the desired date to move to and press the key.3. The date cursor of the Monthly schedule management screen willthen move to the specified date.To doTo do Enquiry1. Select the Organiser from the top menu.2. Select the To do item and press the key.3. The saved To do list is displayed.Adding To do Items1. To add a new To do item, select Add new using the left soft key[Options] in the To do enquiry screen. 2. Input Date, notes and priority when you add an item.3. Press the key [Save] to save the To do item. To do Delete1. Select the desired item(s) to delete from the To do list and pressthe Delete using the left soft key [Options] to delete the To do item.](https://usermanual.wiki/LG-Electronics-USA/U370/User-Guide-838254-Page-108.png)
![118OrganiserFinished/Not finished1. If you wish to mark an item in the saved To do list as done, selectthe item from the To do list.2. Select the Finished using the left soft key [Options] to draw a lineover the schedule item to mark it as done.3. To cancel Finished, select the Not finished.Mark/Unmark1. You can Mark/Unmark desired (all) item(s) from the list.2. By this option you can delete marked items.To do Detailed ViewTo view detailed information, select the desired item from the To dolist and press the key to display the detailed view screen aboutthe item.MemoSaved Memo’s1. Select the Organiser from the top menu.2. Select the Memo item and press the key.3. The saved memo list is displayed.](https://usermanual.wiki/LG-Electronics-USA/U370/User-Guide-838254-Page-109.png)
![119Memo Add1. To add a new memo, select Add new using the left soft key [Options] in the General memo screen. 2. Input the contents of the memo to be saved. 3. Press the key to save the memo. Memo Lock/Unlock1. Select the desired item to lock from the saved memos list. Thelocked memo is converted to a secret memo.2. Select Move to secret memo using the [Options] key to lock thememo item.3. To release the lock again, select Move to memo in the Secretmemo item.Memo EditYou can edit the selected memo.Memo Delete1. Select the desired item(s) to delete from the Memo list and selectDelete using the left soft key [Options] to delete the memo.](https://usermanual.wiki/LG-Electronics-USA/U370/User-Guide-838254-Page-110.png)
![120OrganiserSecret memo1. Select the Organiser from the top menu.2. Select the Secret memo item and press the key.3. To view or delete the memo set up as a secret memo, you have toinput the security code configured in the phone.Date finderThe date finder shows the number of remaining days while changingthe day.SettingsCalendarYou can change Calendar Default view and Week start time todesired options. Press right soft key [Done] to save settings inphone. Backup calendar & to do You can create the backup files of the calendar or tasks entriessaved in the phone when you insert an external memory.](https://usermanual.wiki/LG-Electronics-USA/U370/User-Guide-838254-Page-111.png)
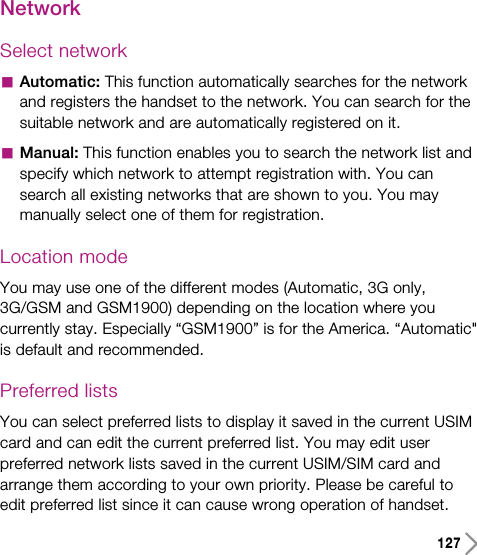
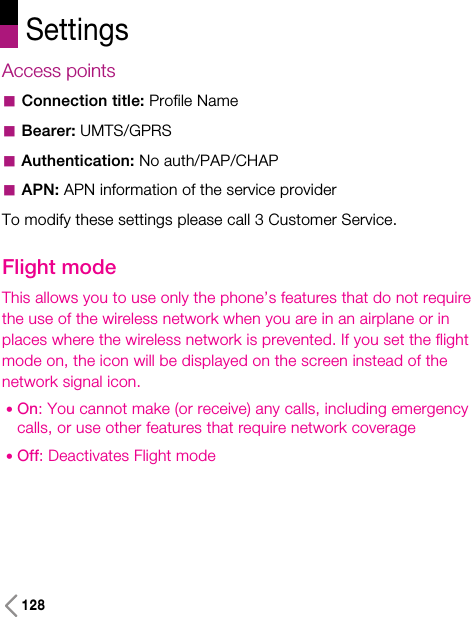
![129Access pointsThis menu shows the Access Point List. Select the key [Edit].Access Point has the following items.aConnection title: Profile NameaBearer: UMTS/CSD/GPRSaAuthentication: No auth/PAP/CHAPaUsername: User nameaPassword: PasswordaAPN: APN information of the service providerSecurityYou can set a PIN code. When it is activated, a window asking youto enter the PIN code appears when you turn on the handset so asto prevent unauthorised use of the handset.PIN code requestYou can activate a PIN (Personal Identification Numeric).1. Select PIN code request from the security menu and pressthe key.](https://usermanual.wiki/LG-Electronics-USA/U370/User-Guide-838254-Page-120.png)