LG Electronics USA VM670 PCS CDMA Phone with WLAN and Bluetooth User Manual VM670
LG Electronics USA PCS CDMA Phone with WLAN and Bluetooth VM670
UserManual.wiki
>
LG Electronics USA
>
VM670 User Manual
Users Manual
Navigation menu
Upload a User Manual
Namespaces
Wiki Guide
HTML
PDF
Info
Views
User Manual
Discussion / Help
Navigation
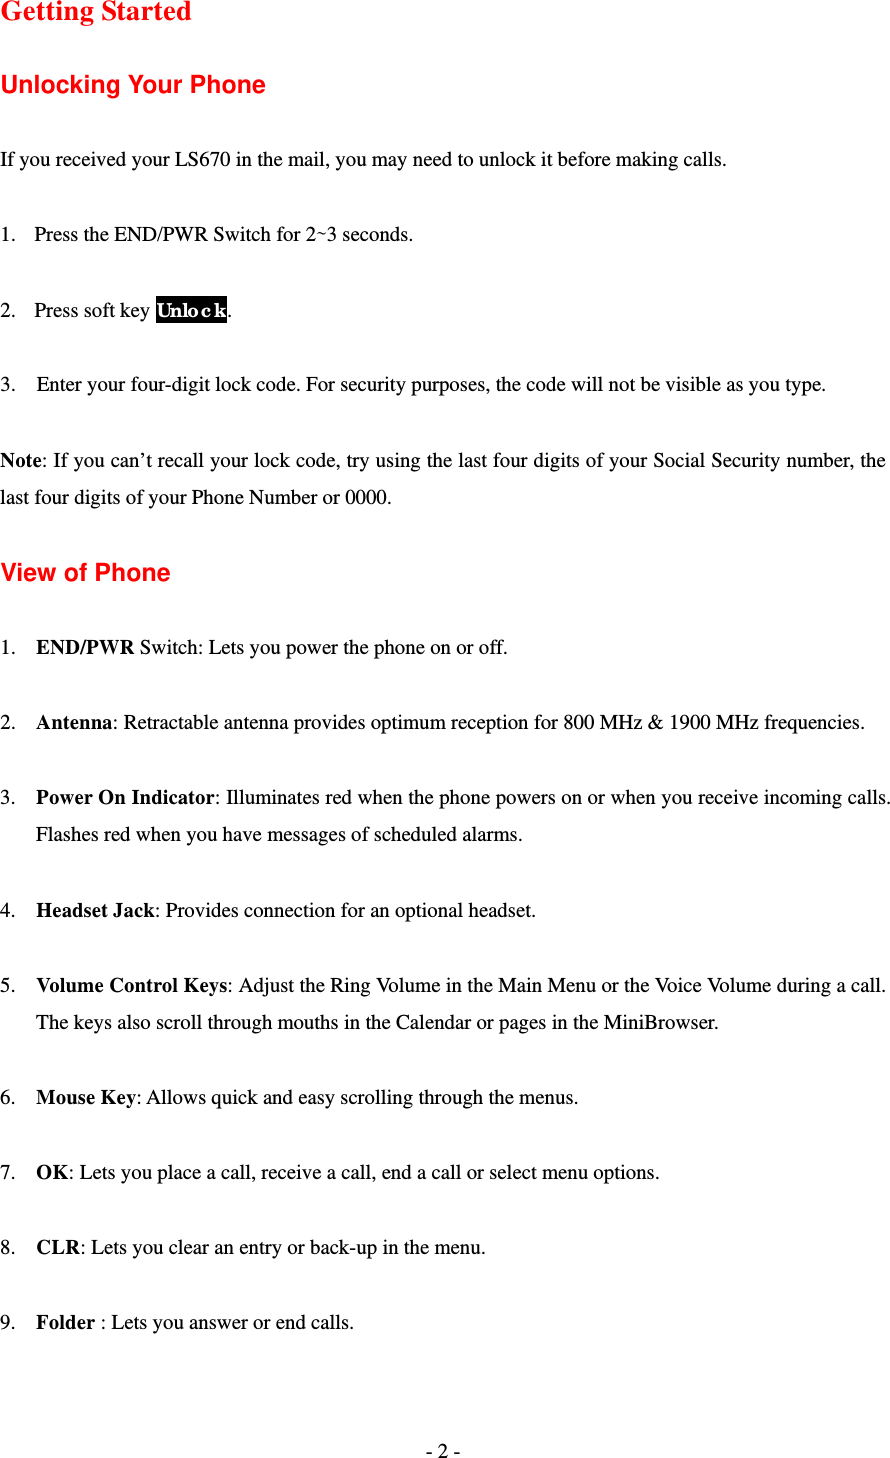
![Part 15 Class B ComplianceThis device and its accessories comply with part15 of FCC rules.Operation is subject to the following two conditions:(1) This device & its accessories may not cause harmful interference.(2) This device & its accessories must accept any interference received, including interference that may cause undesired operation.Body-worn OperationThis device has been tested for typical body-worn operations with the distance of 0.79inches (2.0cm) from the user’s body. To comply with FCC RF exposure requirements, a minimum separation distance of 0.79inches(2.0cm) must be maintained from the user's body.For example, this device must be maintained from the user's body with an appropriatebelt-clip accessory.[More than 0.79inches(2.0cm)] Additionally, Belt clips, holsters & other body-worn accessories may not containmetallic components.](https://usermanual.wiki/LG-Electronics-USA/VM670/User-Guide-1355495-Page-3.png)
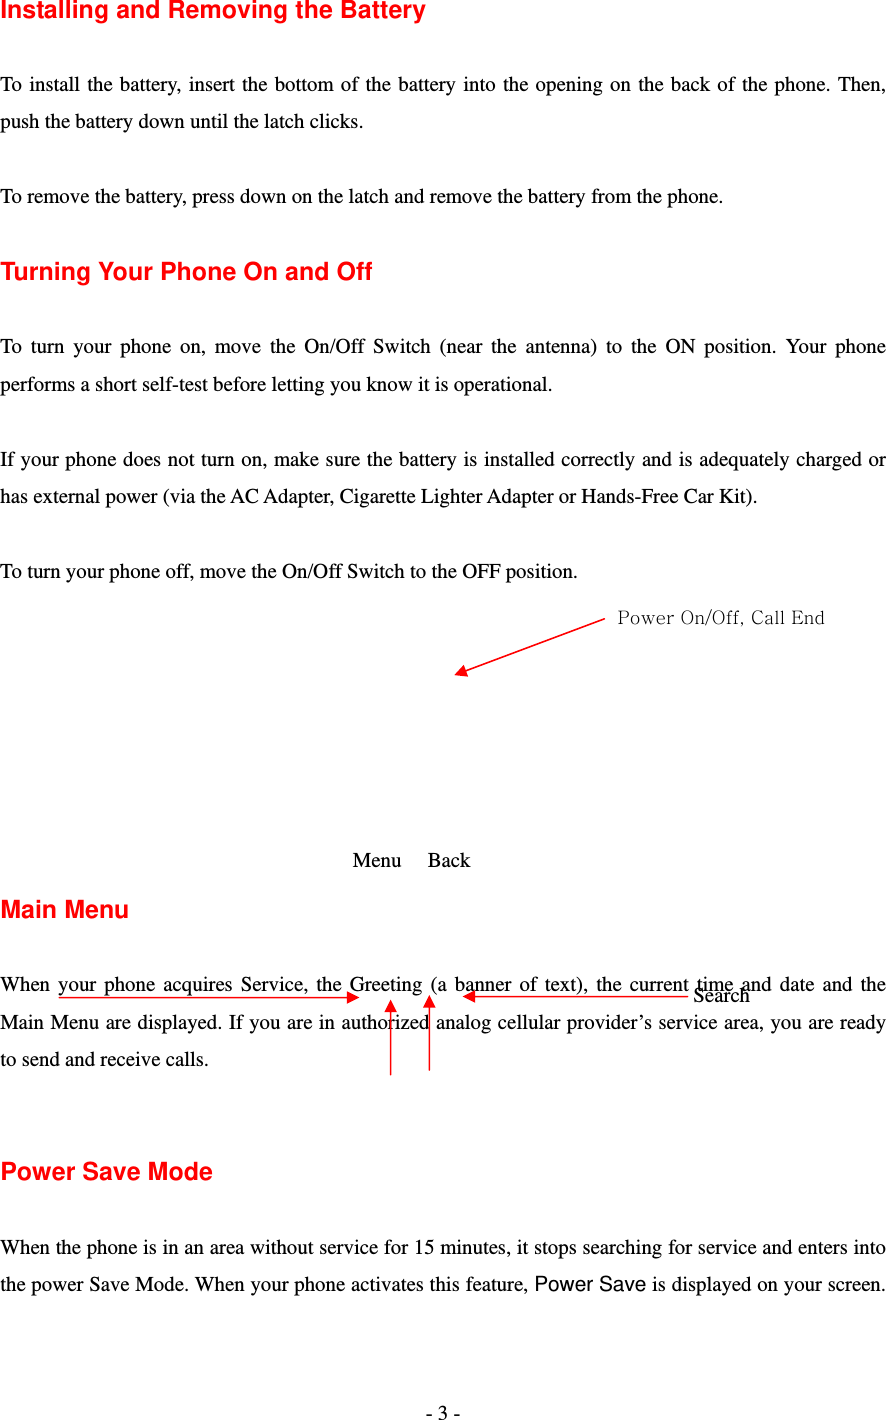
![- 5 - Entering Characters Using the Keypad(T9) To enter a letter, punctuation or number when creating Phone Book or Scheduler entries, press the corresponding key until the desired character appears. By default, the first letter of a word is capitalized and following letters are lowercase. Characters in the following order: 1 . ? , ‘ & - @ ( ) / ~ P Q R S 7 p q r s A B C 2 a b c 2 T U V 8 t u v 8 D E F 3 d e f 3 W X Y Z 9 w x y z 9 G H I 4 g h i 4 Next 0 J K L 5 j k l 5 Shift M N O 6 m n o 6 Space After a character is entered, the cursor automatically advances to the next space after two seconds. You can also advance the cursor by pressing or entering a character not on the same key. If you make a mistake, press to move the cursor left or [CLR] to erase a character. To clear the entire entry, press and hold [CLR] for two seconds. 1 7PQRS 9WXYZ 8TUV 6MNO 5J4G3DEF ABC 1 * 0Space](https://usermanual.wiki/LG-Electronics-USA/VM670/User-Guide-1355495-Page-7.png)
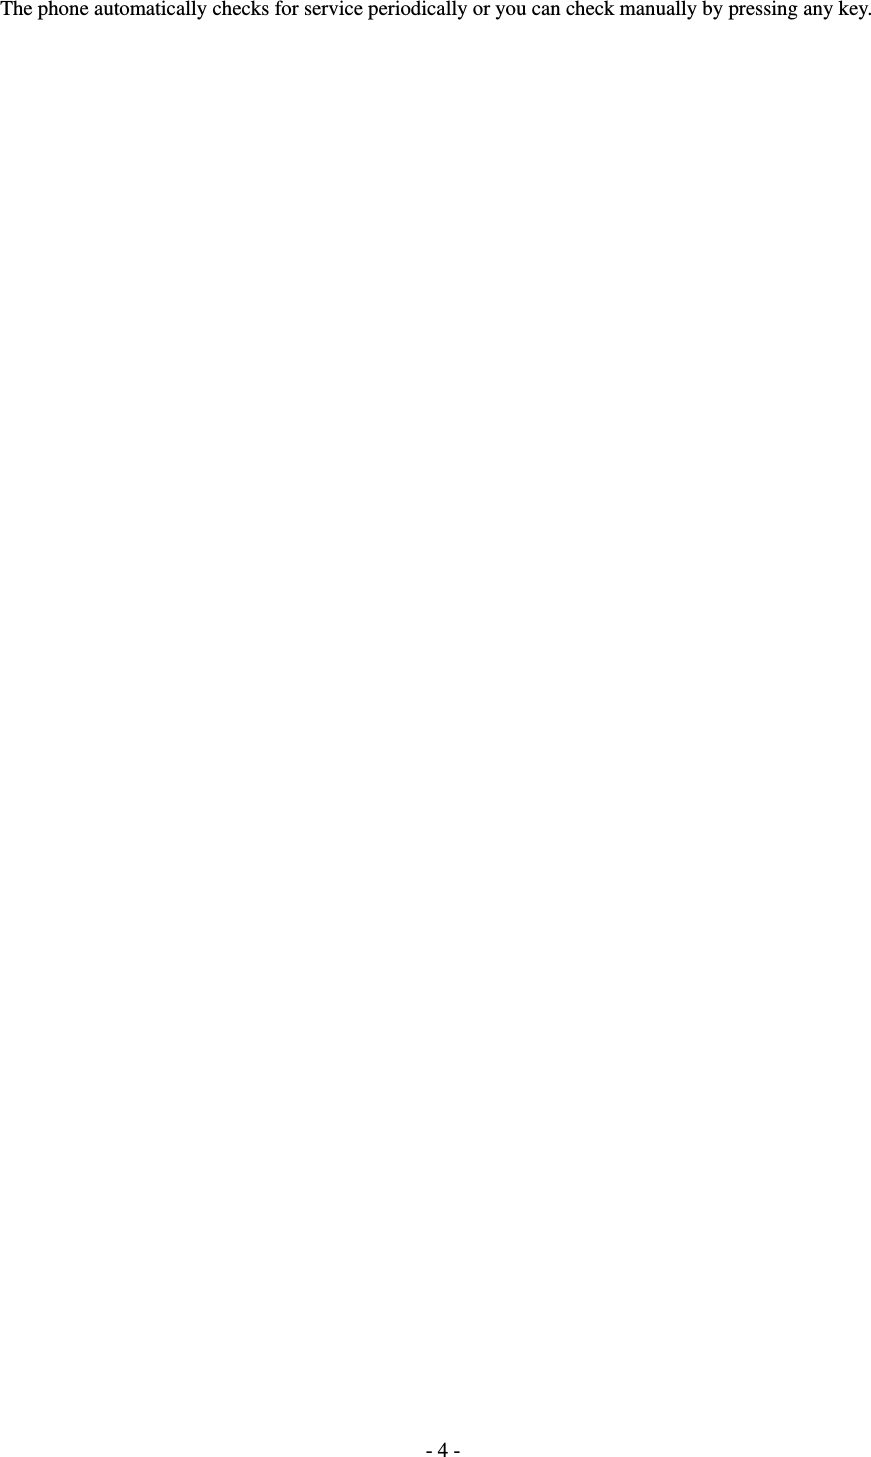
![- 10 - Roaming With Your Phone Your Phone is you can use it to make and receive calls in many places. Setting Your Phone’s Mode Your Phone allows you to control your ability to roam. (See “Set Mode”) Calling Experience When you use your phone on other PCS CDMA networks, your calling experience and call quality will be quite similar to what you experience when making calls within the Network. Although certain calling features may not be available, your phone calls are still private and secure. Correcting Dialing Mistakes To delete one digit at a time, press . To delete all digits, press and hole . Redialing Last Outgoing Number Press and hold [SEND] for 2 seconds. Dialing Options (phone book – Not Functioning) When you enter numbers in the Main Menu, dialing options are displayed. To display a Phone Book entry, enter its entry number. To use the 4- Digit Dial option, enter the last four digits of a phone number in your Phone Book. To select an option, highlight it and press [SEND] .(Menu display only, phone book – Not Functioning) z Call – Dials the phone number. z Roam Confirm – Reminds you that you are making a call on an. (See “Disabling Roam Confirm” ) z Roam Call – Dials the phone number using the current PCS CDMA or analog cellular network.](https://usermanual.wiki/LG-Electronics-USA/VM670/User-Guide-1355495-Page-12.png)
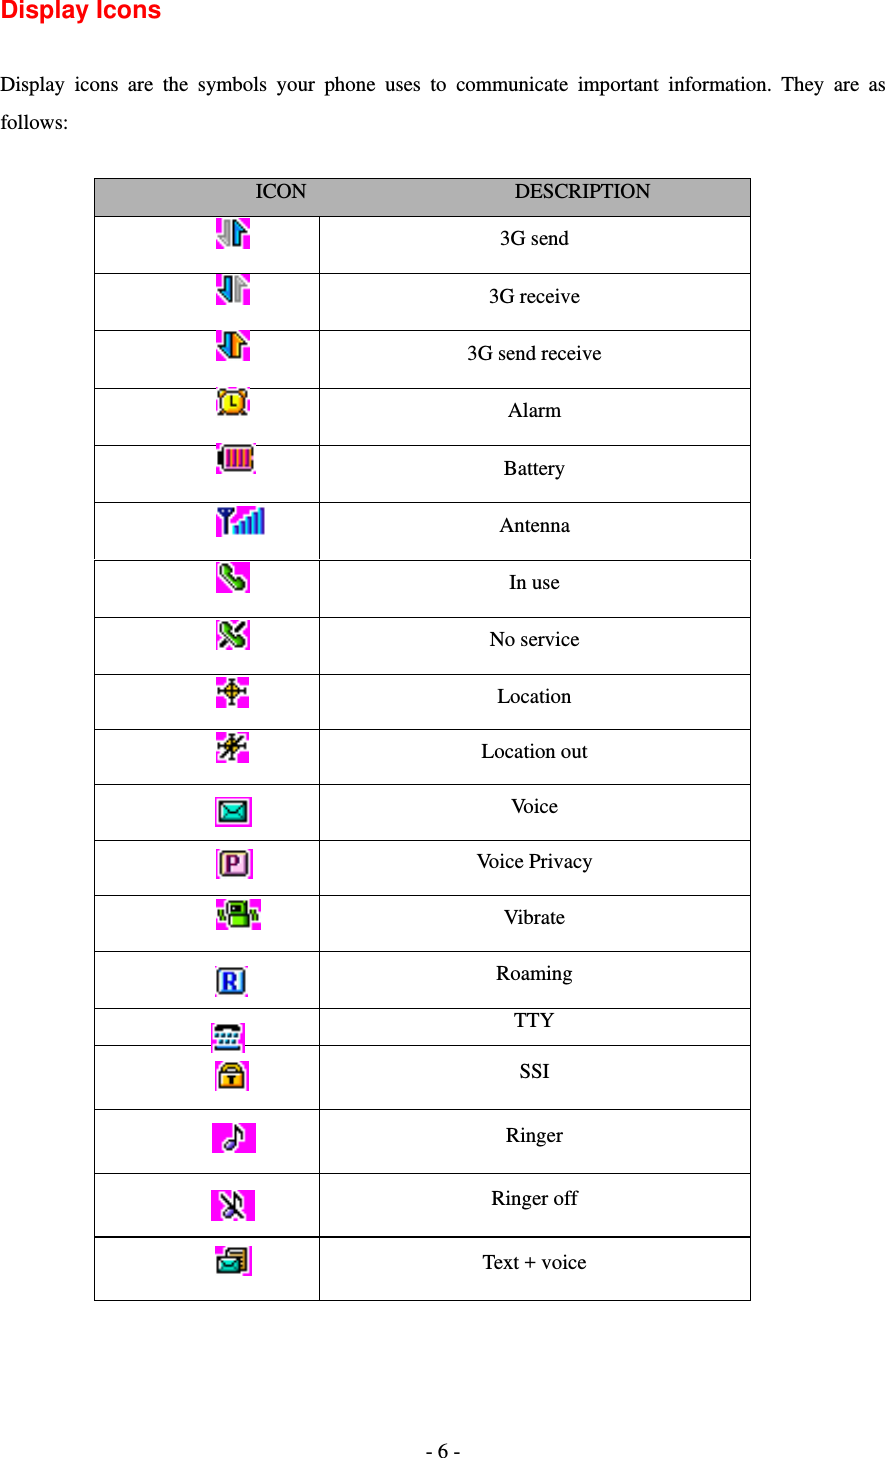
![- 11 - z Save – Saves the phone number in your Phone Book. (See “Saving a Phone Number” on the following page.) z Find – Displays phone numbers in your Phone Book that contain the entered numbers. (See “Finding a Phone Number” ) z Hard Pause – Inserts a Hard Pause. (See “Dialing and Saving Phone Numbers With Pauses” ) z 2- Second pause – Inserts a two-second pause. (See “ Dialing and Saving Phone Numbers With Pauses” ) z Exit – Returns to the Main Menu. z A Phone Book Entry – Displays the Phone Book entry. To dial the entry’s speed-dealing number, press and hold [SEND]. To dial an alternate number, highlight it and press and hold [SEND]. ☞Tip! To speed dial a Phone Book entry from the Main Menu, press and hold the entry’s number. If the entry number is two digits, enter the first digit, then press and hole the second digit. (This feature will not work when the Roam Confirm option is enabled.) z 4-Digit Dial – Dials the phone number in your Phone Book that ends with the four digits you enter. (See “4-digit Dialing” ) In Call Options During a call, your phone displays menu options in addition to the Main Menu. To select an option, Highlight it and press [OK].( functions ‘Send’ and ‘End’ only) z End Call - Ends the call z Send Tones - Sends the next set of numbers after a Hard Pause. (See “Dialing and Saving Phone Numbers With Pauses “ on the previous page.)](https://usermanual.wiki/LG-Electronics-USA/VM670/User-Guide-1355495-Page-13.png)
![- 12 - z Mute or Unmute – Select Mute to mute your phone’s microphone. Select Unmute to reactivate the microphone. z Dial 3-Way Call – Lets you dial another phone number. z Flash – Answers an incoming Call Waiting call or connects the third party for Three-Way Calling. Incoming Call Notification Depending on your settings, your phone notifies you of incoming calls in the following ways: z The phone rings or vibrates z The LED flashes green z The backlight illuminates z The screen displays an incoming call message z The phone number of the caller is displayed of the phone number is available z The caller’s name is displayed if the phone number is in your Phone Book The following options are also displayed. To select an option, highlight it and press [SEND]. z Answer – answers the call. z Silent Ringer – Mutes the ringer. Note: You can also mute the ringer by pressing the up or down Volume Control key or [CLR]. Answering Calls To answer incoming calls, open the Flip (in Active Flip Mode) or press [SEND].](https://usermanual.wiki/LG-Electronics-USA/VM670/User-Guide-1355495-Page-14.png)
![- 13 - Note: If you open the Flip (in Active Flip Mode) and then press [SEND], you will hang up on the caller. To answer incoming roam calls, highlight Answer and press [SEND]. Displaying Your Phone Number(phone book – not functioning) To display your phone number: 1. From the Main Menu, select SETTING & TOOLS. 2. And press 4 – 2 – 1. (System – Device Info – My Phone Number) Setting the Ring Volume to Vibrate To set the phone to Vibrate Mode, press the down Volume Control key until Ring Volume Vibrate is displayed. The phone will vibrate and – Vibrate On- is displayed above the Main Menu. To set the phone to Vibrate Mode using the Main Menu, see “Adjusting the Volume” .](https://usermanual.wiki/LG-Electronics-USA/VM670/User-Guide-1355495-Page-15.png)
![- 14 - Getting the Most From Service Retrieving Page/Text Messages To retrieve page/text messages: 1. From the Messaging 2. Highlight Inbox and press [OK]. Highlight the message you want to display and press [OK]. To select an option, highlight it and press [OK]. Text Message options: z Forward z Save Quick-Text. z Add To Contacts z Lock z Message Info. Erasing All Page/Text Messages 1. From the Messages Menu, Press the Options Menu 2. Highlight Erase All and press [OK]. 3. Highlight Yes and press [OK]. Page/Text Message Storage Your LS670 can store up to 50 page/text messages. When the message memory is 100% full, a warning](https://usermanual.wiki/LG-Electronics-USA/VM670/User-Guide-1355495-Page-16.png)
![- 15 - message prompts you to erase messages to obtain more memory space. Roaming on to Other Service Providers Roaming occurs when you are in an area serviced by another authorized service provider. When this situation occurs, the R icon and Digital Roam of Analog Roam are displayed. If there is no service available, the ☎ i is islay. (Call History- not functioning) Page/Text Messages For information on page/text messages, see “Retrieving Page/Text Messages” . Sounds Adjusting the Volume 1. From the Main Menu, highlight Sounds and press [OK]. 2. Highlight Volume and press [OK]. 3. Highlight Ringer or Key Beep and press [OK]. ☞Tip! You can use the Volume Control keys to adjust the Ring Volume in the Main Menu or the Voice Volume during a call. 4. Highlight High, Medium, Low, Off or Vibrate (for Ringer only) and press [OK]. Note: When the phone is in Vibrate Mode and attached to and accessory (Desktop Charger, Hands-](https://usermanual.wiki/LG-Electronics-USA/VM670/User-Guide-1355495-Page-17.png)
![- 16 - Free Car Kit, etc.), it uses the Standard Ring Type to alert you of incoming calls, alarms or messages. Selecting Ring Types for Voice Calls To Select a Ring Type for Voice Calls: 1. From the Main Menu, highlight Sounds and press [OK]. 2. Highlight Ring Type and press [OK]. 3. Highlight Voice Calls and press [OK]. 4. Highlight With Caller ID, No Caller ID or Roaming and press [OK]. Note: If you select Roaming, the Ring Type is used for all incoming roaming calls. 5. Highlight a Ring Type and press [OK]. You will hear a preview of the Ring Type when you highlight it. ☞Tip! You can also assign different Ring Types to individual Phone Book entries. (See “Selecting an ID Finger” on page 46.) Selecting Ring Types for Messages To select a Ring Type for Messages: 1. From the Main Menu, highlight Sounds and press [OK]. 2. Highlight Ring Type and press [OK]. 3. Highlight Messages and press [OK]. 4. Highlight Voicemail, Page/Text of MiniBrowser and press [OK]. 5. Highlight a Ring Type and press [OK]. You will hear a preview of the Ring Type when you highlight it.](https://usermanual.wiki/LG-Electronics-USA/VM670/User-Guide-1355495-Page-18.png)
![- 17 - Tone Length Longer tone lengths may be better for tone recognition when dialing voicemail or other automated systems. To select a tone length: 1. From the Main Menu, highlight Sounds and press [OK]. 2. Highlight Tone Length and press [OK]. 3. Highlight Short of Long and press [OK]. Alert Notification To enable of disable alert sounds: 1. From the Main Menu, highlight Sounds and press [OK]. 2. Highlight Alerts and press [OK]. 3. Select an alert by highlighting it and pressing [OK]. z Services – An alert sounds when you exit or enter PCS CDMA or cellular coverage. z Messages – An alert sounds when you receive a voicemail or page/text message. z Minute Minder – Your phone beeps once a minute when you are on a call. (The beep is not audible to the other party.) 4. Highlight ON or Off and press [OK]. Display For information on changing Backlight, Greeting or Contrast settings, see Handy Tips.](https://usermanual.wiki/LG-Electronics-USA/VM670/User-Guide-1355495-Page-19.png)
![- 18 - Display Menu Security Accessing the Security Menu You must enter your lock code to view the Security menu. If you forget your lock code, try using the last four digits of your Social Security number, the last four digits of your Phone Number or 0000. Security Menu To access the Security menu: 1. From the Main Menu, select SETTING & TOOLS and press 4 – 2 (System – Security). 2. Enter your lock code. Locking Your Phone When your phone is locked, you can only make calls to 911, Customer Care and Special Numbers or receive incoming calls. To lock your phone: 1. From the Security menu, highlight Lock Phone and press [OK]. 2. Highlight Lock Now or On Power up and press [OK]. If you select On Power Up, the phone will be locked each time it power up. Unlocking Your Phone 1. Highlight Unlock and press [OK]. 2. Enter your lock code.](https://usermanual.wiki/LG-Electronics-USA/VM670/User-Guide-1355495-Page-20.png)
![- 19 - Changing the Lock Code To change your lock code: 1. From the Security menu, highlight Change Lock and press [OK]. 2. Enter your new lock code. 3. Reenter your new lock code. Answering Your Phone with the Hands-Free Car Kit You can select different answering options when your phone is connected to the Hands-Free Car Kit. To answer calls automatically or by pressing any key: 1. From the Main Menu, highlight Setup and press [OK]. 2. Highlight Car Use and press [OK]. To select and option, highlight it and press [OK]. z Any Key Answer - You can answer calls by pressing any key (not including the [CLR] key, Mouse Key or Volume Control keys). z Auto Answer - Your phone answers incoming calls automatically after five seconds. 3. Highlight On and press [OK]. To disable an option, follow steps 1 and 2 and select Off.](https://usermanual.wiki/LG-Electronics-USA/VM670/User-Guide-1355495-Page-21.png)