LG Electronics USA Z65143B Household Dual Fuel Range User Manual 5 BEJZ65143B
LG Electronics USA Household Dual Fuel Range 5 BEJZ65143B
UserManual.wiki
>
LG Electronics USA
>
Z65143B User Manual
>
user manual
Contents
1.
user manual
2.
User manual
user manual
Navigation menu
Upload a User Manual
Namespaces
Wiki Guide
PDF
Info
Views
User Manual
Discussion / Help
Navigation


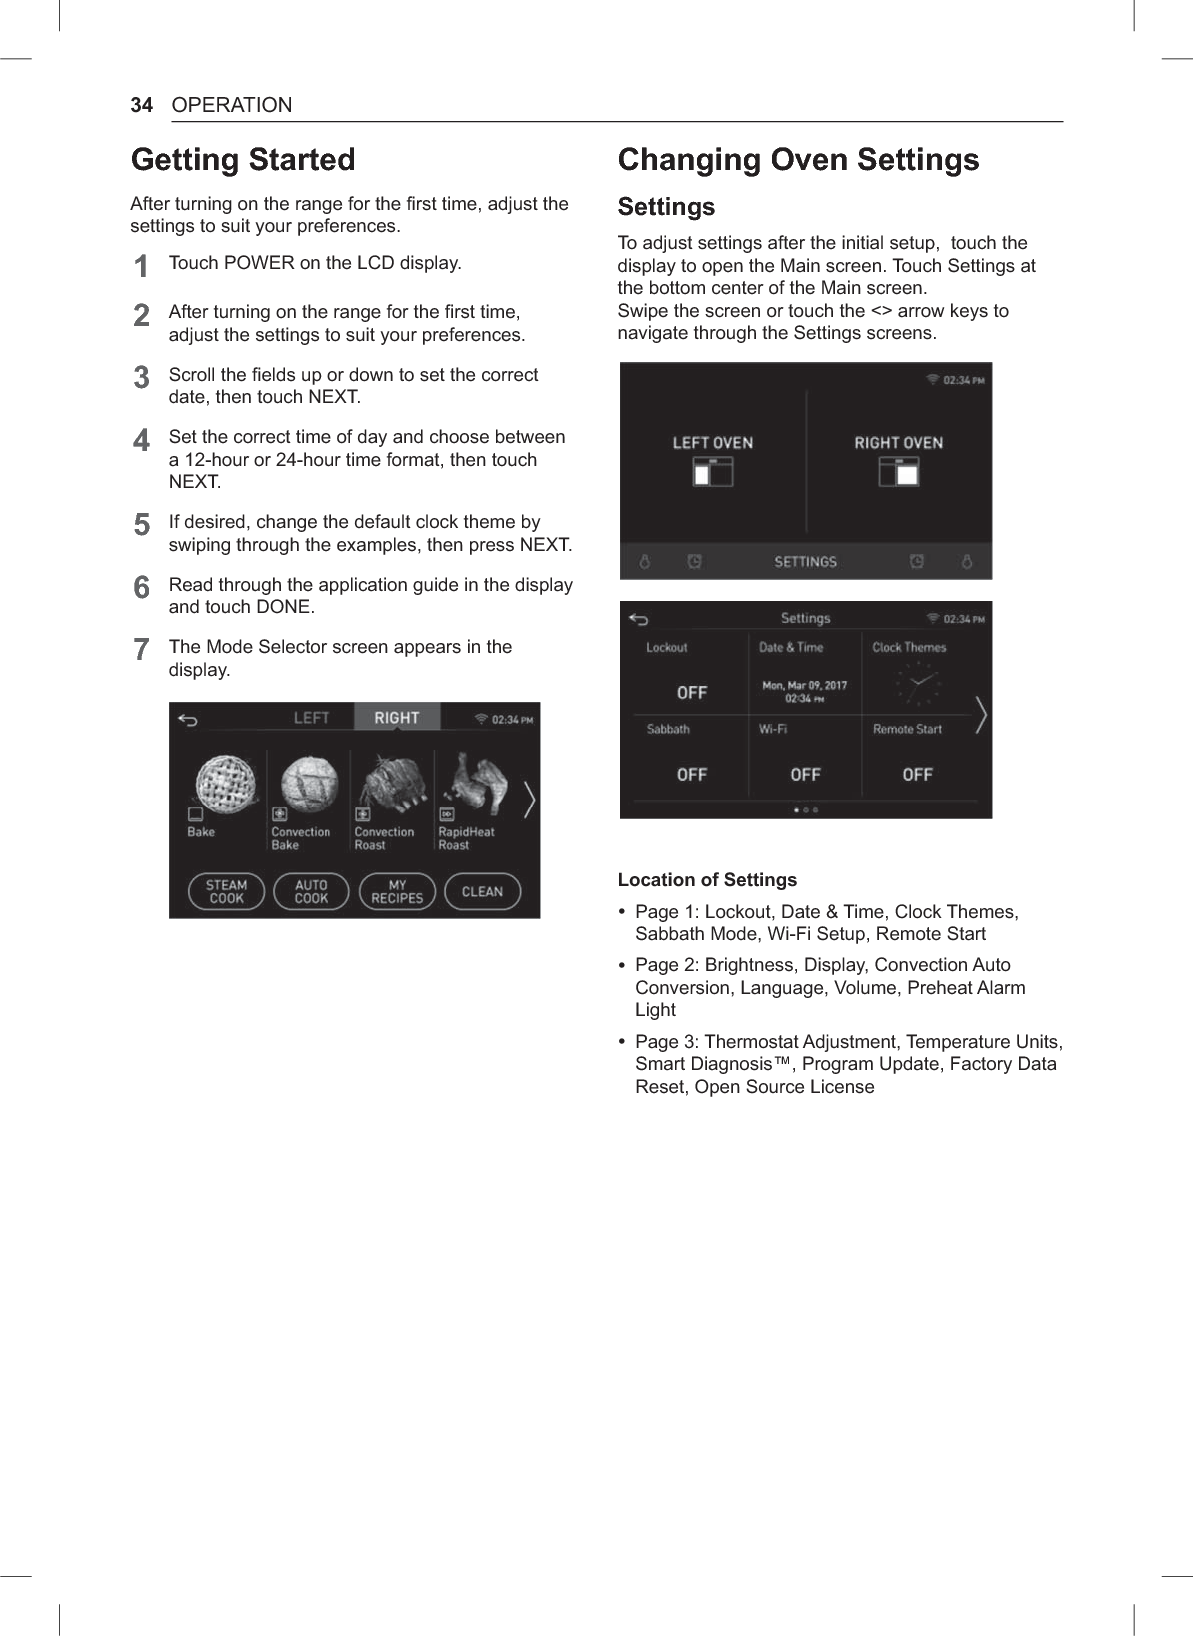
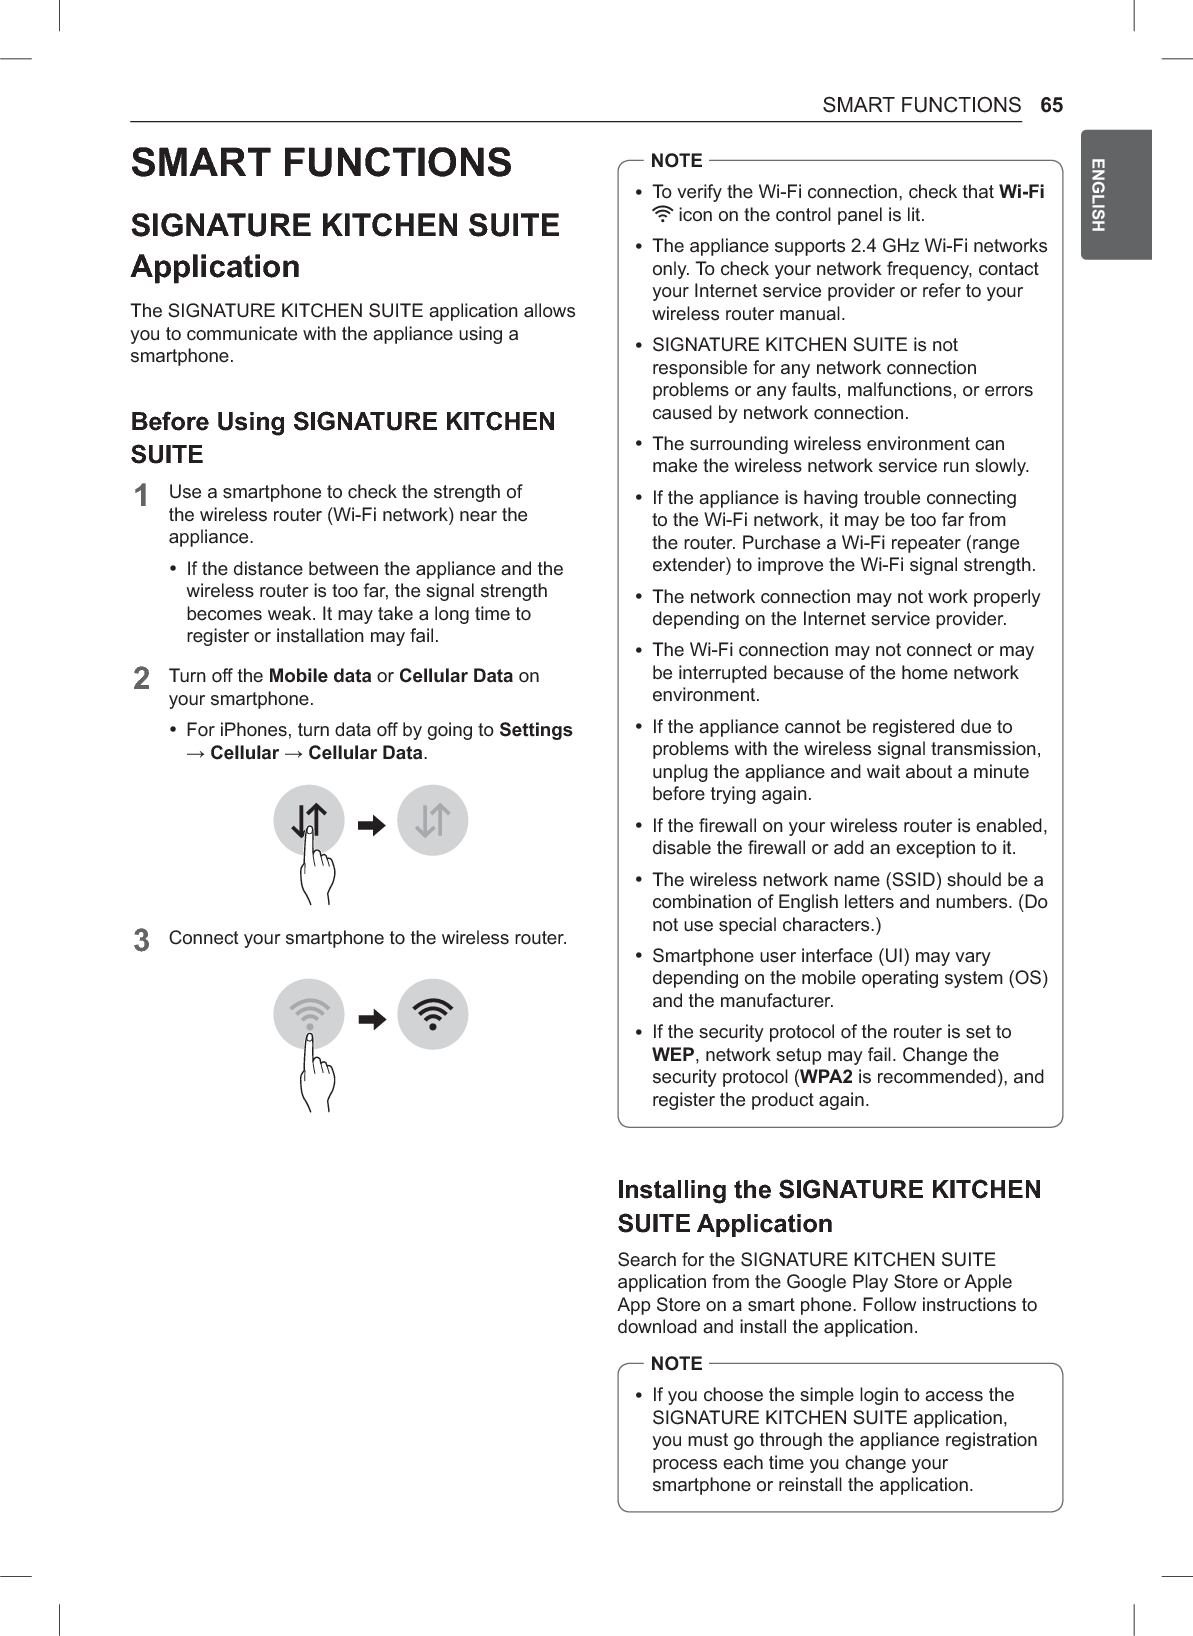
![36 OPERATIONWi-FiConnect the appliance to a home Wi-Fi network to use Remote Start and other smart functions. See the Smart Functions section for more details.Setting Up Wi-Fi1Touch Setting at the center bottom of the Main screen, then touch Wi-Fi in the first Settings screen.2Follow the instructions in the Wi-Fi Guide in the display.3Select ON, OFF, or RESET and touch OK.4If ON is selected, the Wi-Fi icon appears at the top of the display.5Selecting RESET initializes the IP address.Remote StartRemotely starts or stops the preheating function of the appliance. The appliance must be registered on a home Wi-Fi network to use Remote Start.Setting Remote Start1Touch Setting at the center bottom of the Main screen, then touch Remote Start in the first Settings screen.2Select On or Off and touch OK.3If ON is selected, the Remote Start icon appears at the top of the display.BrightnessAdjust the brightness of the LCD display from 0% to 100 % in increments of 20 %.Setting Display Brightness1Touch Setting at the center bottom of the Main screen, swipe to the second Settings screen, and touch Brightness.2Adjust the display brightness by touching and dragging the dot across the bar, by tapping anywhere on the bar, or by touching [light+ icon] or [light - icon].3Touch OK.DisplaySet the length of time before the display sleeps.There are three options you can select. %ON : Always on %OFF : Automatically turns off if idle for 30 minutes. %Night Dimming : Turns on from 5:00 a.m. to 10:00 p.m.Setting Display Option1Touch Setting at the center bottom of the Main screen, swipe to the second Settings screen, and touch Display.2Select the desired option.3Touch OK.Convection Auto ConversionThere is no need to remember to convert standard recipe temperatures for convection cooking. Convection Auto Conversion automatically subtracts 25 °F / 14 °C from the set temperature when a convection cooking mode is selected. The converted temperature appears in the display once preheating is finished.For example, select Convection Bake and enter 350 °F. The temperature will auto-convert to 325°F and display the converted temperature. Convection Auto Conversion is turned ON by default.Turning Convection Auto Conversion On/Off1Touch Setting at the center bottom of the Main screen, swipe to the second Settings screen, and touch Convection Auto Conversion.2Select ON or OFF.3When Convection Auto Conversion is ON, the icon appears at the top of the display.](https://usermanual.wiki/LG-Electronics-USA/Z65143B.user-manual/User-Guide-3542967-Page-36.png)
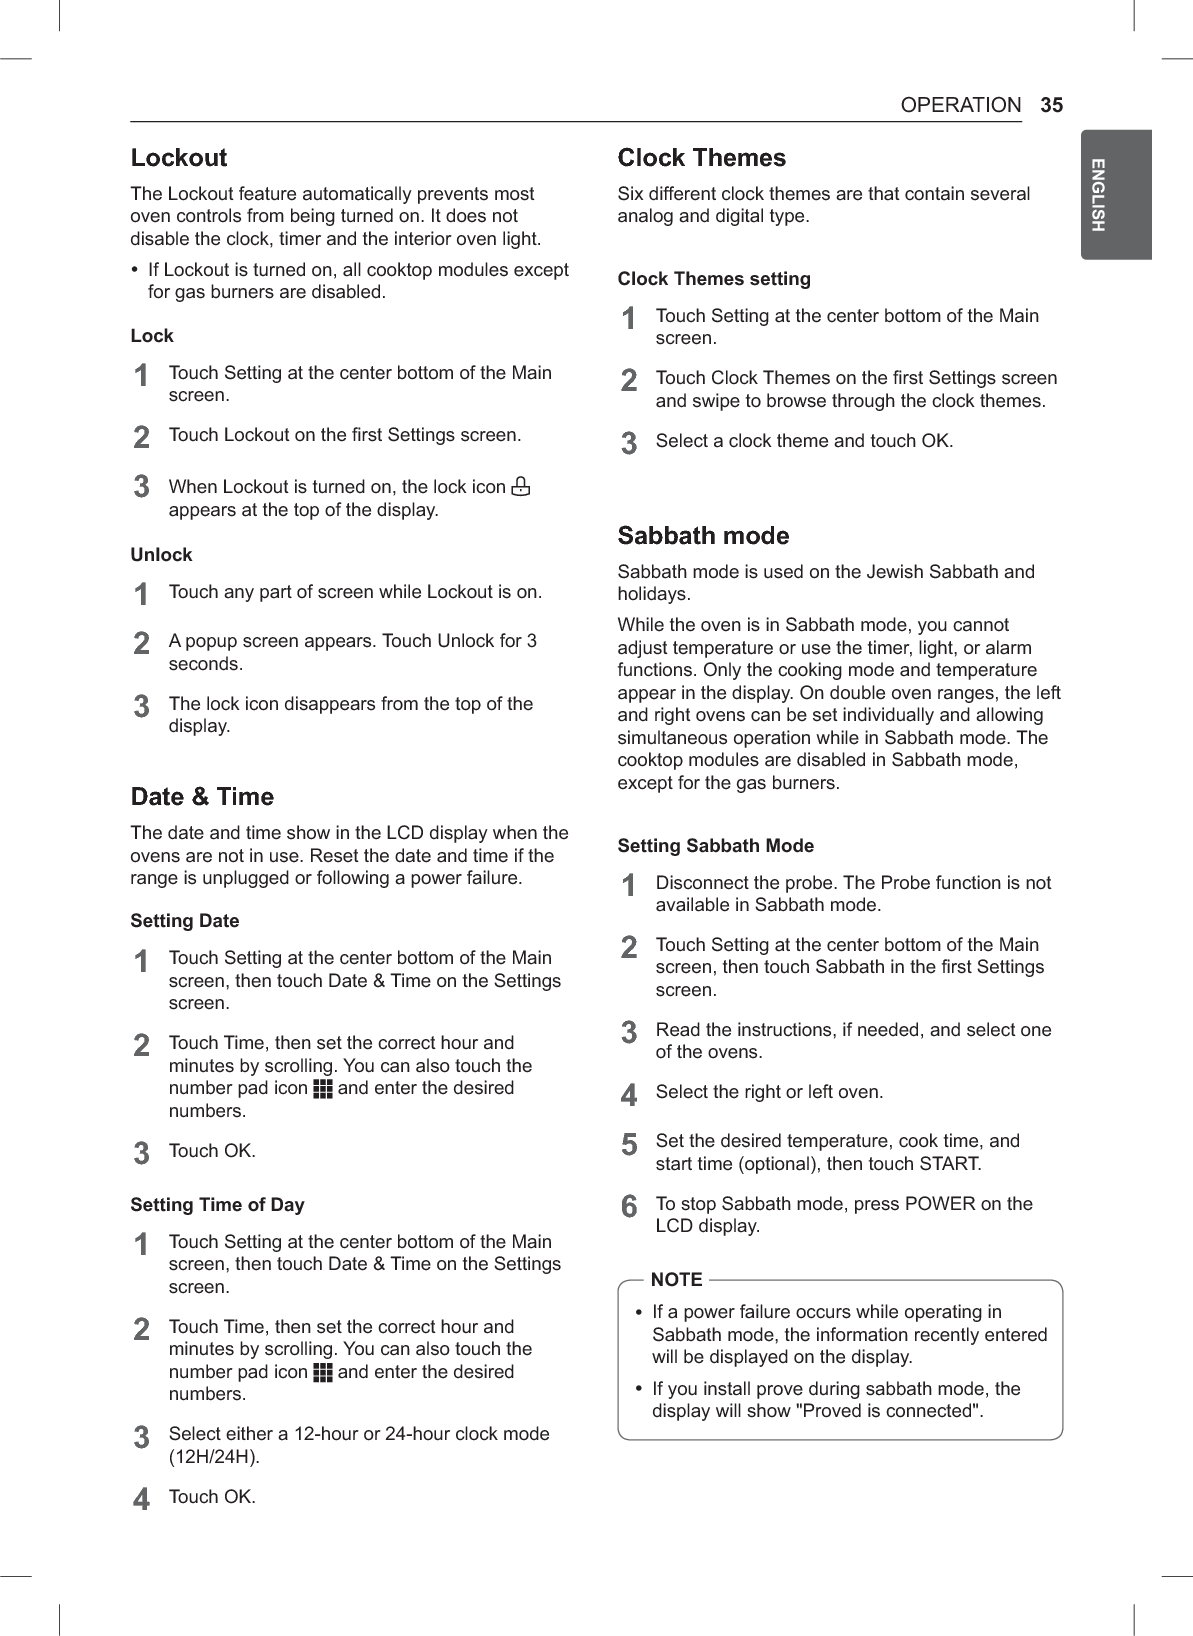
![39OPERATIONENGLISHUsing the CooktopGas Cooktop ModuleThe size and location of gas burners vary depending on the range model. Every gas cooktop module includes 4 gas burners. Sous Vide, Gas Cooktop, Induction CooktopThis model includes a sous vide module on the left, 4 gas burners in the center, and an induction cooktop on the right.The sous vide module uses a water bath to cook food which has been vacuum-sealed in pouches. The induction elements use a magnetic field to quickly and efficiently heat just the cookware, not the cooktop surface.SmallLarge LargeSmallSous Vide InductionNOTE %The cooktop module only works using knobs without the display operation.Cooktop TimersEach cooktop control knob has an LED display at the top which provides information such as heat level, temperature, or time remaining. The [gas burner] control knobs include a timer function.Setting the Cooktop TimersA cooktop timer can only be set when the element is in use. After the timer ends, a chime sounds and the LED lamp blinks until the element is turned OFF.1Push in and turn the knob to turn on the element.2Set a timer by turning the LED ring behind the knob. Turn the LED ring right or left and hold it to increase or decrease the time.3Release the LED ring when the desired time appears in the knob display.4The knob display shows the time counting down. A chime sounds when the time ends.5To cancel a timer, turn the LED ring to the left until 0:01 appears in the display.](https://usermanual.wiki/LG-Electronics-USA/Z65143B.user-manual/User-Guide-3542967-Page-39.png)

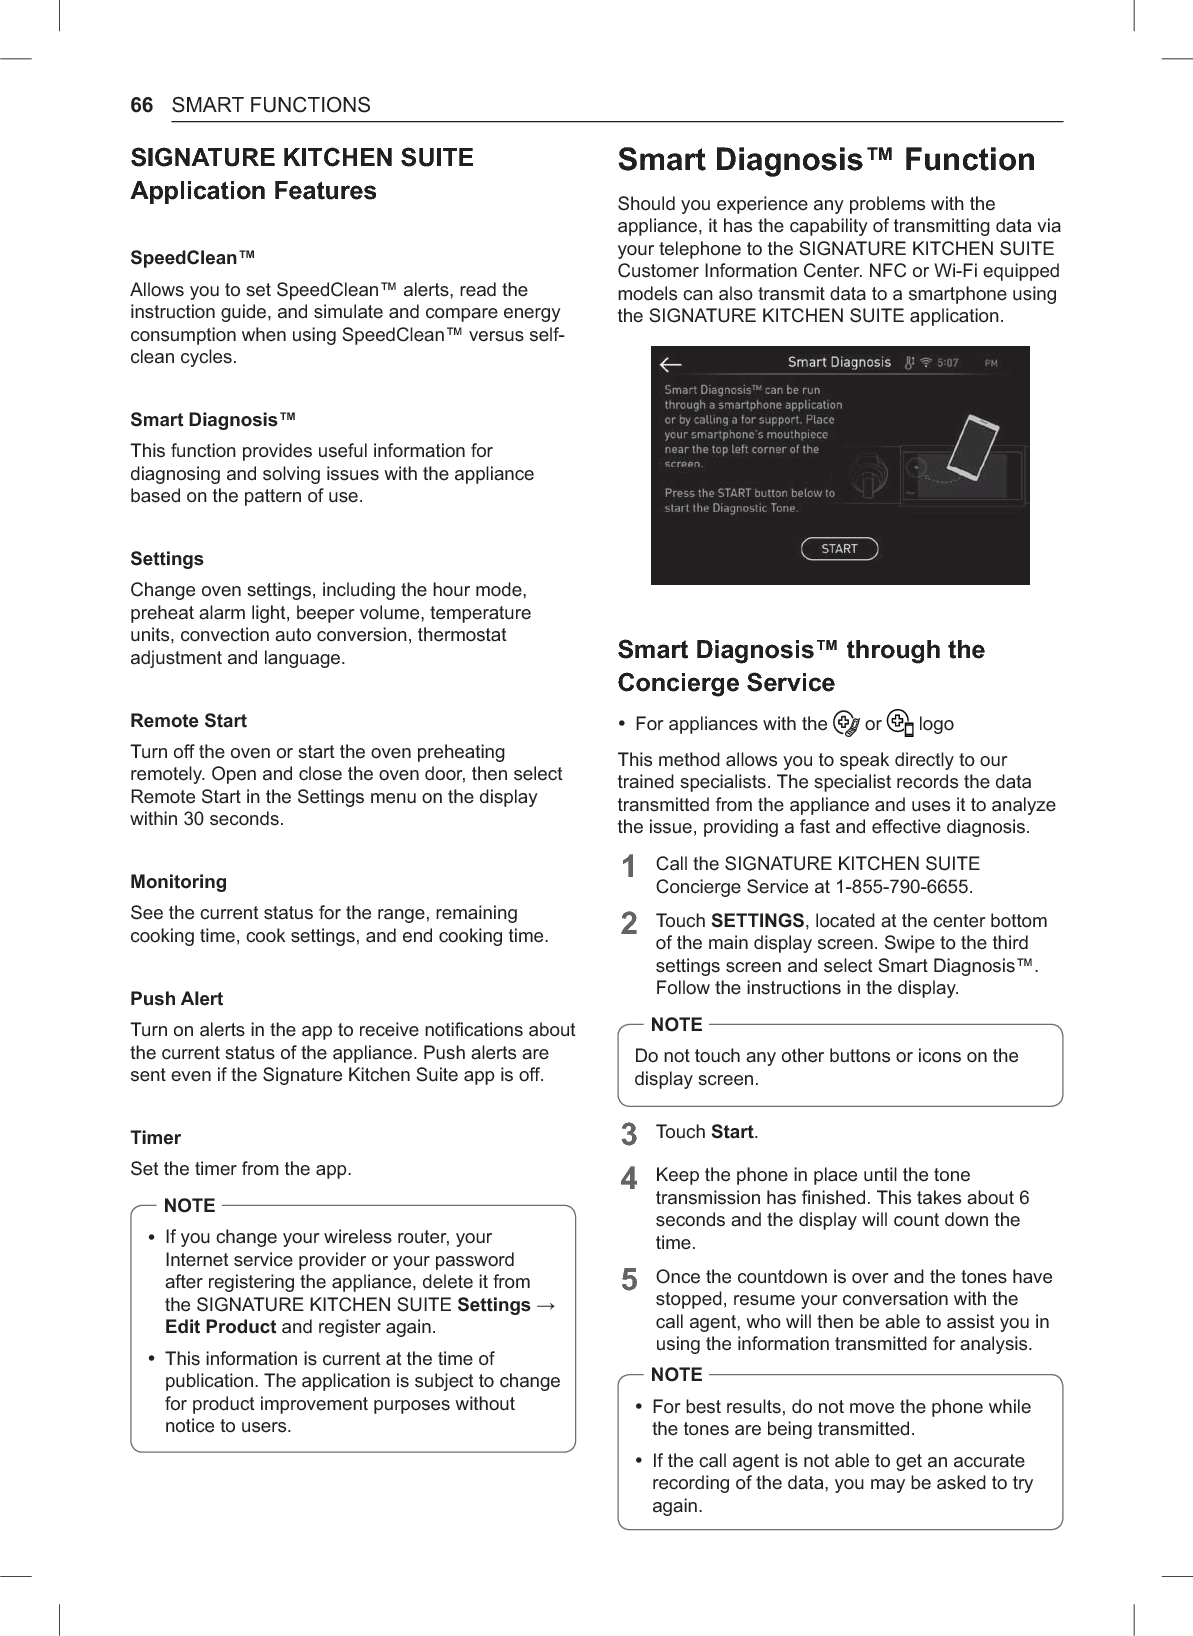
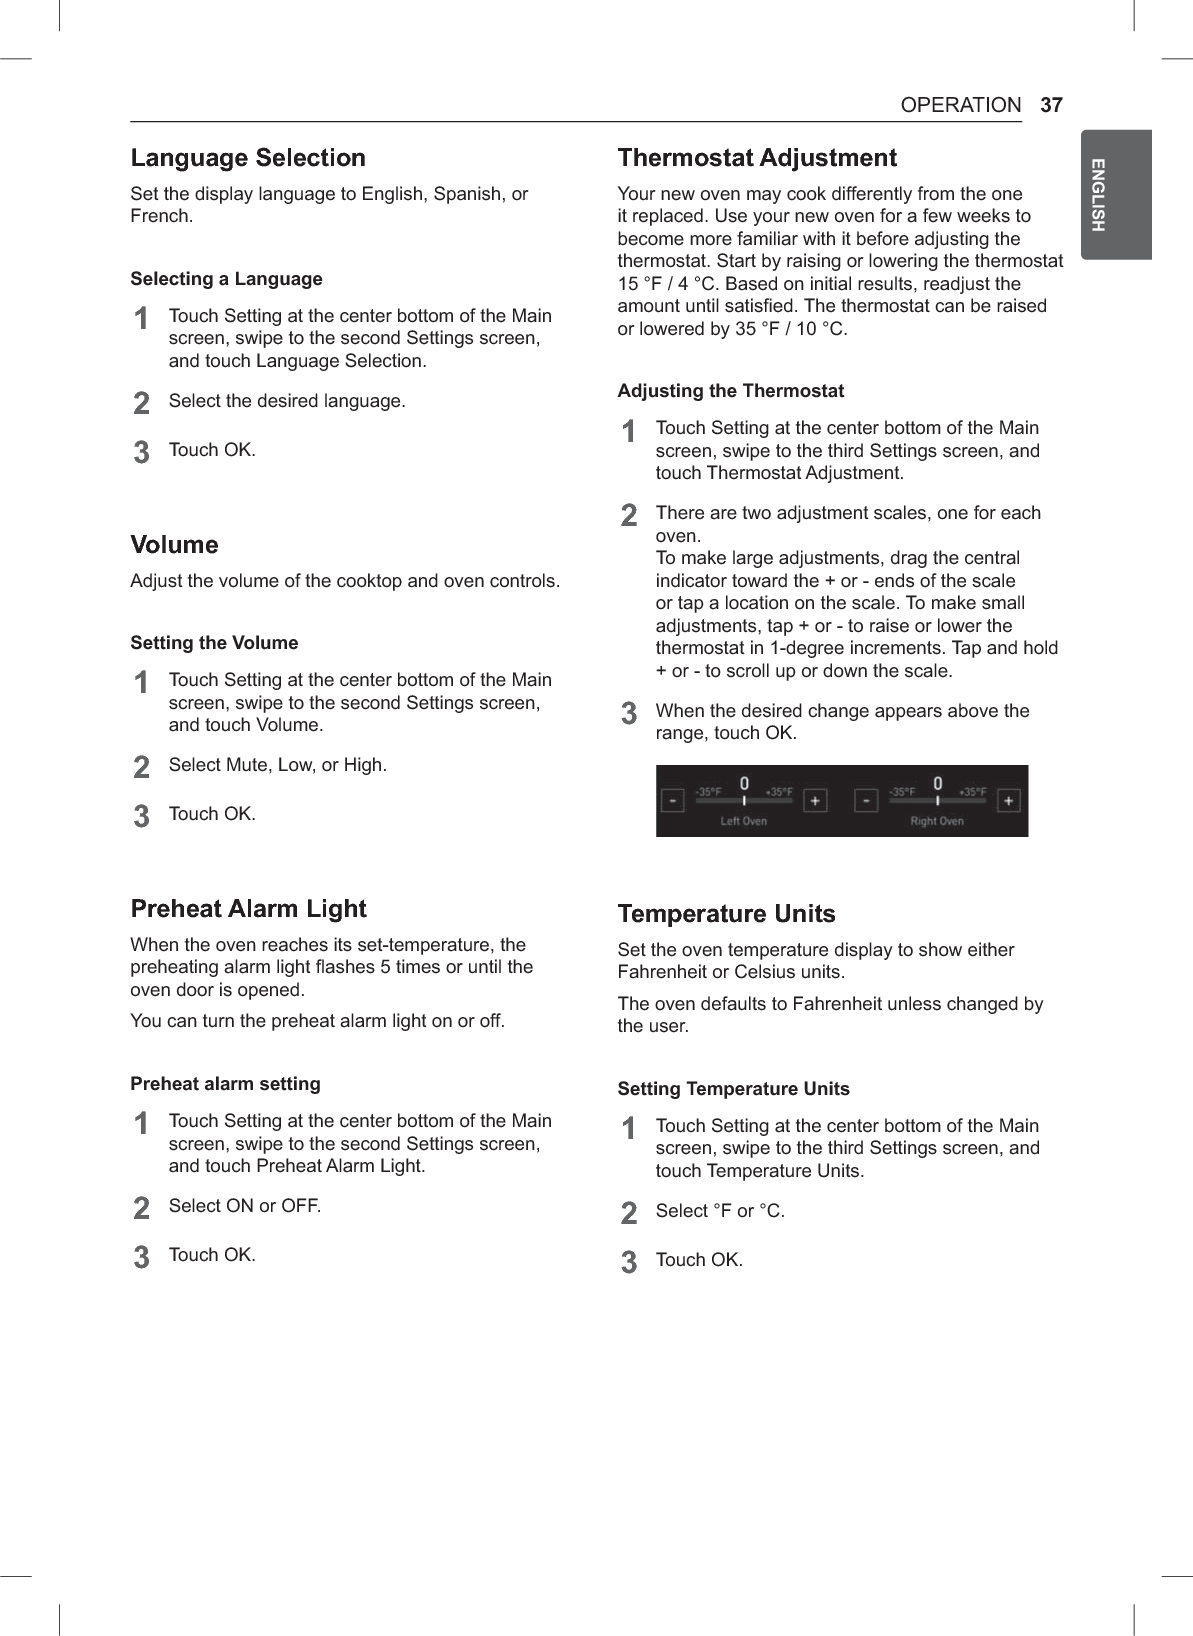
![67SMART FUNCTIONSENGLISHSIGNATURE KITCHEN SUITE Smart Diagnosis™ %For appliances with the or logoUse the Smart Diagnosis feature in the SIGNATURE KITCHEN SUITE application for help diagnosing issues with the appliance without the assistance of the SIGNATURE KITCHEN SUITE Customer Information Center.Follow the instructions in the SIGNATURE KITCHEN SUITE application to perform a Smart Diagnosis using your smartphone.1Download the SIGNATURE KITCHEN SUITE application on your smart phone.2Open the SIGNATURE KITCHEN SUITE application on your smart phone. Touch the Smart Diagnosis™ button to advance to the next screen.3Follow directions of the application. If the Wi-Fi method does not work well, follow the instructions for using Audible Diagnosis.4Touch [ ] in the SIGNATURE KITCHEN SUITE application for a more detailed guide on how to use the Wi-Fi function.NOTE %Smart Diagnosis™ cannot be activated unless the appliance can be turned on using the Power button. If the appliance cannot be turned on, troubleshooting must be done without using Smart Diagnosis™. %Call quality differences by region may affect the function. %Use a landline telephone for better communication performance, resulting in better service. %Bad call quality may result in poor data transmission from your phone to the machine, which could cause Smart Diagnosis™ to malfunction.Open Source Software Notice InformationTo obtain the source code under GPL, LGPL, MPL and To obtain the source code under GPL, LGPL, MPL, and other open source licenses, that is contained in this product, please visit http://opensource.thesignaturekitchen.com. In addition to the source code, all referred license terms, warranty disclaimers and copyright notices are available for download.SIGNATURE KITCHEN SUITE will also provide open source code to you on CD-ROM for a charge covering the cost of performing such distribution (such as the cost of media, shipping, and handling) upon email request to opensource@thesignaturekitchen.com. This offer is valid for a period of three years after our last shipment of this product. This offer is valid to anyone in receipt of this information.Wireless LAN Module SpecificationsModel TWFM-K304DFrequency Range 2412 MHz – 2462 MHzOutput Power (Max)IEEE 802.11b : 19.58 dBmIEEE 802.11g : 19.84 dBmIEEE 802.11n(HT20) : 18.77 dBmIEEE 802.11n(HT40) : 17.25 dBm](https://usermanual.wiki/LG-Electronics-USA/Z65143B.user-manual/User-Guide-3542967-Page-67.png)