LINKSYS EA6100 LINKSYS EA6100 WIRELESS-AC ROUTER User Manual
LINKSYS LLC LINKSYS EA6100 WIRELESS-AC ROUTER
LINKSYS >
Contents
- 1. User Manual
- 2. User Manual Regulatory
User Manual
USB
Power
12VDC
EA6100
Power
12VDC
EA6100
USB
Power
12VDC
EA6100
USB
Power
12VDC
EA6100
XXXX-XXXXX
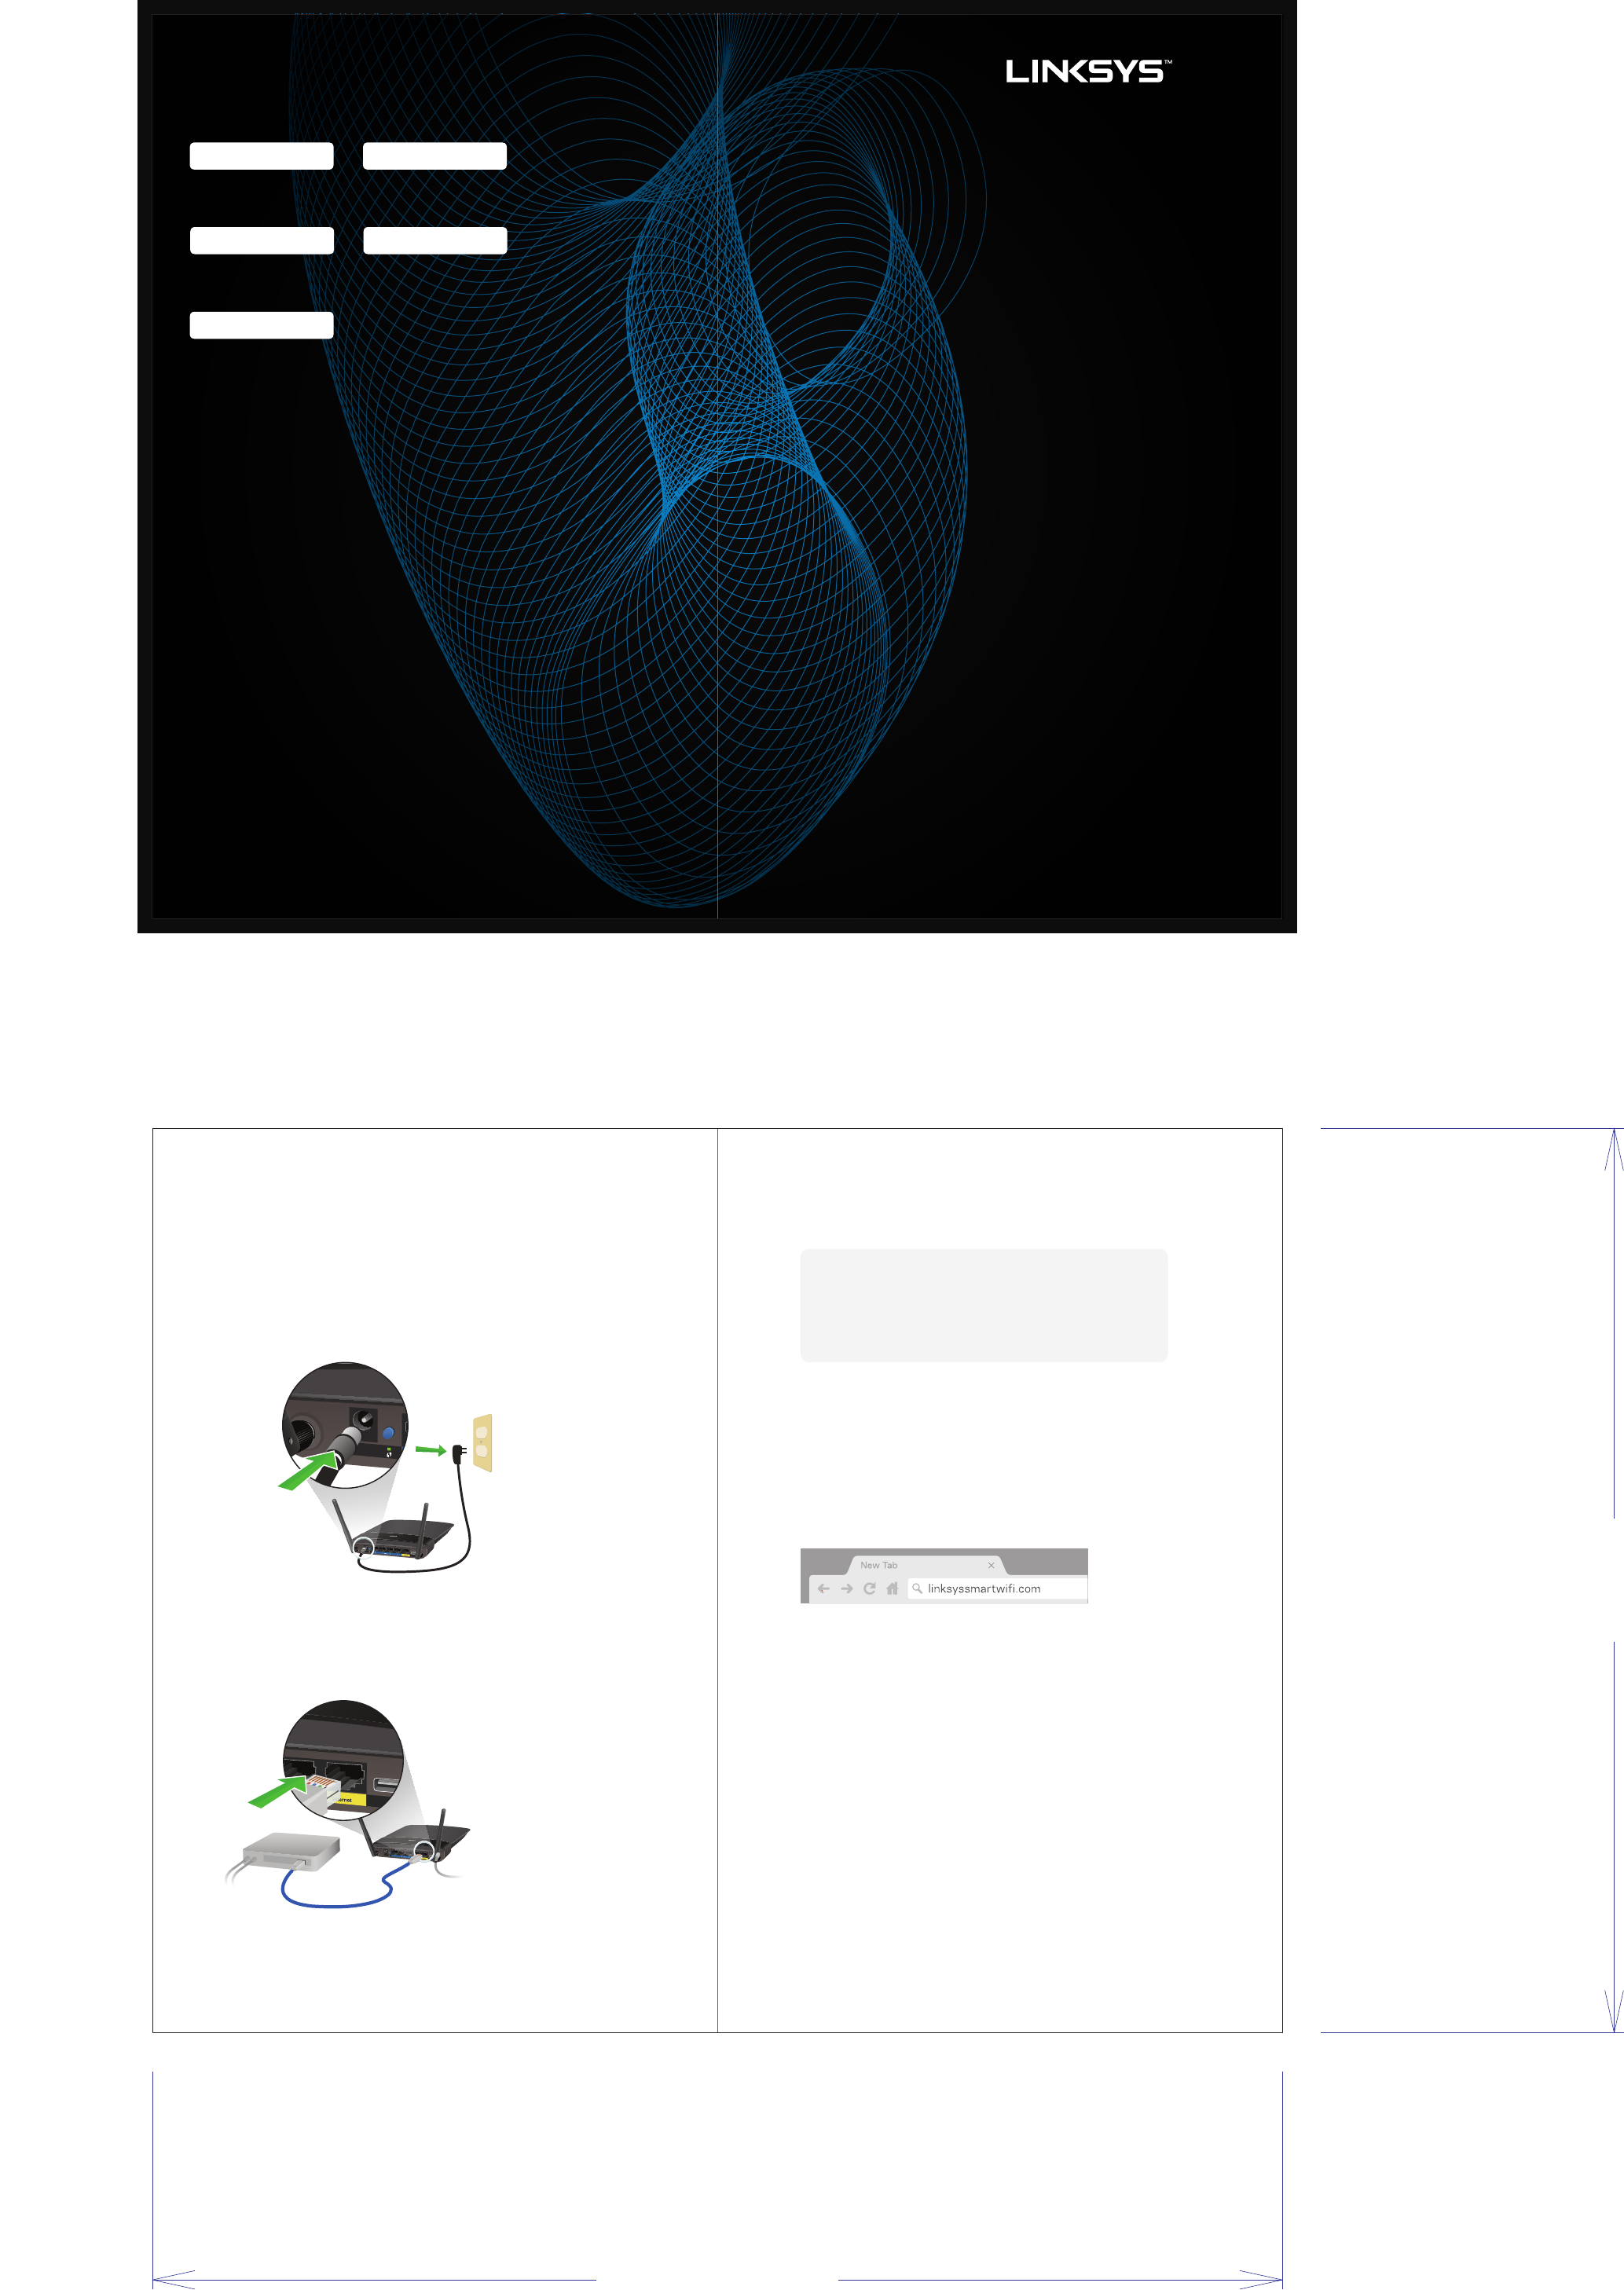
Power on the router.
Connect the Internet cable from your modem to the yellow Internet port
on the back of the router. Wait until power light on the back of the router
is solid.
1
2
Set up and customize your router.
Note: If replacing an existing router, disconnect
that router first.
Place sticker here
Connect to the secure wireless network name shown below. (You can
change these details later.) Select the option to automatically connect
to this network in the future. You will not have Internet access until you
complete router setup (see Step 4).
Note: If you don’t want to connect wirelessly, connect your computer to
the router using the network cable. Then, just type linksyssmartwifi.com
in your browser.
Open a web browser to launch Linksys Smart Wi-Fi Router
setup instructions. If you do not see the setup instructions,
type linksyssmartwifi.com in the address bar. Follow the
instructions and begin your Smart Wi-Fi experience.
3
4
• Check that you have a working broadband Internet connection by connecting
a computer directly to your modem.
• If you cannot connect to the Internet after setting up your router, turn off your
modem, router and computer, then restart them in that order.
• For more tips, see the Documentation CD included in your router package.
AS YOU COMPLETE SETUP, RECORD YOUR ROUTER
SETTINGS HERE:
2.4 GHz network name (SSID) 2.4 GHz network password
Router password
TIPS FOR SUCCESSFUL SETUP
Quick Start
Guide
5 GHz network name (SSID) 5 GHz network password
IN A DOITYOURSELF MOOD?
• Connect your computer to your router with an Ethernet cable.
• Visit 192.168.1.1 in a browser and go wild.
GET HELP
Internet: linksys.com/support
Twitter: @LinksysCares
Phone: 800-326-7114 (complimentary for 90 days from date of original purchase)
Business Unit:
Program Manager:
Packaging Engineer:
Material:
Blank Size (in):
Side Shown:
L x W x D (mm):
DIE LAYOUT
0
Unit:
Flute/Grain:
REV
Final
PRINT SIDE
L x W x D (in):
Front
Back
8
[203.123]
10
[253.647]
IN/MM
Drawing Scale 1:1
Retail Outside Dimension (Including Hang Tab)
DO NOT PRINT
DIE LINES, PRINTERS NOTES
PRINT SPECS:
DIE/MATERIAL SPECS:
253+49/64 x 453.264
9.991 x 17.845
Die Line File:
TBD
FDL_FM_LNK_QSG_US_TEMPLATE
Color Plates: Notes:
Artwork File:
vertical
00
RELEASE DATE: 06/05/2013
Tolerance:+/- 1/32" - 0.8mm
Blank Size (mm):
Finish:
DIELINE:
THIS DOCUMENT & THE INFORMATION
IN IT ARE THE CONFIDENTIAL PROPERTY
OF BELKIN INTERNATIONAL AND MUST
NOT BE COPIED, REPRODUCED OR USED
IN ANY MANNER WITHOUT THE WRITTEN
CONSENT OF BELKIN CORPORATION.
IT MUST BE RETURNED UPON REQUEST
This dieline works for following skus (if any):