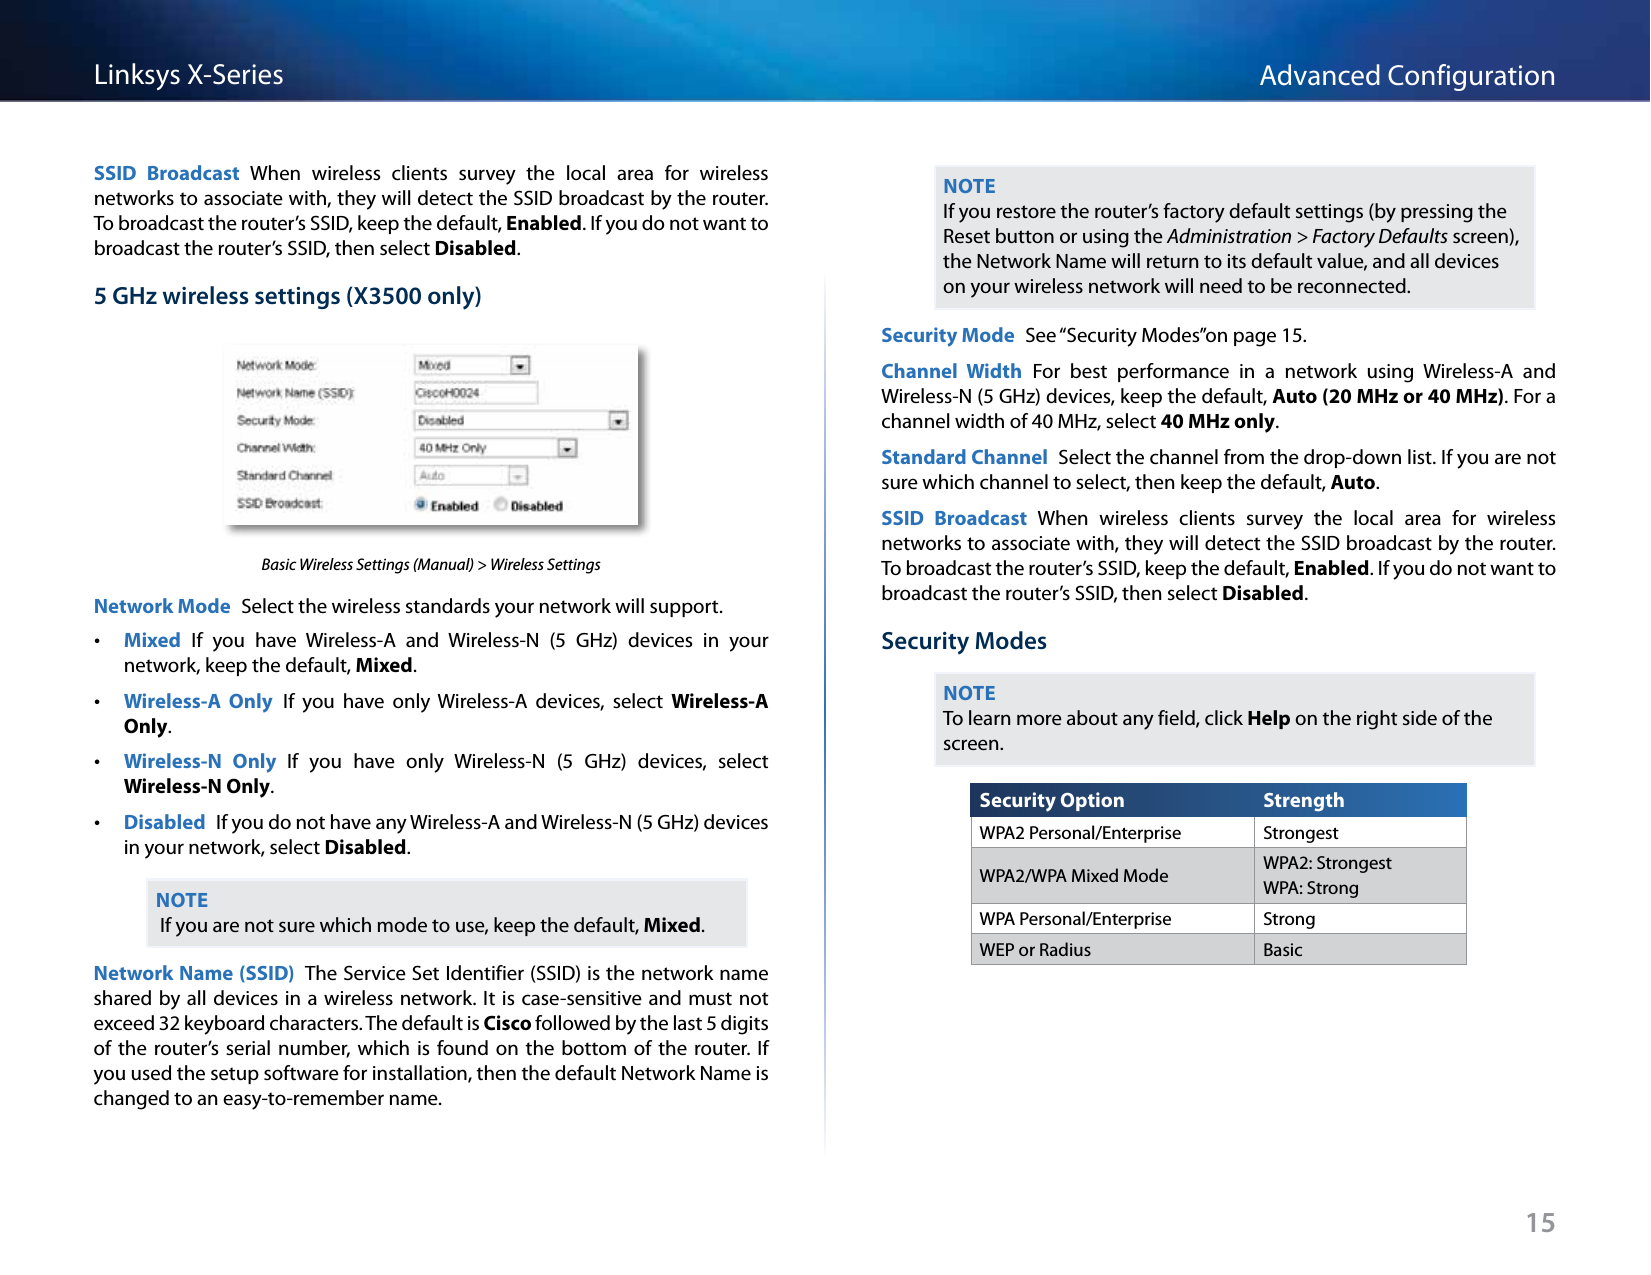
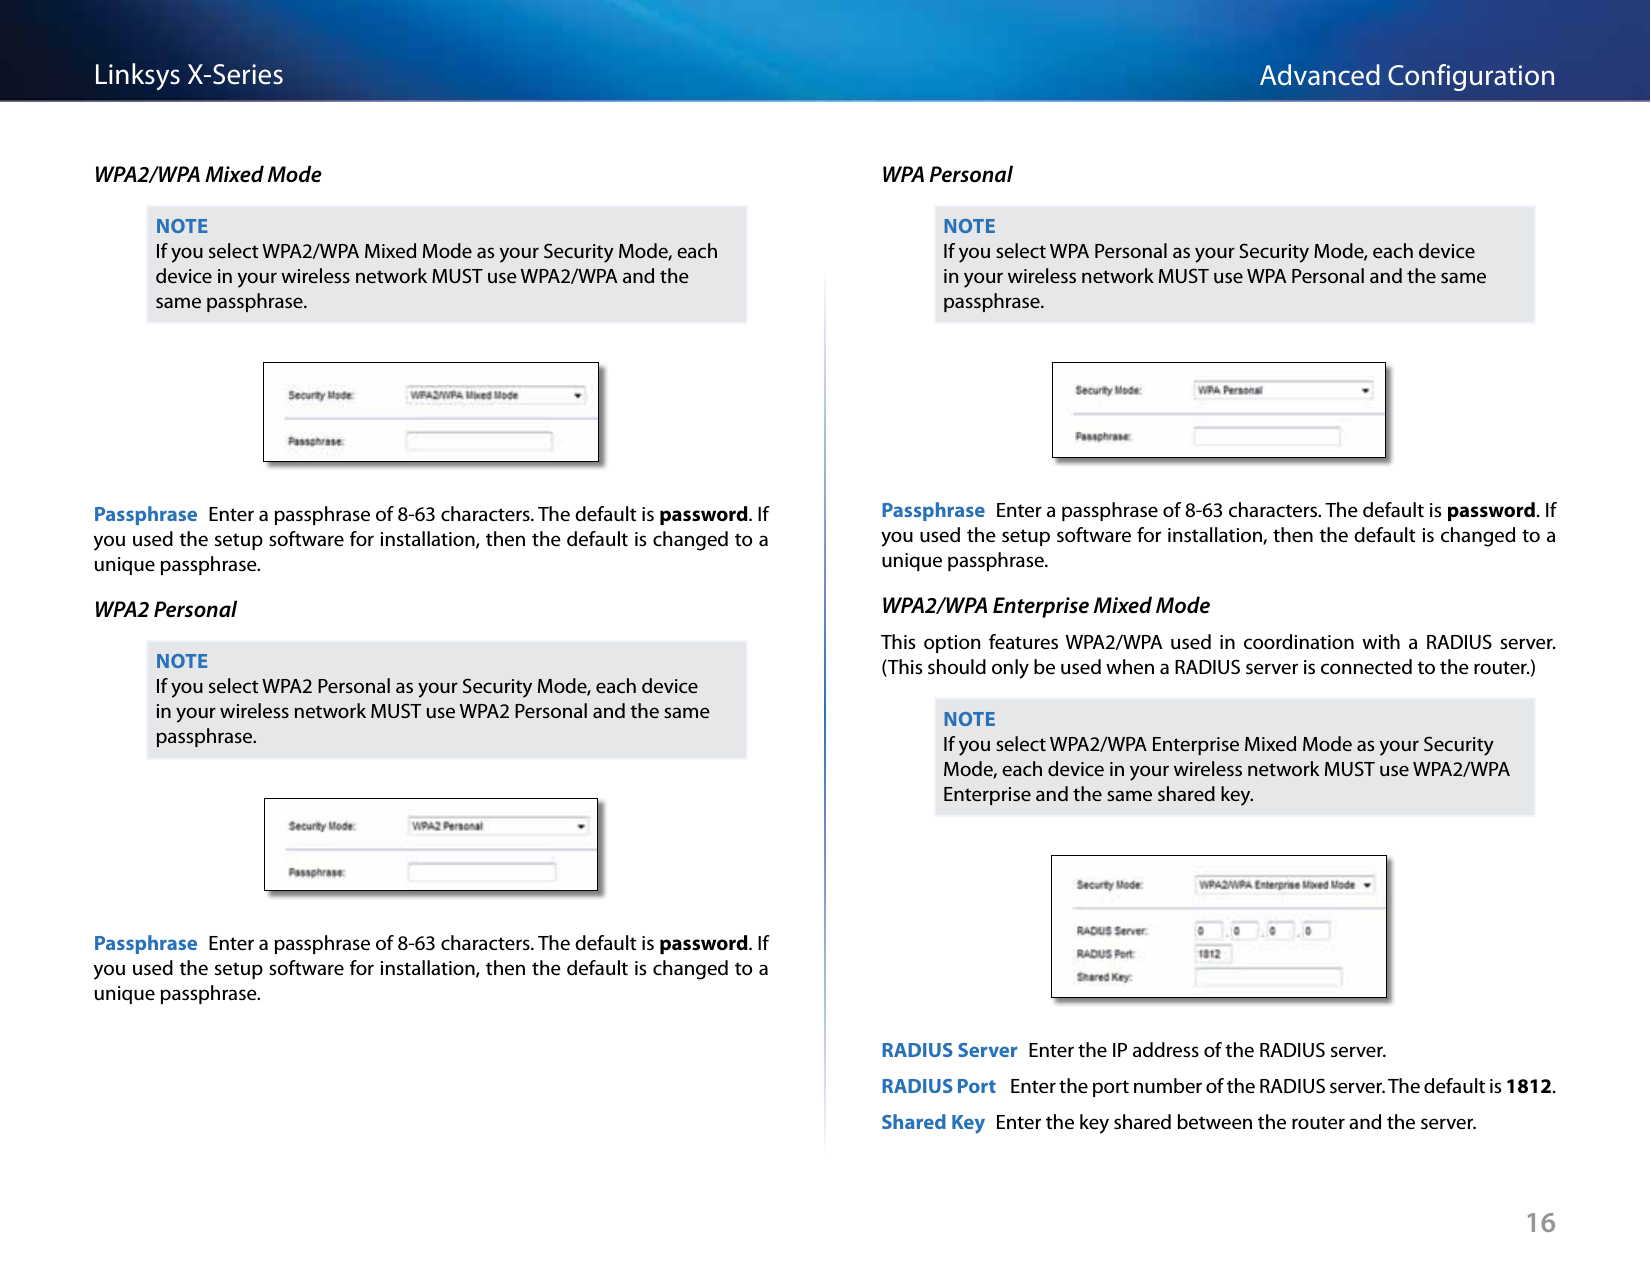
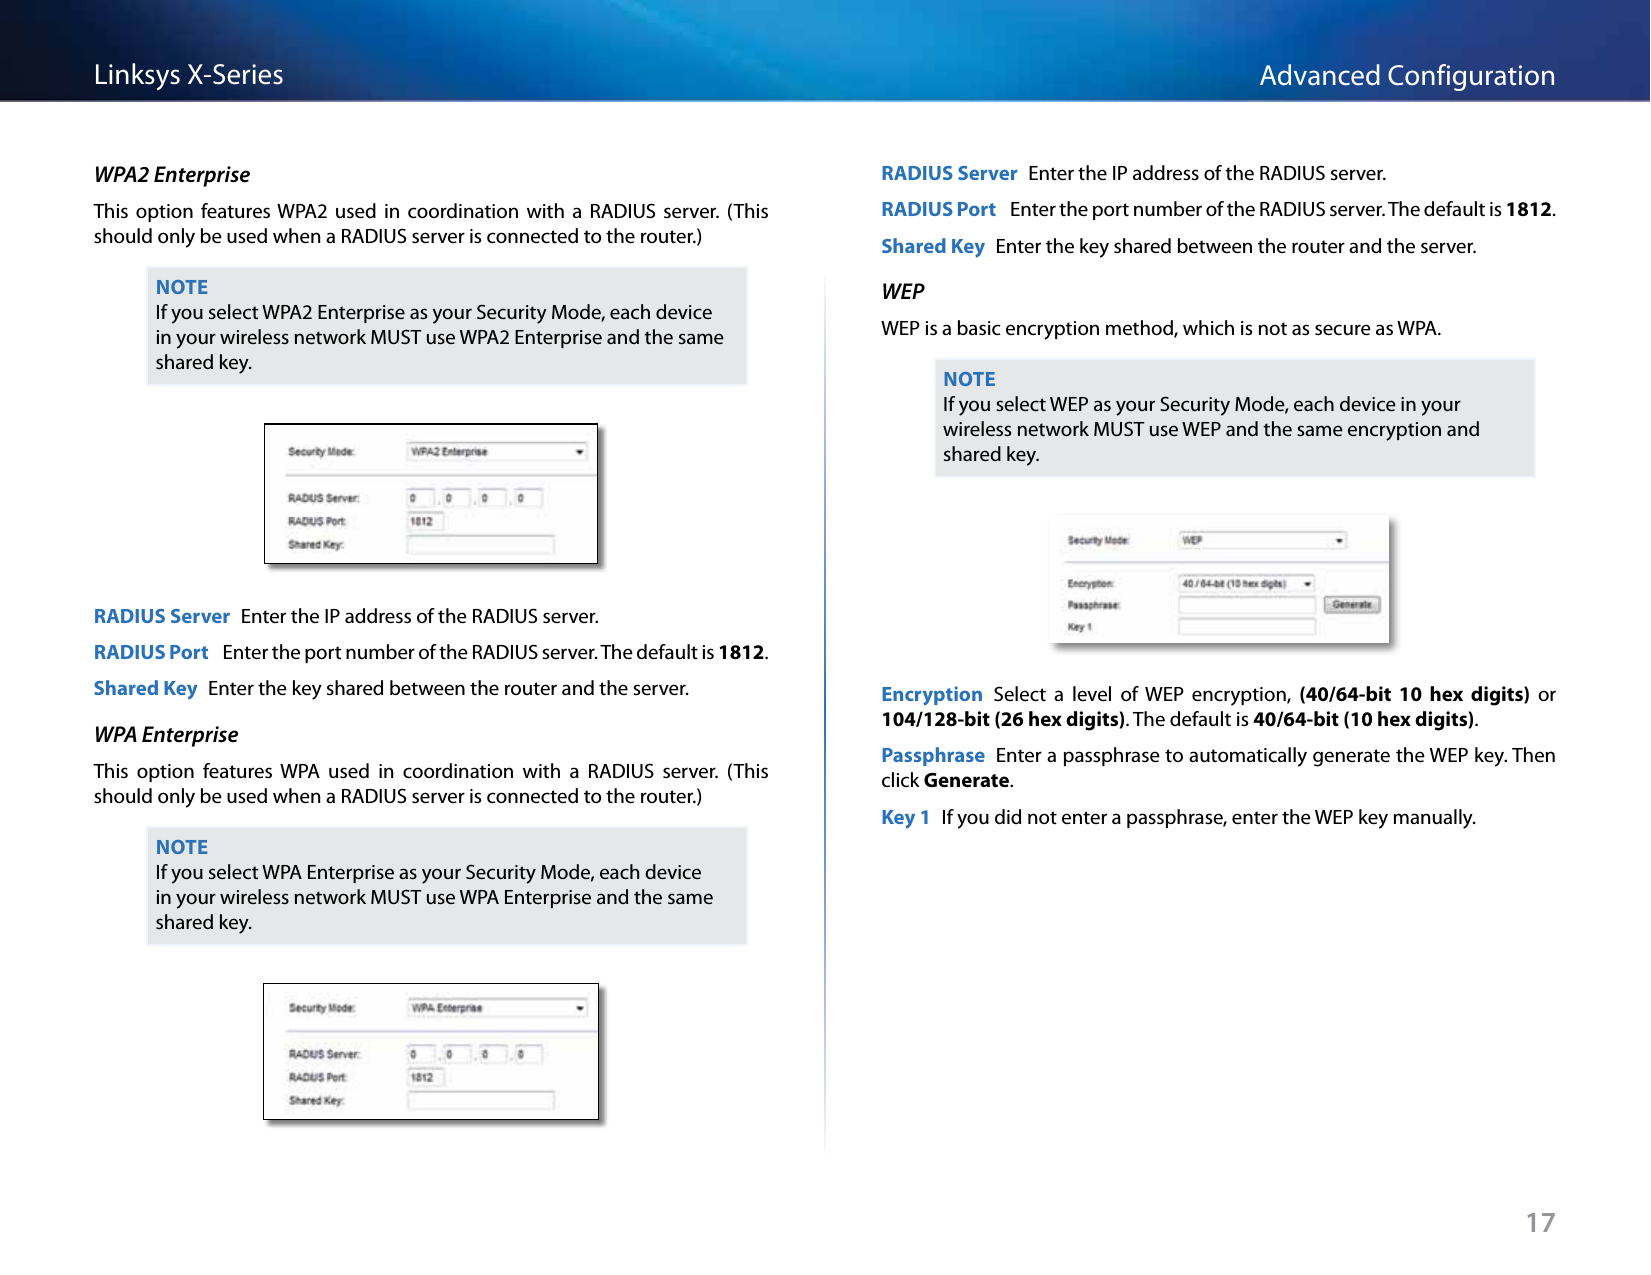
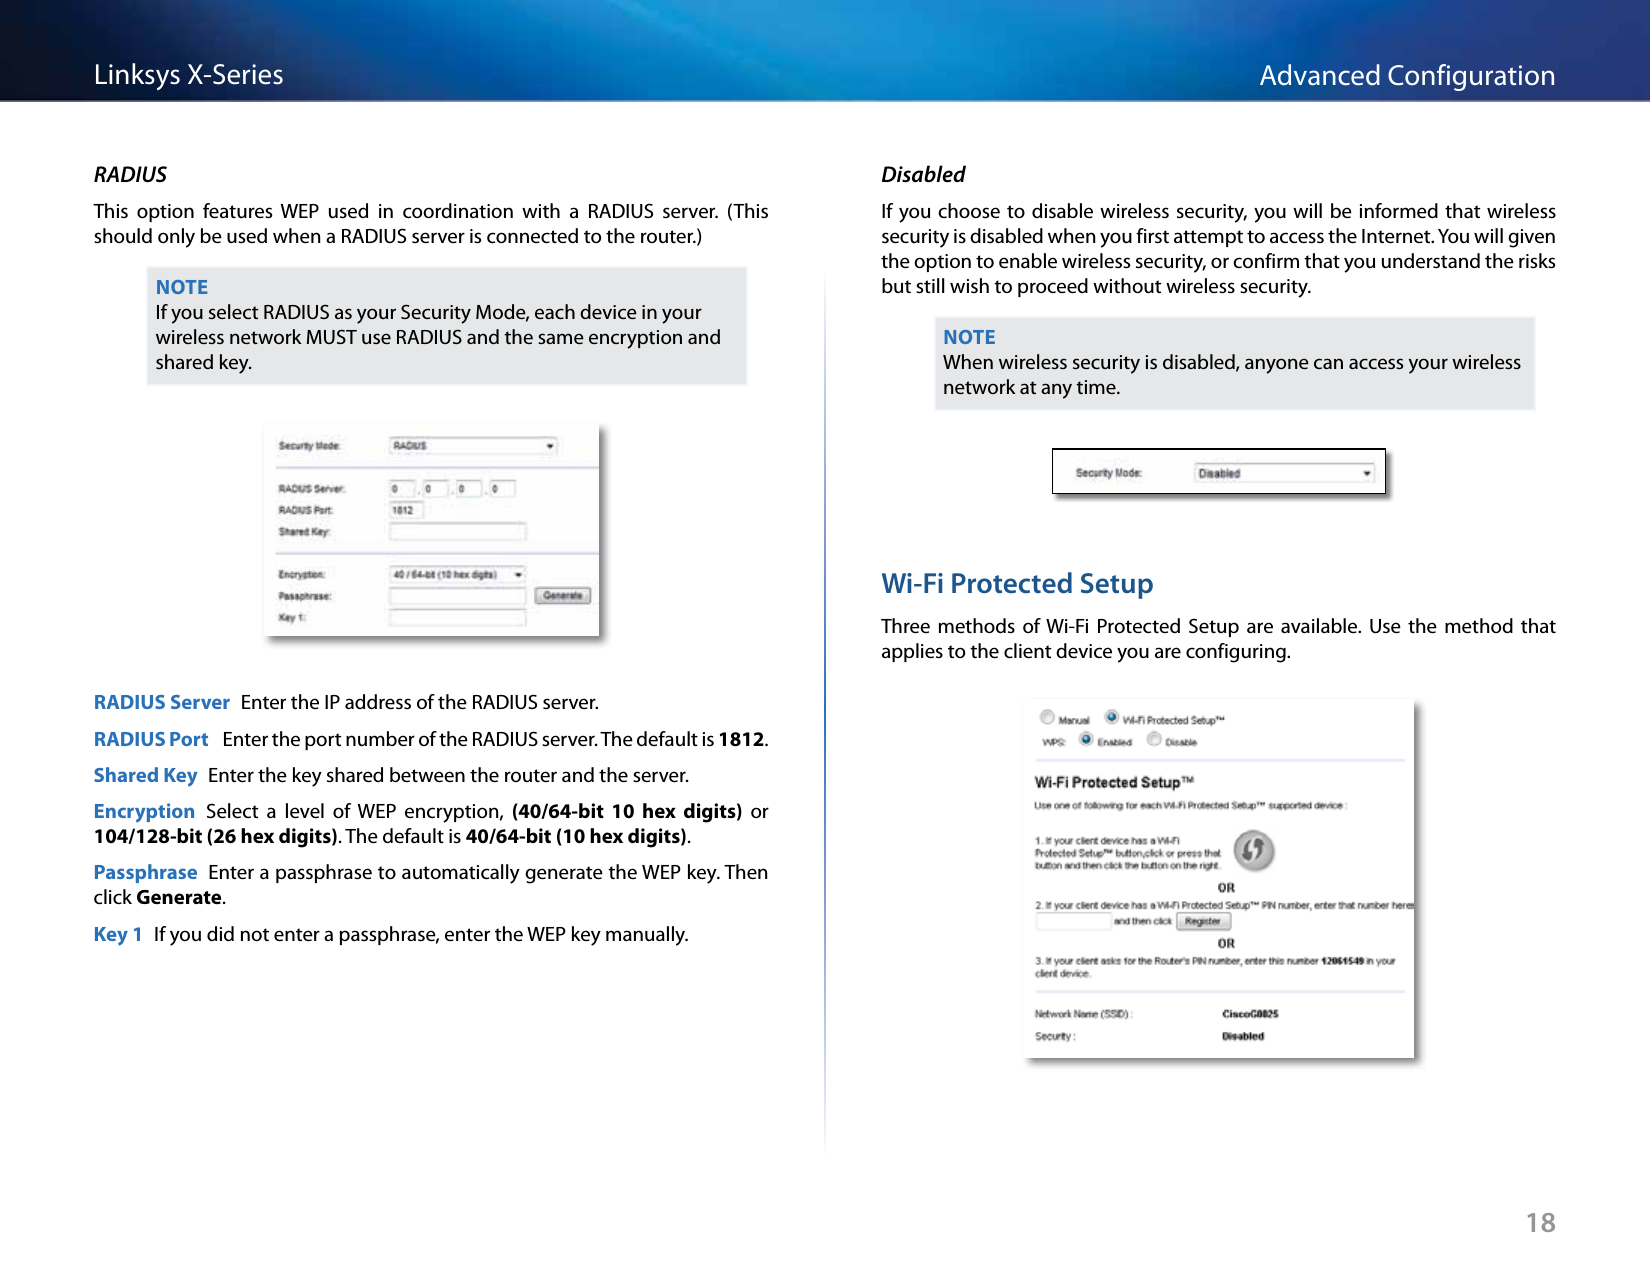
LINKSYS X3500 Linksys X3500 Advanced Wireless-N ADSL2+ Modem Router User Manual Linksys X Series User Guide
LINKSYS LLC Linksys X3500 Advanced Wireless-N ADSL2+ Modem Router Linksys X Series User Guide
LINKSYS >
Contents
- 1. User Manual
- 2. User Manual - Statements
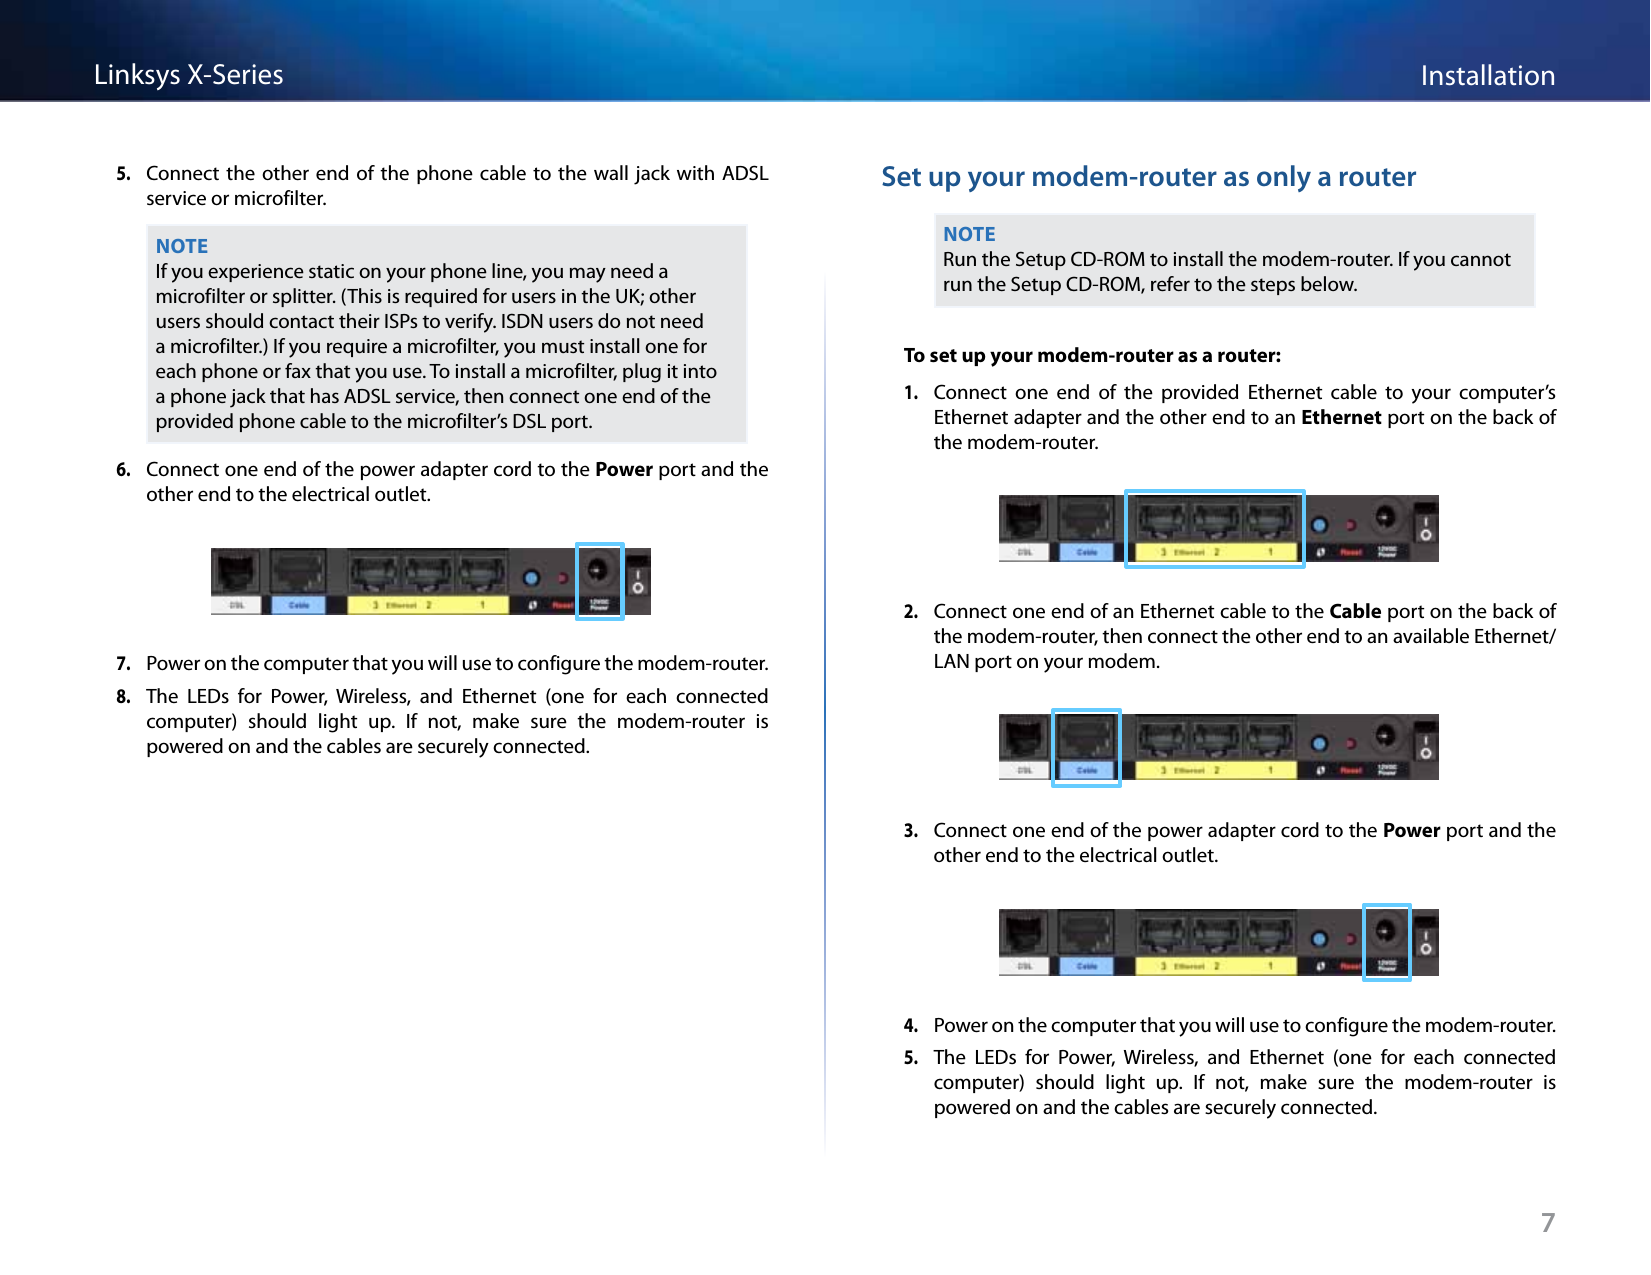
User Manual