LITE ON TECHNOLOGY CS1030 PDA Remote Controller User Manual NevoSL Quick Start Guide
LITE-ON Technology Corp. PDA Remote Controller NevoSL Quick Start Guide
UserManual.wiki
>
LITE ON TECHNOLOGY
>
CS1030 User Manual
users manual
Navigation menu
Upload a User Manual
Namespaces
Wiki Guide
HTML
PDF
Info
Views
User Manual
Discussion / Help
Navigation

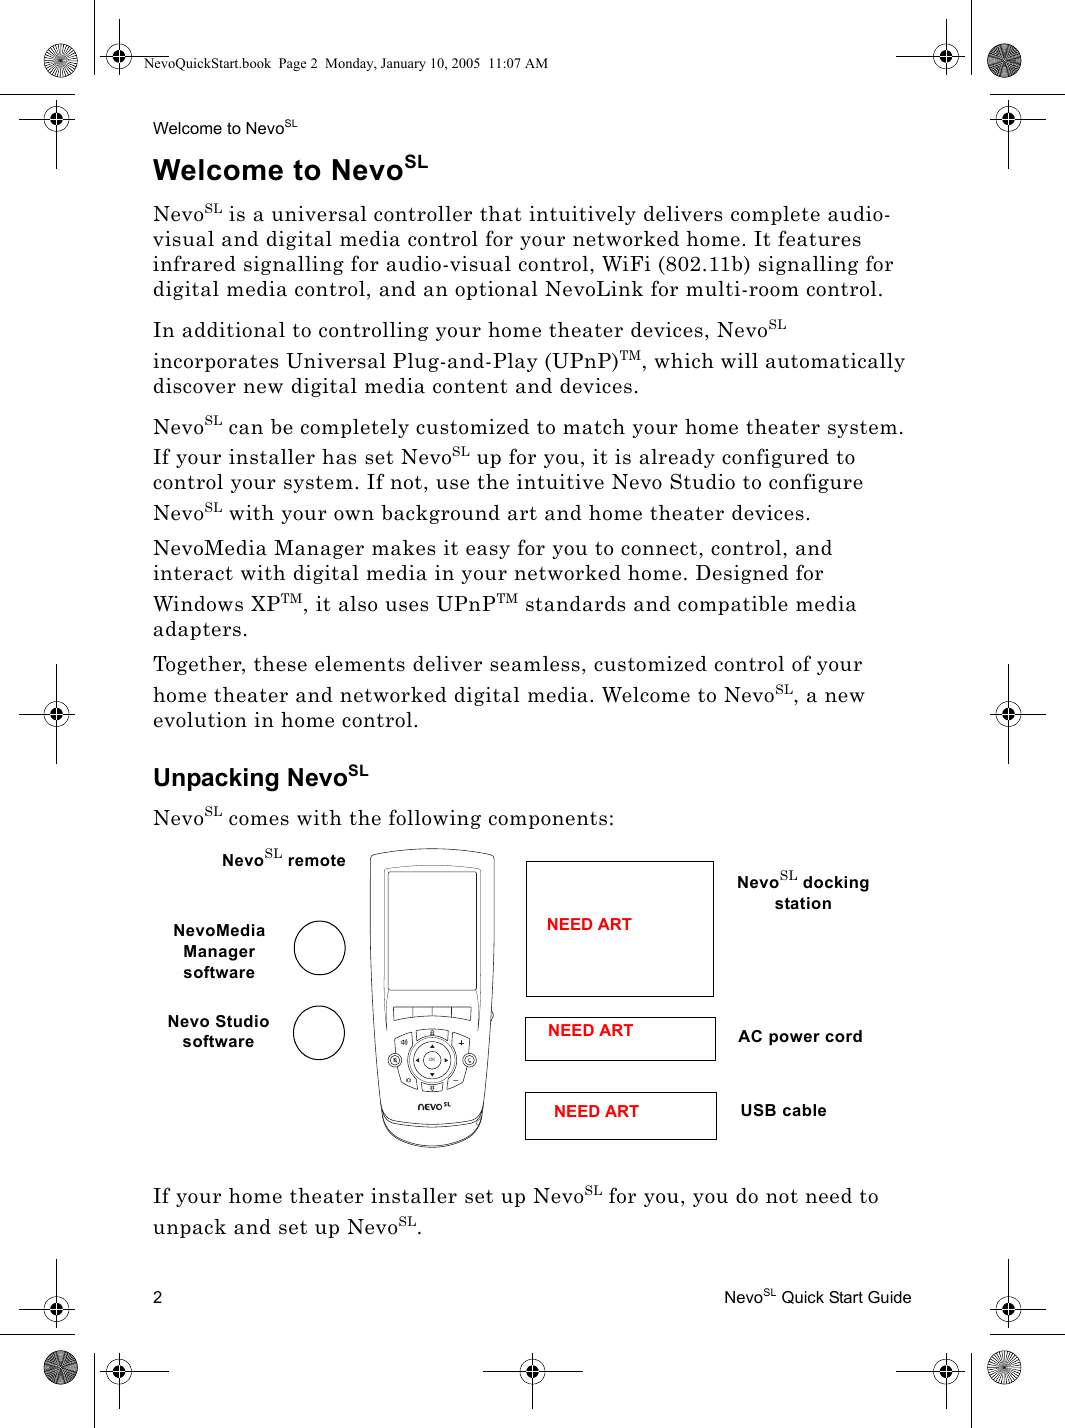
![Getting to Know NevoSLNevoSL QUick Start Guide 3Once you unpack NevoSL:1. Set up the docking station and connect it to a wall outlet. Tip: Consider placing the docking station near your home theater equipment; even when NevoSL is docked you can use it to control your home theater system.2. Dock the NevoSL and begin charging the battery. It will take [period of time] to charge the battery for the first time.Getting to Know NevoSLNevoSL provides fully-customizable control of your home theater devices and digital media. Its touch-sensitive screen is software-based, so you or your installer can include only those controls you actually use. For more information on customizing NevoSL, see Nevo Studio User’s Guide.NevoSL’s MediaManager is incorporated into its touchscreen, as well as being available for installation on your Windows XPTM PC. For more information on MediaManager, see Nevo MediaManager User’s Guide.The Nevo remote contains the following types of controls:• customizable hard buttons on the remote’s front that let you control common device features (see “Hard Buttons” on page 3• fully-interactive touchscreen that provides only those device control you use the most (see “Touch Screen” on page 5).Hard ButtonsDo we want to tell them about the hard reboot (the on/off switch behind the little cover here or in “If You Have Problems”?)NevoSL includes several hard buttons on the front and sides. Some are customizable and some are not.NevoQuickStart.book Page 3 Monday, January 10, 2005 11:07 AM](https://usermanual.wiki/LITE-ON-TECHNOLOGY/CS1030/User-Guide-520864-Page-8.png)

![Getting to Know NevoSL6NevoSL Quick Start Guide•Home Control opens the customized device control screens set up on your NevoSL. Touch a control or navigation button. See your device’s user manual for specific information on how to operate its features. See below for more information on the navigation buttons.•Media Management opens the digital media control screens. WHen you touch this button, NevoSL immediately begins scanning for nearby digital devices. If it does not find any, it will [do something]. If it finds digital devices, it will display media control options.•Configuration opens a group of settings you can change on your NevoSL. See “Setting NevoSL Up” on page 9 for more information.•About NevoSL displays a screen of copyright and system configuration information. If you have trouble with NevoSL, customer support staff may ask you for this information.•System StatusThis bar displays a set of icons that indicate system status:• ?? This is just a round button on the version I have right now and I can’t tell what it’s for.• shows the strength of the digital or IR signal. The more lines that appear, the stronger the signal.• shows the remaining battery life. The lower this bar, the less battery power is available. When the bar reaches the bottom, dock and recharge you NevoSL. You do not need to wait until the bar is all the way at the bottom before recharging.• displays the current time. See “Setting the Date and Time” on page 11 for information on setting or changing the time.•NavigationTouch these buttons to cycle through the Home Control screens. You can also use the scroll wheel to navigate between these screens.MediaManagerYou can use NevoSL to control digital media via the Media Manager. See Media Manager User’s Guide for more information on controlling digital media.NevoQuickStart.book Page 6 Monday, January 10, 2005 11:07 AM](https://usermanual.wiki/LITE-ON-TECHNOLOGY/CS1030/User-Guide-520864-Page-11.png)
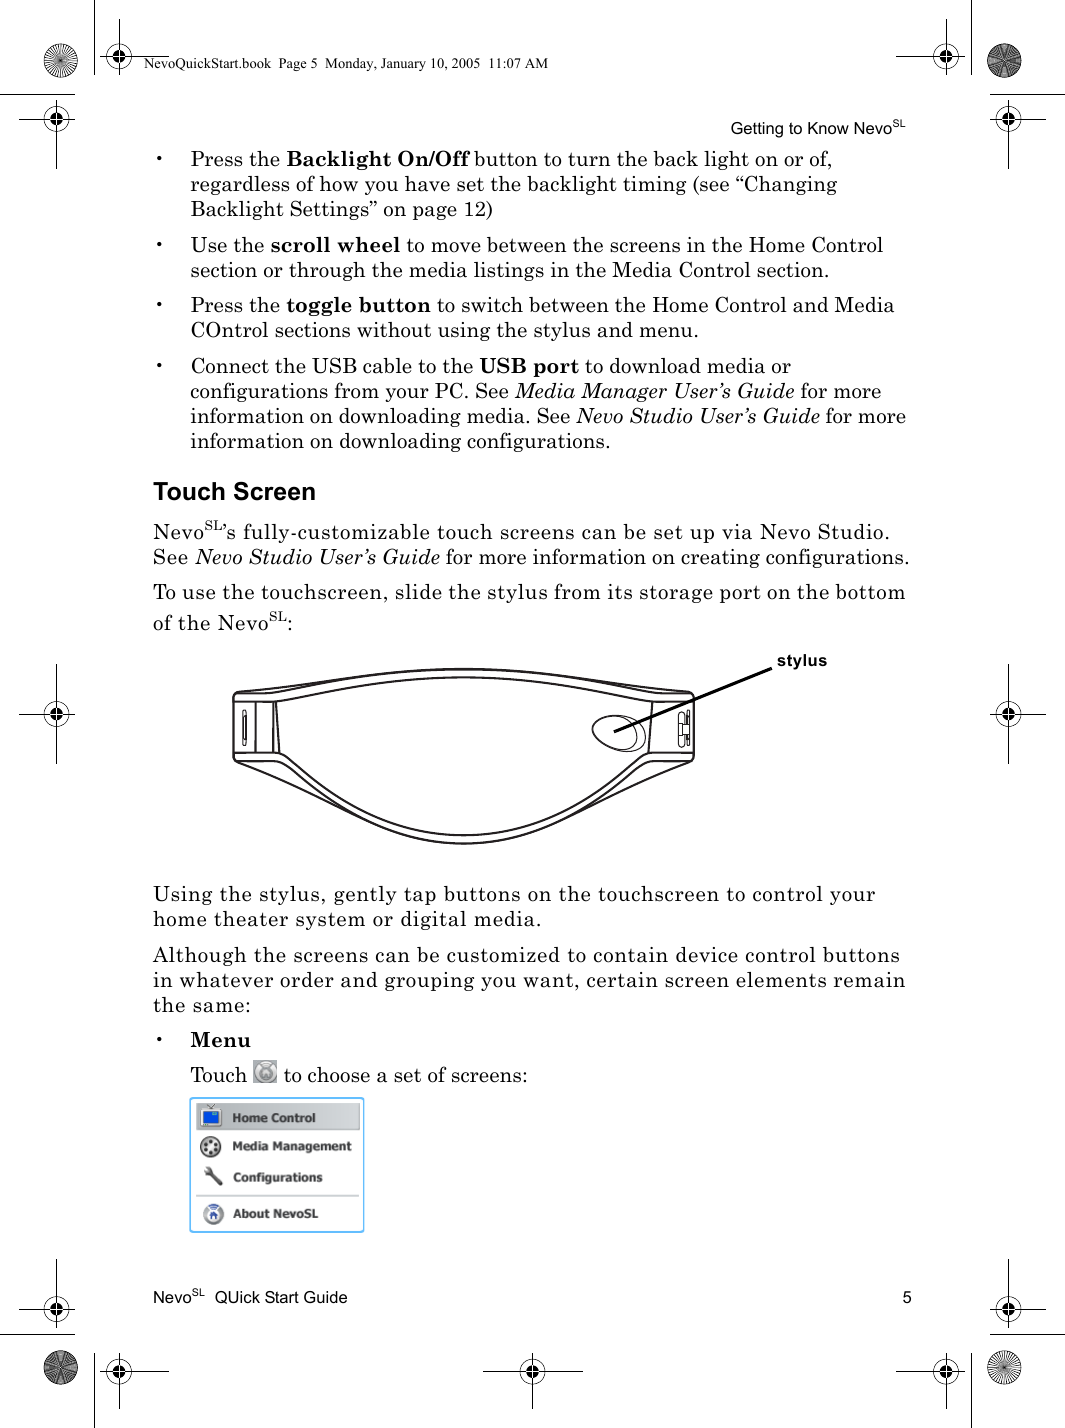
![Using NevoSLNevoSL QUick Start Guide 7Using NevoSLDescription: This section will give a brief overview of typical actions you can perform using Nevo. It will note that the unit is customized; some of the things discussed here may function slightly differently, depending on how Mike has set things up.User Perspective: This gives Greg, Mary, Olaf, and Charles a place to go for basic info about how to operate Nevo.Graphics: a schematic of the battery range (if applicable)Additional Questions: none, pending receipt of a working unitRecharging NevoSLNevoSL includes a long-lasting rechargeable battery. [Something will happen] when the batteries in your NevoSL are running low. When [it happens], you must dock your NevoSL until the battery indicator reads “good” (see “Changing Power Settings” on page 9 for more information).Assuming normal usage ([number of touches?]), your battery will typically last [period of time].To dock your NevoSL, simply set the remote in the docking station. When it is fully docked, you will hear a click and a blue LED will appear on the bottom of the remote:Changing the BatteryWill they ever need to change the battery? Should they do it, or should they get their installer to do it? If they should do it, I will need three images: opening the battery cover, the battery cover off with no battery inside, closing the battery cover.Battery Use And Safety• Dispose of old batteries promptly and properly.• Do not burn or bury batteries.need a line art image of the unit in the docking stationNevoQuickStart.book Page 7 Monday, January 10, 2005 11:07 AM](https://usermanual.wiki/LITE-ON-TECHNOLOGY/CS1030/User-Guide-520864-Page-12.png)