Launch Tech DBSCARI DBScar User Manual Manual
Launch Tech Co., Ltd. DBScar Manual
UserManual.wiki
>
Launch Tech
>
DBSCARI User Manual
Manual
Navigation menu
Upload a User Manual
Namespaces
Wiki Guide
HTML
PDF
Info
Views
User Manual
Discussion / Help
Navigation
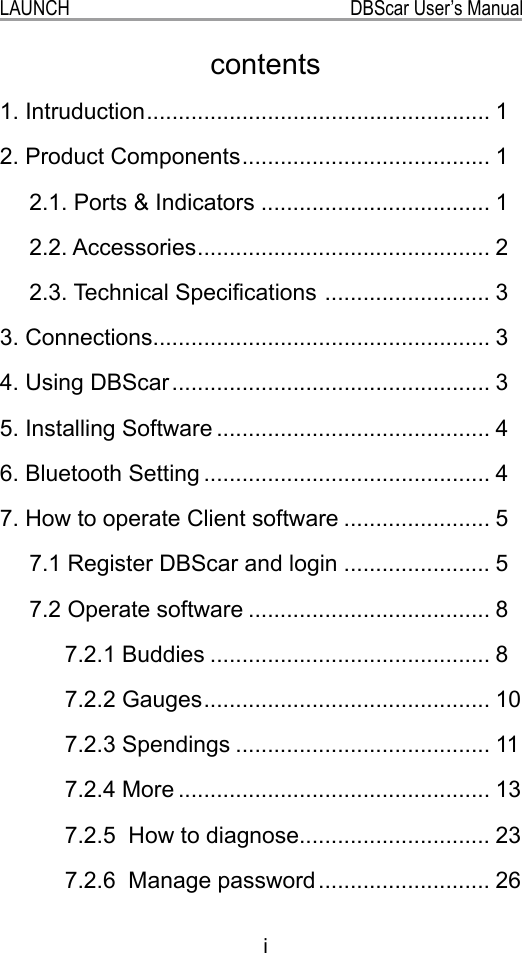


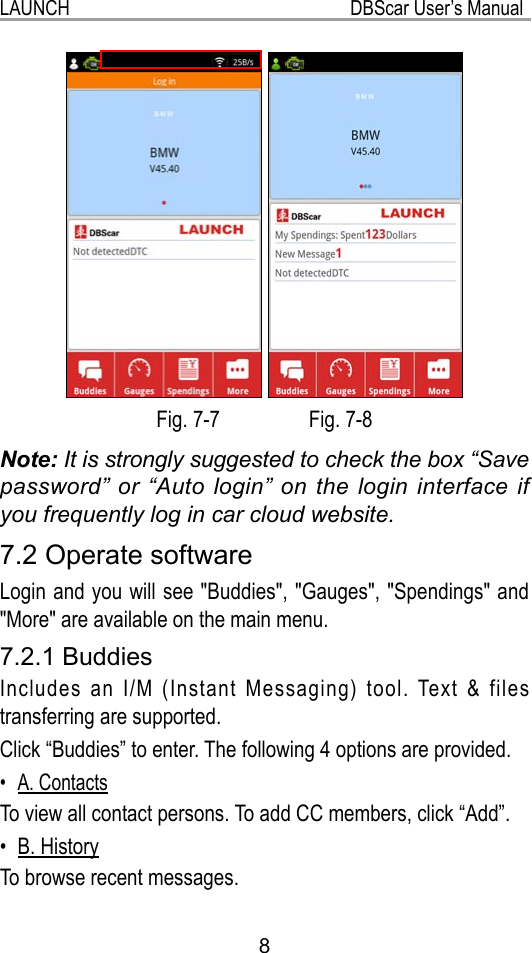
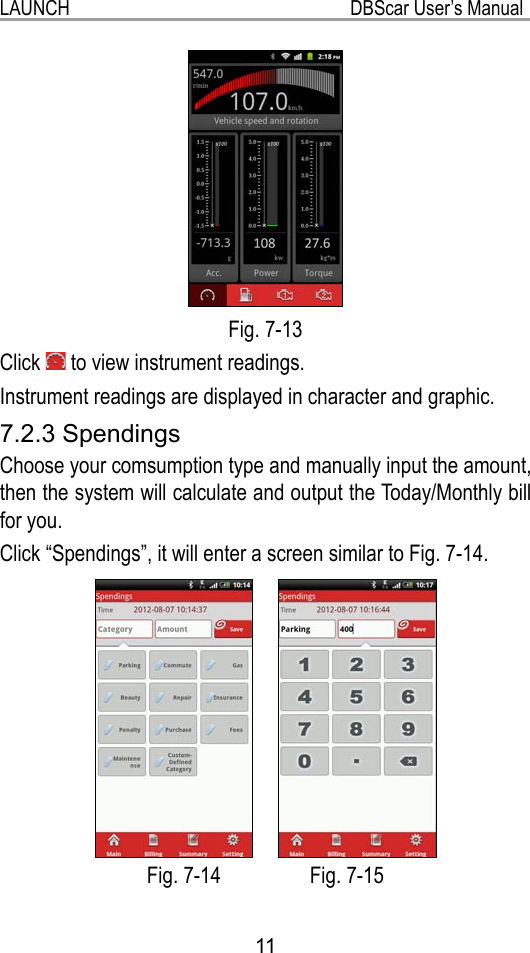
![9LAUNCH DBScar User’s ManualC. Doc. Record• To view le sending records.D. Add• To add more CC members.Click “Add” to enter Fig. 7-9. There are 3 ways available for you to add a CC member: by Nickname, by CC number and Online.In case you remember the nickname and CC number, click [by Nickname] or [by CC number], then input it in the blank field. To search all online users, click [Online] to start scanning, and a list of online users will be displayed on the screen (refer to Fig. 7-10). Click the desired one, and choose “Yes” to add it into your contacts. Fig. 7-9 Fig. 7-10Click one on Contacts page (Fig. 7-11) to enter chat mode. Click in input box to activate on-screen keyboard. Click to choose the desired expression. Click to nd the desired le](https://usermanual.wiki/Launch-Tech/DBSCARI/User-Guide-1846367-Page-11.png)
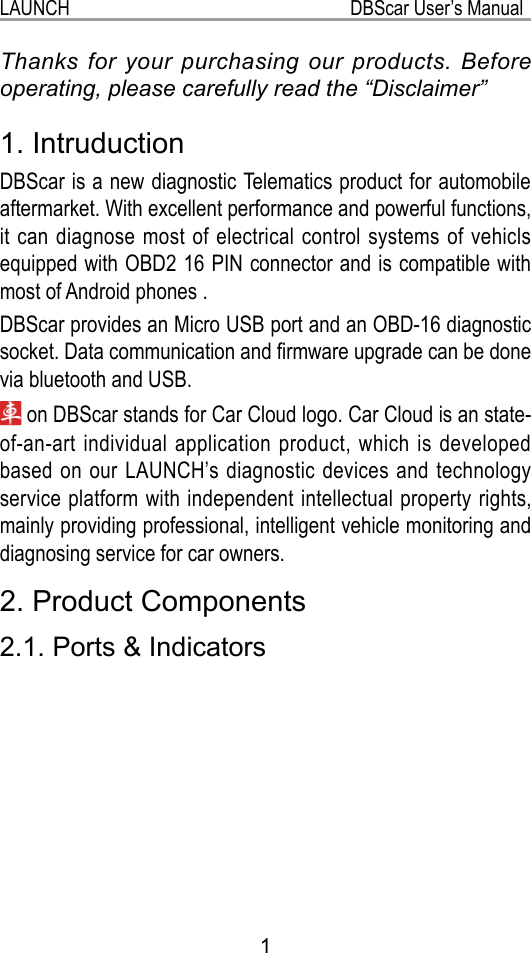
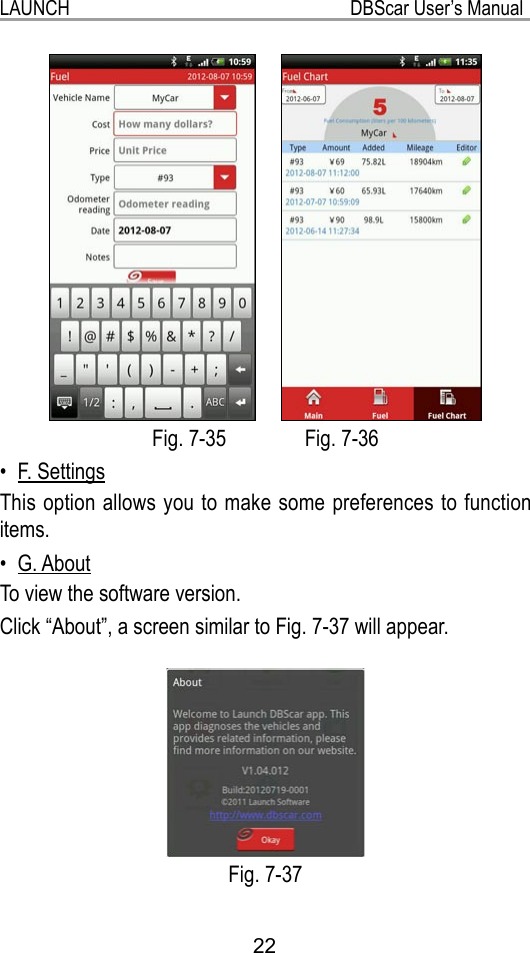
![LAUNCH DBScar User’s Manual12 Fig. 7-16 Fig. 7-17[Button Descriptions]:Main: return to the main menu.Billing: view today’s spendings. See Fig. 7-16.Summary: view annual billing. See Fig. 7-17.Setting: Click “Setting” to enter Fig. 7-18, user can manage your vehicles, set your budget limits. Data backup, recovery and export can also be executed.](https://usermanual.wiki/Launch-Tech/DBSCARI/User-Guide-1846367-Page-14.png)
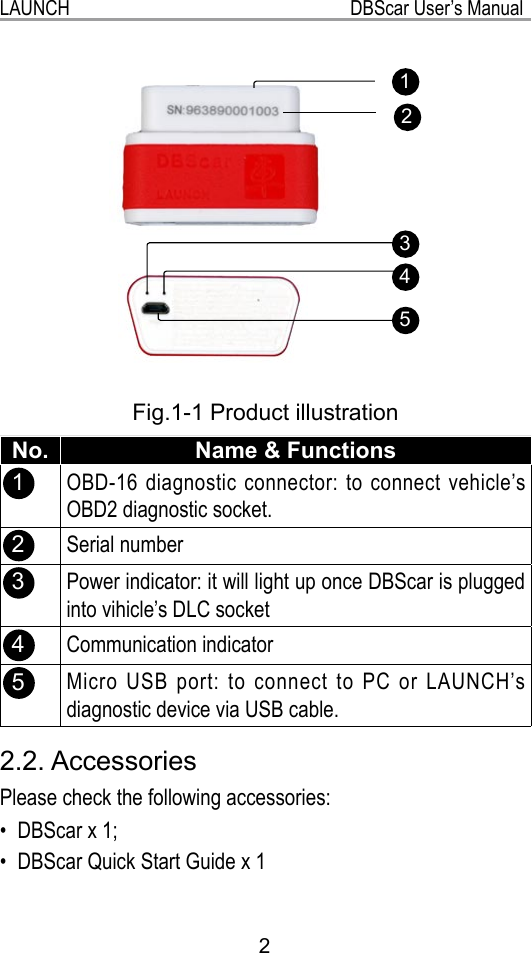
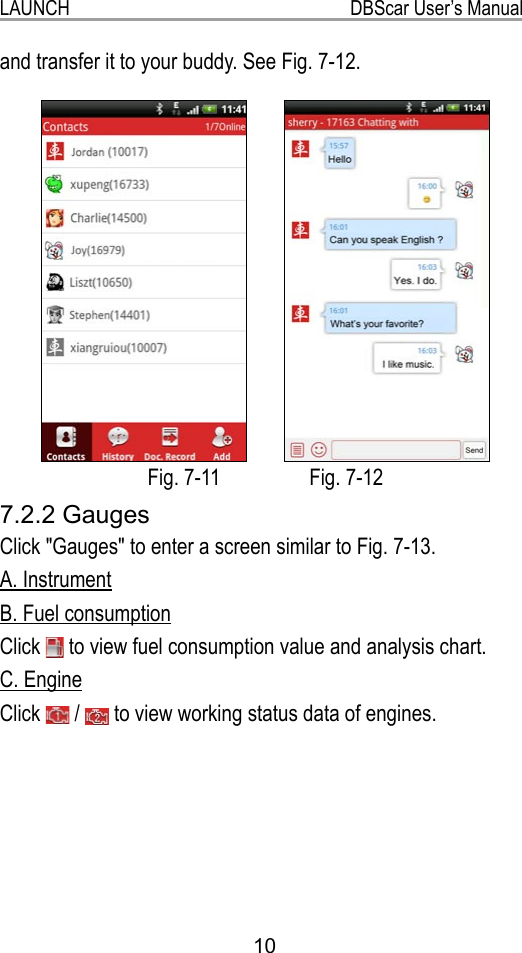
![13LAUNCH DBScar User’s Manual Fig. 7-18 Fig. 7-197.2.4 MoreClick “More” to enter Fig. 7-19. A. Footprint• This option is designed to present you the driving record of your vehicle. Click “Footprint”, a screen similar to Fig. 7-20 will appear (If no GPS is activated, an error message will appear and no map can be read.).Click to locate the start point, then click to start recording driving track. See Fig.7-21.The following options are available:[ ]: To list all tracks. Rename, delete, export and view operation are supported.[ ]: click to pause the recording track.[ ]: click to stop recording, and a dialog box will appear,](https://usermanual.wiki/Launch-Tech/DBSCARI/User-Guide-1846367-Page-15.png)
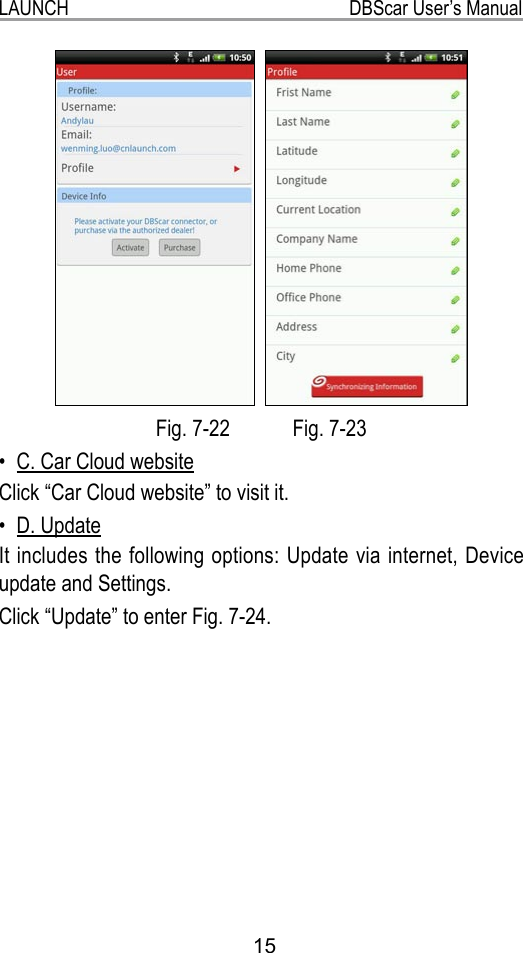
![LAUNCH DBScar User’s Manual14prompting you to name your track. Click “Save” to save your track.[ ]: To activate photographing.[ ]: To add note for your travel.[]: To dene your destination on the map. Fig. 7-20 Fig. 7-21B. User Center• This item allows you to view and modify your personal information. Click “User”, a screen similar to Fig. 7-22 will appear. Click next to “More” to enter Fig. 7-23. Click to enter edit mode for further modication. After revising, click “Synchronizing Information” to refresh the current screen to view the updated information.](https://usermanual.wiki/Launch-Tech/DBSCARI/User-Guide-1846367-Page-16.png)
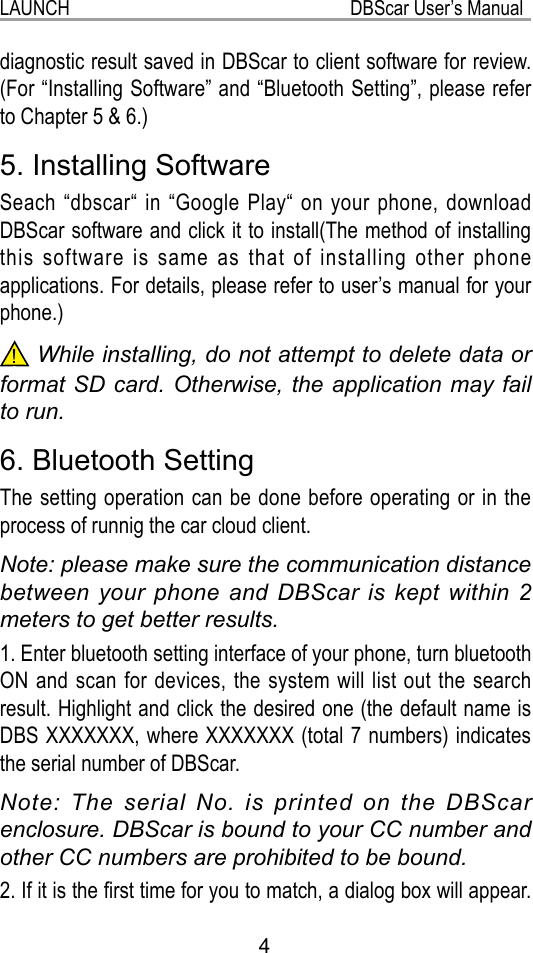
![23LAUNCH DBScar User’s Manual7.2.5 How to diagnoseAfter you finished activating DBScar connector, device configuration and updating, click [Diagnostics], the system will enter Fig. 7-38. Otherwise, a dialog box as shown in Fig. 7-39 will appear if the selected vehicle does not match with the current DBScar. Click [Update] to synchronize it; click [Yes] to continue.After the system loads all diagnostic programs, a screen similar to Fig. 7-40 will appear. Click the desired one to enter Fig. 7-41 Fig. 7-38 Fig. 7-39](https://usermanual.wiki/Launch-Tech/DBSCARI/User-Guide-1846367-Page-25.png)
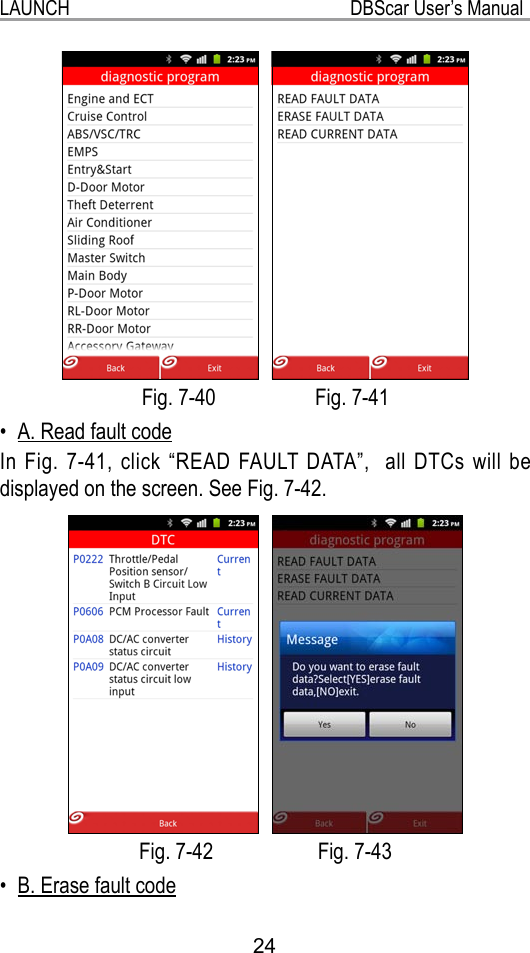
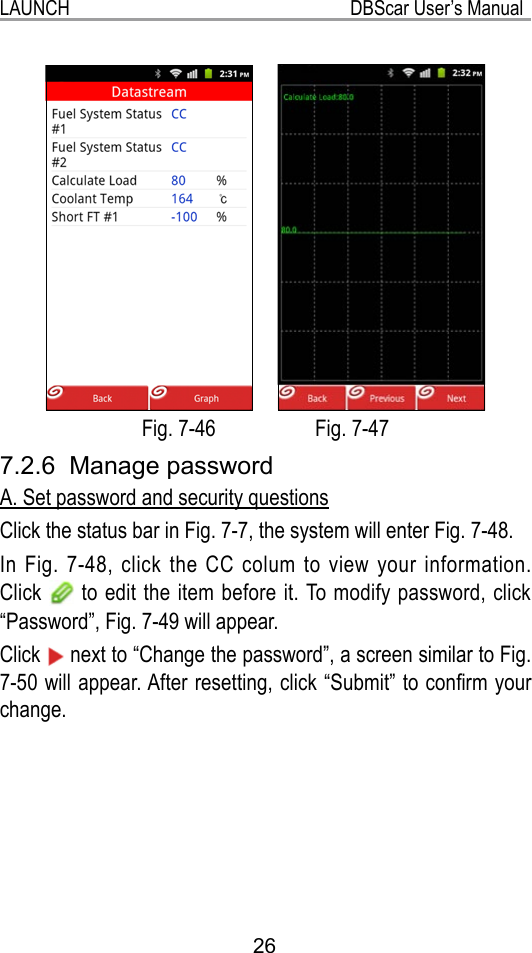
![25LAUNCH DBScar User’s ManualIn Fig. 7-41, click “ERASE FAULT DATA”, a dialog box as indicated Fig. 7-43 will pop up. Click [Yes] to erase trouble codes and a message “Erase Succeed” will appear; click [No] to exit.C. Erase fault code• In Fig. 7-41, click “READ CURRENT DATA”, the system will enter data item selection interface. See Fig. 7-44. Click the desired one, a screen similar to Fig. 7-45 will be shown. Click the box before the item to select it. To select all items, just check the box before “Select All”. (To deselect it, uncheck the box.) Fig. 7-44 Fig. 7-45After choosing, click “Ok” to enter a screen as indicated in Fig. 7-46. To view it in graph mode, click “Graph”, the screen will display as Fig. 7-47. To view the next/previous datastream, click “Next”/“Previous”.](https://usermanual.wiki/Launch-Tech/DBSCARI/User-Guide-1846367-Page-27.png)