Longcheer Technology IT385 GSM MOBILE PHONE User Manual STi IT385 UM V1 0
Shanghai Longcheer Technology Co., Ltd. GSM MOBILE PHONE STi IT385 UM V1 0
UserManual.wiki
>
Longcheer Technology
>
IT385 User Manual
Users Manual
Navigation menu
Upload a User Manual
Namespaces
Wiki Guide
HTML
PDF
Info
Views
User Manual
Discussion / Help
Navigation


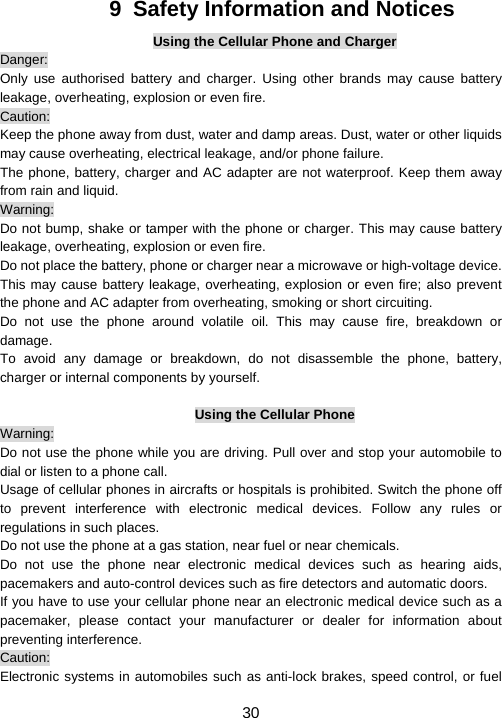
![9 4 Text Entry 4.1 Input Method Your cellular phone supports several input methods, which include: Multitap (ABC/abc/Abc) Numeric (123) Smart (eZi ABC/abc/Abc) Smart PT/pt/Pt Multitap PT/pt/Pt 4.1.1 Changing the input modes During text editing, you can press the # Key to switch input modes, or press the Left Soft Key [Options] and choose Input method to select different input modes. 4.1.2 Entering Symbols In any input mode, press the * Key to open the symbols input screen. Use the navigation key to choose the desired symbol and the OK key to select it. 4.2 Smart Input Letters and symbols represented by each key are as follows: 2 to 9 Press to input letters 1 Press to input symbol 0 Press to input space Navigation Key left/right/up/down Press to browse the last or next available word. Left Soft Key (Select) Press to confirm the letter or word. Right Soft Key (Clear) Press to clear a letter, press and hold to clear all entries # Switch between input mode * Press to activate punctuation mode Example: How to enter the word "HOME" 1. Press the # Key to switch to Smart ABC. 2. Press 4 6 6 3, the first word “GOOD” appears. 3. Press Navigation Key Right to browse and select “HOME”. 4. Press the Left Soft Key [Select] to confirm “HOME”. 4.3 Multitap Input](https://usermanual.wiki/Longcheer-Technology/IT385/User-Guide-1385510-Page-9.png)
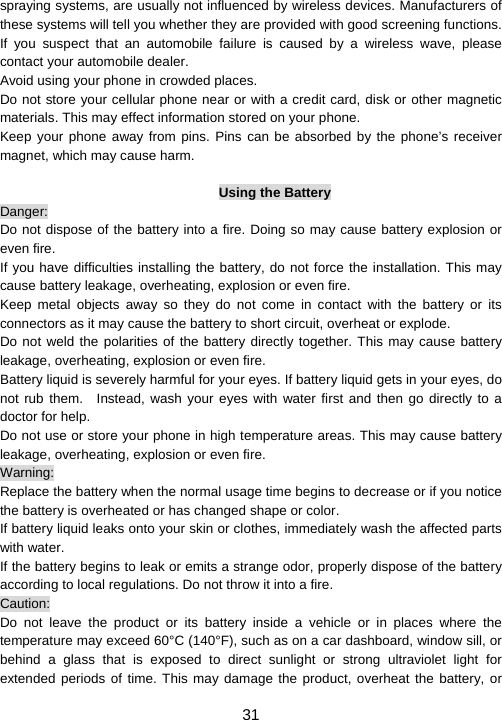
![11 5 Calling 5.1 Making a Call In idle mode, enter the phone number. Press the SIM1 dial key to call the number from SIM1 and SIM2 dial key to call the number from SIM2. Press the Call End Key to end the call. Note: During a call, press the navigation up and down key to adjust the volume.You can press the Left Soft Key [Options] to choose Sound Recorder to record. In most countries, recording telephone conversations is subject to legislation. We advise you to notify the caller if you intend to record your conversation and only do so if they agree. 5.1.1 Making an International Call 1. Press the * Key twice quickly to enter "+". 2. Enter the country code. 3. Enter the area code (normally without the 0 before it) followed by the phone number. 4. Press the Dial Key to call directly. 5.2 Answering a Call Press the SIM1/SIM 2 call receive key to answer calls to respective numbers. Press the Call End key to reject it.](https://usermanual.wiki/Longcheer-Technology/IT385/User-Guide-1385510-Page-11.png)
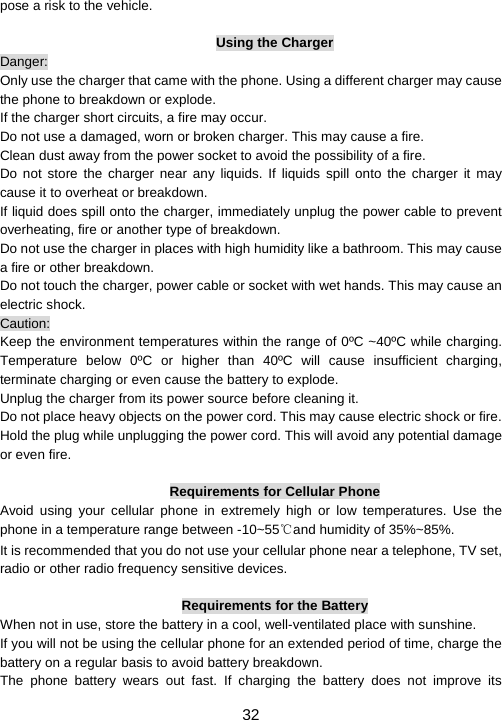
![12 6 Menu Functions 6.1 How To Use 6.1.1 Select Menu Press the Left Soft Key [Menu] to enter main menu in idle mode. Press the Navigation Key to choose desired operation and press the Left Soft Key [Ok] to enter the selected operation. You can exit a menu and return to idle mode by pressing the Right Soft Key [Back] or the Call End Key. 6.2 Main Menu Phone book Messages Call history Audio player Camera FM radio Tools Services Multimedia Settings Bluetooth File manager 6.3 Phone book Your phone features two phonebooks. The SIM phonebook is located on your SIM and the number of entries you can store depends on the SIM. The second phonebook (Smart phonebook) is integrated in the phone memory. 6.3.1 Quick search Input the first character of the name you are searching for in the cursor, and all records meeting the conditions will be displayed. Search results may vary dependent on input methods. 6.3.2 Search contact Press Menu > Phone book > Search contact. Enter the contact name. Press the Left Soft Key [Options] and select Search.](https://usermanual.wiki/Longcheer-Technology/IT385/User-Guide-1385510-Page-12.png)
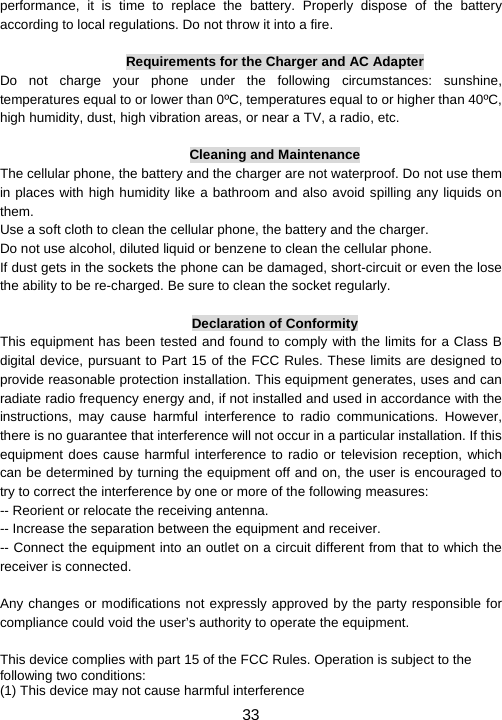
![14 pre-assigned ring tone will play. You can choose a ringtone from the available default list of your mobile phone, or from an audio file downloaded on your phone/memory card. 6.3.13 Caller video Set caller video for contact as incoming call video 6.4 Messages 6.4.1 Text message Creating a text message: Select Menu > Messages > Text message > Write message. Write a message, please refer to the Text Entry section of this manual for detailed information. After entering text, you can access the following options by pressing the Left Soft Key [Options] and then select SIM1 Done or SIM2 Done: Send only: Press to enter a phone number or select a recipient from the contact list, and send the message. Save: Press to save to the Drafts. Send to many: Press to add several recipients at a time and send the message. Send by group: Press to send the message to the group you selected. Note: Make sure the SC Address in the activated profile is correct; otherwise, you cannot send or receive the messages. 6.4.2 MMS Creating a multimedia message: 1. Select Menu > Messages > MMS > Write message. 2. Select To, Cc, or Bcc. Add phone numbers or email addresses to be sent. 3. Select Subject. Edit the subject of the message. 4. Select Edit content. Edit the content of the message. You can add picture, audio, video and attachment to the multimedia message. You can also insert a new slide, preview the message, and set the slide duration. After you have completed inserting content, press the Left Soft Key [Option] and select Done.](https://usermanual.wiki/Longcheer-Technology/IT385/User-Guide-1385510-Page-14.png)
![15 When you have finished writing the MMS, press the Right Soft Key [Done] and choose from the following options: Send only, Save and send, Save to Drafts, Save as template, Send options and Exit. 6.4.3 Voicemail server 1. Select Menu > Messages > Voicemail server. 2. Select one of them, press the Left Soft Key [Options] and select Edit. 3. Enter the voice mail infomation. 4. After completion go back to the previous menu and select Call voicemail. 6.4.4 Broadcast message Received Mode Select Menu > Messages > Broadcast message > SIM1/2 broadcast message. Press the Left Soft Key [On] to activate this function. Press the Navigation Key to select Channel settings to add the channel number. Note: To obtain the codes corresponding to the different types of messages, you must contact your operator. 6.5 Call history 1. Select Menu > Call history. 2. Press the Navigation Key to view different call logs. 3. Choose a particular number and press the SIM1 or SIM2 Dial Key to call the number directly. 4. Select Delete call logs if you want. 5. Select GPRS counter to view the GPRS volume you have used. 6.6 Audio player The keypad operations during music playback are as follows: Key Description Navigation Key left/right Press to select the previous song/next song. Left Soft Key [List] List the audio file from the storage you set. Right Soft Key [Back] Return to previous menu. The OK Key Press to Start/Pause/resume the current music.](https://usermanual.wiki/Longcheer-Technology/IT385/User-Guide-1385510-Page-15.png)
![16 Navigation Key up/down Increase/decrease the volume. 6.7 Camera By pressing the left soft key to select Camera, you can enter into the photo-taking preview interface. By pressing the left soft key to select Options, you can go to the Switch to video recorder, Photos, Camera settings, Image settings, White balance, Scene mode, Effect settings, Storage and Restore default. Shortcut keys to Camera functions: Navigation left key: Zoom out Navigation right key: Zoom in Navigation up key: Decrease brightness Navigation down key: Increase brightness Numeric Key 0: Switch to video recorder Numeric Key 1: Effect settings Numeric Key 2: White balance Numeric Key 4: Auto click timer Numeric Key 5: Cont. shot Numeric Key 6: Scene mode Numeric Key 7: Image quality Numeric Key 8: Image size # key: Hide/Display all the icons displayed on the screen. Note: The camera will automatically exit without any operation within 1 minute. 6.8 FM radio Select Menu > FM radio. Press the OK Key to activate or deactivate the FM radio. Press the up/down keys to adjust the volume. Pressing the Navigation Key Right/Left to search for available channels; pressing the Navigation Key Right/Left will switch to varying channels by 0.1 intervals. Press the Left Soft Key [Options] to access the FM settings and record FM.](https://usermanual.wiki/Longcheer-Technology/IT385/User-Guide-1385510-Page-16.png)
![17 6.9 Tools This menu contains features and options designed to keep you organized and informed while on the go. It includes; Calendar, To do list, Alarm, World clock, Calculater, Stopwatch, Ebook reader, Unit converter, Currency converter, Health and Answer machine. 6.9.1 Calendar Create a new task: 1. Select Menu > Tools > Calendar. 2. Press the Navigation Key to select a date. 3. Press the Left Soft Key [Options] and select Add event. 4. Select the event type. 5. Enter the event informations. 6. Press the Right Soft Key [Done] to save it. 6.9.2 To do list Edit the memo according to the screen prompts. Select task type such as: Date, Call, Anniversary, and set whether to remind via alarm clock. Also, you can set different reminding manners (once, everyday, custom, weekly, monthly). 6.9.3 Alarm There are 5 alarm clocks set in the system. You can set one or all according to your needs (The clock is off by default); you can set on or off, clock time and different ringing tunes for different alarm clocks. Set an alarm: Select Menu > Tools > Alarm. Select an alarm and then press the Left Soft Key [Edit] to create. Press the Navigation Key Left or Right to turn it on or off. Enter other informations, such as time, repeat, and so on. Note: The “snooze” item allows you to set the snooze minutes. When the alarm is activated, you can select Snooze to activate the snooze function. 6.9.4 World clock View directly the current date and time all over the world via the navigation left/right keys.](https://usermanual.wiki/Longcheer-Technology/IT385/User-Guide-1385510-Page-17.png)
![19 Select the network type, press the OK Key. Edit the account information, and save the settings. Go to Menu > Services > WAP > Settings > Edit account. Select one of the profile, press the OK Key. If the profile is ok, you can select Activate account to activate it. If not, you should add a new profile by selecting Add new. Connecting to the Network 1. Press Menu > Services > WAP > Input address. 2. Enter the URL addess. 3. Press the Left Soft Key [Options] and select Done to access the address. STK Note: The submenus of this feature depends on the operator and different operators may provide different services (some SIM cards do not support STK), which cannot be modified. Please contact your operator. 6.11 Multimedia Note: When there is not enough memory space, you will be unable to save the picture and prompted with a warning message. So you should delete existing pictures before you can store new ones. Storage capacity also depends on the size of the Micro SD card that you insert. 6.11.1 TV player The phone comes with an inbuilt TV player. TV Shortcut keys to TV functions Navigation Key up/down: Adjust volume. Navigation Key left/right: Switch channels. Settings 6.11.2 Games You can enjoy playing two built-in games using this fuction.](https://usermanual.wiki/Longcheer-Technology/IT385/User-Guide-1385510-Page-19.png)
![21 Adjust playing speed: by pressing number key -- 2/8 Snapshot picture: by pressing number key -- 5 6.11.9 Sound recorder Select Menu > Multimedia > Sound recorder. Press the Left Soft Key [Options] and select Settings to set your preferred storage, file format and audio quality. Back to the previous menu, select Record. In the recording screen, you can press the Left Soft Key to pause or continue. If you have finished, press the Right Soft Key [Stop] to stop recording. Press the Left Soft Key to save the file. Note: Saved sound files can be found in the Menu > File manager > Phone/ Memory card > Audio menu according to your storage setting. 6.11.10 Scheduled FM Use this function to pre schedule a recording for an FM program. Press Left Soft key [Edit] to enter all required information Press the navigation right and left key to activate/deactivate the function. Press the Right Soft key [Done] and then the Left Soft key to save your settings. 6.12 Settings You can configure your cellular phone to best suit your usage preferences. 6.12.1 User profiles 1. Select Menu > Settings >User profiles. 2. Select one of the profile. 3. Select Customize to adjust the settings. 4. Press Left Soft key [OK] to activate. Note: Headset profile can only be activated by plugging in a headset. 6.12.2 Dual SIM settings Your phone supports dual SIM mode which allows you to switch from one to the other as required. Dual-SIM operation allows the use of two services without the need to carry two phones at the same time.](https://usermanual.wiki/Longcheer-Technology/IT385/User-Guide-1385510-Page-21.png)
![22 Dual SIM open: Allows you to activate dual SIM mode, so you can switch between SIM1 and SIM2 Only SIM1 open: Allows you to activate only SIM1 connection. Only SIM2 open: Allows you to activate only SIM2 connection. Flight mode: Allows you to enable flight mode. In this mode the phone can be kept switched ON during a flight without intefering with the aeroplane’s signals. 6.12.3 Phone settings This Menu option allows you to set phone parameters such as time and date, schedule power on/off, language, preferred input methods, display settings, greeting text, dedicated keys, Auto update of date and time, UART setup, Misc. settings, Vibrate on, Motion sensor setting. 6.12.4 Call settings Select Menu > Settings > Call settings> SIM1 call settings / SIM2 call settings: This function allows you to customise features like Caller ID, Call waiting, Call divert, Call barring, Line switching and Closed user group. Select Menu > Settings > Call setup > Advance settings: You can customise the following featuers as per your preference. Black list, Auto redial, Speed dial, Call background sound, Call time display, Call time reminder, Auto call disconnect and Voice changer. 6.12.5 Speed Dial: Select Menu > Settings > Call settings > Advance settings > Speed dial. Press left soft Key [on] to activate the function. Select Set number and press OK. Choose an empty number and press Options. Select Edit and you can choose an entry from your phonebook to set as a speed dial number. Now you can press and hold the assigned key to dial the number you set. Black list: Allows you to filter and block incoming calls or messages. To access this function, you should select Menu > Settings > Call settings > Advance settings > Black list. 6.12.6 Save power settings You can active Movie mode, Long time mode and Custom mode.](https://usermanual.wiki/Longcheer-Technology/IT385/User-Guide-1385510-Page-22.png)
![25 while Bluetooth audio connected. Storage: you can select Phone, Memory card or Always ask. FTP Settings: Set the shared folder of the FTP. 6.13.6 About provides information about device name, address and Bluetooth profiles. 6.14 File Manager Select Menu > File manager. Press the Left Soft Key [Options] and select Open to view different folders. Note: If you have inserted a Micro SD card (up to 2G) , you can view its files here.](https://usermanual.wiki/Longcheer-Technology/IT385/User-Guide-1385510-Page-25.png)