MAXWEST TELECOM TABPHONE76DC Tablet User Manual
MAXWEST TELECOM Tablet Users Manual
UserManual.wiki
>
MAXWEST TELECOM
>
TABPHONE76DC User Manual
Manual
Navigation menu
Upload a User Manual
Namespaces
Wiki Guide
HTML
PDF
Info
Views
User Manual
Discussion / Help
Navigation
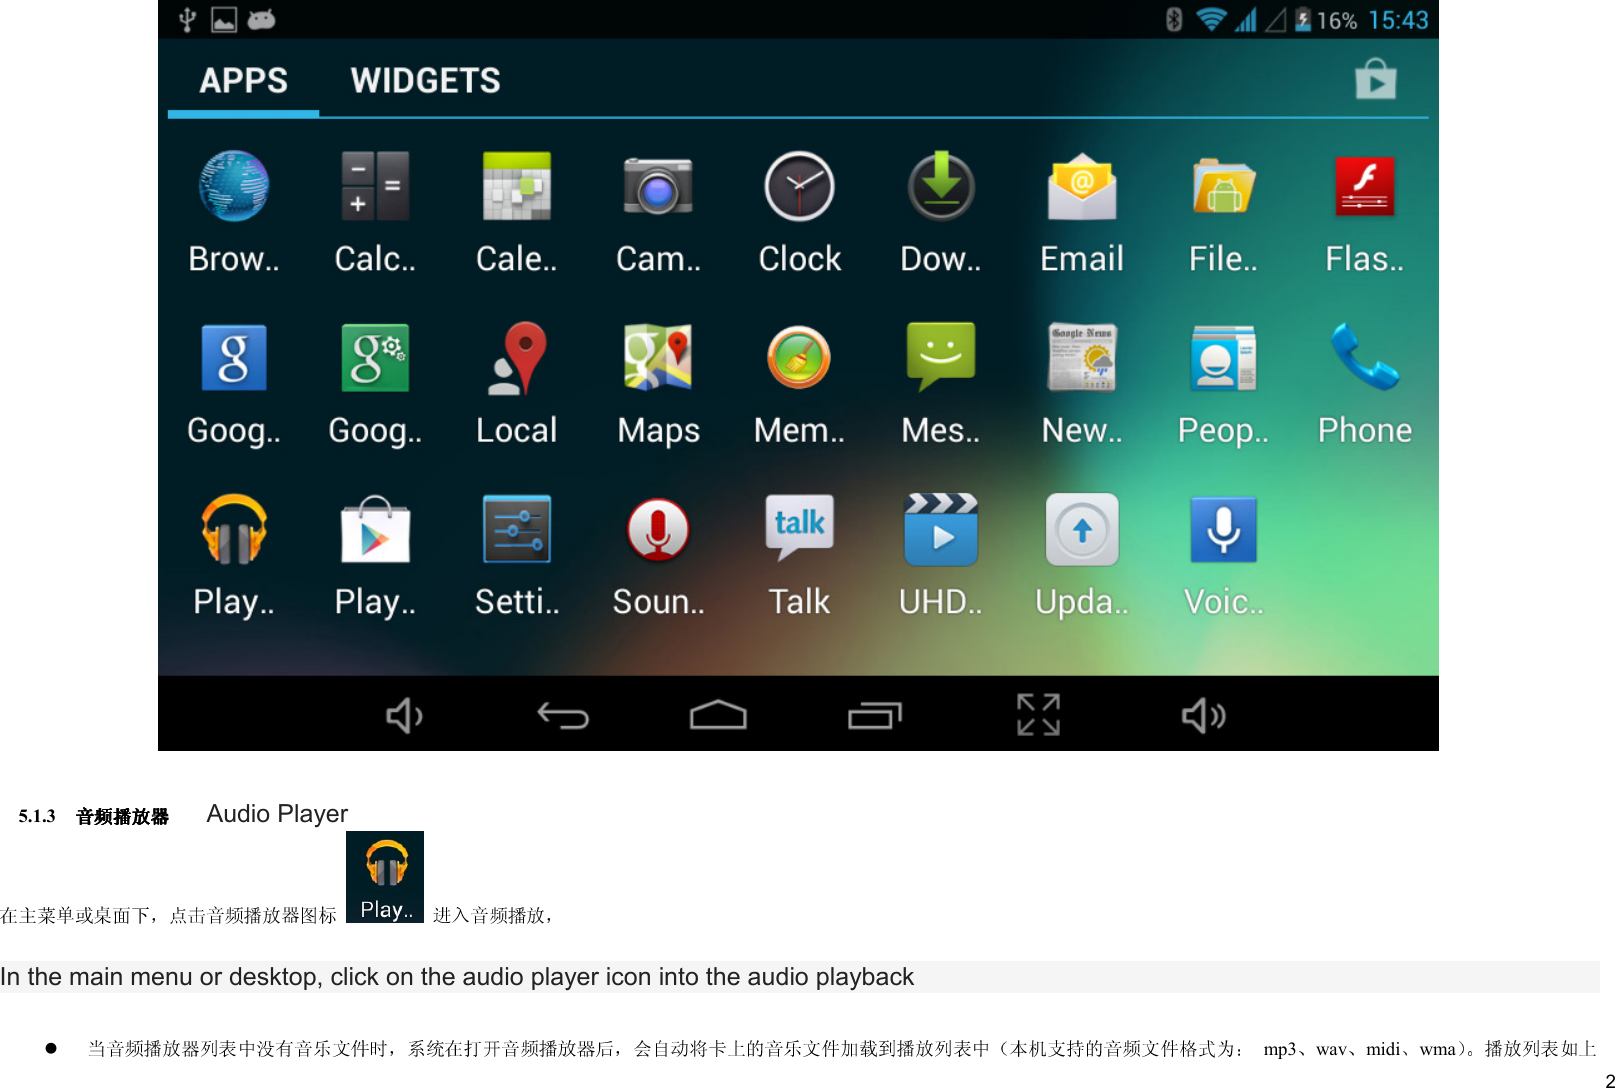
![11 IE browser 6.1.1 WiFi ) , Under normal circumstances WIFI connection (see section 6.1.1 WiFi settings), click on the main menu or the desktop IE browser into IE interface, click on the address bar enter the URL and click Go, enter the corresponding web page, you can view the corresponding website information IE IE Browser USES the current popular third-party IE browser software, please operate in accordance with the standards of Internet explorer's operational mode 5.1.9 Voice Search Under the desktop or in the main menu select [ ] into the voice search interface: after entering the voice search interface, to the machine standard of what you need to search the content of the machine to recognize your voice content after automatically searching. calculator on the main menu or click the calculator icon on the desktop to open the calculator](https://usermanual.wiki/MAXWEST-TELECOM/TABPHONE76DC/User-Guide-2397245-Page-11.png)
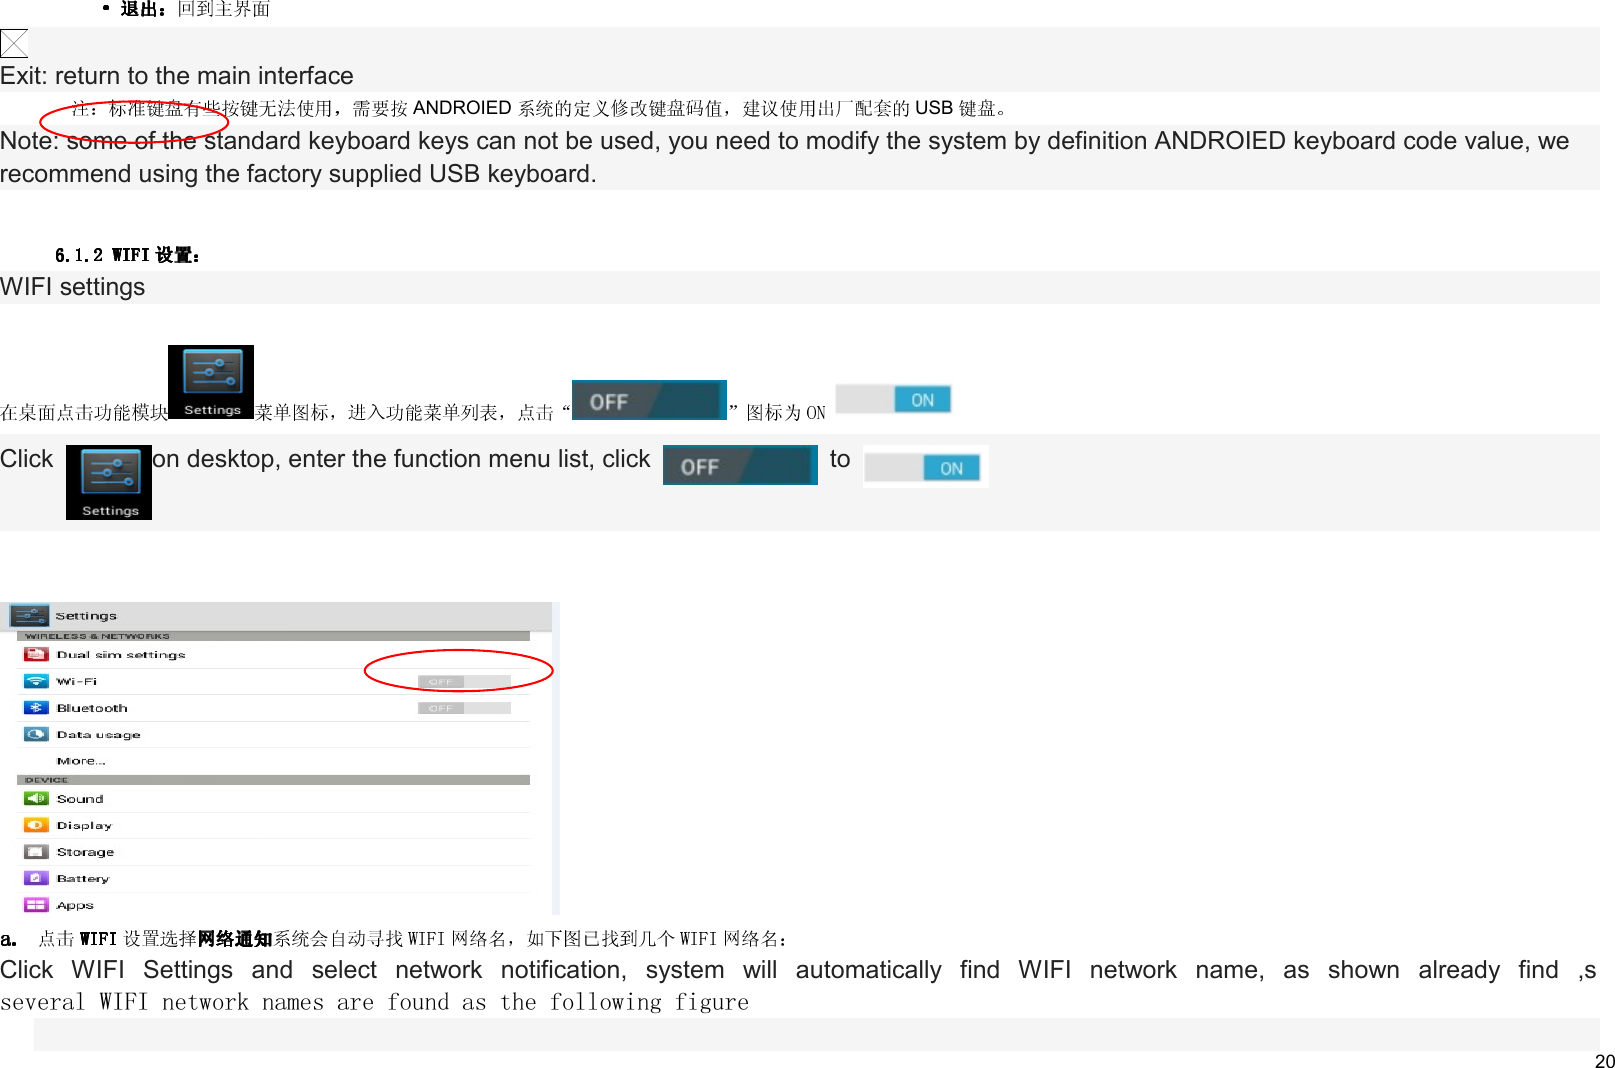
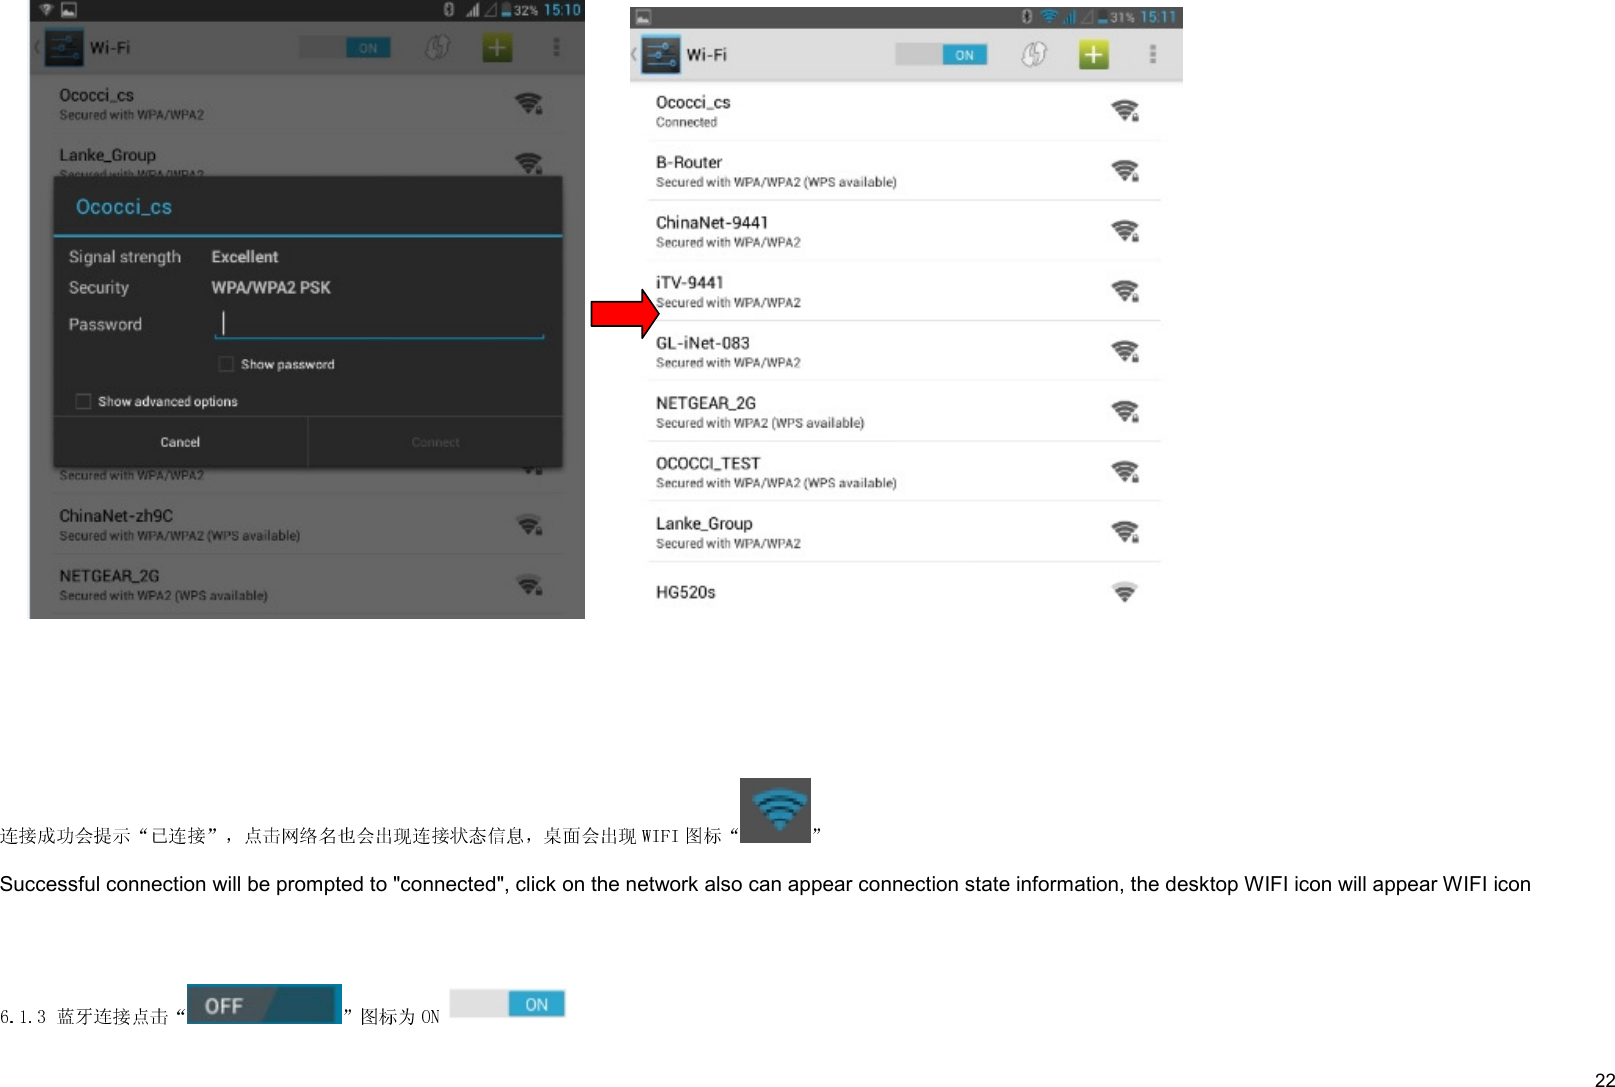
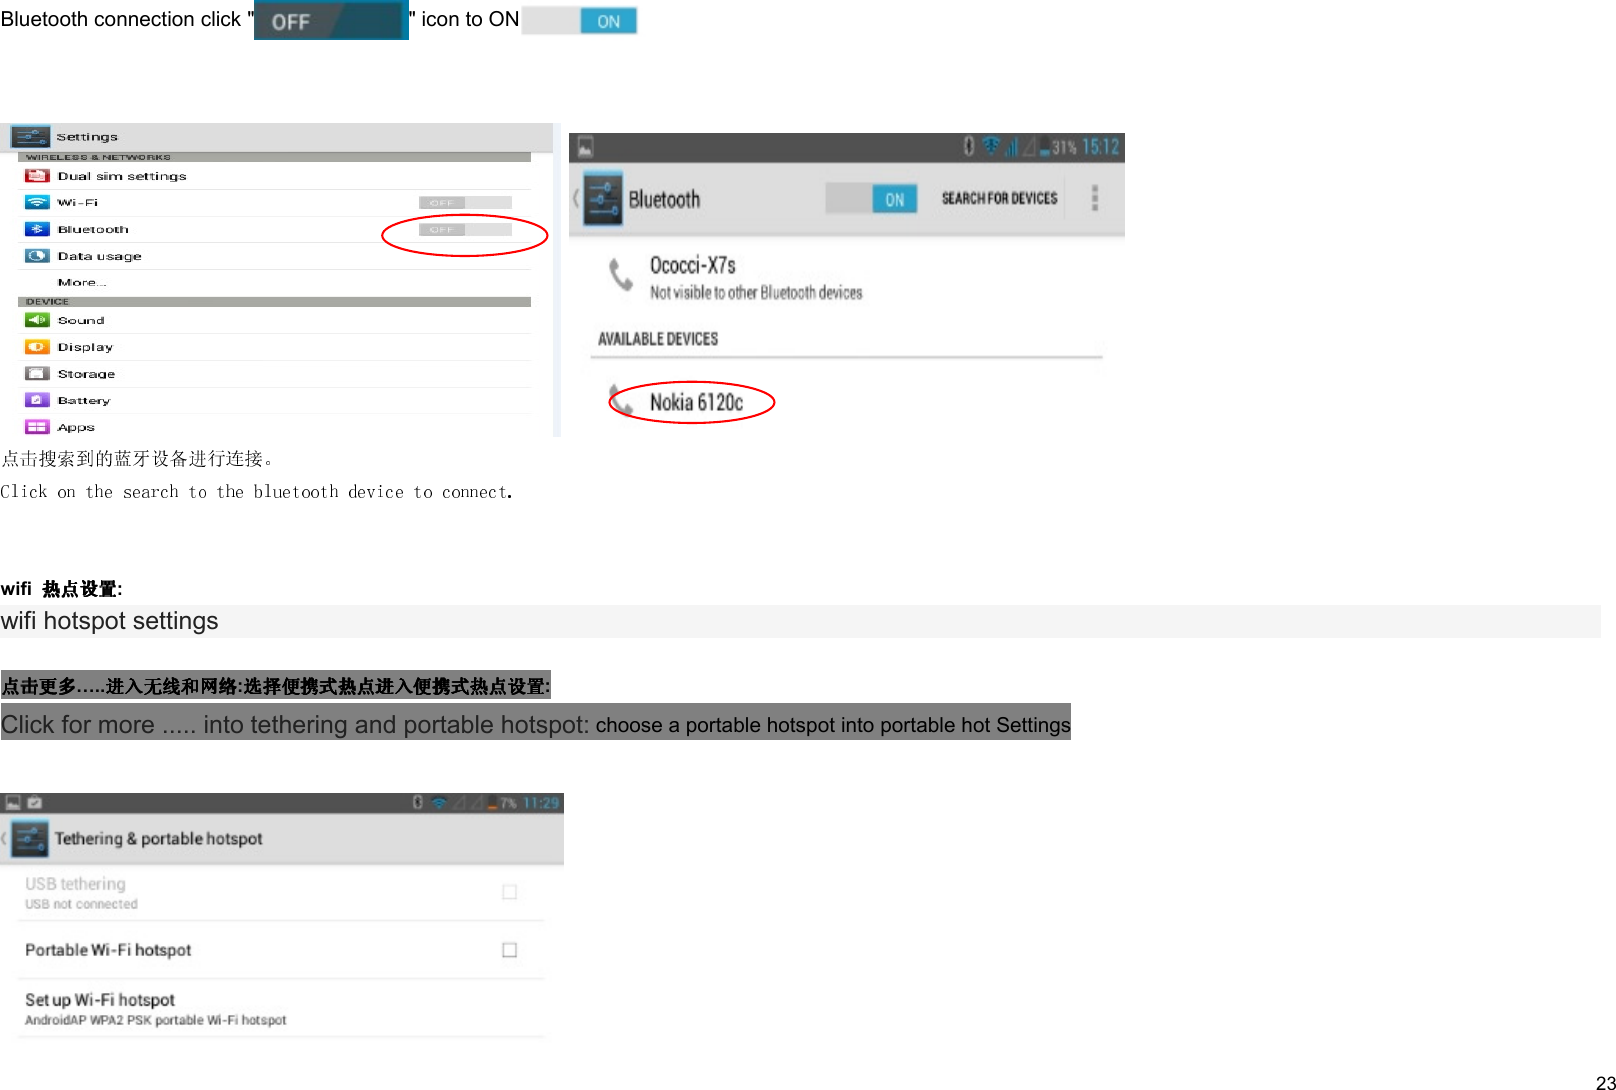
![24 Wi-Fi , , WIFI The portable wi-fi checked, this machine as a wireless router output, can be found in other WIFI devices in this machine Wi-Fi : SSID : Click to enter configuration wi-fi hotspots Settings interface: according to your requirements change network SSID and password: RJ45 USB DongleExternal RJ45 adapter USB Dongle: automatically obtain IP address without any Settings RJ45 USB USB HOST : . Plug in an external RJ45, USB adapter to the USB HOST, Connect to normal after the current interface connected icon appears lower right foot as shown in figure 6.1.5 Sound Settings Click to enter the sound settings a. [ ] : , . [Quiet Mode]: Click to enter the volume click the volume settings, the machine enters the silent state.](https://usermanual.wiki/MAXWEST-TELECOM/TABPHONE76DC/User-Guide-2397245-Page-24.png)
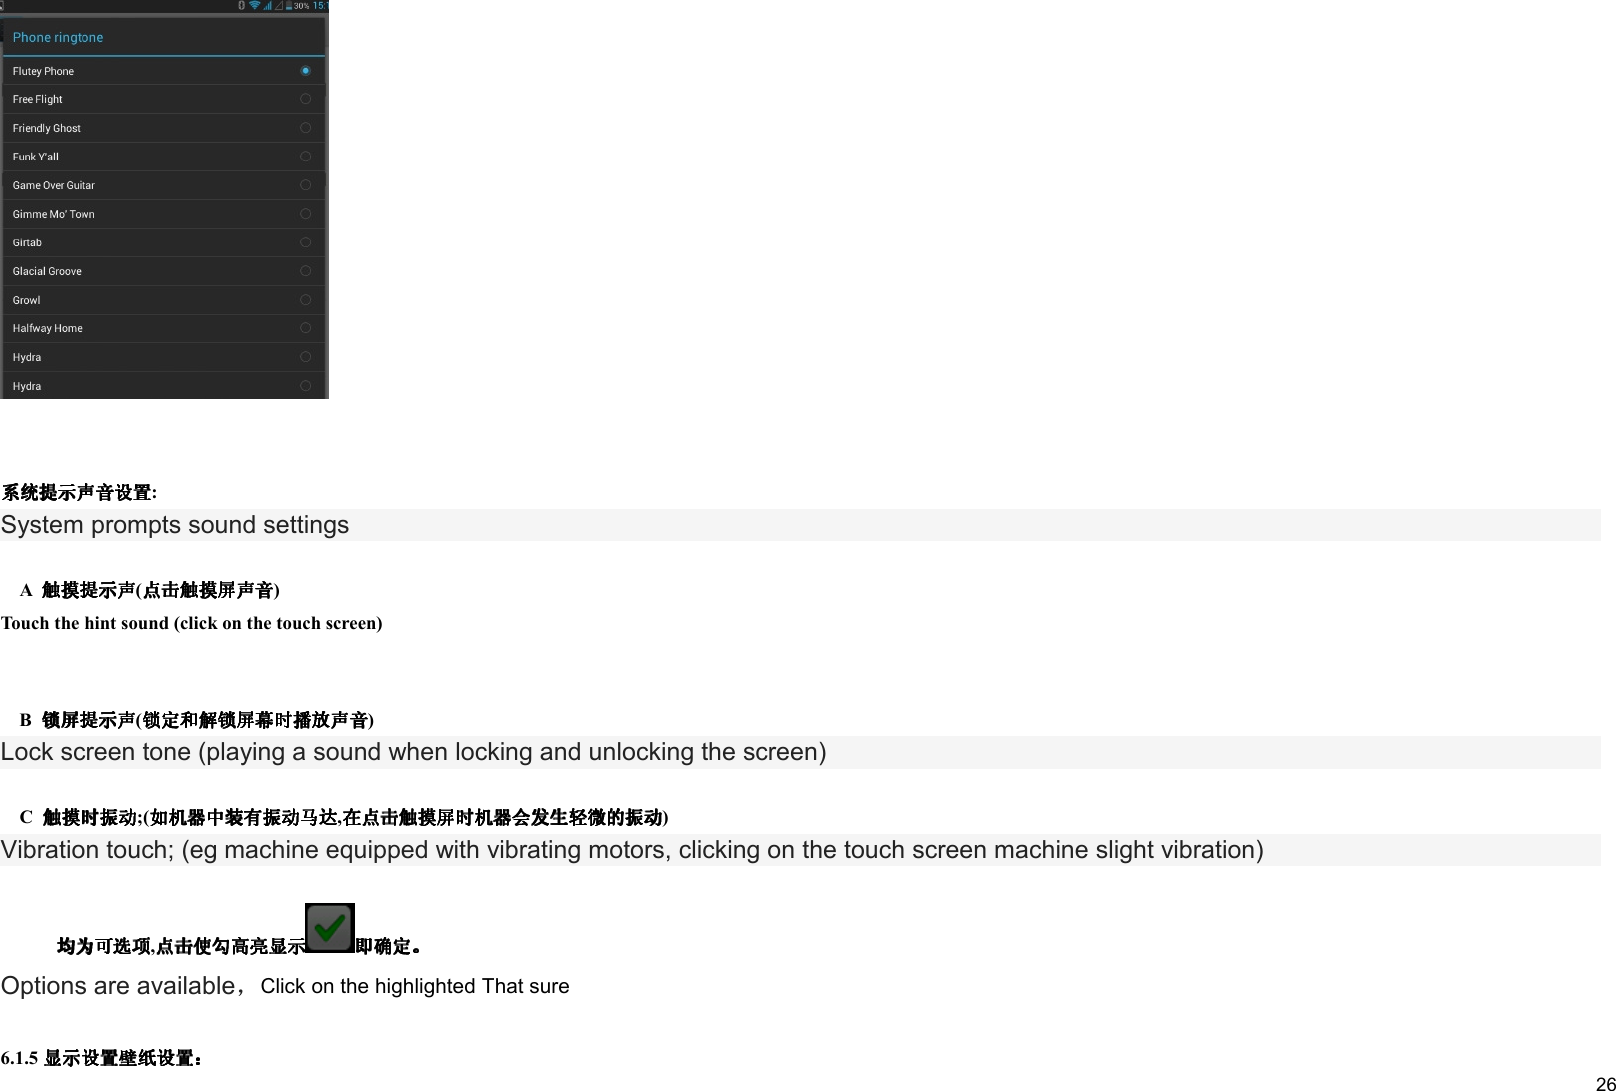
![25 b. [ ] : : [Volume]: Click to enter the volume settings as shown: , , ; Setting the media, alarm, notification volume C ringtones setting In the settings interface, click [phone ringtone] into ringtones setting interface](https://usermanual.wiki/MAXWEST-TELECOM/TABPHONE76DC/User-Guide-2397245-Page-25.png)