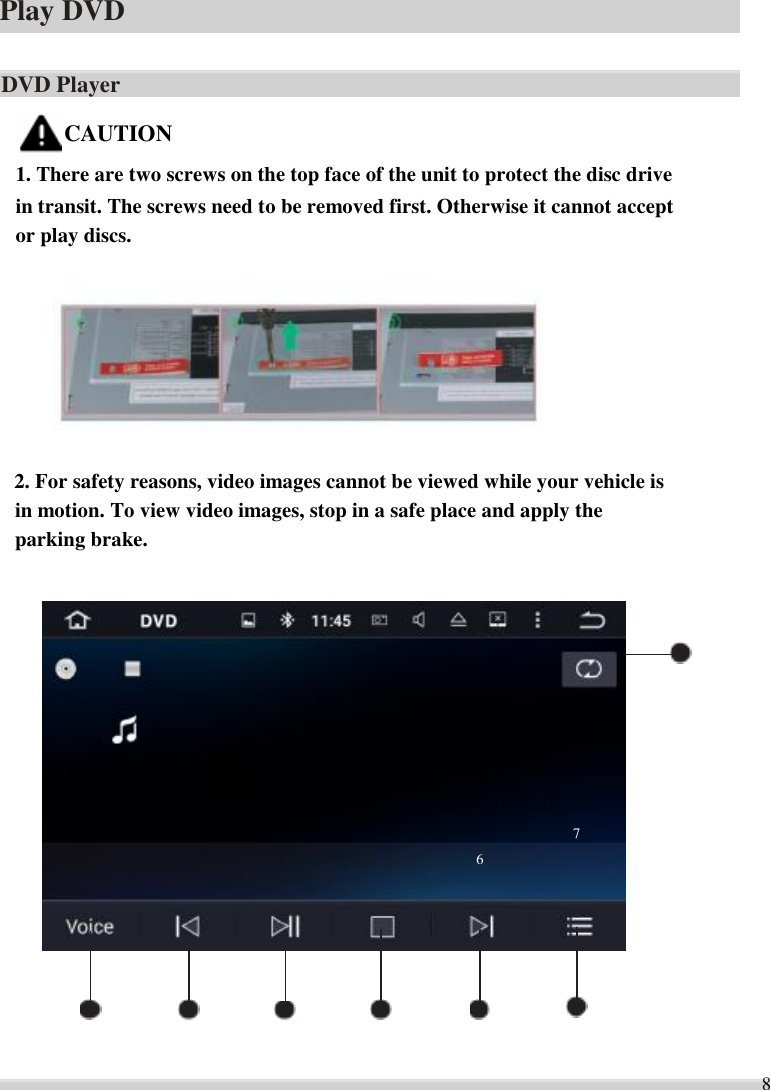
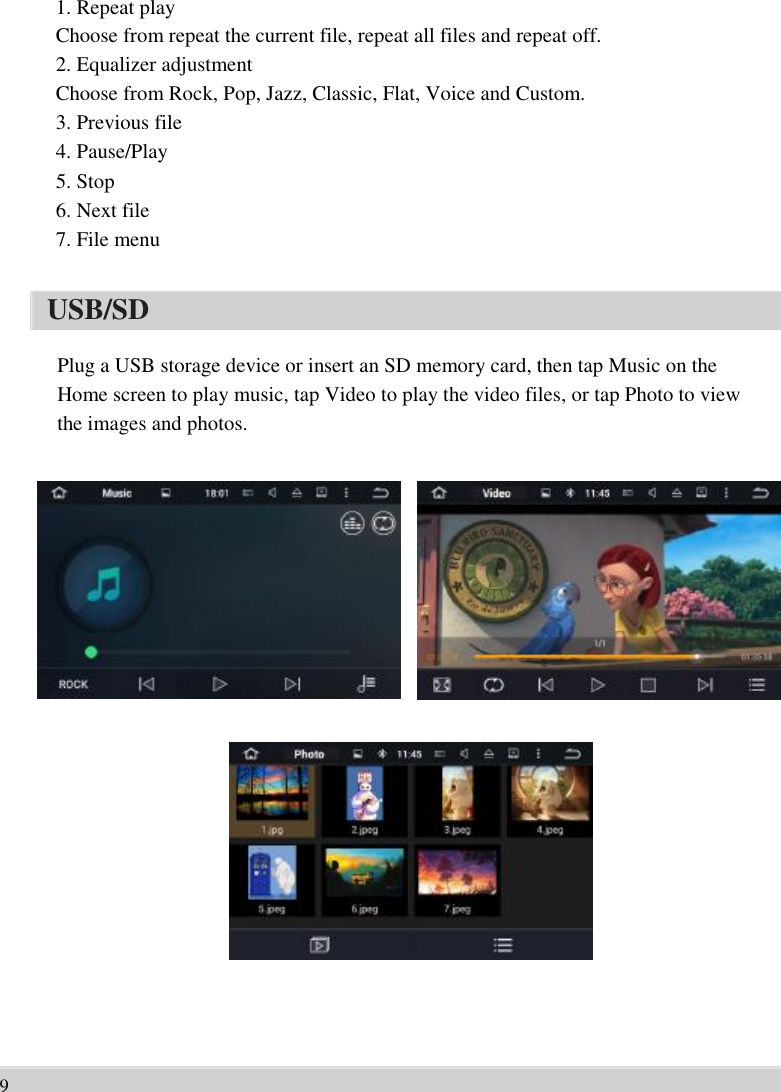
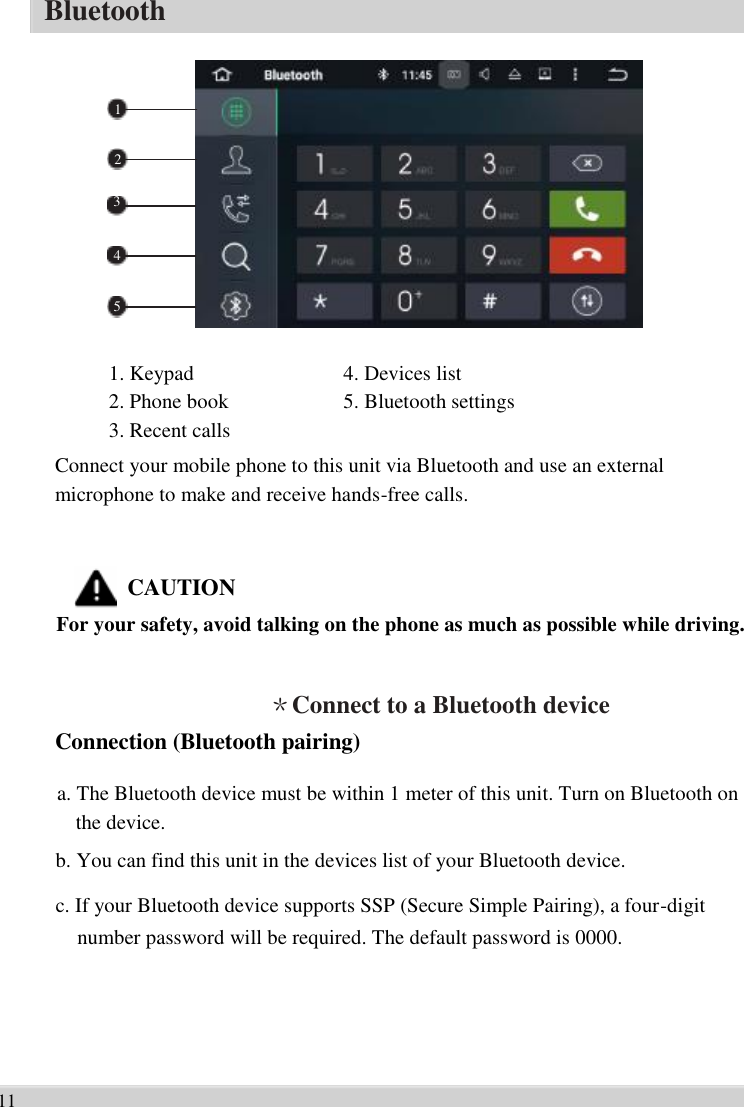
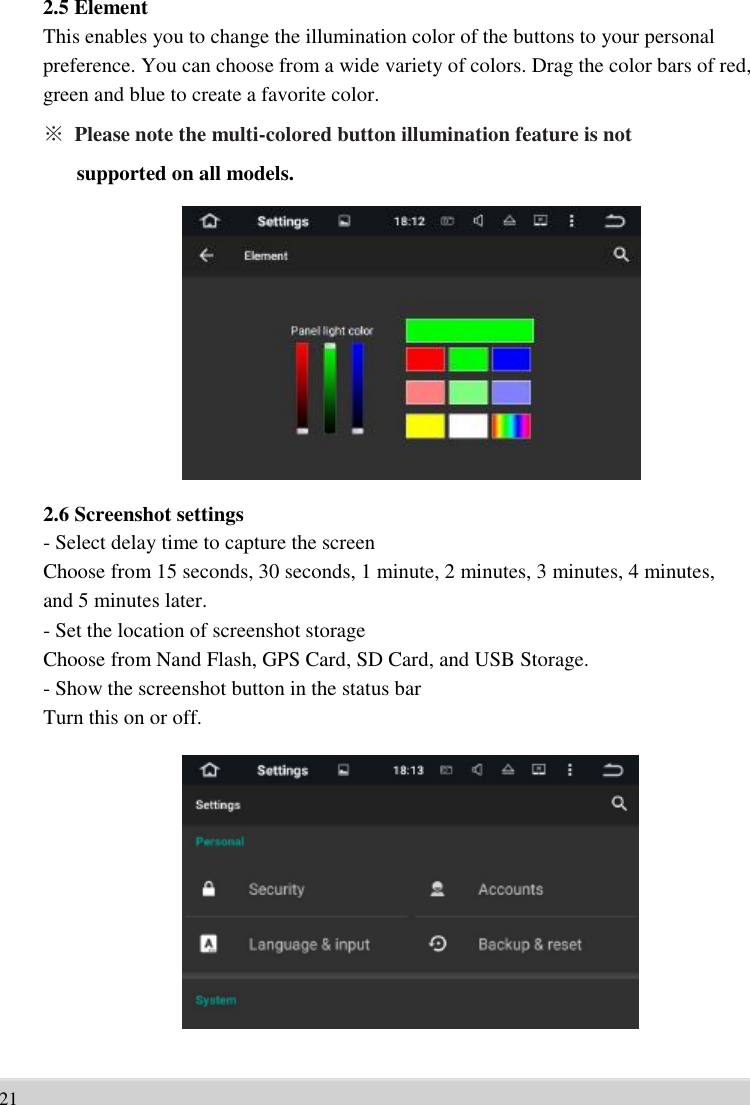
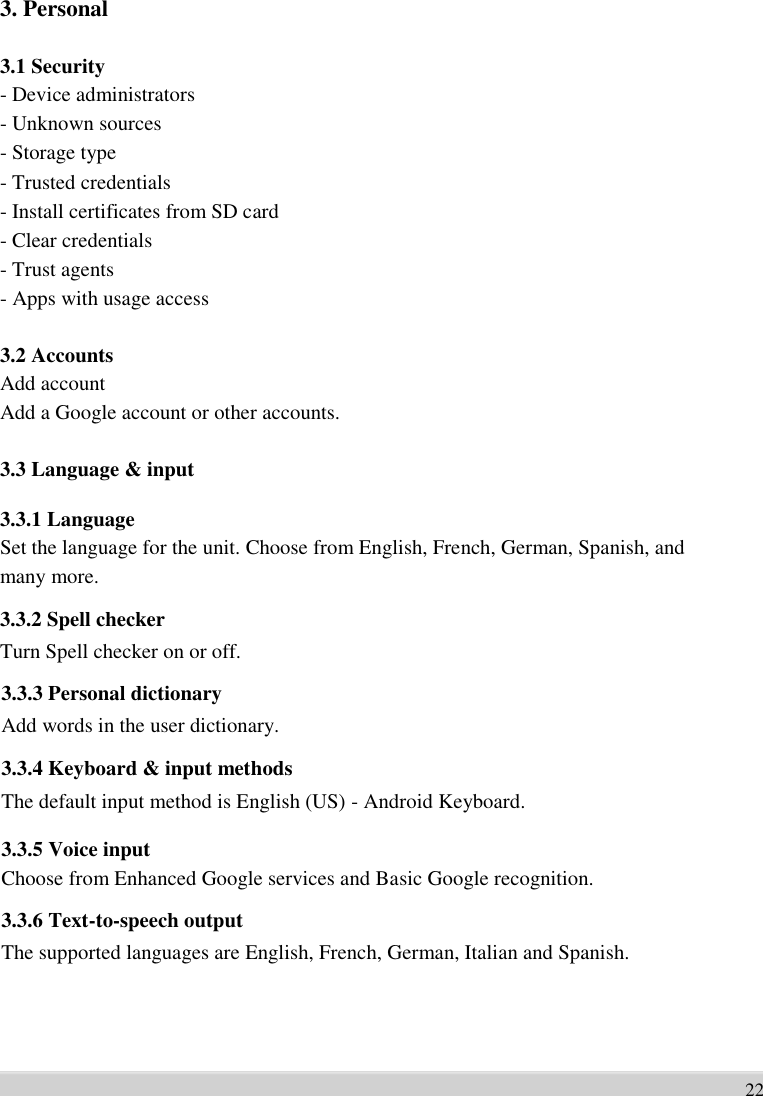
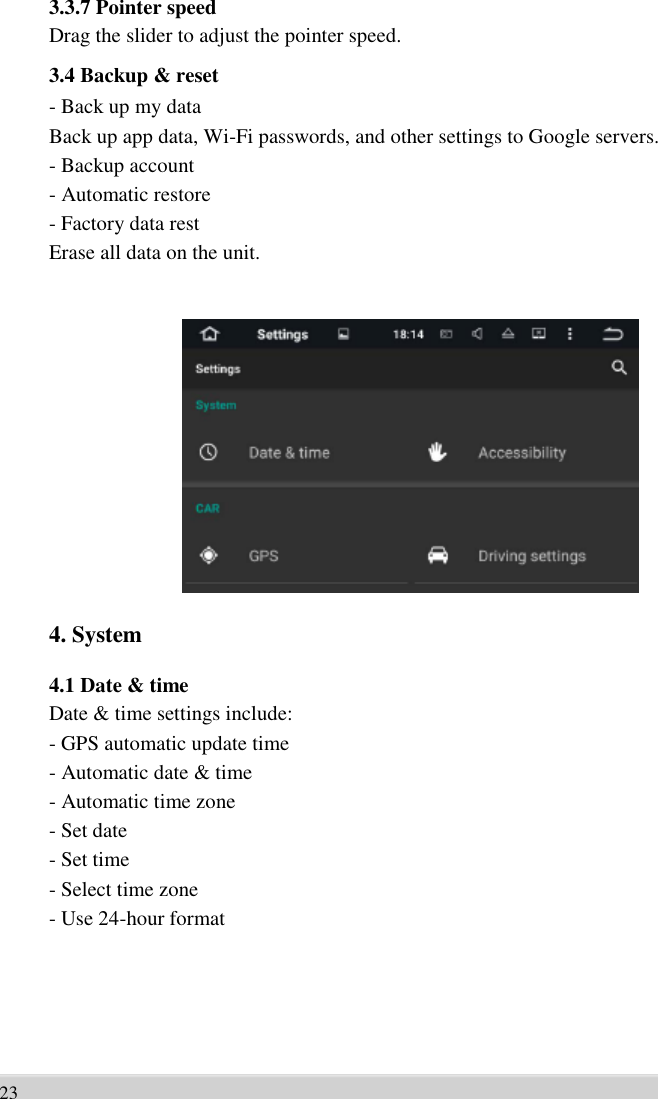
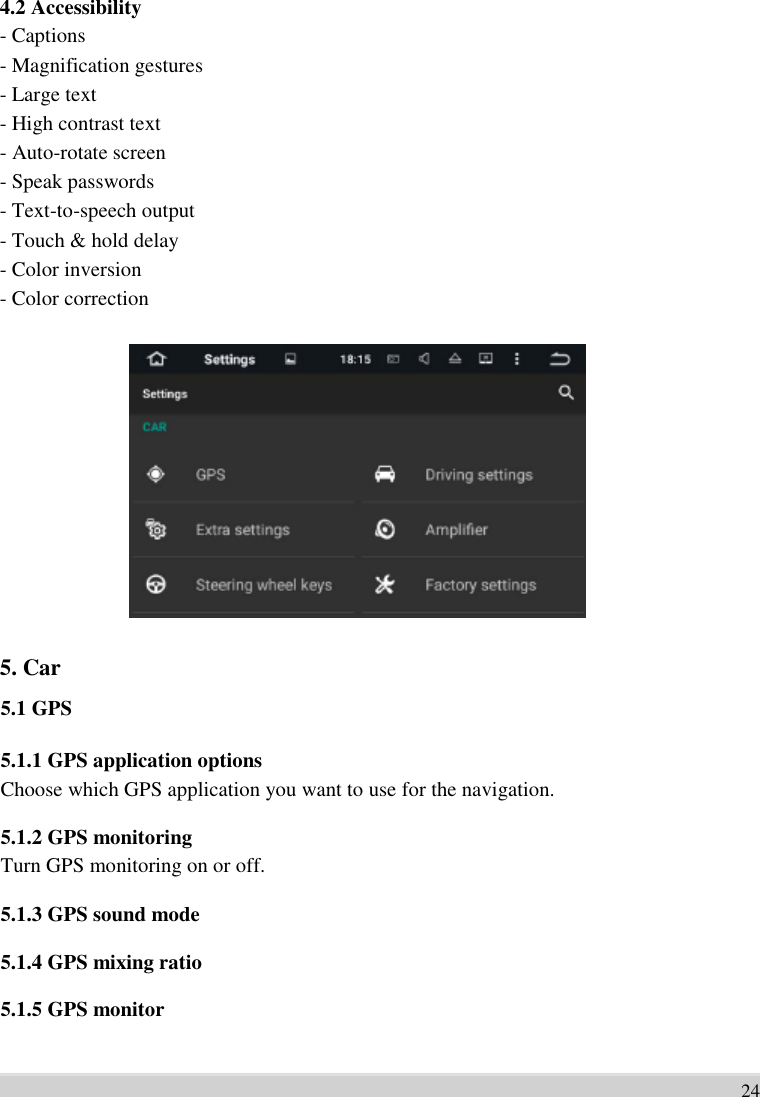
Mekede Technology MKDB746 Car Mutilmedia System User Manual 15 MKD B746 UserMan
SHENZHEN MEKEDE TECHNOLOGY CO., LTD Car Mutilmedia System 15 MKD B746 UserMan
UserManual.wiki
>
Mekede Technology
>
MKDB746 User Manual
15_MKD-B746 UserMan
Navigation menu
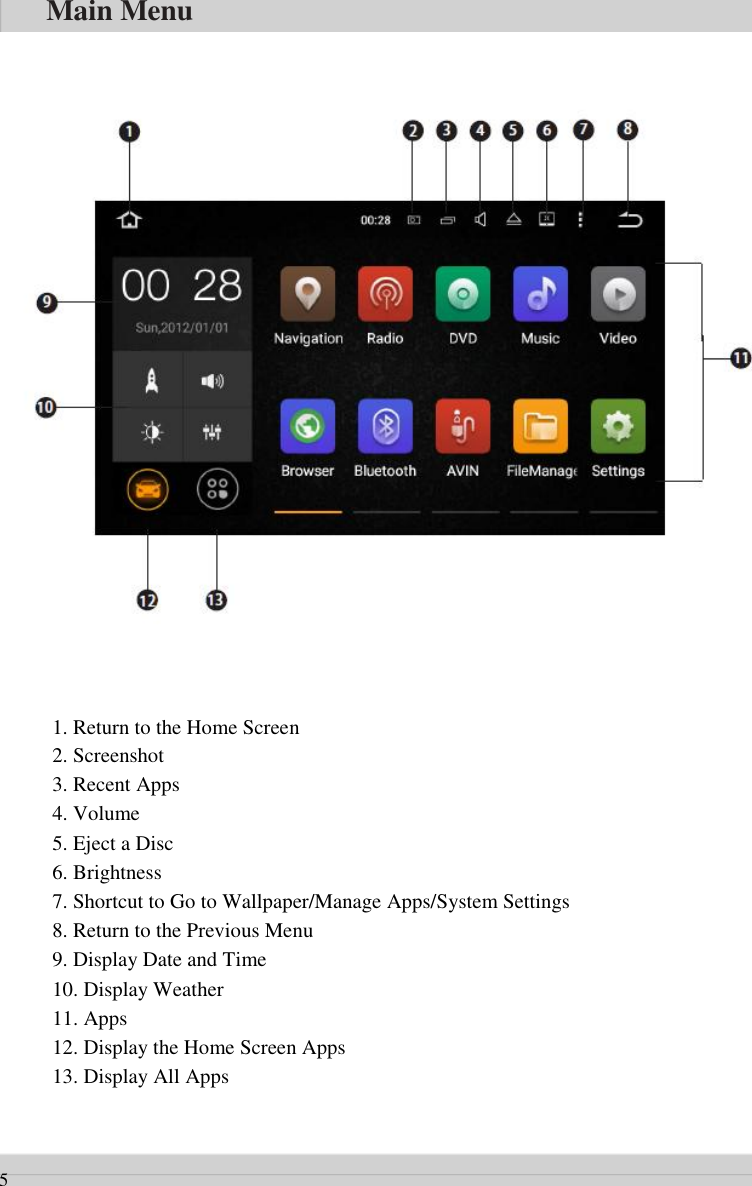
Upload a User Manual
Namespaces
Wiki Guide
HTML
PDF
Info
Views
User Manual
Discussion / Help
Navigation