MGA Entertainment 361237 Bratz The Movie RC Cruiser (27MHz) User Manual 366355 BrtzMovieStarsVeh2 3u
MGA Entertainment (HK) Ltd. Bratz The Movie RC Cruiser (27MHz) 366355 BrtzMovieStarsVeh2 3u
Contents
- 1. User Manual 1
- 2. User Manual 2
User Manual 2

2 3
TROUBLE SHOOTINGBEFORE YOU BEGIN (con’t)
SAFE BATTERY PRECAUTIONS
CAUTIONS
RADIO
1. If the radio signal or the lights become weak or fail to work, replace the batteries with
fresh alkaline batteries. (See Figs. 6 and 7)
2. Radio performance may be affected by surrounding buildings, structures or equipment.
If the radio signal is poor, move the vehicle to another location for a better signal.
3. Radio performance may be affected when the vehicle is moving. Either stop the vehicle
to listen to the radio or move the vehicle to another location to receive a better signal.
REMOTE CONTROL
If there is no signal between the Remote Control and the vehicle:
1. Make sure the Remote Control is switched ON.
2. Make sure the vehicle is switched ON.
3. Check that the batteries are inserted properly.
4. Replace the old batteries with new alkaline batteries.
5. Move the remote control closer to the vehicle until you find the optimum operating range.
6. When not in use, turn off both the remote & vehicle to save battery power.
1. DO NOT operate the units during thunderstorms.
2. DO NOT operate the vehicle on streets or in traffic.
3. Keep fingers, hair and loose clothing away from the tires, wheel hubs and motors,
especially when they are moving.
4. DO NOT subject unit to moisture of any kind.
5. DO NOT operate the unit in sand, snow or water.
6. Your R/C vehicle is operated by radio waves. It is possible the unit may not perform
properly due to interference from nearby devices such as a cordless phones, hair
dryers, radios, walkie-talkies or other radio-controlled toys.
7. Use the unit indoors for best performance.
LIGHTS AND RADIO
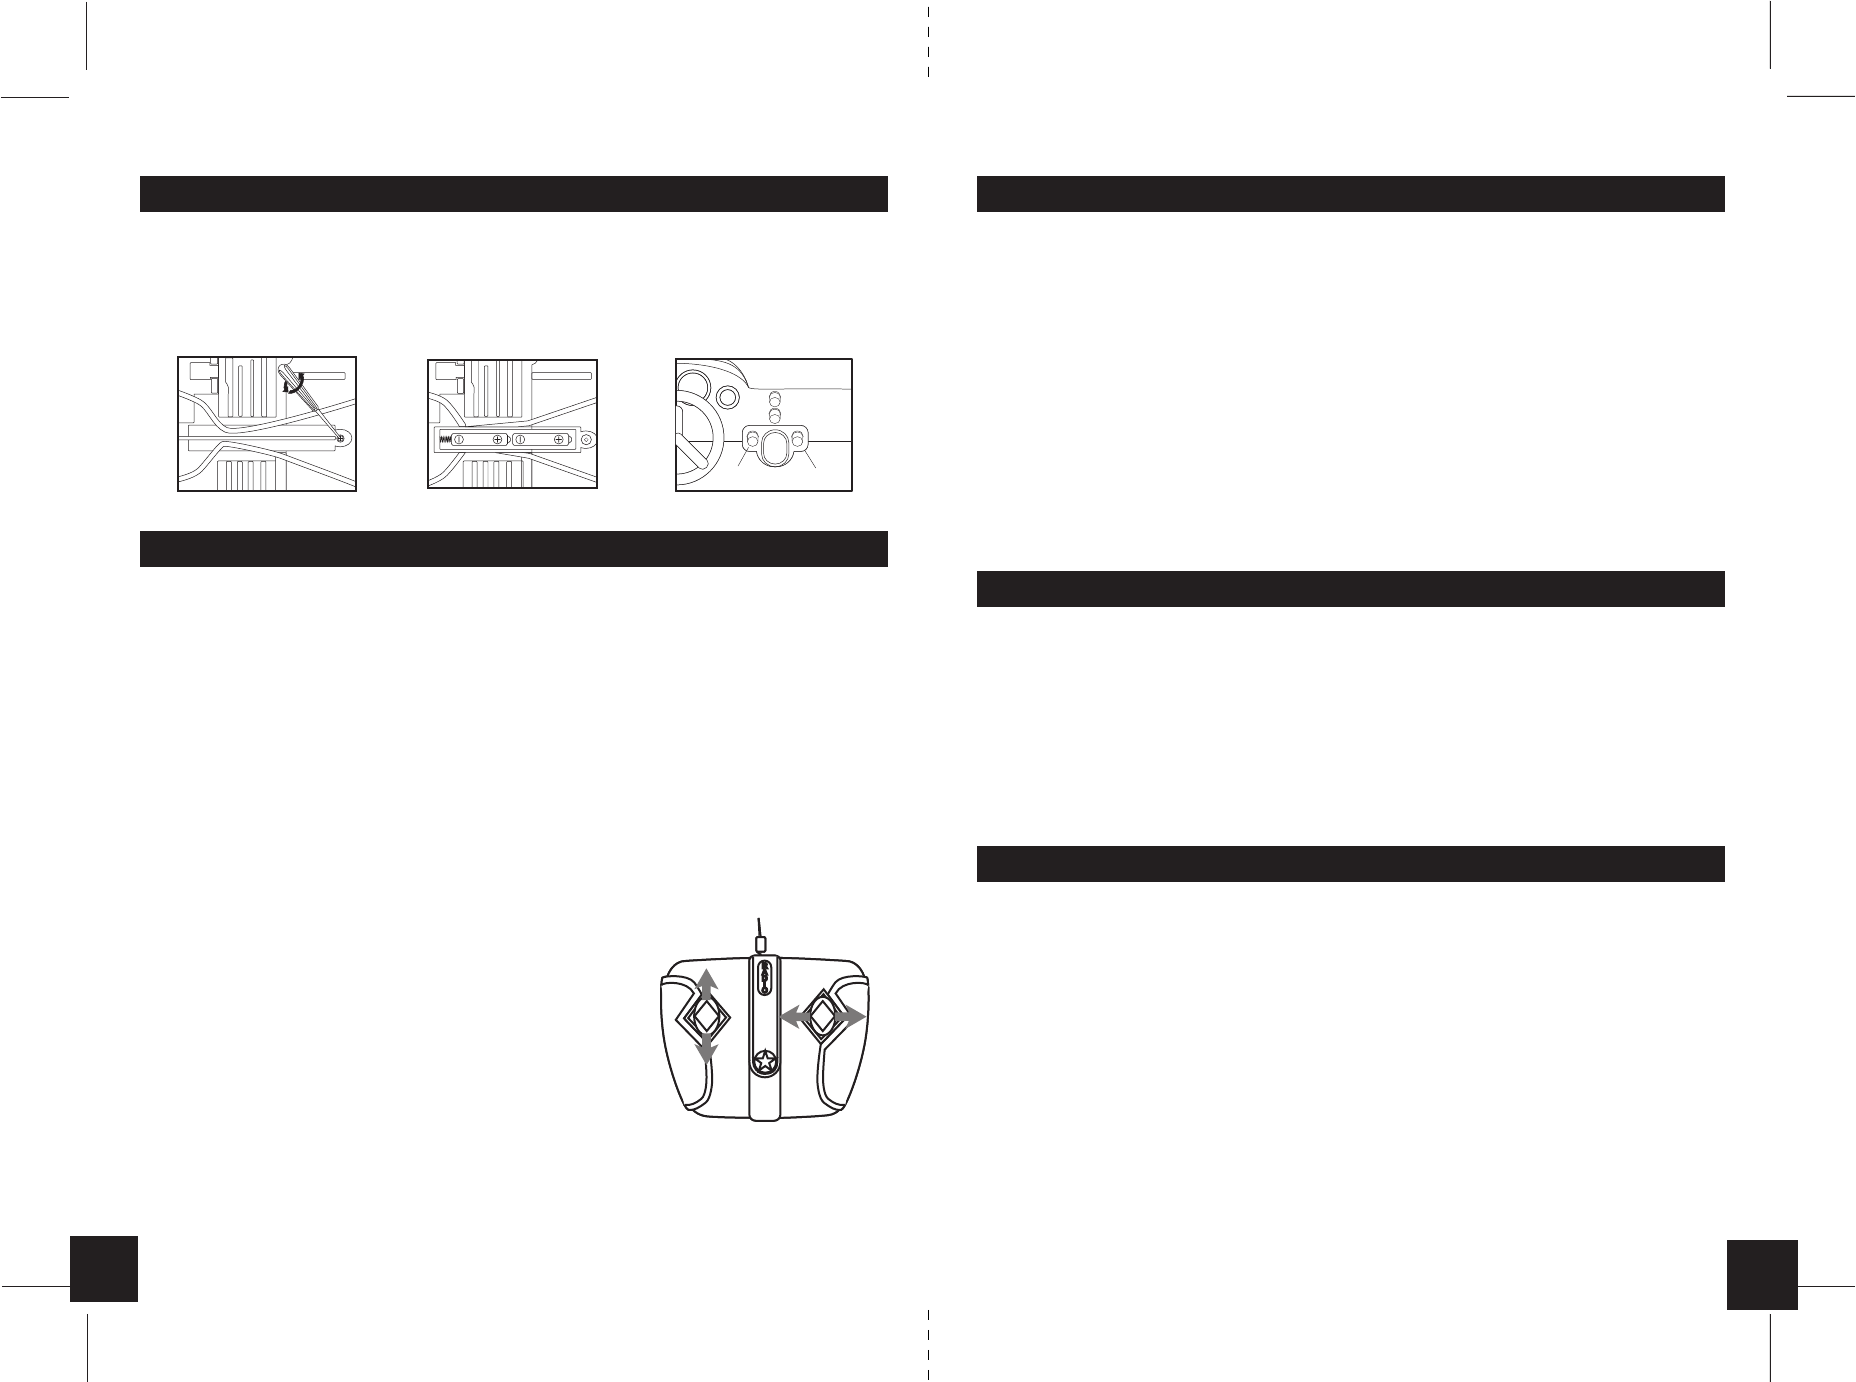
1. Using a Phillips screwdriver (not included) remove the screw and the battery cover on the bottom of
the vehicle. (Fig. 6)
2. Insert two (2) AA (1.5V) alkaline batteries as indicated inside the battery compartment.(Fig. 7)
3. Replace the battery cover and tighten the screw.
Fig. 7Fig. 6
AA 1.5V LR6 AA 1.5V LR6
Head/Tail Light
ON/OFF
Fig. 8
Scan
Reset
FM Radio
ON/OFF
SAFE BATTERY USAGE
• Use alkaline batteries for best performance and longer life.
• Use only the type battery recommended for the unit.
• Batteries should be replaced only by an adult.
• Insert batteries with the correct polarity ( + and – ).
• Do not mix different types of batteries or old and new batteries.
• Do not short-circuit batteries.
• When not used for an extended time, remove batteries to prevent possible leakage and damage
to the unit.
• Do not mix rechargeable and non-rechargeable batteries.
• Rechargeable batteries are to be removed from the toy before charging.
• Rechargeable batteries are to be recharged only under adult supervision.
• Do not recharge non-rechargeable batteries.
• Exhausted batteries are to be removed from the toy.
• Do not dispose of batteries in fire as they may leak or explode.
QUICK START
OPERATING THE LIGHTS
1. Press the ON/OFF button to turn lights on. Press it again to turn lights off. (Fig. 8)
OPERATING THE RADIO
1. Press the ON/OFF button (Fig. 8) to turn the Radio on. Press it again to turn the Radio off.
2. Press the RESET button (Fig. 8) to set your radio at the lowest end of the FM frequency band
(approximately 88 FM).
3. Press the SCAN button (Fig. 8) repeatedly to scan radio stations, from the lowest frequency to
the highest.
NOTE: Hold the button down for faster scanning. Release the button to stop at a station.
4. When only static can be heard and you have reached the highest FM frequency band (108 FM),
press the RESET button to restart at the lowest end of the frequency band, then press the
SCAN button again to scan for a radio Station.
NOTE: When using the Remote Control, you may turn the Radio ON and OFF by pressing the
RADIO button on the Remote.
USING THE REMOTE CONTROL
1. Switch the vehicle to the "ON" position. (Fig. 3)
2. Switch the Remote Control to the "ON" position. (Fig. 1)
3. Use the Left and Right control switches to control the vehicle.
LEFT CONTROL - Press forward to move the vehicle forward.
Press backward to move the vehicle backward.
RIGHT CONTROL - Press right to move the vehicle right.
Press left to move the vehicle left.
(See Fig. 9)
Fig. 9
R
A
I
O
D