Magicard 3652-0001 Printer with RFID User Manual
Ultra Electronics Card Systems Printer with RFID
UserManual.wiki
>
Magicard
>
3652 0001 User Manual
User Manual
Navigation menu
Upload a User Manual
Namespaces
Wiki Guide
HTML
PDF
Info
Views
User Manual
Discussion / Help
Navigation

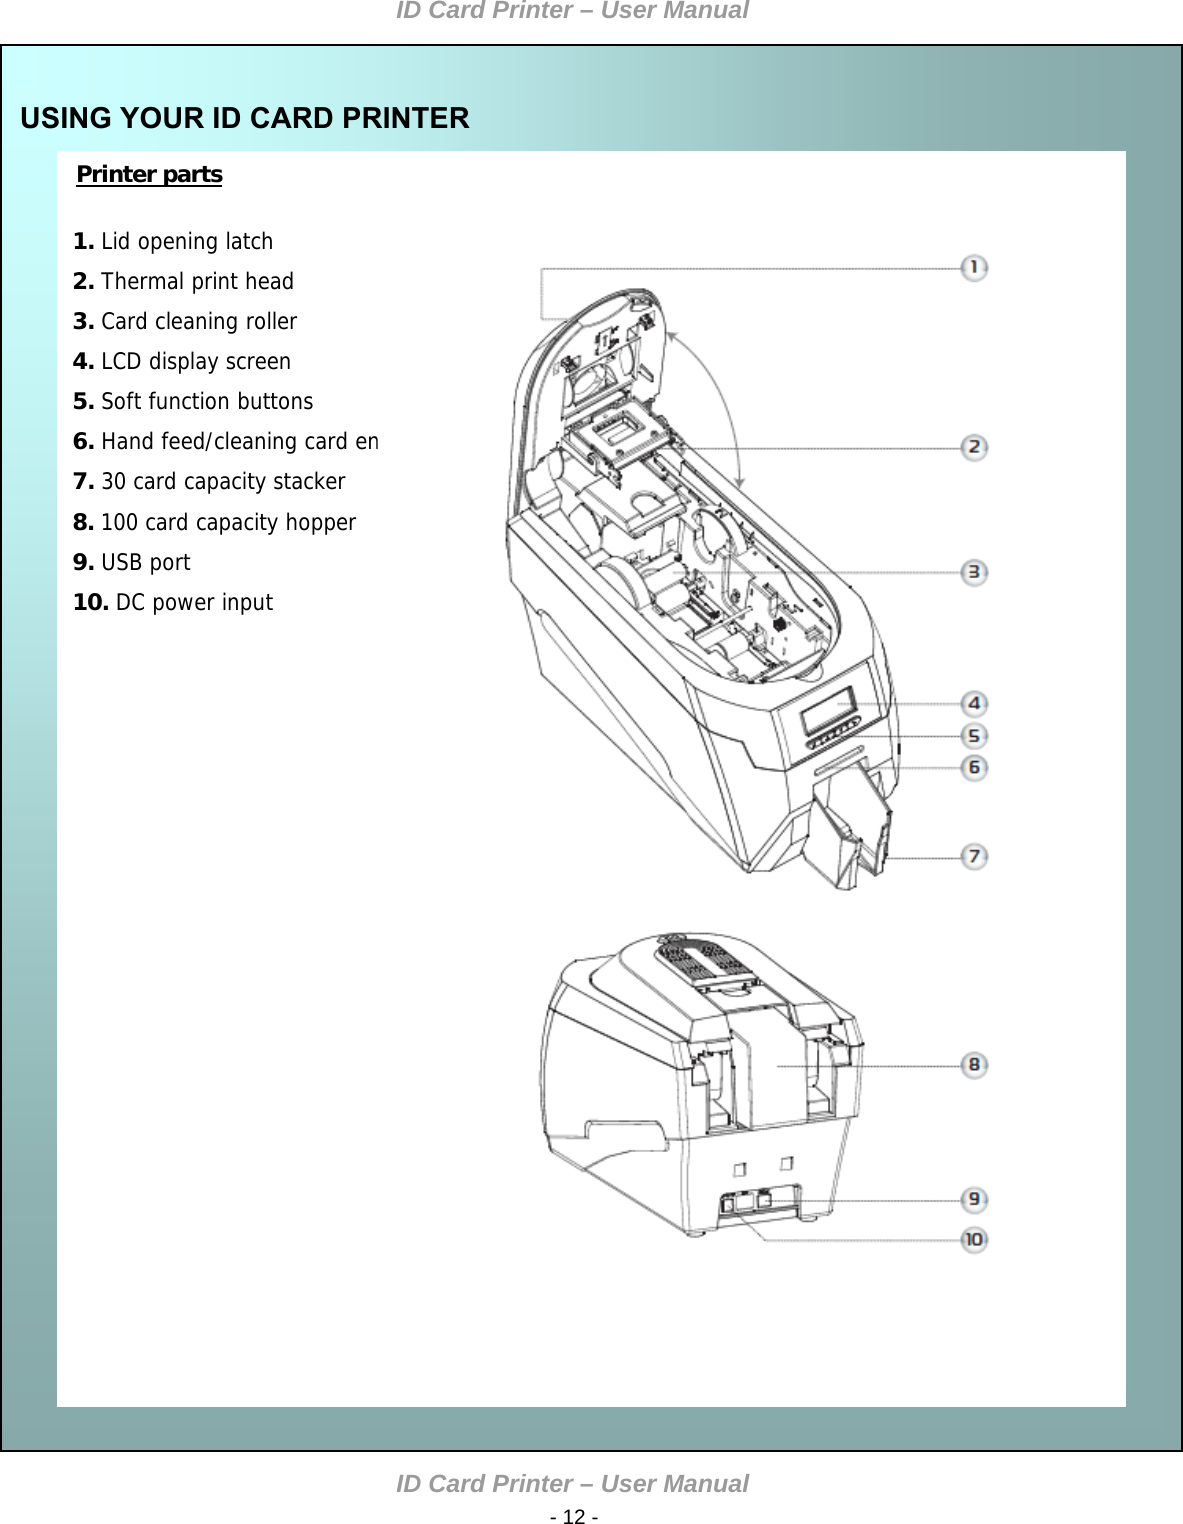
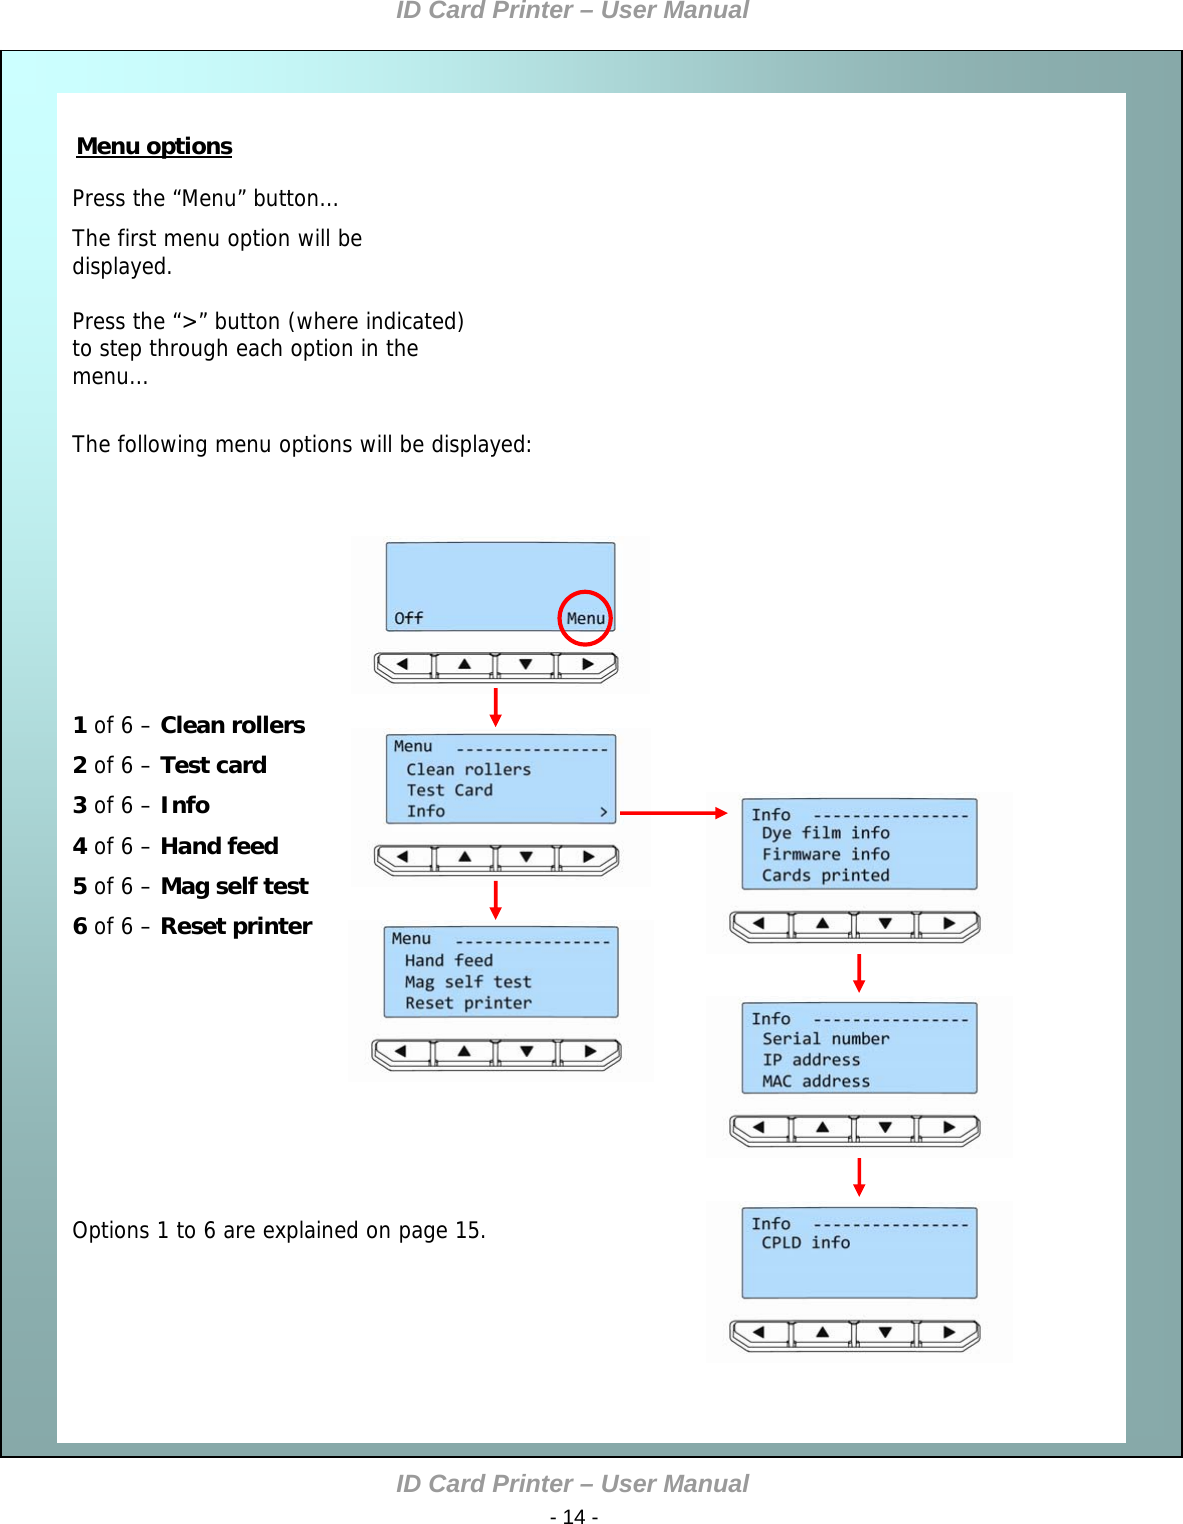
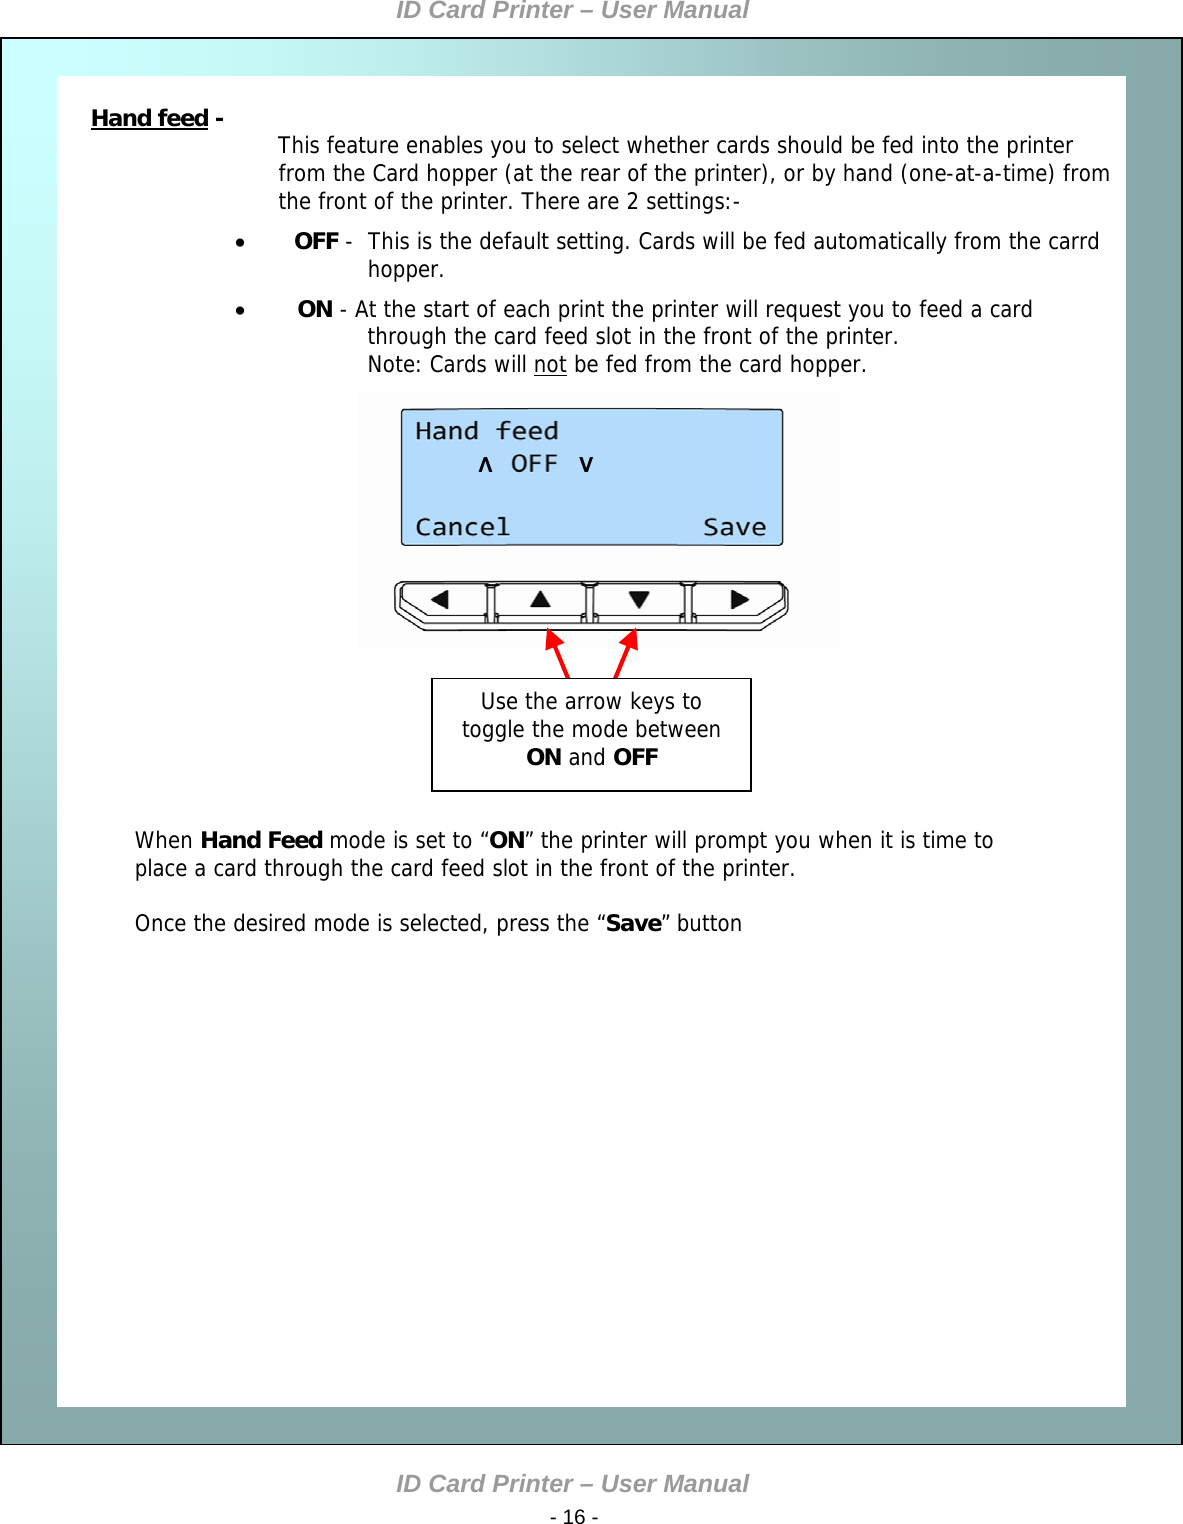
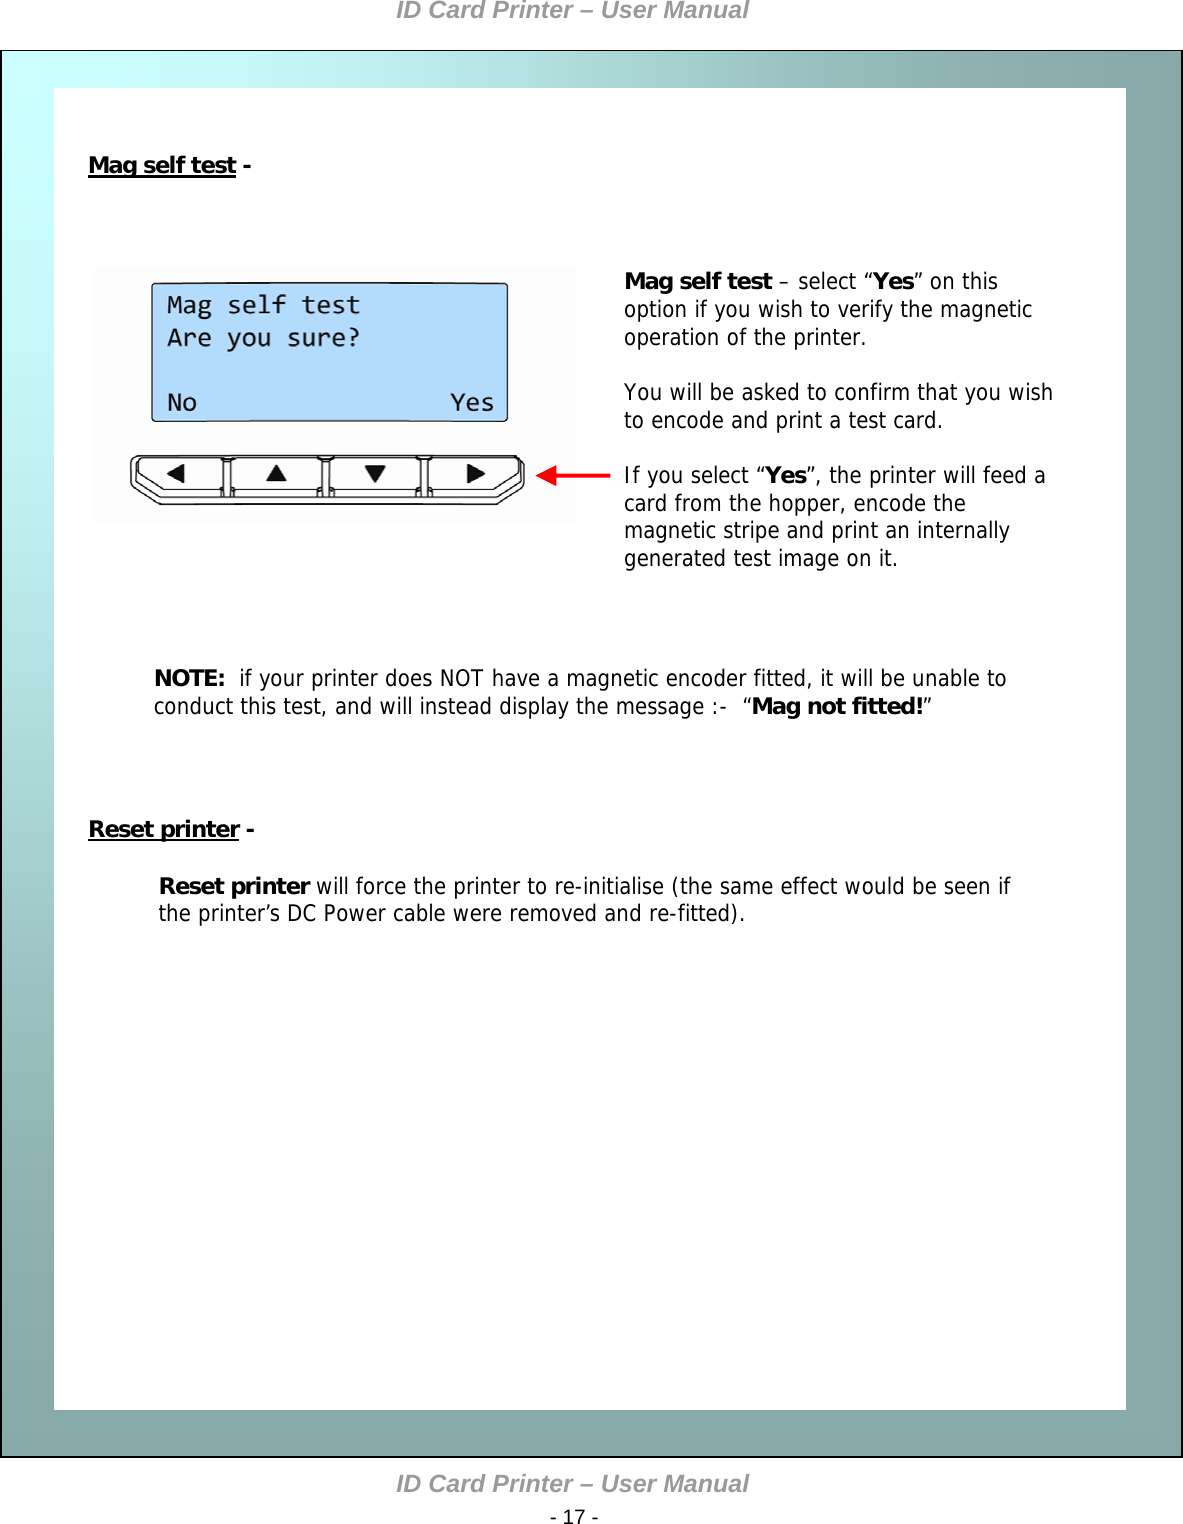
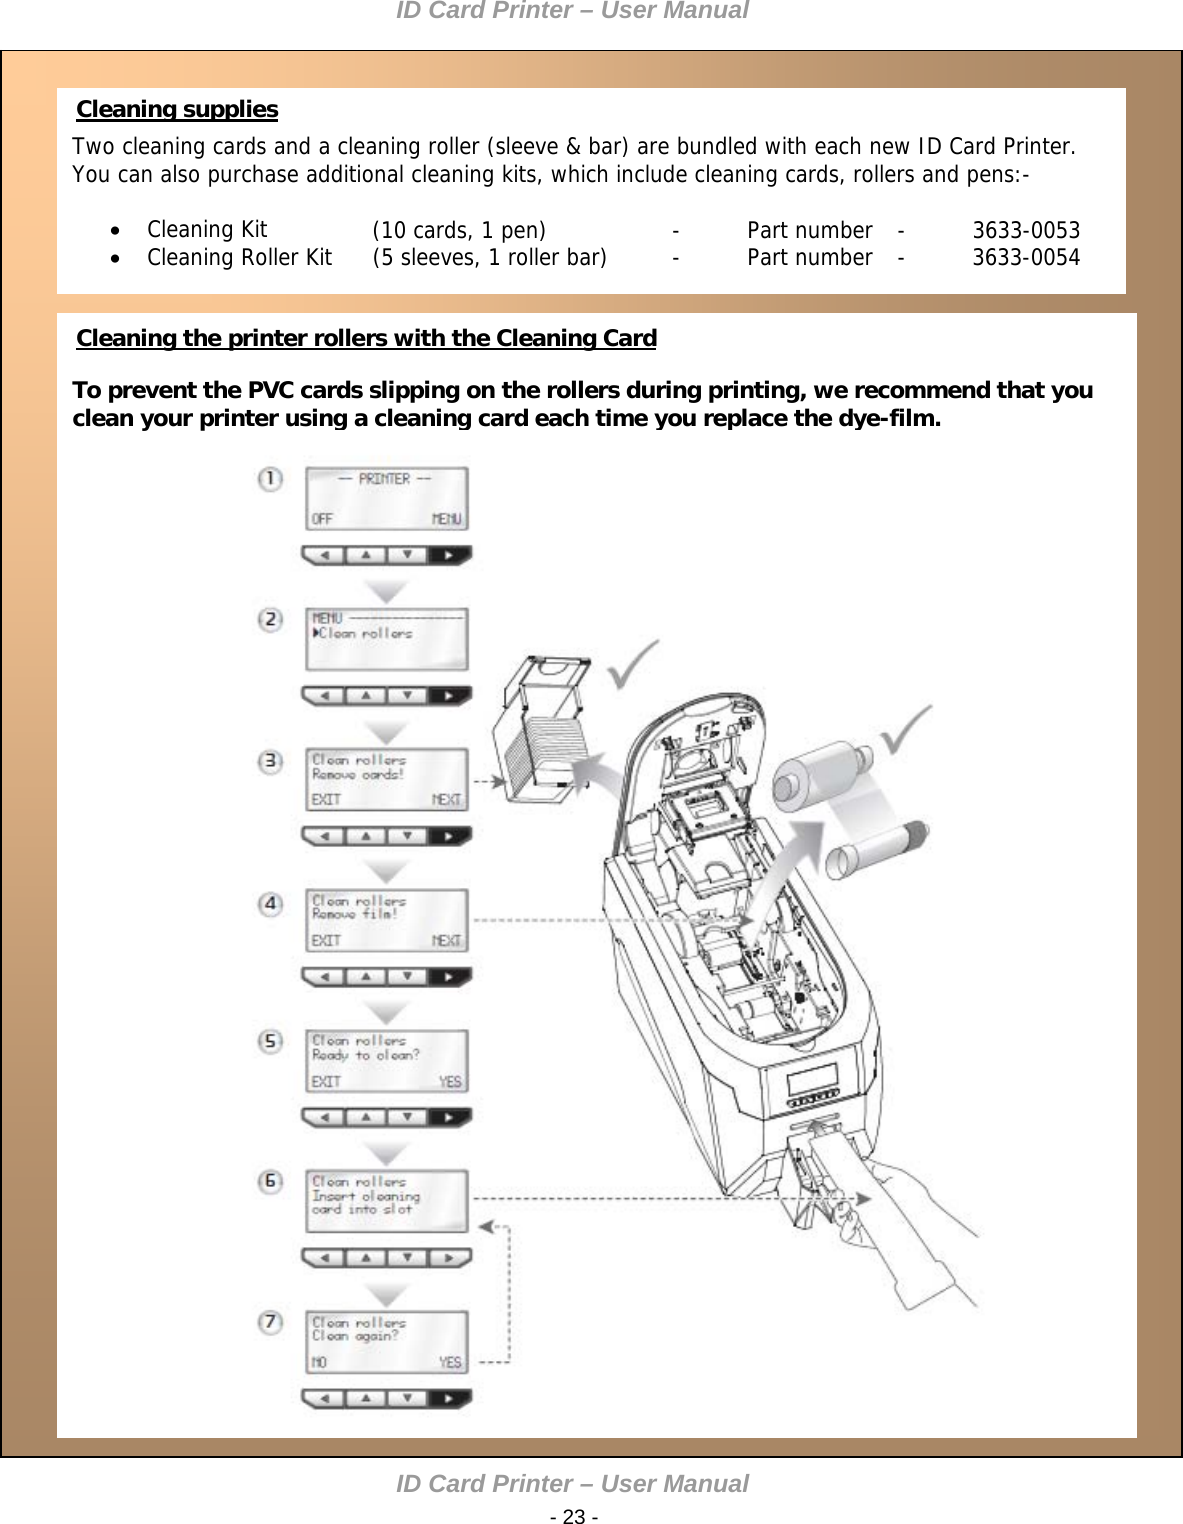
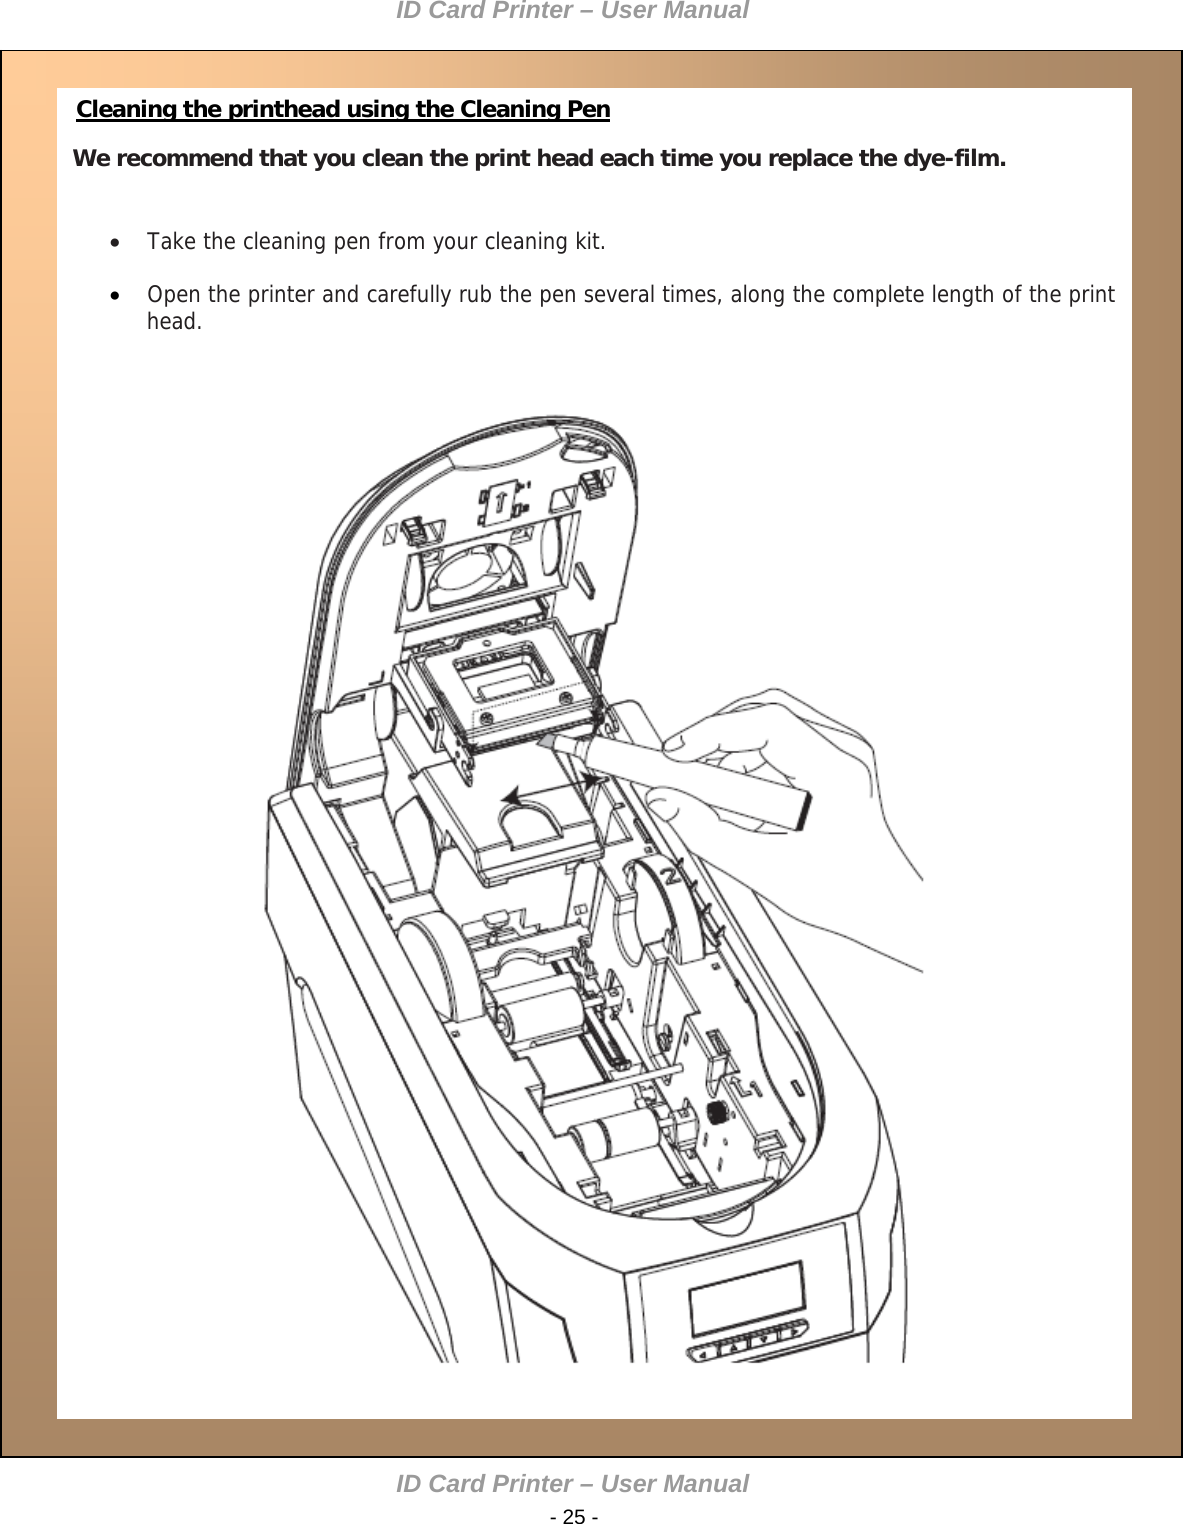
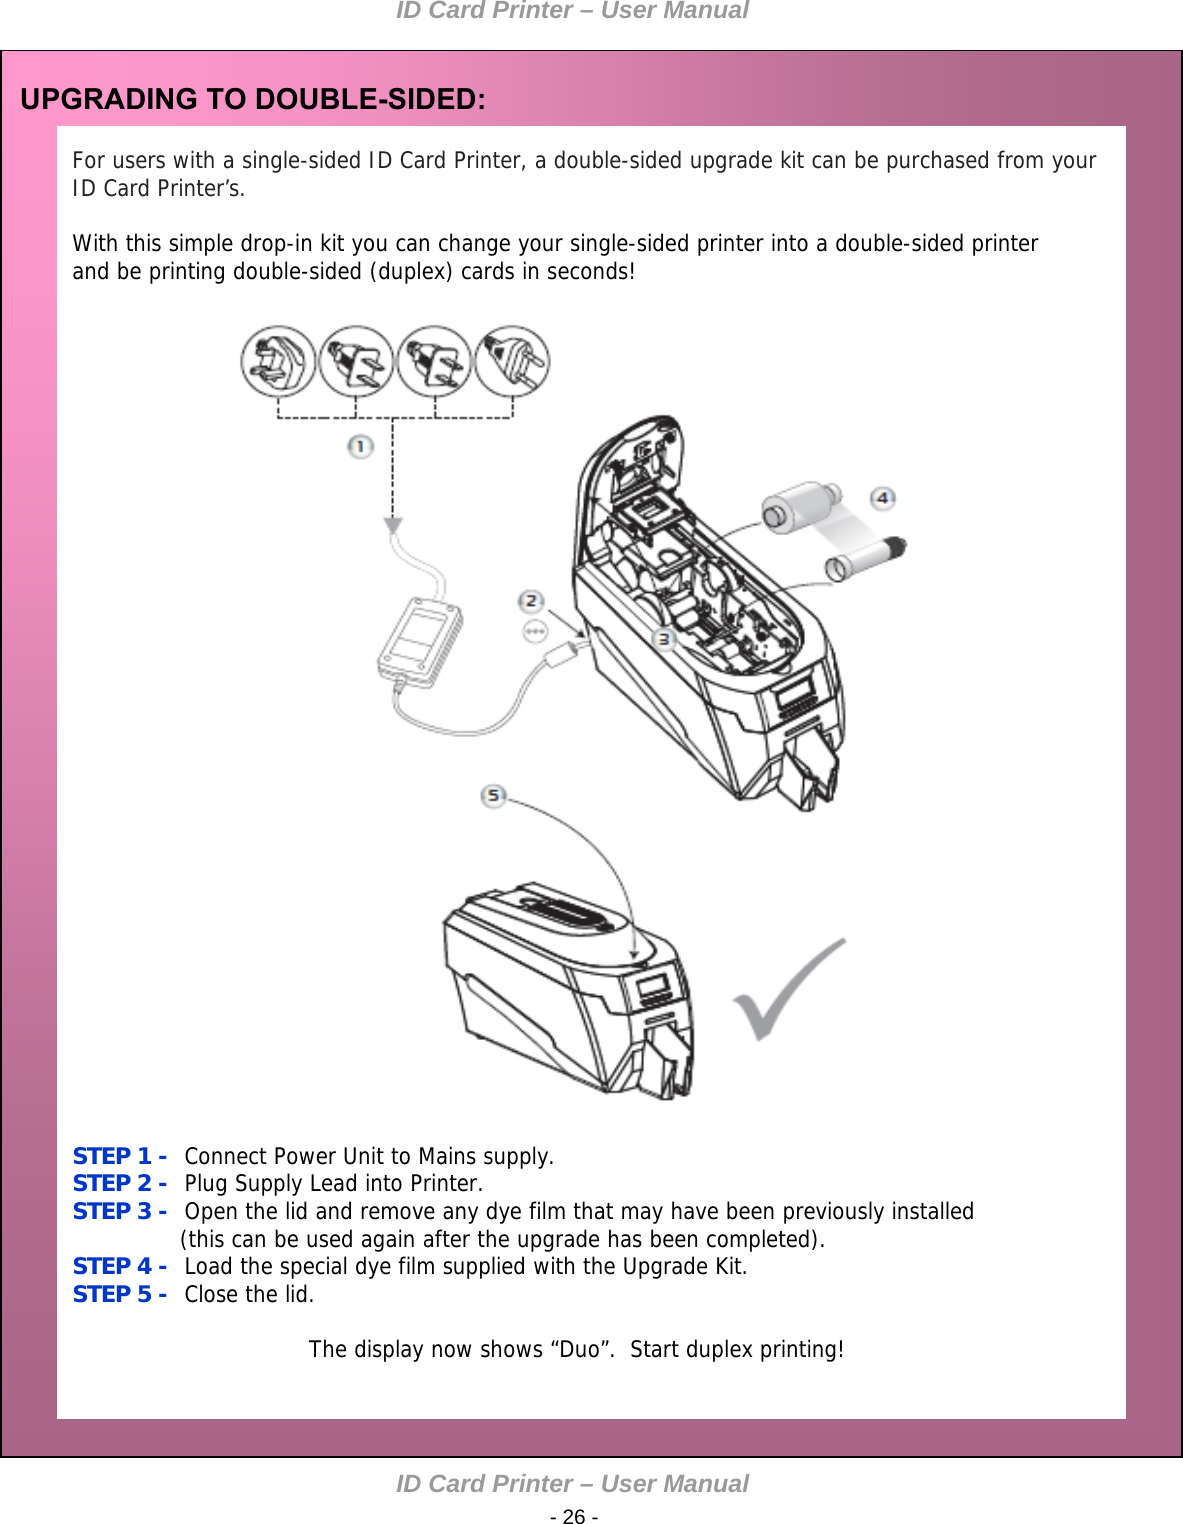
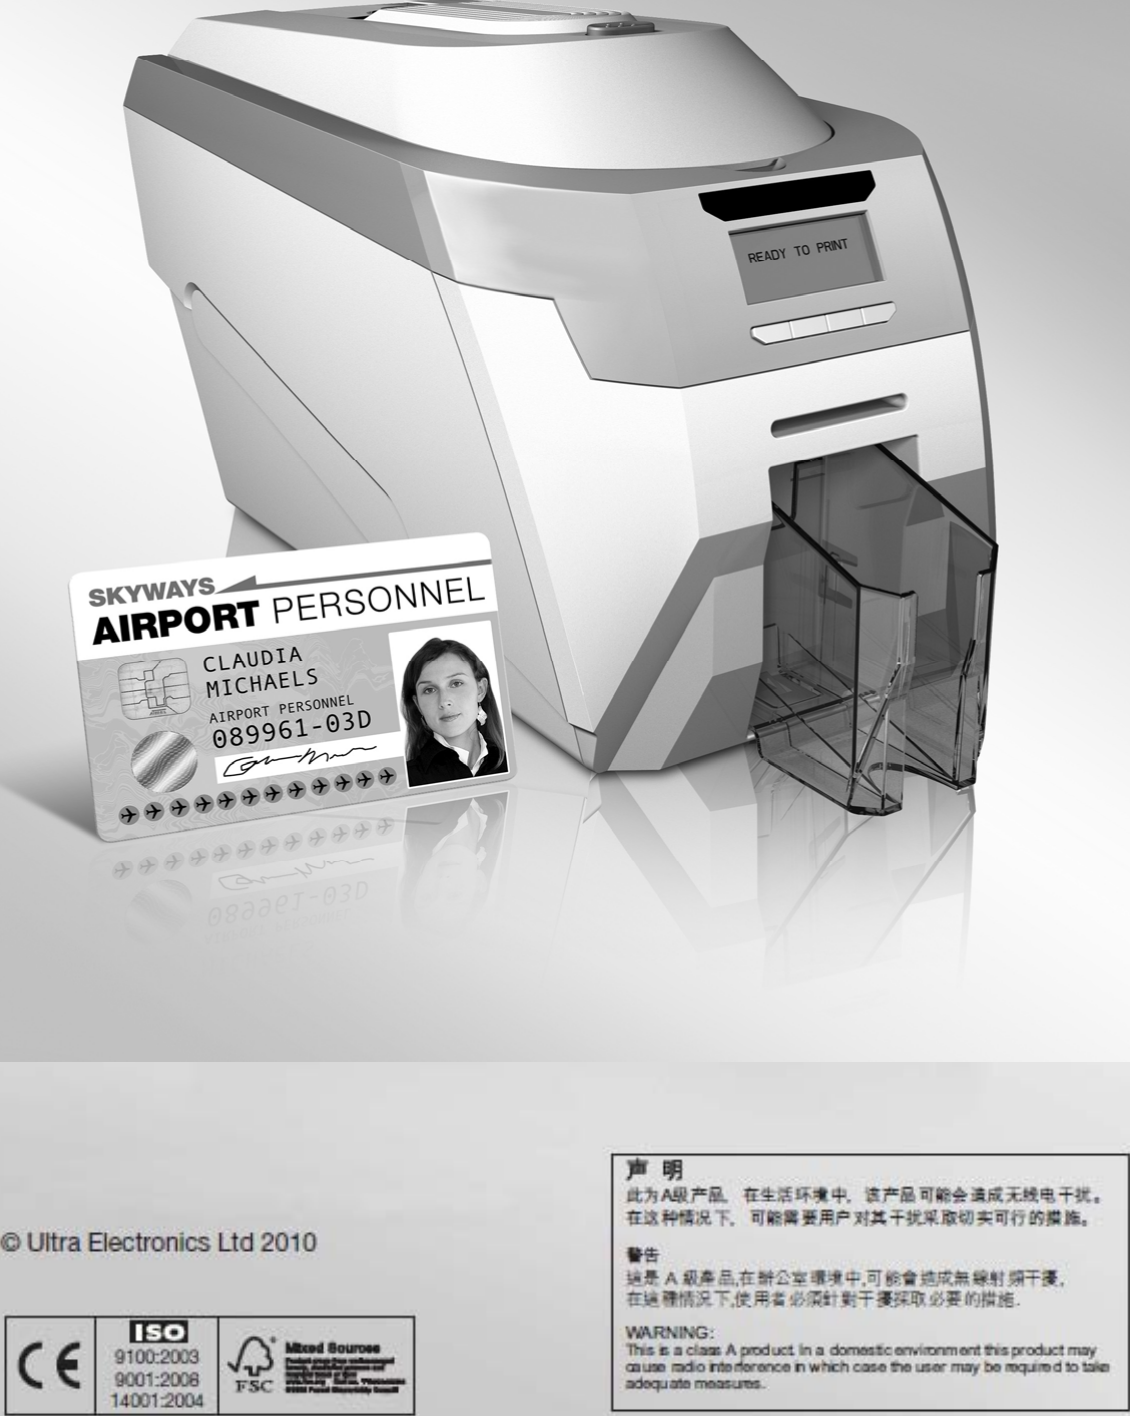
![ID Card Printer – User Manual ID Card Printer – User Manual - 15 - Clean rollers - IMPORTANT: To prevent the cards slipping on the rollers during printing, we recommend that you clean your printer using a cleaning card each time you replace the dye-film. For detailed instructions on how to clean your printer please turn to pages 21 to 24. Cleaning the rollers Test card - Having selected this option, you will be asked to confirm that you wish to print a test card. If you select “Yes”, the printer will feed a card from the hopper and print an internally generated test image on it. Info… - this option provides you with information about the printer:- Select [OK]. Test card Info Use the “Back” button to return to a previous menu Step through each option using the right-most “arrow” button.](https://usermanual.wiki/Magicard/3652-0001/User-Guide-1617610-Page-15.png)