Mandolyn Electronic Technology DBT701 Wireless Doorbell User Manual
Mandolyn Electronic Technology Inc. Wireless Doorbell
User Manual

Wireless doorbell
Operating instructions and guarantee
About these instructions
Warning
This product is equipped with safety features.
All the same, read the safety instructions carefully and use this appliance only as
described in these instructions to avoid accidental injury or damage.
Keep these instructions for future reference.
If you pass on this article to someone else, remember to include these instructions.
Intended use
The wireless doorbell is designed for wireless transmission of bell signals. The doorbell
signal can be displayed as an optical and/ or as an acoustic signal.
Hazards to children
z Batteries can be highly dangerous if swallowed. Therefore, keep batteries and the
doorbell out of the reach of small children. If a battery has been swallowed, seek
medical assistance immediately.
z Keep packaging material away from children. There is a risk of suffocation!
Electrical hazards
z Ensure that the locations where you wish to install the devices are free of power supply
lines, water lines and service pipes.
Other potential risks of injury
z Batteries must not be charged or re-activated by any other means, taken apart, thrown
into fire or short-circuited.
Caution – damage to the doorbell
z Remove the batteries from the doorbell when they are empty or if you are not planning
to use the device for a prolonged period of time. This will avoid damage that can be
caused by leakage.
z Always replace batteries in the doorbell (receiver).
z Do not use batteries of different types, brands or capacities.
z Alkaline batteries are recommended.
z Replace the batteries when the chime sounds are distorted.
z Never immerse the device in water.
z Never clean the device with abrasive or caustic cleaners.
z Never expose the device to snow, impact, vibration, dust, extreme temperatures or
high humidity. Install the bell push ensuring that it is not exposed to rain or direct
sunlight.
z Do not make any modifications to the device. Repairs must only be carried out by a
specialized workshop.
z Before installing, check whether you have the correct mounting material for your wall.
z Do not install the bell push (transmitter) or doorbell (receiver) in direct vicinity of other
electronic devices. This could lead to interference in either the wireless doorbell or
other electronic devices.
z Do not use several wireless doorbells in immediate vicinity of one another. This could
lead to interference.
At a glance (Features)
BUTTON CONFIGURATION
Transmitter:
z Doorbell button: To activate the doorbell receiver and synchronize with the receiver at
start-up
z New Code button: To generate the unique transmission signal in order to prevent
interference
Receiver:
z Learn Key( ): To synchronize the signal with transmitter at start-up
z Volume Slide switch ( ):
To set the loudness of the doorbell sound. 1 is the minimum sound level and 3 is the
maximum sound level
z Mode Selector ( ):
There are 3 operation modes, and they are: Lighting mode; Lighting + Ding Dong mode,
Ding Dong mode.
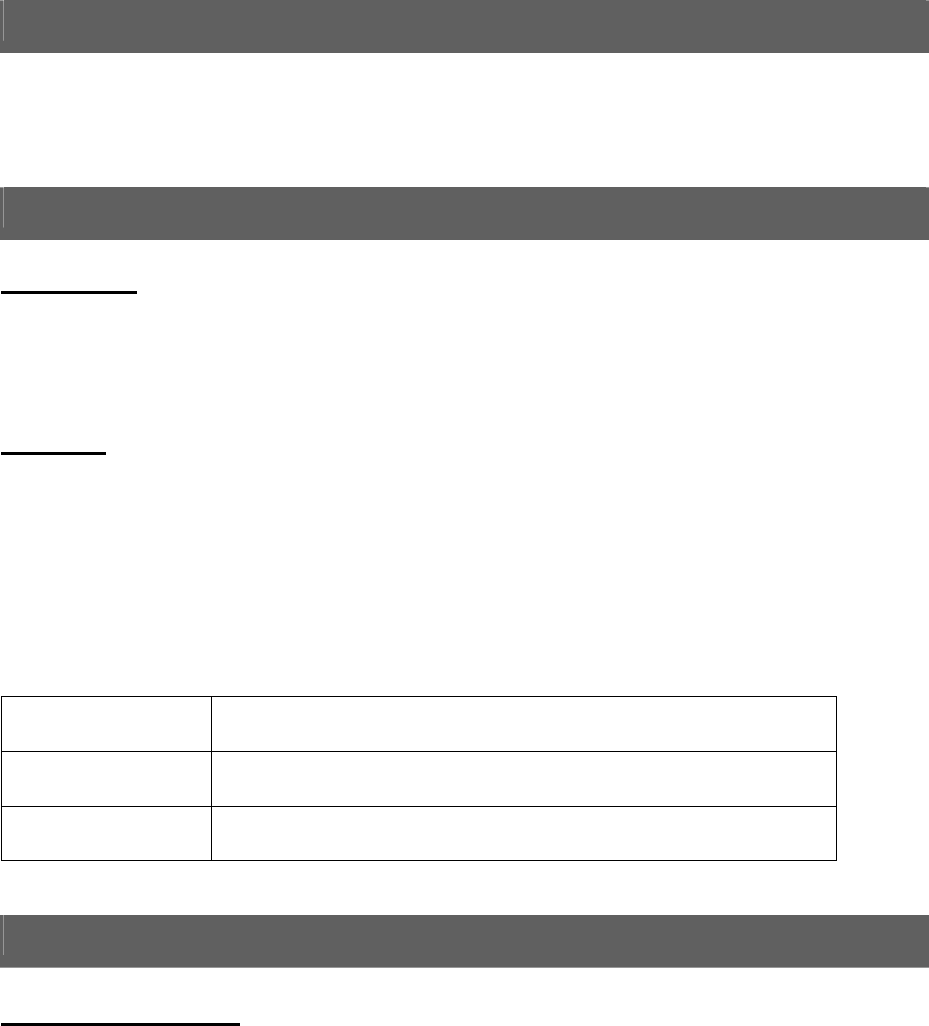
The detail of each operation mode:
Lighting Mode:
The LED will be flashing when the transmitter button is
pressed
Lighting + Ding
Dong Mode Both LED flashing and Ding Dong bell sound will be
activated when the transmitter button is pressed.
Ding Dong Mode The Ding Dong bell sound will be activated when the
transmitter button is pressed.
System Setup
Inserting Batteries
Door bell
1) Remove the battery compartment lid from the back of the doorbell.
2) Insert three LR6 (AA)/ 1.5V batteries supplied with the system, ensuring correct polarity
(+/-).

3) Carefully close the battery compartment again.
Bell push
1) Open the battery compartment on the back of the bell push.
2) Insert 23A/12V battery supplied with the system, ensuring correct battery polarity (+/-).
Leave the compartment open to be able to synchronize the radio frequency code in the
next step.
Synchronization (LEARN procedure)
This Doorbell is designed with the technology of Intelligent Code setting and Learning
function. It can generate up to 4096 different system codes by simple “LEARN” process
that there is no complicated setting of code switches and it will interference by other
remote control system is nearly impossible.
Note: LEARN procedure as described below must be performed before the wireless
doorbell function will work.
LEARN procedure:
1) When new batteries are inserted into the doorbell receiver, and it is selected at the
Ding Dong or Lighting + Ding Dong mode, the doorbell will initially sound.
2) Press “NEW CODE” button once to generate a unique system code, so that this set of
remote control will not be interfered by other similar systems nearby.
3) Press “LEARN” key on receiver while simultaneously pressing DOORBELL button on
the doorbell transmitter to synchronize the signals between the doorbell transmitter and
doorbell receiver.
4) Once the LEARN process is completed successfully, the doorbell will sound whenever
DOORBELL button is pressed.
Noted:
z Do not press the NEW CODE button of the transmitter again after synchronized
between the transmitter and the receiver unless you suspect that the Doorbell set is
interfered by other signals. This will generate a new system code, and then redo the
LEARN procedure again.
z To avoid interference
∼ do not put the doorbell receivers along side one another. A minimum distance of
18 inches (0.5 meter) is recommended.
∼ Do put the doorbell receiver and transmitter one meter above the ground level.
Setting the volume
Adjust the volume using the slide switch.
1 = low
2 = normal
3 = high
Note: If the ring is quieter than normal or sounds distorted, the batteries are either weak or
empty. Replace the batteries.

Choosing the signal
Note: Be sure to set the signal before mounting the bell push to the wall.
The signal selection switch allows you to set the following signals:
Chime only
Signal indicator blinks and chime is switched to silent
Chime and blinking signal indicator
Low Battery Indication
Transmitter:
z If the transmitter is out of battery, the LED will be ON in RED color for several seconds
and the RED LED is ON when the Doorbell button is pressed.
z Then please change new battery into the transmitter.
z Repeat the LEARN procedure to synchronize between transmitter and receiver.
Receiver:
z If the receiver is sound to very low volume and LED is flashing regularly for an
extended period of time, the batteries may lose power, which may cause the
transmission range be limited.
z Then please change new battery into the transmitter
z Repeat the LEARN procedure to synchronize between transmitter and receiver.
Installation of Doorbell and Bell Push (transmitter)
Danger: Ensure that the locations where you wish to install the devices are free of power
supply lines, water lines and service pipes.
Caution:
z Before installing, check whether you have the correct mounting material for your wall.
z Do not install the doorbell or bell push in direct vicinity of other electronic devices.
This could lead to interference in either the doorbell or other electronic devices.
Mounting the Bell Push (transmitter)
Caution:
z Never expose the device to snow, impact, vibration, dust, extreme temperature or high
humidity. Install the bell push (transmitter) ensuring that it is not exposed to rain or
direct sunlight.
z Do not use several wireless doorbells in immediately vicinity of one another. This
could lead to interference.
Mounting steps:
1) Remove the battery compartment lid from the bell push.
2) Mark the holes on the wall. Use the mounting holes on the battery compartment lid as
a guide.
3) Drill two holes (Ø 6 mm).
Note: Please note that the drill can ‘drift’ in the hole, quickly causing the inside
diameter of the hole to become larger than desired. You should use a smaller drill (Ø
5 mm) to make a preliminary hole before drilling the final holes.
4) Insert two wall plugs into the holes and fix the battery compartment lid to the wall using
two screws. The inside of the battery compartment lid should be facing outward.
5) Press the bell push onto the mounted battery compartment lid. It must click into place.
6) Screw a small screw at the bottom of the bell push so that it is firmly attached to the
battery compartment lid.
7) Remove the protective cover from the name plate.
8) Write the name on the name plate and replace it.
9) Re-fit the protective cover.
Installing or mounting the doorbell (Receiver)
The doorbell can be installed either vertically, or mounted to a wall.
Vertical position
1) Place the stand on a level and stable surface.
2) Push the doorbell onto the stand.
Mounting the doorbell to a wall
1) Drill a hole in the wall (diameter approx. 6 mm)
2) Insert a wall plug into drill hole
3) Push a screw onto the wall plug
4) Hang up the doorbell using the wall mount hanging eye located at the rear above the
screw. Please ensure the doorbell is firmly fit.
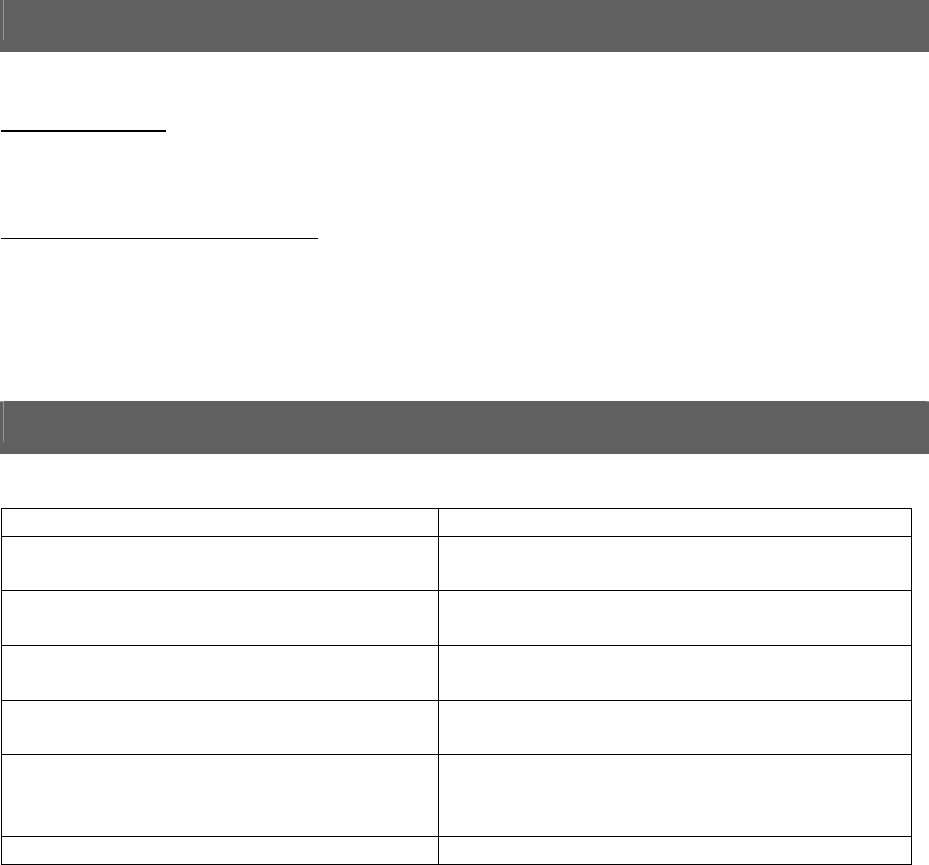
Trouble shooting
Problem: Solution:
Doorbell transmitter stops activating the
doorbell Check the set signal and reset it if
necessary
Have the batteries been inserted properly?
Replace the batteries if necessary.
Use the LEARN function to reprogram the
receiver or check the battery
Are several wireless units being operated in
immediate vicinity of one another?
Make sure Doorbell Transmitter and
Receiver are away from sources of
electrical disturbance.
The distance between the doorbell receiver

and doorbell push (transmitter) is too long.
The range of the radio signal transmission
can be significantly decreased by thick
walls and/ or ceilings.
Batteries are weak or empty. Replace
battery.
Doorbell ring is quieter than normal or
sounds distorted. Check the set signal and reset it if
necessary.
Doorbell ring sounds even when the bell
push has not been passed. Have the LEARN procedure being done?
Ensure that the door bell transmitter and the
doorbell receiver have been synchronized
in the same system code. Press NEW
CODE button and repeat the LEARN
procedure.
Other radio-operated devices are causing
interference. Press NEW CODE button and
repeat the LEARN procedure
FCC Statement
Statement required by 15.19 and RSS210
This device complies with Part 15 of the FCC Rules and with RSS-210 of Industry Canada.
Operation is subject to the following two conditions:
(1) this device may not cause harmful interference, and
(2) this device must accept any interference received, including interference that
may cause undesired operation.
Statement required by 15.21 :
Warning: Any changes or modifications made to this equipment not expressly approved by
UPM may void the FCC authorization to operate this equipment.
The statement required by 15.105 is as follows:
This equipment has been tested and found to comply with the limits for a Class B digital
device, pursuant to Part 15 of the FCC Rules. These limits are designed to provide
reasonable protection against harmful interference in a residential installation. This
equipment generates, uses and can radiate radio frequency energy and, if not installed
and used in accordance with the instructions, may cause harmful interference to radio
communications. However, there is no guarantee that interference will not occur in a
particular installation. If this equipment does cause harmful interference to radio or
television reception, which can be determined by turning the equipment off and on, the
user is encouraged to try to correct the interference by one or more of the following
measures:
• Reorient or relocate the receiving antenna.
• Increase the separation between the equipment and receiver.
• Connect the equipment into an outlet on a circuit different from that to which the
receiver is connected.
• Consult the dealer or an experienced radio/TV technician for help.
This Class B digital apparatus complies with Canadian ICES-003.
Cet appareil numérique de la classe [*] est conforme à la norme NMB-003 du Canada.