Marvell Semiconductor MMC85PA MC85 Mini card 11b/g/a/n radio card User Manual MacBook Pro User s Guide
Marvell Semiconductor, Inc. MC85 Mini card 11b/g/a/n radio card MacBook Pro User s Guide
UserManual.wiki
>
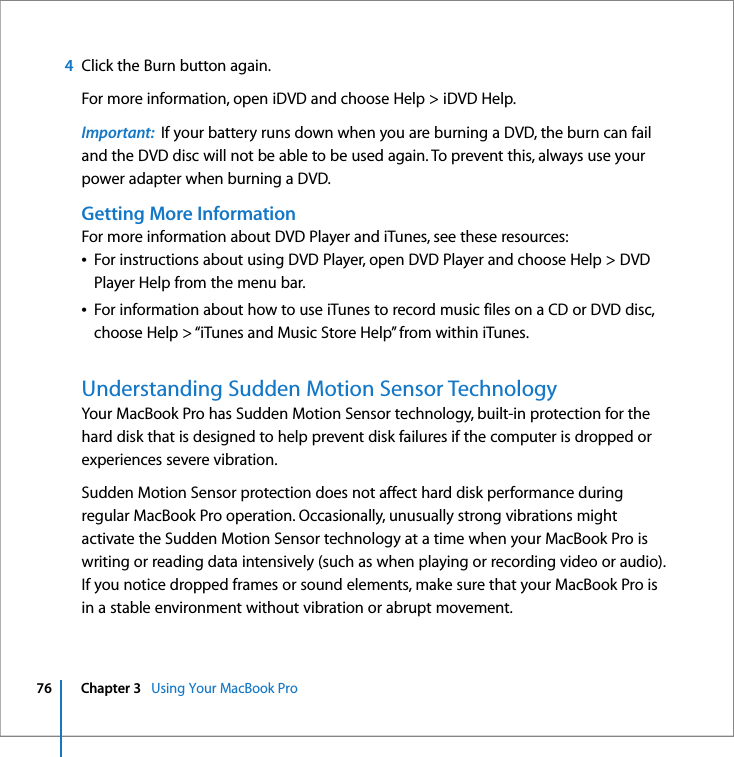
Marvell Semiconductor
>
MMC85PA User Manual
>
Host manual
Contents
1.
Host manual
2.
Host Manual
Host manual
Navigation menu
Upload a User Manual
Namespaces
Wiki Guide
HTML
PDF
Info
Views
User Manual
Discussion / Help
Navigation

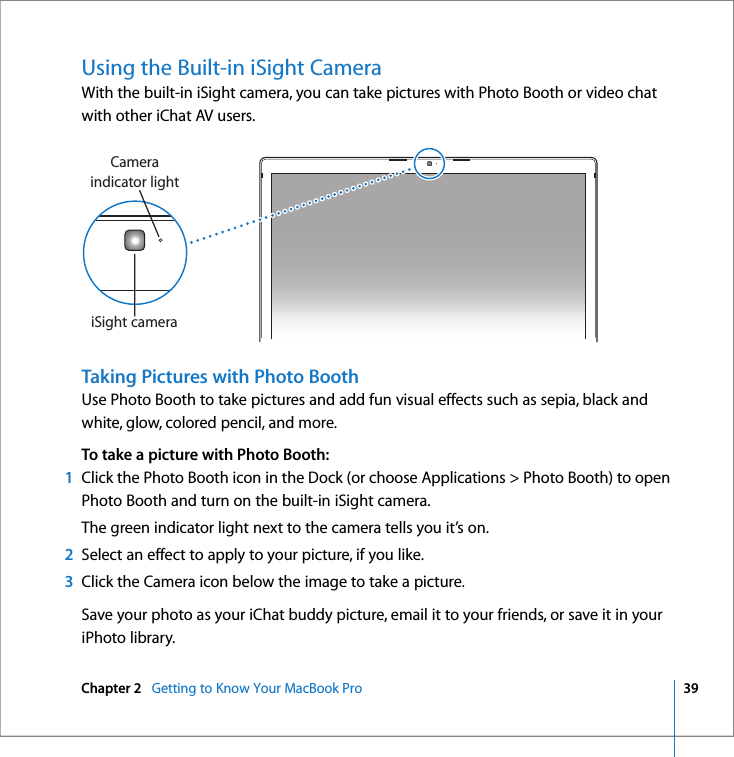
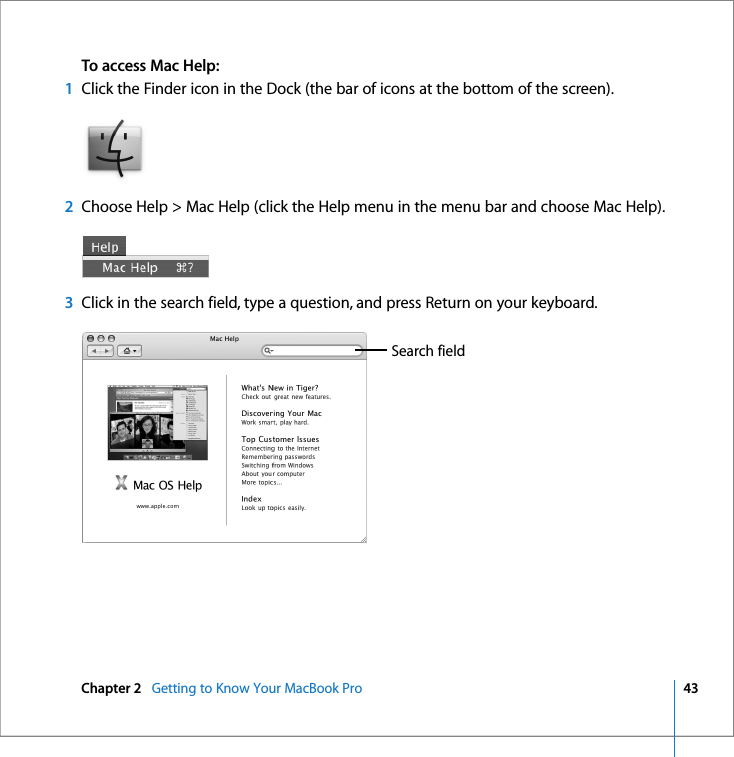
![Chapter 2 Getting to Know Your MacBook Pro 35 Using the Apple Remote and Front RowYour Apple Remote works with the Front Row interface and the built-in infrared (IR) receiver, which is located next to the display release button on your MacBook Pro. Use the Apple Remote to open Front Row and work with iTunes, iPhoto, QuickTime, DVD Player, and more from across the room.Use your Apple Remote to:ÂOpen Front Row and navigate through the Music, Photos, Videos, and DVD menus.ÂAdjust the volume of a song, play or pause a song, or skip to the next or previous track in iTunes. ÂPlay a slideshow of any of your photo albums in iPhoto. ÂPlay movies that are in your Movies folder or watch online QuickTime movie trailers. ÂPlay a DVD in your optical drive with DVD Player.ÂSleep or wake your MacBook Pro.To use your Apple Remote:ÂPress the Menu (») button to open Front Row. ÂUse the Menu (») button to return to the previous menu while you’re navigating.ÂPress the Volume/Menu Up (∂) and Volume/Menu Down (D) buttons to move through the menu options and adjust the volume.ÂPress the Select/Play/Pause (’) button to select an option from the menu. ÂPress the Select/Play/Pause (’) button to play or pause a song, slideshow, or movie.ÂPress the Next/Fast-forward (‘) or Previous/Rewind (]) button to skip to the next or previous song in iTunes or the next or previous chapter in a DVD movie.](https://usermanual.wiki/Marvell-Semiconductor/MMC85PA.Host-manual/User-Guide-686035-Page-35.png)
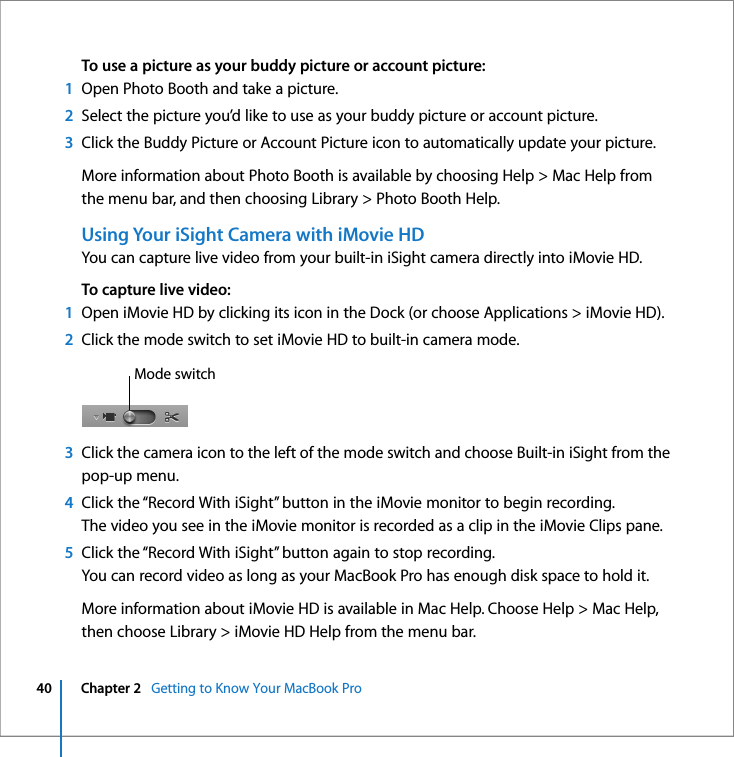
![36 Chapter 2 Getting to Know Your MacBook Pro ÂHold down the Next/Fast-forward (‘) or Previous/Rewind (]) button to fast-forward or rewind within a song or movie.ÂHold down the Play/Pause (’) button for 3 seconds to put your MacBook Pro to sleep.Pairing Your Apple RemoteIf you have multiple computers or other devices with built-in IR receivers in a room (for example, more than one MacBook Pro or iMac in a home office or lab), you can “pair” your Apple Remote with a specific computer or device. Pairing sets up the receiving computer or device to be controlled by a specific Apple Remote. To pair your Apple Remote with your MacBook Pro: 1Position the Apple Remote 3 to 4 inches from the IR receiver on your MacBook Pro. 2Press and hold the Menu (») and Next/Fast-forward (‘) buttons on the Apple Remote for 5 seconds.Next/Fast-forward buttonSelect/Play/Pause buttonBattery compartmentVolume/Menu Up button IR windowVolume/Menu Down buttonPrevious/Rewind buttonMenu button](https://usermanual.wiki/Marvell-Semiconductor/MMC85PA.Host-manual/User-Guide-686035-Page-36.png)

![38 Chapter 2 Getting to Know Your MacBook Pro 4Close the battery compartment.Turning Off IR ReceptionYou can use Security preferences to turn IR reception on your MacBook Pro on or off. To turn off IR reception:ÂChoose Apple () > System Preferences from the menu bar and click Security.ÂSelect the “Disable remote control infrared receiver” checkbox.Using the Keyboard to Control Front RowIn addition to using the Apple Remote to control Front Row, you can also use your keyboard. The following keys correspond to the buttons on the Apple Remote:Getting More Information About the Apple RemoteMore information about your Apple Remote is available in Mac Help. Choose Help > Mac Help from the menu bar and search for “Apple Remote.” Keyboard equivalent Apple Remote buttonCommand (x) - Esc Enter Menu (»)Esc Exit Menu (»)Space or Return Select/Play/Pause (’)Up arrow (Ò) Volume/Menu Up (∂)Down arrow (¬) Volume/Menu Down (D)Right arrow (˚) Next/Fast forward (‘)Left arrow (k) Previous/Rewind (])](https://usermanual.wiki/Marvell-Semiconductor/MMC85PA.Host-manual/User-Guide-686035-Page-38.png)