Mattel Asia Pacific Sourcing B6463-03A2T XFO User Manual MANUAL
Mattel asia Pacific Sourcing Ltd. XFO MANUAL
UserManual.wiki
>
Mattel Asia Pacific Sourcing
>
B6463 03A2T User Manual
MANUAL
Navigation menu
Upload a User Manual
Namespaces
Wiki Guide
HTML
PDF
Info
Views
User Manual
Discussion / Help
Navigation
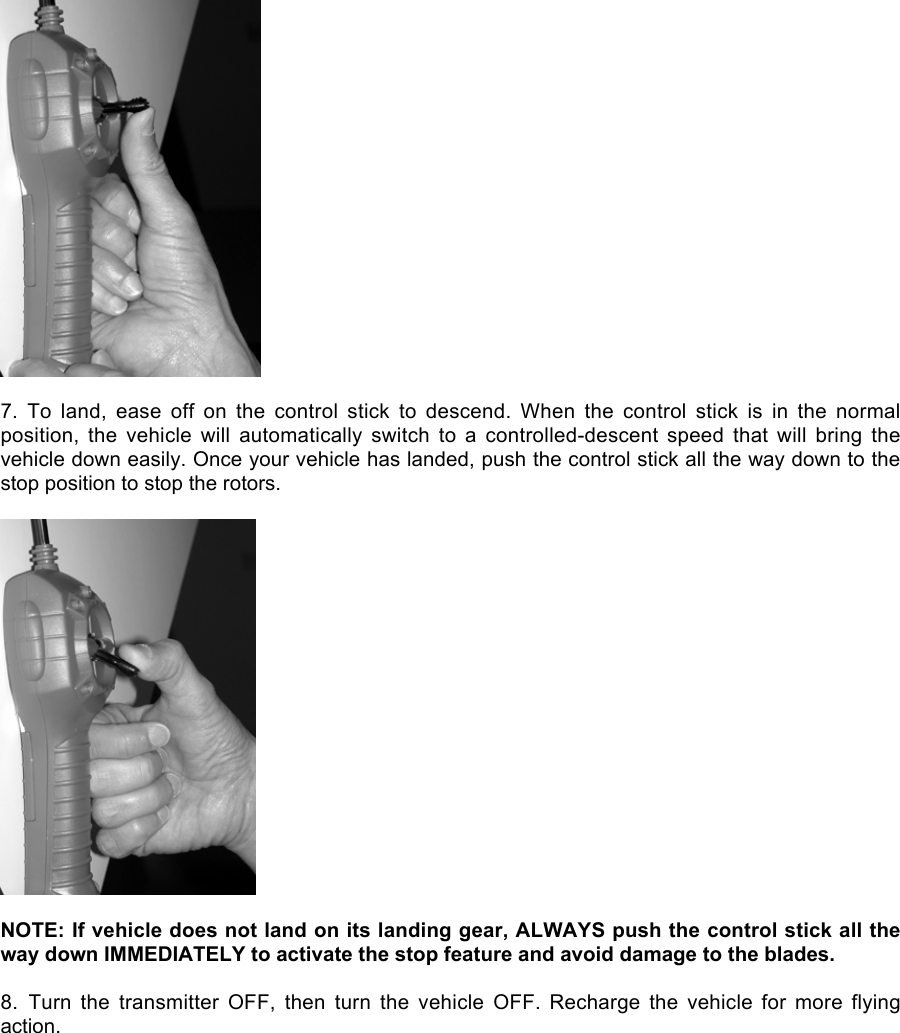
![8. Replace the vehicle recharge cord in the Field Charger’s storage groove.LED FunctionsWhen the CHARGE button is pressed, the Field Charger’s two LED charge indicators will provideinformation about the status of the Field Charger and the charging process:• Green LED glowing steadily: charging normally.• Green LED flashing: charging is complete.• Red LED glowing steadily: Field Charger must be recharged (not enough power to rechargevehicle).• Red LED flashing: Vehicle’s NiMH battery temperature is too high (allow vehicle to cool downbefore attempting to recharge).• Red AND green LEDs flashing: The charger is not properly connected to the vehicle. First makesure that the vehicle switch is in the OFF position. If the red and green indicators still flash, thenthe vehicle’s NiMH battery temperature is too low for charging (allow vehicle to warm up tonormal operating temperature).NOTE: the NiMH battery inside your vehicle must be conditioned in order to delivermaximum flight time. Your first few flights may be shorter, but flight time will increase withuse.[!] Do not attempt to recharge the vehicle until it’s fully discharged. Additional charging will notincrease running time, and may permanently damage the vehicle’s NiMH battery.](https://usermanual.wiki/Mattel-Asia-Pacific-Sourcing/B6463-03A2T/User-Guide-340200-Page-16.png)
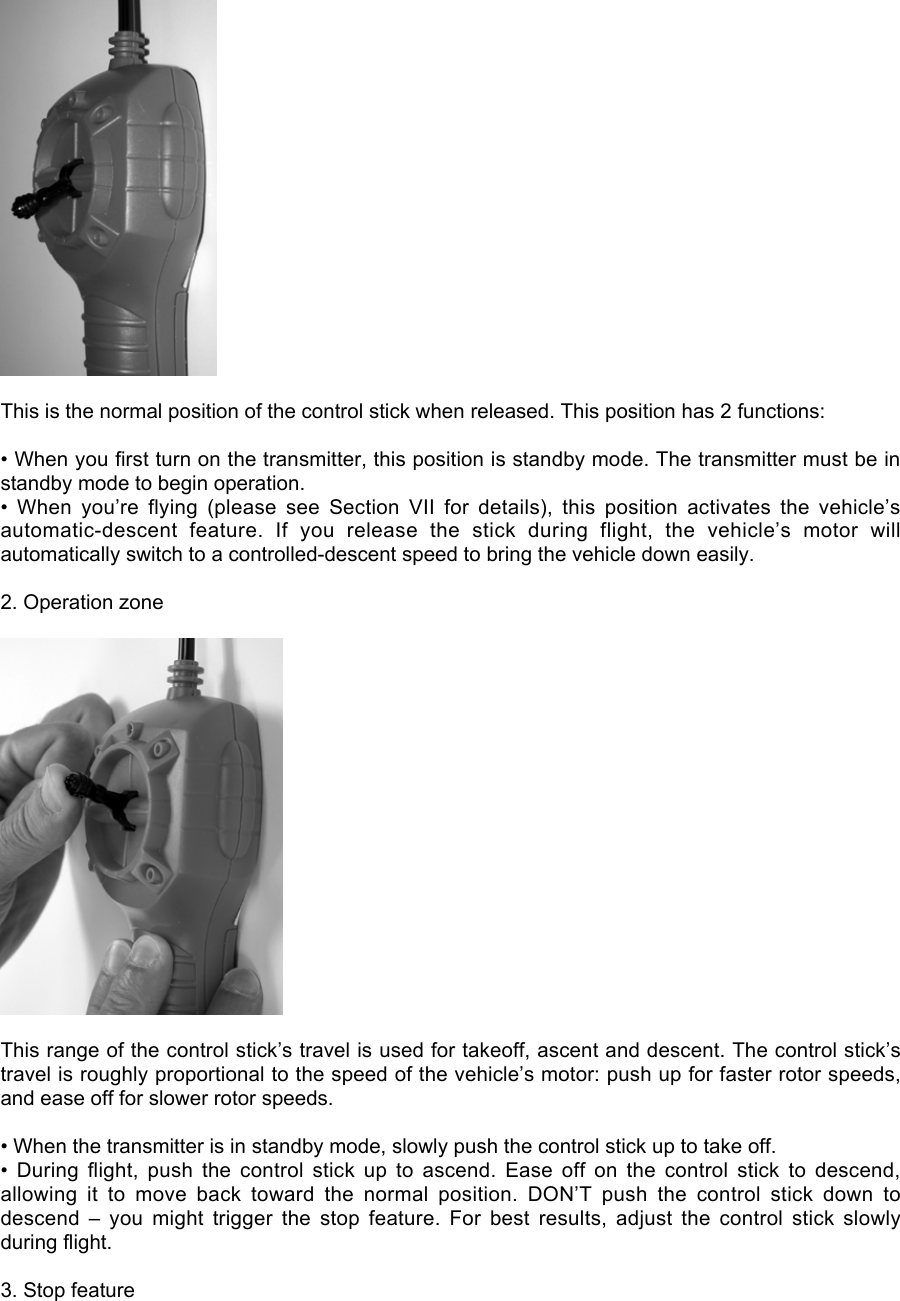
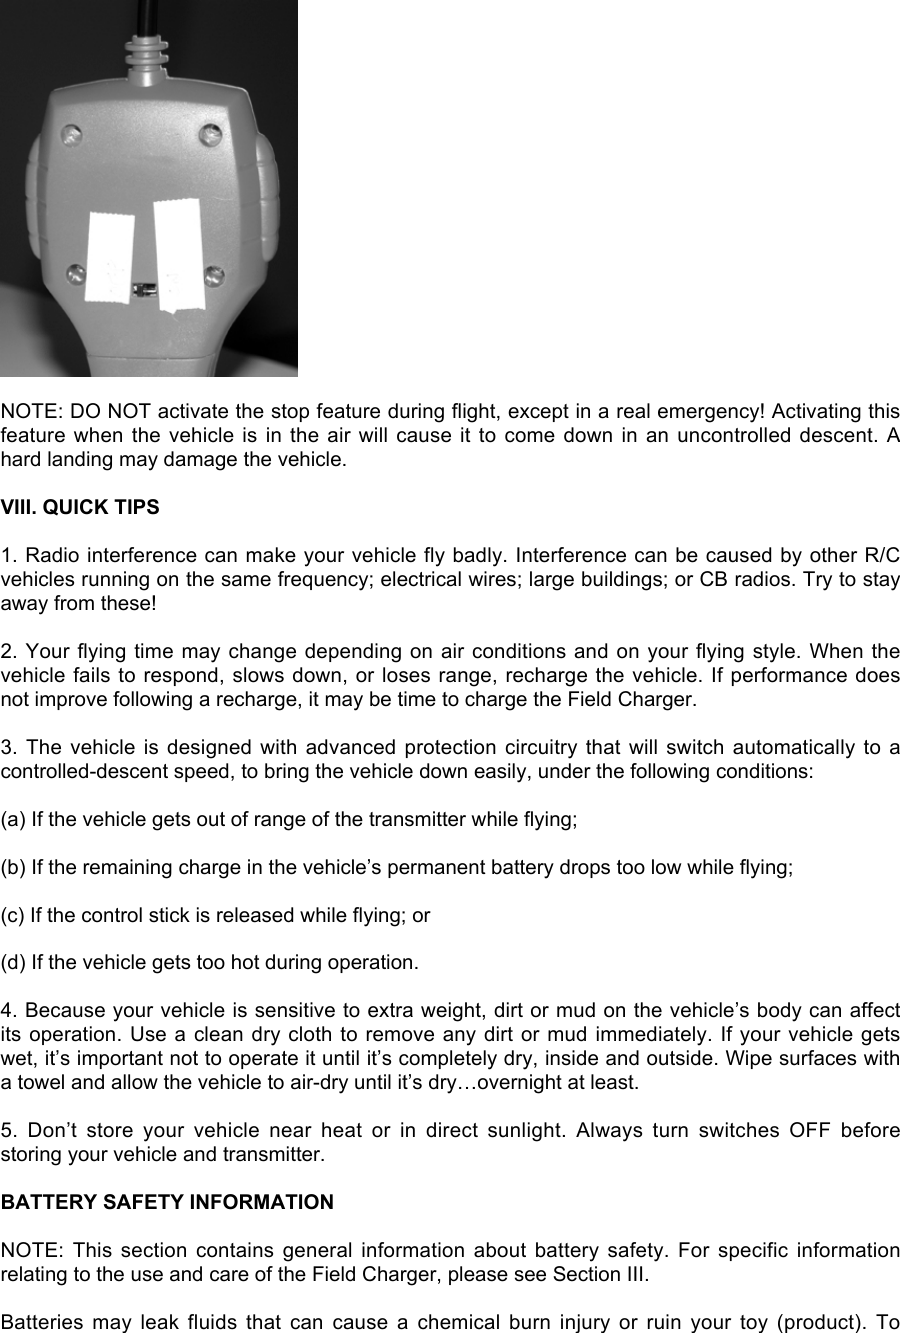
![[!] Always hold the connectors when disconnecting the vehicle recharge cord. NEVER pull thecord to disconnect; this may cause it to break.[!] Your vehicle and Field Charger may not work their best in overly cold or overly hot conditions.The suggested temperature range for operation is between 40°F/4°C and 95°F/35°C.NOTE: DO NOT charge the vehicle until just before flying. If the vehicle is left in a chargedcondition for a time before operating, it may not be able to fly (the rotor will turn, but the vehiclewill not lift off). If this happens, you will need to discharge the vehicle battery and then recharge it.It’s a quick and simple process.a. Make sure to follow all the safety information in this manual during the discharge/rechargeprocess. In particular, make sure to maintain the minimum 10’/3m distance from the vehicle, andmake sure weather conditions are calm and clear.b. With the transmitter OFF, turn the vehicle ON. Set the vehicle upright on the ground. Makesure the rotor blades are approximately 180° apart.c. Turn the transmitter ON. Slowly push the transmitter control stick up, just until the rotor beginsto spin. Adjust the control stick until the rotor is spinning slowly and steadily. Keep the rotorspinning (you may need to adjust the control stick position to maintain rotor speed) until it slowsdown noticeably. At that point the vehicle battery will be discharged. Push the control stick all theway down to activate the stop feature.[!] If the vehicle starts to lift off during the discharge process, IMMEDIATELY push the controlstick all the way down to activate the stop feature.d. Turn the transmitter OFF, then turn the vehicle OFF.e. Recharge the vehicle battery as described in Section IV. You should now be able to fly yourvehicle normally (please see Sections VI and VII).V. TRANSMITTER CONTROLYour transmitter features a joystick flight control system that’s easy to use – and challenging tomaster.[!] Before operating your vehicle for the first time, familiarize yourself with the “feel” of the controlstick (with the transmitter turned OFF). Move it through its range of motion, up and down. Thatway you’ll know how far to push down to activate the stop feature (see Number 3 below).1. Normal position](https://usermanual.wiki/Mattel-Asia-Pacific-Sourcing/B6463-03A2T/User-Guide-340200-Page-17.png)