Mavin Technology MBSHC32 BLUETOOTH STEREO HEADSET User Manual USERS MANUAL
Mavin Technology Inc. BLUETOOTH STEREO HEADSET USERS MANUAL
USERS MANUAL
User Guide
Bluetooth Stereo Headset
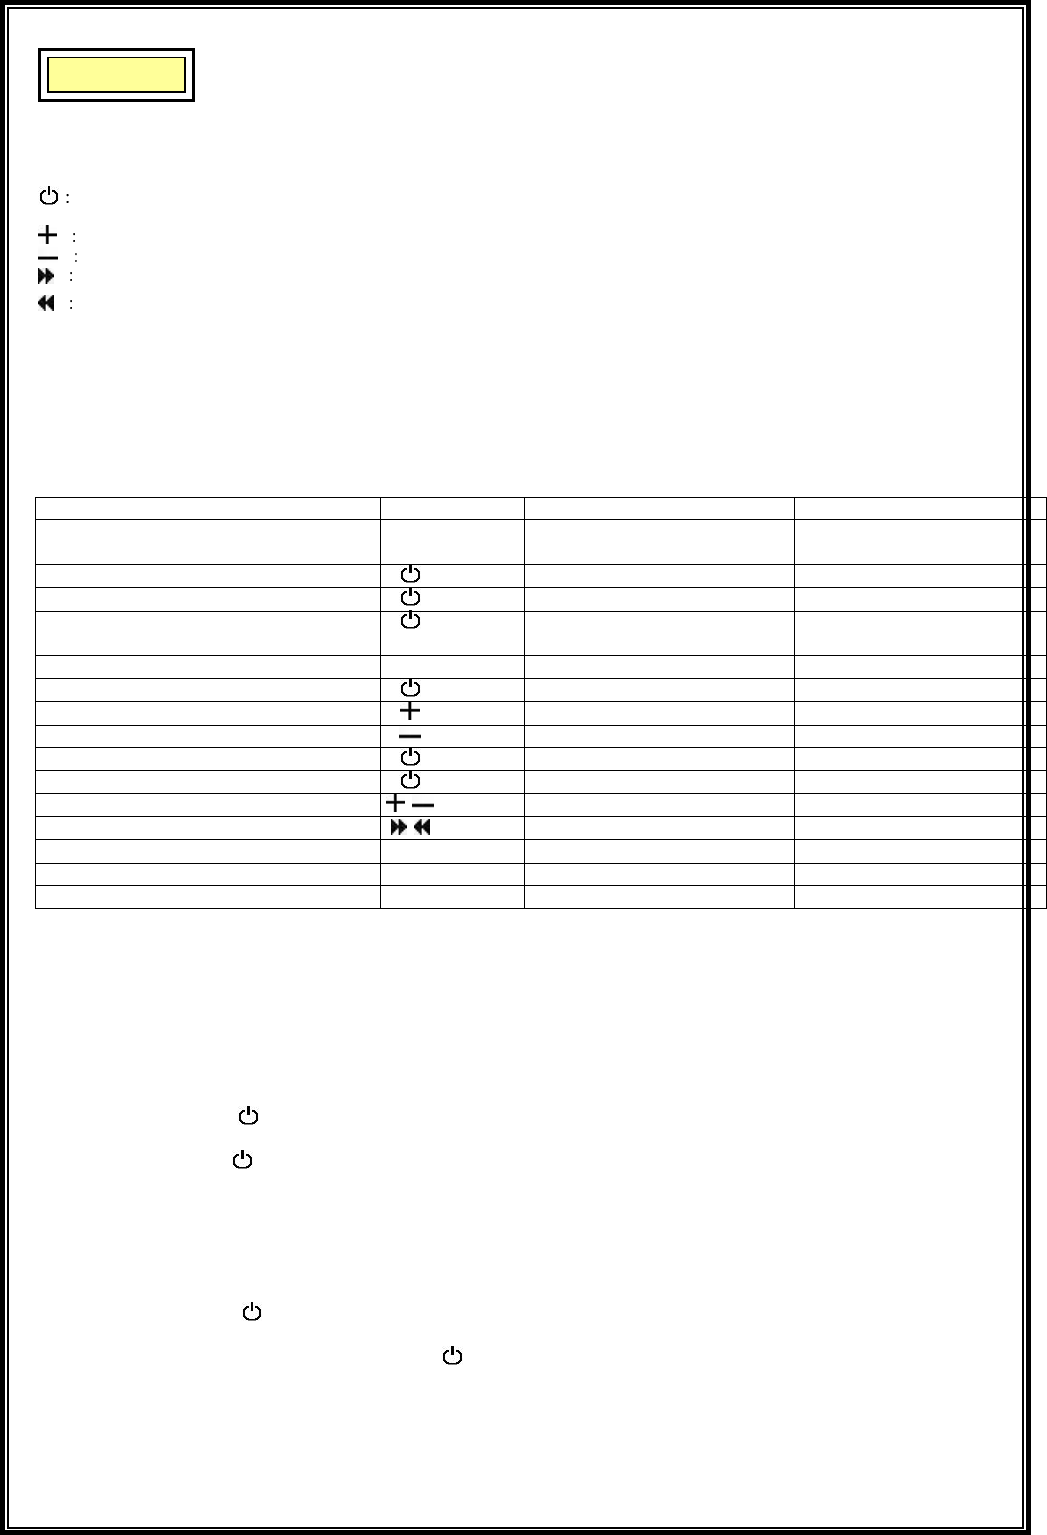
Function of Buttons
Turning on or off/ Pairing/ Answer/ Ending/ Reject/ play/ pause/ stop
Led
Volume-up, Redial
Volume-down, Voice-Dialing
Forward
Backward
Charging Port
Microphone
3.5mm audio connector
Turning on or off
Charging Port
Led
Status Button Duration LED Pattern
Stereo Headset/
Stereo Adapter
Power On Long (2~3 seconds) Blue Blinking
Power Off Long (3~4 seconds) Red Off
Enter Pairing Very Long (4 seconds)
(PIN code: “0000”)
Blue/ Red Blinking
Pairing Successfully/ Standby Blue Blinking
Answer / Ending Calls Short
Redial Long (2 seconds)
Voice Dial Long (2 seconds)
Reject Long (3 seconds)
Play/ Pause/ Stop Short (1 second)
Volume Up/ Down Short (1 second)
Forward/ Backward Short (1 second)
Low Battery Red Blinking
Charging 4 hours Red
Fully Charged Red Off
1. Charging the battery
Plug the travel charger into the AC outlet and then connect the charger into the DC input of the headset and adapter. The red
indicator will light on. When the battery is full, the red indicator will be off, disconnect the power adapter. When the battery
is new, it is not fully charged. It takes 4 hours to fully charge the battery. Afterwards, it will take nearly 3 hours to fully
charge the battery.
2.1 Use with audio devices
(1). Turning on or off
(a). Press the button for 2~3 seconds. The blue indicator will begin to flash. The headset and adapter are now
powered on.
(b). Press the button for 3~4 seconds. The red indicator will begin to flash. Now the headset and adapter are turned
off.
(2). Plug the 3.5mm audio connector into the 3.5mm audio port device.
Note: To use stereo adapter with DVD, TV or Hi-Fi system etc., please use the AV cable to audio device.
(3). Pairing
(a). Press the button of the headset and adapter for 4 seconds till the blue and red indicators begin to flash
alternatively. The headset is now in pairing mode and it will connect to the stereo adapter automatic. If the blue and red
indicators do not flash alternatively, press the button again.
(b). When the pairing process is successfully completed, the blue indicator will flash. The headset is now in standby mode
and will connect the stereo adapter automatically.
Note: If no pairing is possible over a period of time (Aprox. 1 minute), the pairing process will be stopped. You have to
repeat STEP 2.1(3) to successfully complete the pairing.

(4). Wearing the headset
Hold both sides of the headset Ear hook the headset from the back of head Gently adjust headset position.
(5). Adjusting the volume of the headset for listening to music
(a). Press the button of the headset to increase the listening volume of the headset.
(b). Press the button to decrease the listening volume of the headset.
Note: You want to listen to music (after initial pairing), just adjust the volume from your headset and audio device (ipod/
MP3/ CD player etc.) together and turn on both devices. They will automatically connect and listen the music.
2.2 Use with mobile phone
Before start pairing, please refer to the manual of your mobile phone and read through the pairing chapter.
(1). Turning on and pairing
(a). Turn on the headset power, press the button of the headset for 4 seconds till the blue and red indicators begin to
flash alternatively. The headset is now in pairing mode.
(b). Turn on your Bluetooth mobile phone, follow the manual of your mobile phone to activate Bluetooth device pairing
process. Your mobile phone will found the stereo headset device in the devices list. Select it for pairing.
(c). The mobile phone display will prompt you for pairing pin-code during pairing, please enter “0000” to successfully
complete the pairing process.
(d). When the pairing process is successfully completed, the blue indicator will flash. The headset is now in standby mode
and will connect your mobile phone automatically
(e). Now you can put on the headset to play music. When the headset is receiving a phone call, ring tones will be heard on
the headset.
Note: (a). If no pairing is possible over a period of time (Aprox. 1 minute), the pairing process will be stopped. You have to
repeat STEP 2.2(1) to successfully complete the pairing.
(b). your Bluetooth mobile phone have to support A2DP and AVRCP profiles, and can play music function.
(2). Adjusting the volume of the headset
Please repeat STEP 2.1(5) to adjust the volume of the headset
(3). Making calls
Dial the phone number on you mobile phone as you normally do. The sound will be transmitted to the headset.
(a). Receiving or ending calls
When the headset is paired with your phone, and when there is an incoming call, you will hear a musical beep. Then press
the button to receive the call. When there is a call in session, you can press the button to end the call.
Note: Due to the different design of some mobile phones, an auto-disconnect may happen even when the headset is
powered on.
(b).
Redialing the call
Press the button and hold 2 seconds. After hearing a beep sound, say the name of the person you recorded on your
phone.
(The availability of this function depends on the design of the mobile phone you use. Please refer to the manual of your
mobile phone for the voice-dialing function. )
(c). Voice-dialing
After ending the call, you can press the button and hold 2 seconds to redial the call you just ended.
(The availability of this function depends on the design of the mobile phone you use. Please refer to the manual of your
mobile phone.)
(d). Rejecting a call
When there is a call in session, you can press the button for 3 seconds to reject a call.
2.3 Use with music player and mobile phone at the same time.
(a). The stereo headset needs to be paired and connected with both devices.
(b). When a phone call comes in while listening to music, the music will stop and you will hear ring tones on the headset,
press the the button to answer the call.
(b). Press the button for at least one second to terminate the call, and the music will automatically resume.
2.4 Use with Bluetooth PC or PDA devices
(1). Connect with PC
(a). Install Bluetooth driver and plug the Bluetooth USB dongle to a free USB port on your computer.
(b). Please repeat STEP 2.2(1).(a). to in pairing mode.
(c). Please click to search the service of Bluetooth stereo headset device in the
Bluetooth driver.
(d). Your computer
display will prompt you for pairing pin-code during pairing, please enter “0000” to successfully complete
the pairing process. Then connect Bluetooth stereo headset and your computer
Note:
If need to chat on VoIP, please connect headset service before launching VoIP software such as Skype, MSN and Messenger etc.
(2). Adjusting the volume of the headset
Please repeat STEP 2.1(5). to adjust the volume of the headset.
Note: your Bluetooth dongles or devices have to support A2DP and AVRCP profiles, and can play music function.

Children
Please keep the stereo headset away from children, as the small parts may cause choking hazard.
Battery Information
(1). New batteries
For time first time use, please charge the battery for at least 4 hours.
(2). Battery care
(a). Only qualified Service Centers are authorized to remove or replace the battery.
(b). The rechargeable battery has a long service life if treated with care.
(c). The battery can only be charged in a temperature range or 0
Tro
uble-Shooting
(1). The red indicator flashes
It indicates that headset is in low-battery. Charge the battery until the red indicator is turned off.
(2). If no connection between the headset or mobile phone
Make sure that headset or phone fully charged. Repeat the step 2.2(1) to complete the pairing process. Make sure that the
headset is within 15 meters of your phone and that there are no obstructions such as walls or other electronic device between
the headset and your phone. If the steps above do not solve the problem, please refer to the manual of your phone for more
information.
(3). The headset can not be activated after being charged for 10 minutes:
To activate the battery, it needs to charge the battery at least 20 minutes.
Note: This headset is complied with Bluetooth Specification 1.2. However, the interoperability of this headset and other
devices is not guaranteed because of the compatibility.
Product Care
1. Avoid humidity, liquid or moisture, as this device is not water-proof.
2. Avoid high and low temperature, especially in a car.
3. Please do not dissemble the headpset.
4. Please do not use chemical, cleaning solvent or strong detergent to clean the headset. And avoid sharp object.
5. Please do not change or modify the headset. Any change or modification will void the warranty of the product.
6.Do not dispose the
headset
into a fire. This may result in an explosion.
7.Use only the attached charger when you charge the headset.
Safety instructions
1. Check local laws about the use of headset while driving. For your own safety, please focus on the road while using the
headset.
2. Please turn off the headset according to the sign of the specified areas that requires an electric device to be switch off.
These areas include the hospital, aircraft, and blasting area or potentially explosive atmosphere.
3. Do not store the headset in the air-bag deployment area. This may result in an injury when the air-bag deploys.
4. Do not dissemble the charger. It may expose you to the danger of electric shock.
Caution and Warranty
FCC Regulations:
zThis device complies with part 15 of the FCC Rules. Operation is subject to the following
two conditions: (1) This device may not cause harmful interference, and (2) this device must
accept any interference received, including interference that may cause undesired operation.
zThis device has been tested and found to comply with the limits for a Class B digital device,
pursuant to Part 15 of the FCC Rules. These limits are designed to provide reasonable
protection against harmful interference in a residential installation. This equipment generates,
uses and can radiated radio frequency energy and, if not installed and used in accordance with
the instructions, may cause harmful interference to radio communications. However, there is
no guarantee that interference will not occur in a particular installation If this equipment does
cause harmful interference to radio or television reception, which can be determined by
turning the equipment off and on, the user is encouraged to try to correct the interference by
one or more of the following measures:
-Reorient or relocate the receiving antenna.
-Increase the separation between the equipment and receiver.
-Connect the equipment into an outlet on a circuit different from that to which the receiver is
connected.
-Consult the dealer or an experienced radio/TV technician for help.
Changes or modifications not expressly approved by the party responsible for compliance
could void the user‘s authority to operate the equipment.