Meisida Electronic Toys MSD03431989 Super Quad Plus 2 User Manual
Meisida Electronic Toys Co., Ltd Super Quad Plus 2 Users Manual
User Manual
FOR AGE GROUP 8+
SUPER QUAD PLUS 2
Add: MSD Bldg, Anping Industry Park (Anhai) Jinjiang Fujian China
Tel: 0595-85783295 Fax: 0595-85791389 Zip Code: 362261
E-mail:meisidatoys@meisida.com
Website:http://www.meisida.com
Executing standards: GB6675, GB5296.5
M
E
I
S
I
D
A
M S D 0343
Instruction Manual
(Please read this manual carefully before operation)
R
Meisida Electronic Toys Co., Ltd.
2
1
.
Crust-broken batteries or leaking-out batteries are not to be used.
Do not drop the battery into water or fire or even dissolve the battery.
The battery is not a toy.
Non-rechargeable batteries are not to be recharged.
Rechargeable batteries are to be removed from the toy before charged.
Rechargeable batteries are only to be charged under adult supervision.
Different types of batteries or new and used batteries are not to be mixed.
Only batteries of the same or equivalent type as recommended are to be used.
Batteries are to be inserted with the correct polarity.
Exhausted batteries are to be removed from the toy.
The supply terminals are not to be short-circuited.
CAUTION-ELECTRIC TOY- Not recommended for children under 8 years
of age.
As with all electrical products, precautions should be observed during handling and use
to reduce the risk of electric shock
Warnings!Warnings!
Warnings!Warnings!
How to use the charger
In case of smoke, strange smell or noise, operation shall be stopped in
order to avoid fire or electric shock.
Pull the plug and get ready for repair after confirming that there is no
more smoke.
Do not touch the plug or socket with wet hand to avoid electrics shock.
Pull out the plug upon completing the charger for the risk of fire.
How to use the battery
(Improper use of battery may lead to dangers such as heat, breakage or
leakage. Note the following items)
Strictly observe the methods and cautions of the operation manual.
Avoid short circuit as it may lead to great currents.
Leakage from battery may lead to blindness. Clean the polluted eye
immediately with clear water and consult doctors thereafter.
Do not use, charge or store the battery in places that are close to fire
or heat or moist.
Do not charge the battery upon fulfillment. Overcharging may be hazardous.
Make sure to install the positive pole and negative pole correctly.
Warnings!Warnings!
5
6
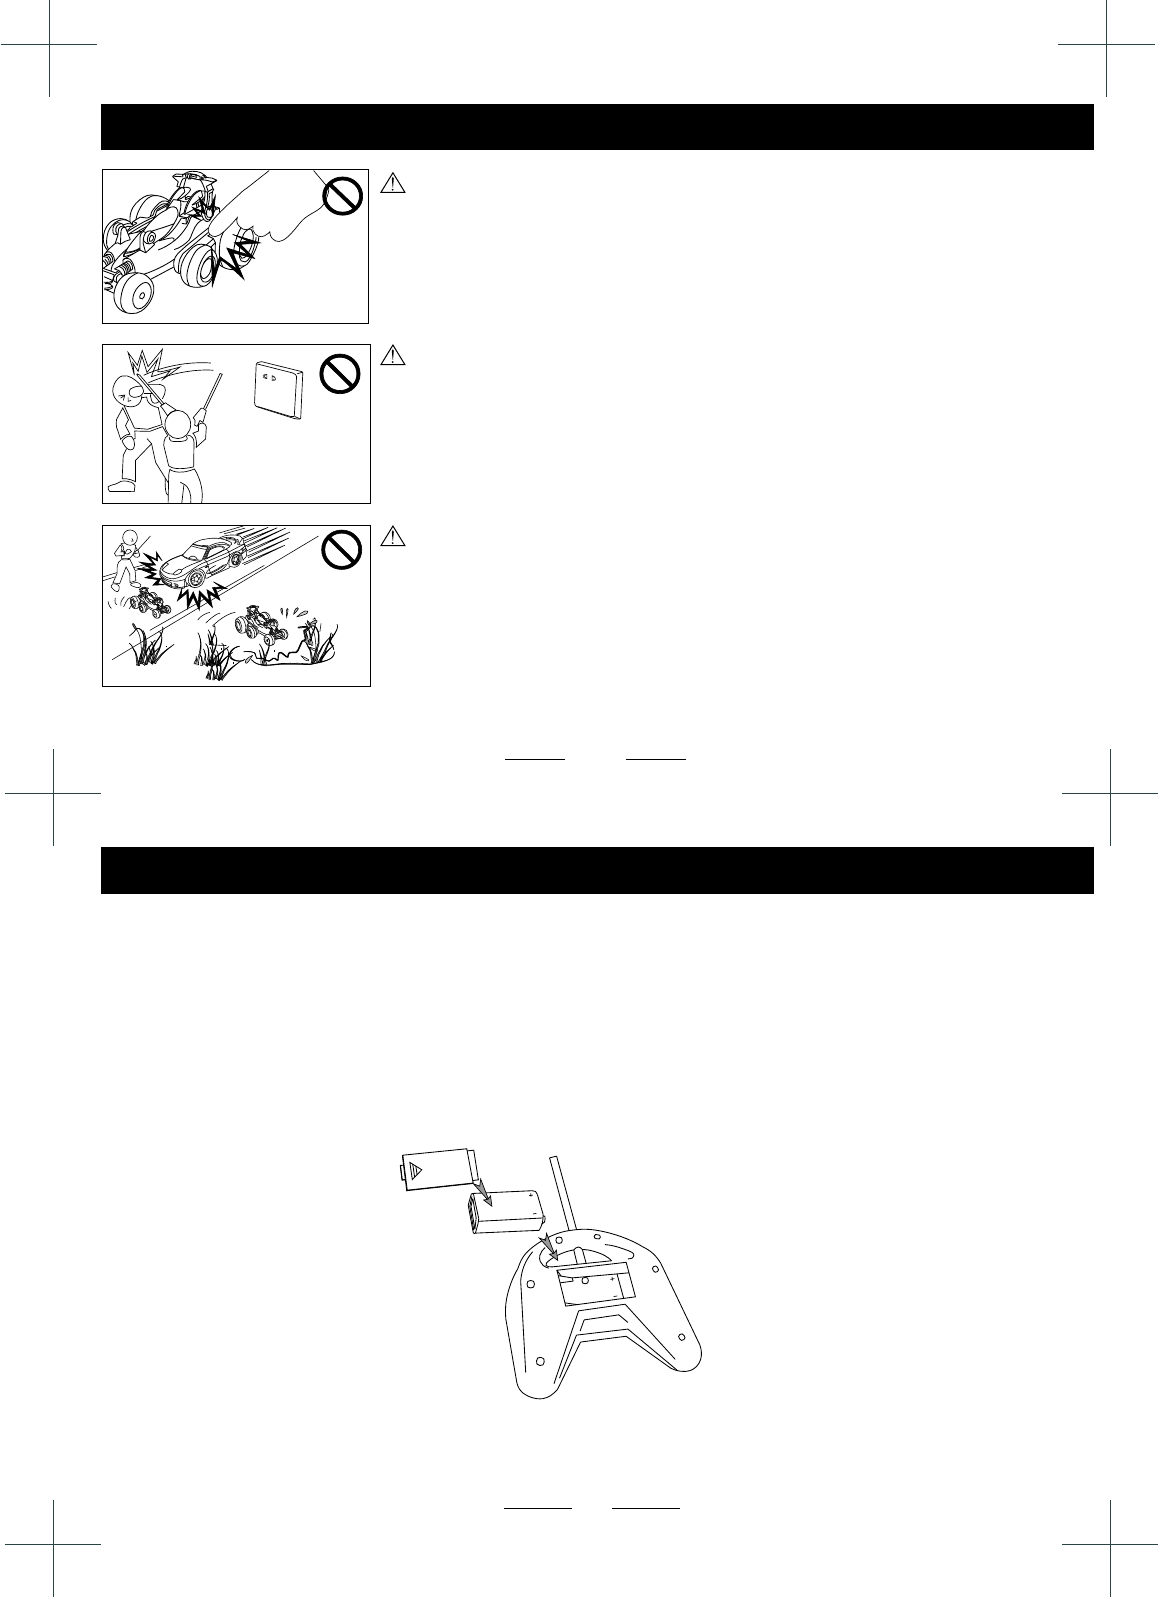
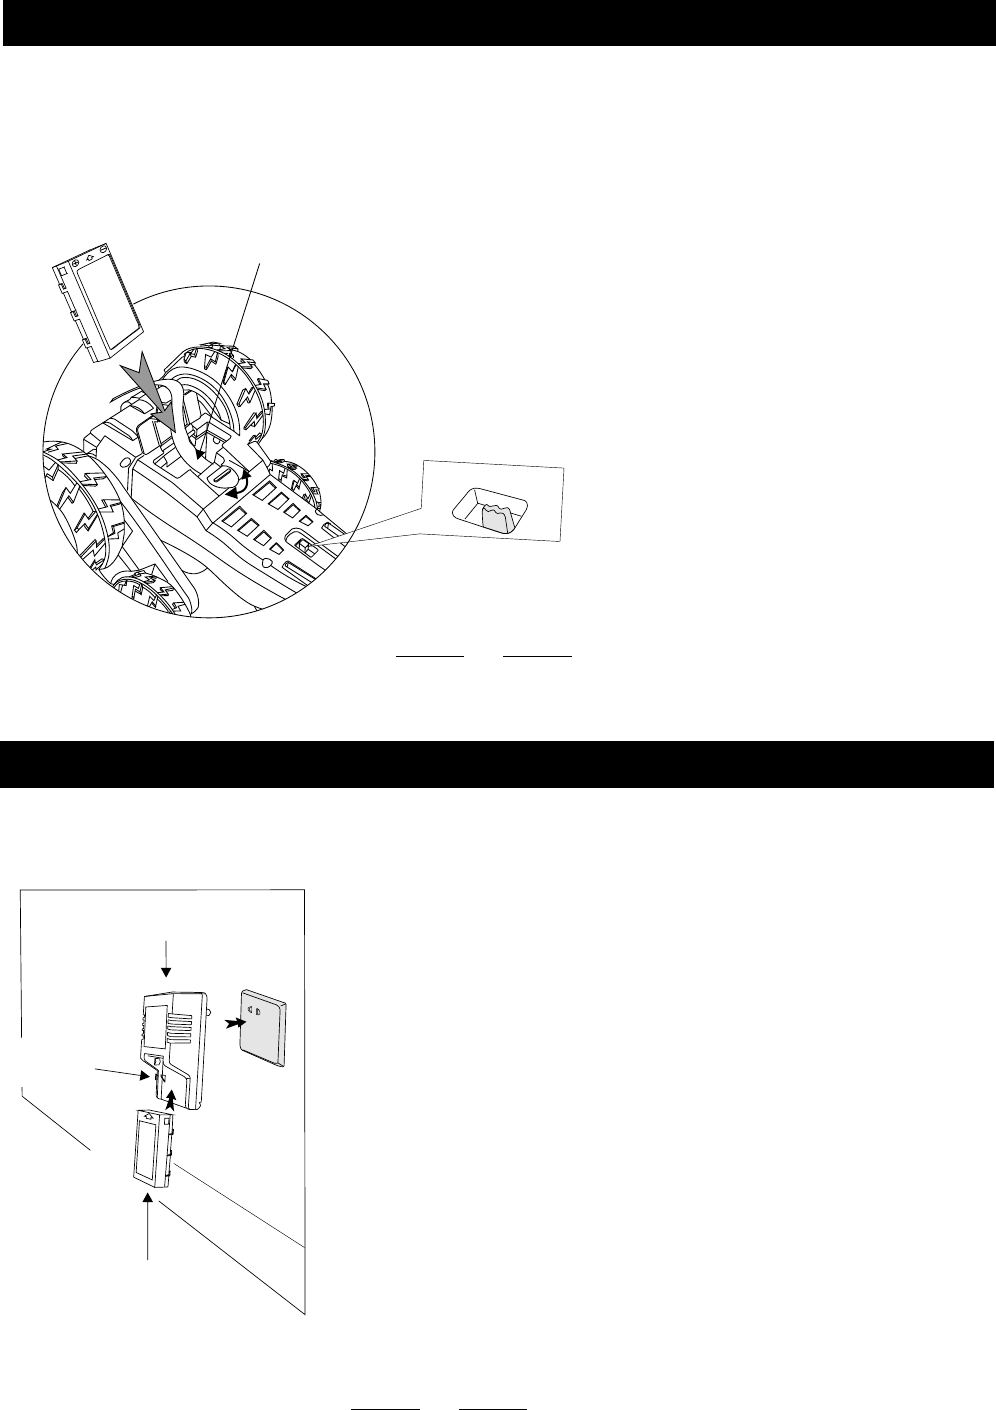
Loading & Unloading of the Battery of Remote ControllerLoading & Unloading of the Battery of Remote Controller
1. Using 9V battery.
2. Turn “OFF” the switch, take down the battery cover.
3. See below illustration. Install the 9V battery after checking the positive and negative
polarity, lock the battery cover.
4. Turn “ON” the switch and the indicated light on, that means the battery is installed correctly.
Otherwise reinstall the battery.
5. The duration for continuous operation of the remote controller battery is 8 hours.
Don't brandish the antenna or point the antenna to face,
accidentally injure may happen in case the antenna tip point
into eyes. Should the antenna distorted, please be sure to
change it due to it is dangerous.
Do not plug the antenna into the socket to avoid electric shock.
Caution:
Don't play the car on roads or crowded places to avoid accident.
Also don't run the car on the restive places such as wet or sandy
surface, this shall lead to breakdown of the toy.
Caution:
Avoid the risk of finger being involved when the wheel is in
operation .
Don't insert finger into the car body and touch the wheels
when the car turn “ON” or in work in case of danger .
Caution:
Cautions in OperationCautions in Operation
7
8
Method of charging the battery
1. The battery should be installed correctly on the charger
(see the illustration).
2. Install the 6.0V battery pack in the direction of arrow into
the charger. Then plug into household socket
appropriately.
3. Charge duration normally is 4~6 hours. No charge is
allowed after this.(About 8 hours required for the first
time of charging).
4. Pull the charger off the socket after finish charging , press
the lock button in the charger and take out the battery pack.
Notes:
1. The attached battery is not charged yet. Make sure to
charge it prior to use.
In the course of charging it is normal that temperature of
the charger and battery will be on the rise.
2. Termly check if the plug, crust and other parts are in good
condition. If breakage found they should be stopped using
until e repaired into good condition.
3. The charger and battery are not toys. They should be
charged and used under adult supervision.
1. Put the switch in the “OFF” position.
2. As per the illustration ,put the fully charged 6.0V
battery pack into the battery case after checking the
positive and negative poles (The red band installed into
battery case with the battery), then close the battery
cover and fasten the lock to fix the battery.
3. If re-charge for the battery required, put the switch
in “OFF” position. Unlock the battery cover and take out
the battery for recharging through lifting the red band.
4.Deceleration of the car may be caused low power off battery.
1. Don't connect the toy to the voltage which is higher
than recommended.
2. Make sure the loading & unloading of the battery of
the toy car is under adult supervision.
Remarks:
ON
F F
O
M n pow w c
aier s it h
Red Band
6.0v Charger
Lock for
battery
6.0v Chargeable battery
INPUT: AC-Household
Voltage 50/60HZ
OUTPUT: DC 6.75V 200mA
Loading & Unloading of the Battery of the Toy CarLoading & Unloading of the Battery of the Toy Car
0
6 . V
0
6 . V
Methods of Charging the Battery & CautionsMethods of Charging the Battery & Cautions
Metods f pe at on
ho O r iMetods f pe at on
ho O r i
9
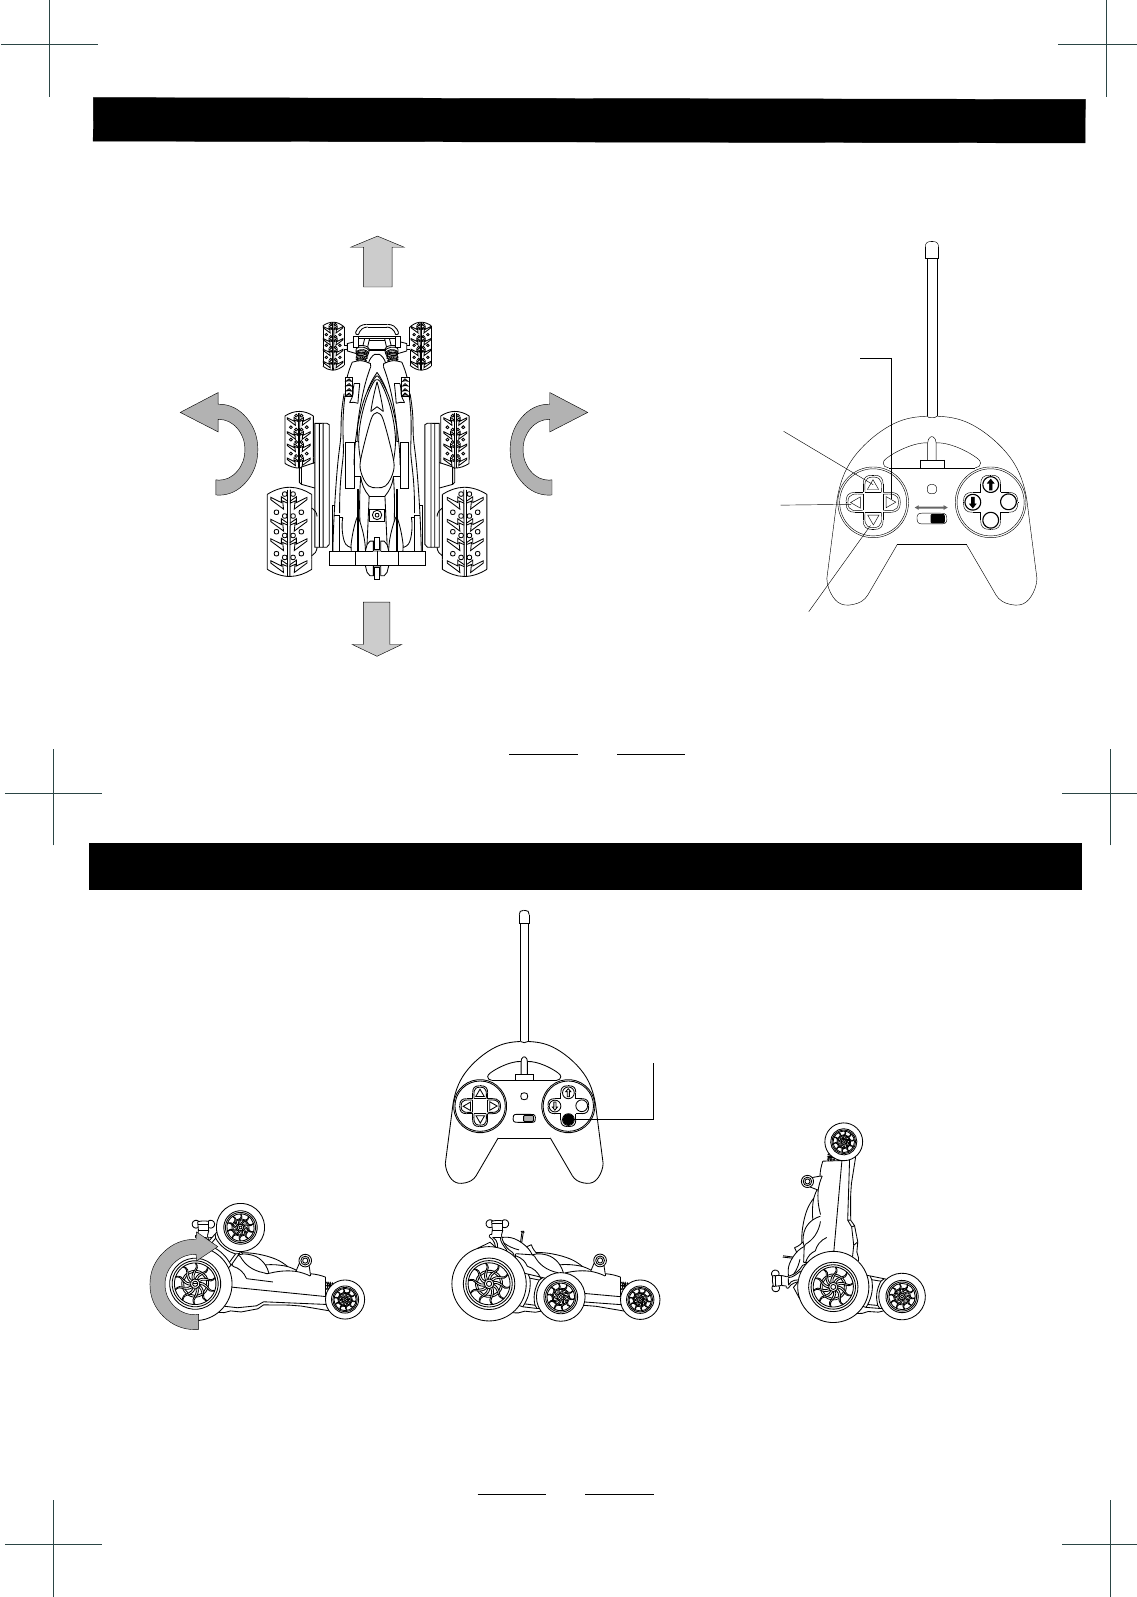
OFF ON
Turn Right
Forward Button
Turn Left
Backward Button
Left-Turn Right-Turn
Backward
Forward
10
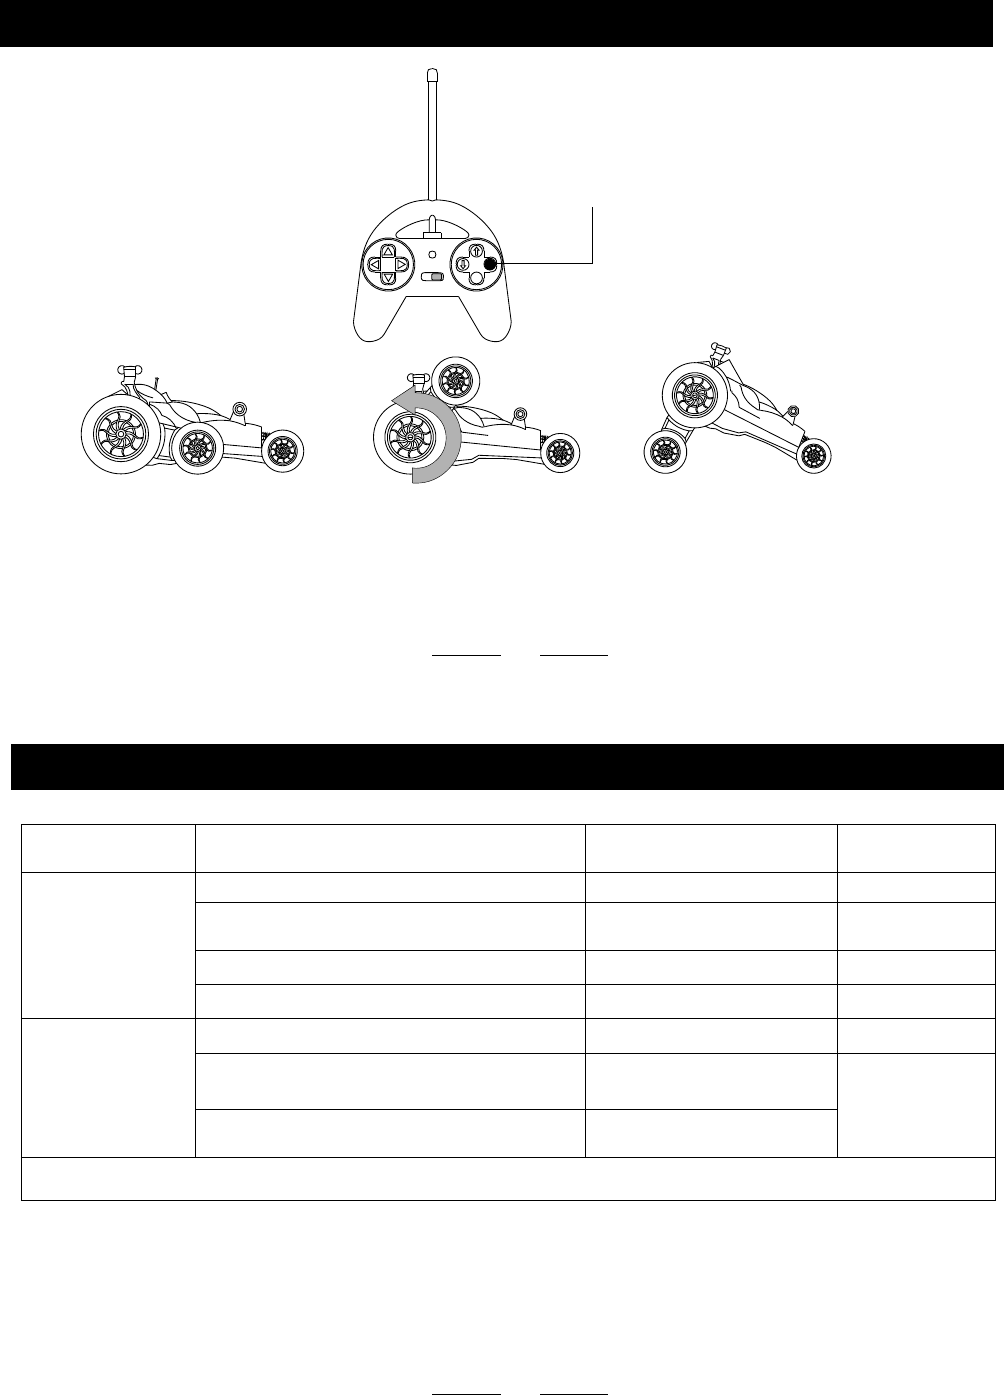
Skills of OperationSkills of Operation
Arm Turning
Clockwise
NOTE:
1.Do not tur n imper ativel y the hind whee l-arm when car is in static to avoi d any dam age .
2.Do not hol d back when the hi nd whee l arm is tur ni ng to avoi d any dam age .
11
Skills of OperationSkills of Operation
NOTE:
1.Do not turn imper ativel y the for e whee l-arm when car is in st at ic to avoi d any dam age .
2.Do not hol d back when the fore whee l arm is tur ni ng to avoi d any dam age .
Arm Turning
Anti-clockwise
Analysis of BreakdownsAnalysis of Breakdowns
Relevant Page
Remarks: Eli min ate all above reasons before sending for repair.
Out of Control
Reload the battery
Reinstall the battery
Change for new battery
Recharge
Change for new battery
Conditions of
the car
Stop Working or
Working Slowly
Ways for Inspection &
Adjustment
Possible Reasons
No battery in the remote controller or the car
incorrect instahllation of the battery of
remote controller
Low battery of the remote controller
Low battery of the car
Low battery of the remote controller
Interfered by electric wave
7
6
6
6
6&7
Maintenance:
Readjust the toy car before sending for repair, because the breakdown is largely caused by low battery.
Interference by same frequency
car used nearby
Change for new place or
wait for a few seconds
Change for new place or
wait for a few seconds
1. During its playing the toy should be avoid any man-made destroy of hitting, pressing, pricking,
dropping etc.
2. Out of using the battery should be taken out. The toy should be placed in dry or toy cabinet after
wipping.
3. Stop using the toy immediately in case any broken. Keep it away from the flammablematerials.
12