Microsoft NPM-10 Dual band, single-mode cellular phone User Manual 3595 issue1 wip
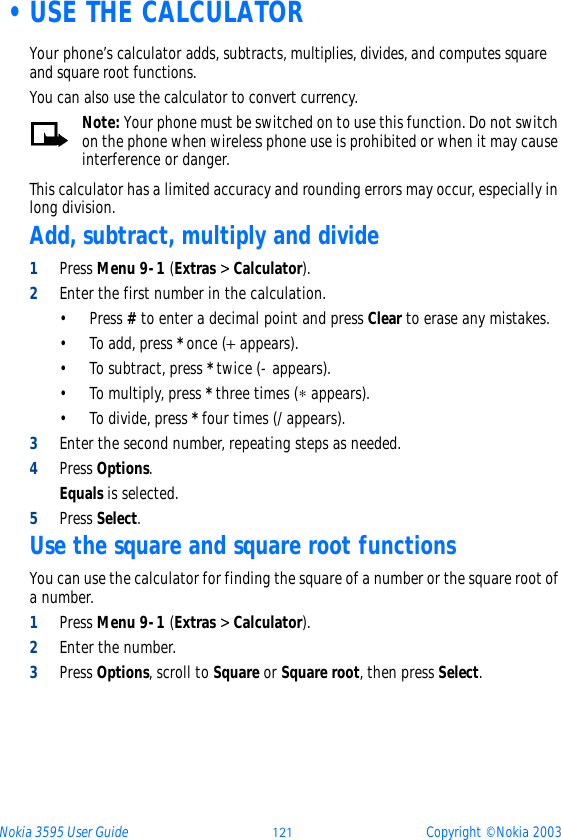
Microsoft Mobile Oy Dual band, single-mode cellular phone 3595 issue1 wip
UserManual.wiki
>
Microsoft
>
NPM-10 User Manual
>
Manual
Contents
1.
Manual
2.
Users Manual
Manual
Navigation menu
Upload a User Manual
Namespaces
Wiki Guide
HTML
PDF
Info
Views
User Manual
Discussion / Help
Navigation
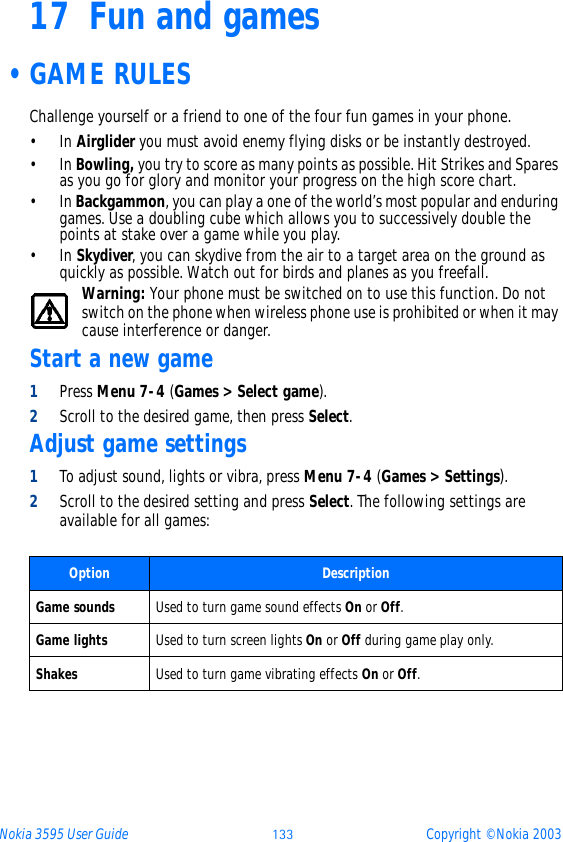
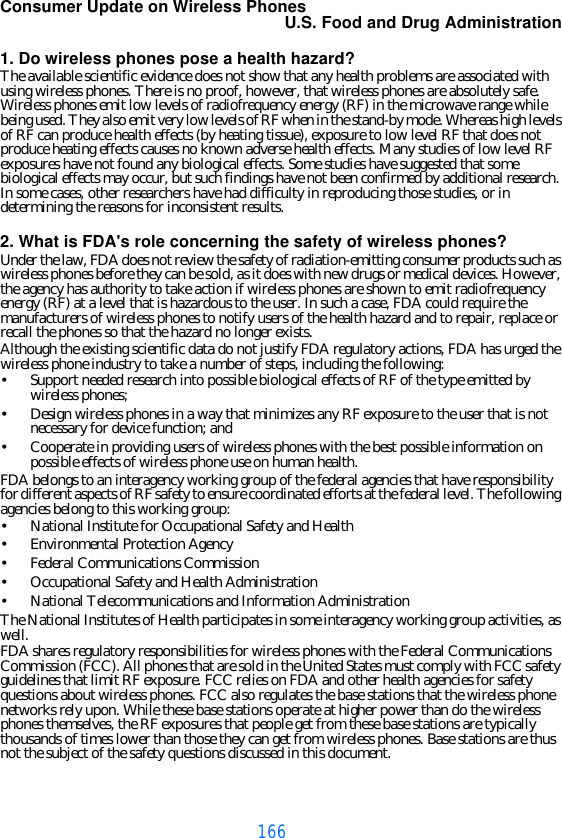
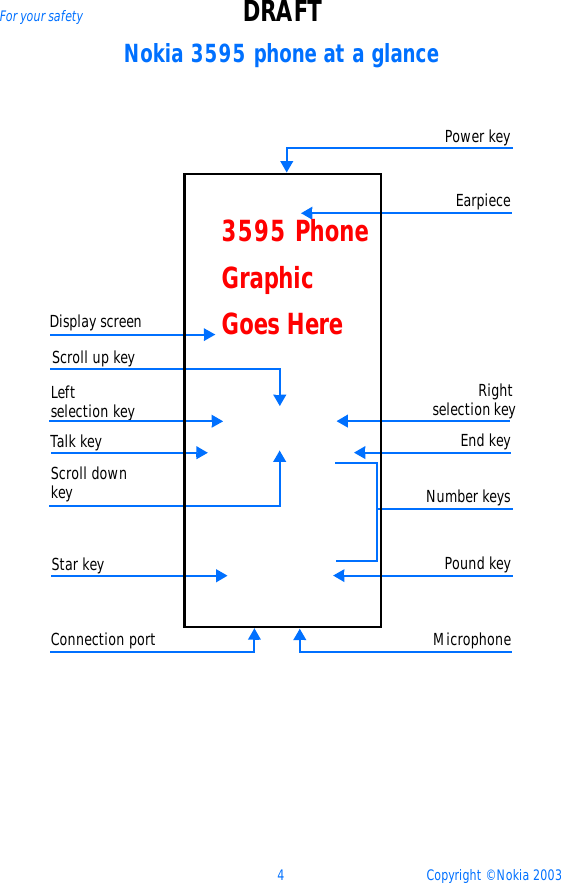
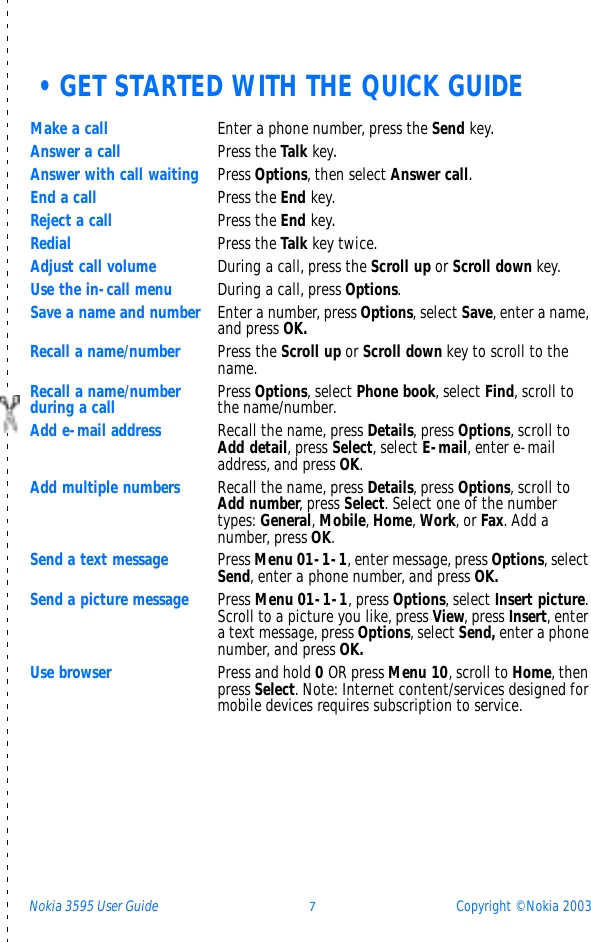
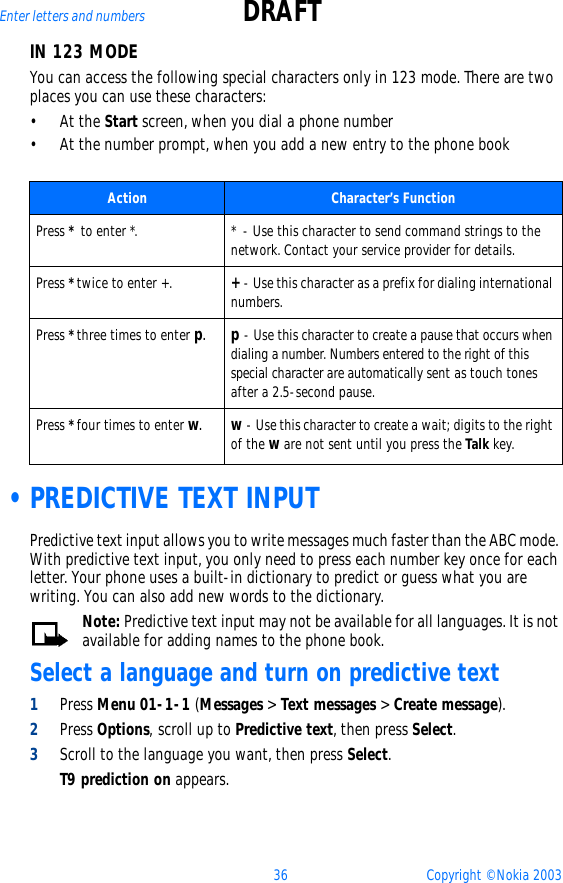
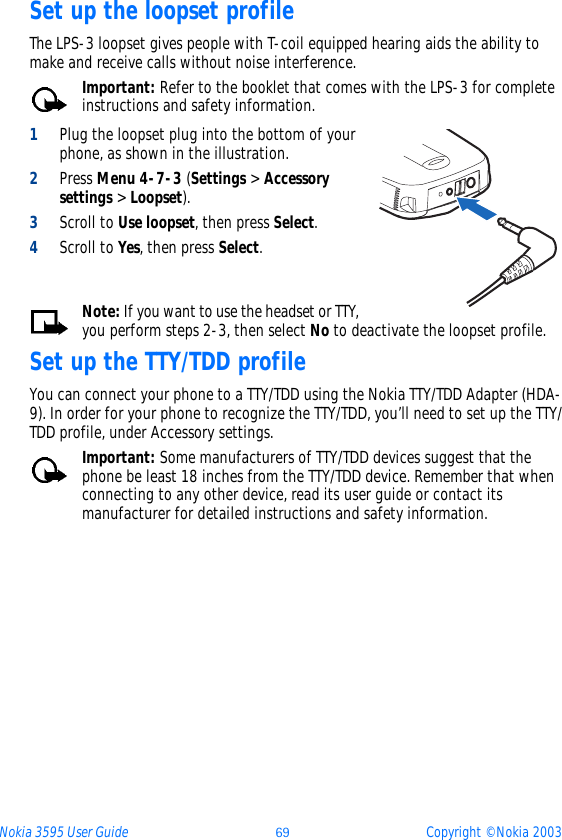
![[ i ]User Guide Draft forNokia 3595 Phone What information is needed? Numbers Where is the number?My number Wireless service providerVoice mail number Wireless service providerWireless provider’s number Wireless service providerProvider’s customer care Wireless service providerModel number 3595Label on back of phone (under battery). See “Remove the battery” on page 16.Phone type NPM-10 Label on back of phone (under battery).Electronic serial number (ESN) Label on back of phone (under battery).](https://usermanual.wiki/Microsoft/NPM-10.Manual/User-Guide-310383-Page-1.png)
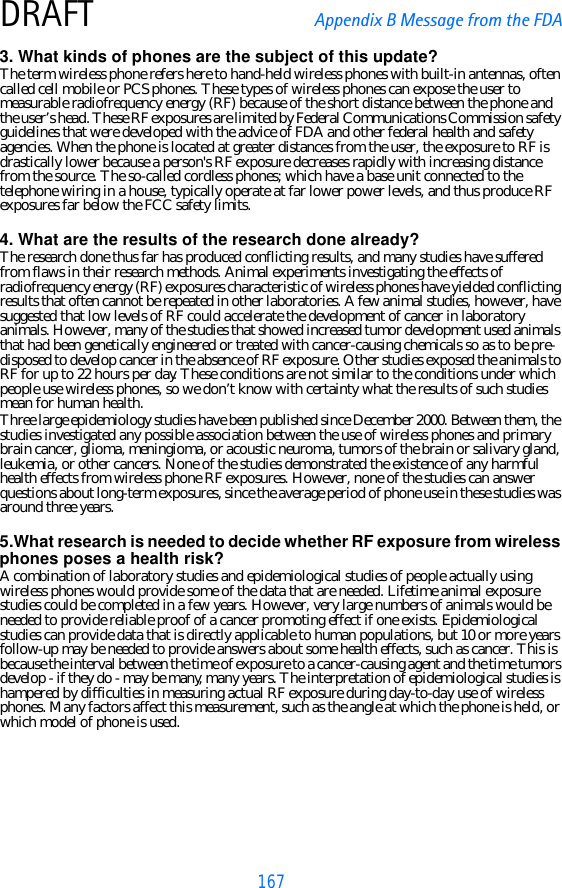
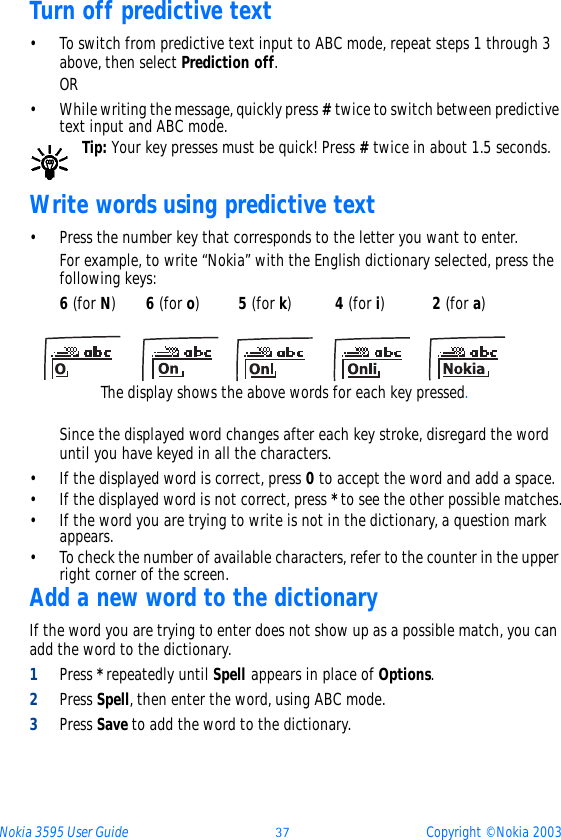
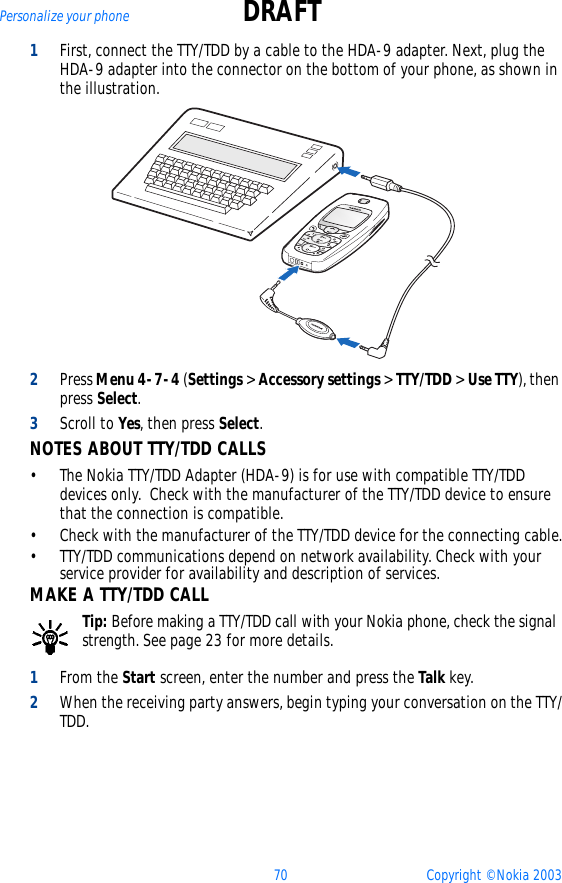
![[ ii ]The wireless phone described in this guide is approved for use in GSM networks.LEGAL INFORMATIONPart No. 9355727, Issue No. 1Copyright ©2003 Nokia. All rights reserved.Nokia, Nokia Connecting People, Airglider, Bowling, Backgammon, Skydiver, Nokia 3595, Xpress-On, and the Nokia Original Accessories logos are trademarks or registered trademarks of Nokia Corporation. All other product and company names mentioned herein may be trademarks or tradenames of their respective owners. Printed in Canada 03/2003US Patent No 5818437 and other pending patents.T9 text input software Copyright ©1999-2002. Tegic Communications, Inc. All rights reserved.Includes RSA BSAFE cryptographic or security protocol software from RSA Security.Java is a trademark of Sun Microsystems, Inc.The information in this user guide was written for the Nokia 3595 phone. Nokia operates a policy of ongoing development. Nokia reserves the right to make changes and improvements to any of the products described in this document without prior notice.UNDER NO CIRCUMSTANCES SHALL NOKIA BE RESPONSIBLE FOR ANY LOSS OF DATA OR INCOME OR ANY SPECIAL, INCIDENTAL, AND CONSEQUENTIAL OR INDIRECT DAMAGES HOWSOEVER CAUSED.THE CONTENTS OF THIS DOCUMENT ARE PROVIDED “AS IS.” EXCEPT AS REQUIRED BY APPLICABLE LAW, NO WARRANTIES OF ANY KIND, EITHER EXPRESS OR IMPLIED, INCLUDING, BUT NOT LIMITED TO, THE IMPLIED WARRANTIES OF MERCHANTABILITY AND FITNESS FOR A PARTICULAR PURPOSE, ARE MADE IN RELATION TO THE ACCURACY AND RELIABILITY OR CONTENTS OF THIS DOCUMENT. NOKIA RESERVES THE RIGHT TO REVISE THIS DOCUMENT OR WITHDRAW IT AT ANY TIME WITHOUT PRIOR NOTICE.EXPORT CONTROLSThis product contains commodities, technology or software exported from the United States in accordance with the Export Administration regulations. Diversion contrary to U.S. law is prohibited.FCC/INDUSTRY CANADA NOTICEYour phone may cause TV or radio interference (for example, when using a telephone in close proximity to receiving equipment). The FCC or Industry Canada can require you to stop using your telephone if such interference cannot be eliminated. If you require assistance, contact your local service facility. This device complies with part 15 of the FCC rules. Operation is subject to the condition that this device does not cause harmful interference.The term “IC:” before the certification/registration number only signifies that Industry Canada technical specifications were met.](https://usermanual.wiki/Microsoft/NPM-10.Manual/User-Guide-310383-Page-2.png)

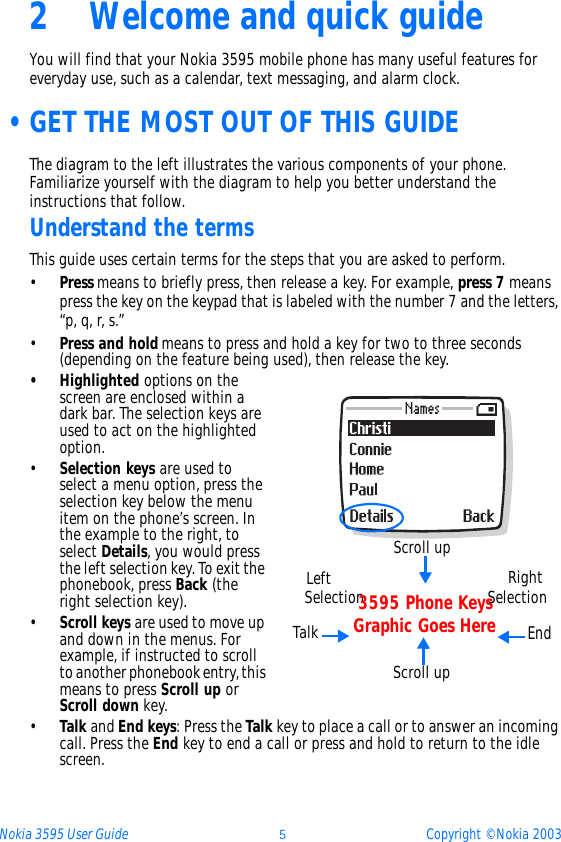
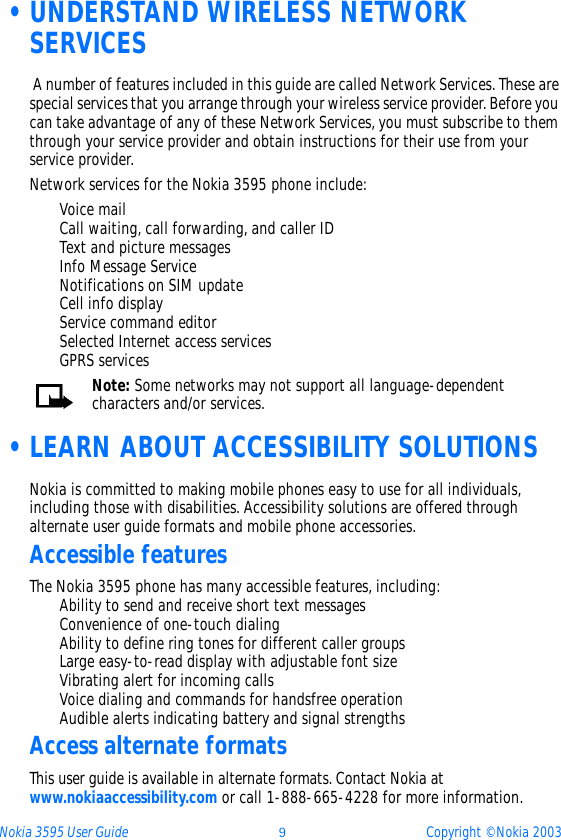
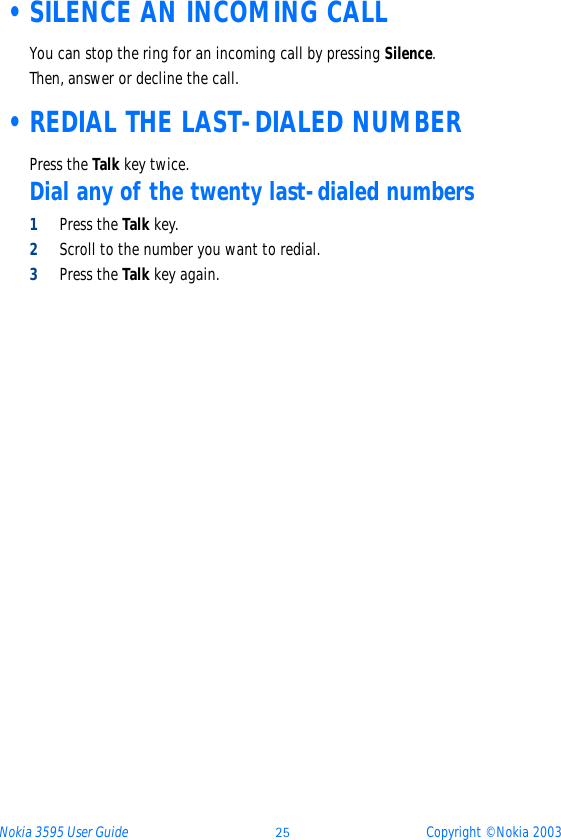
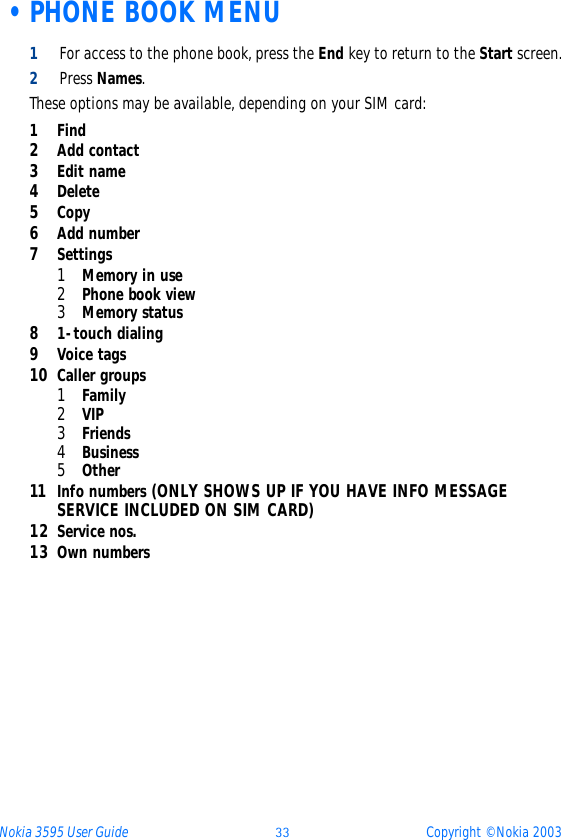
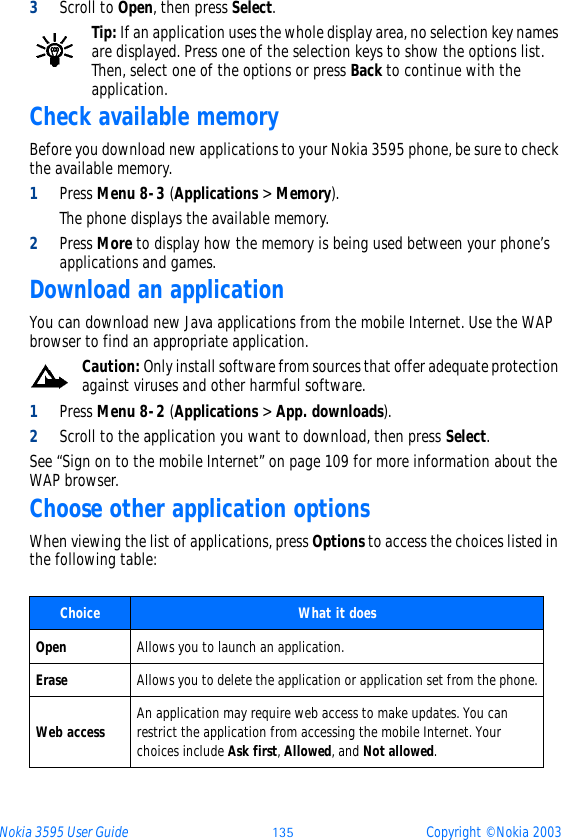
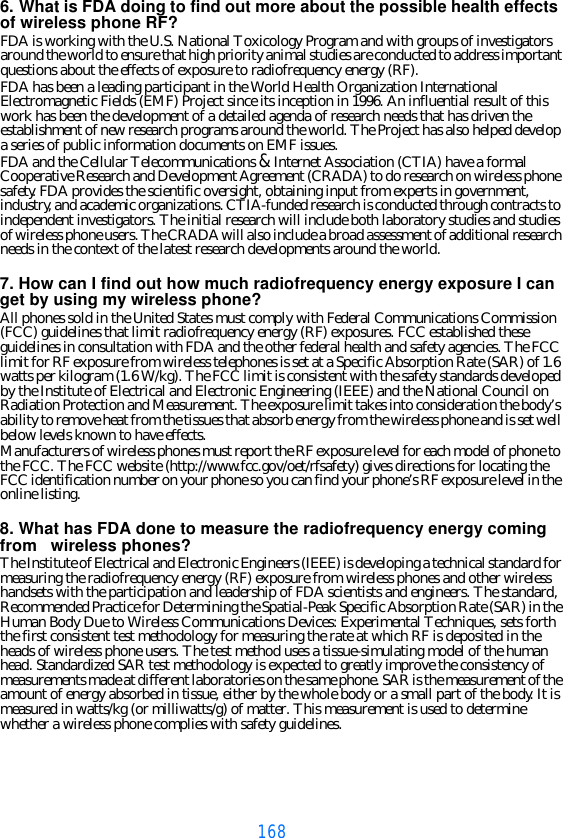
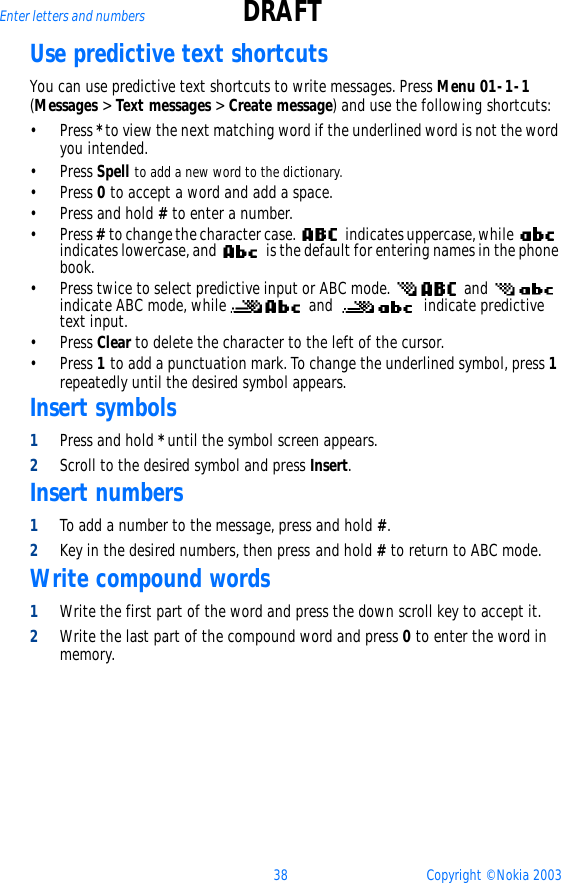
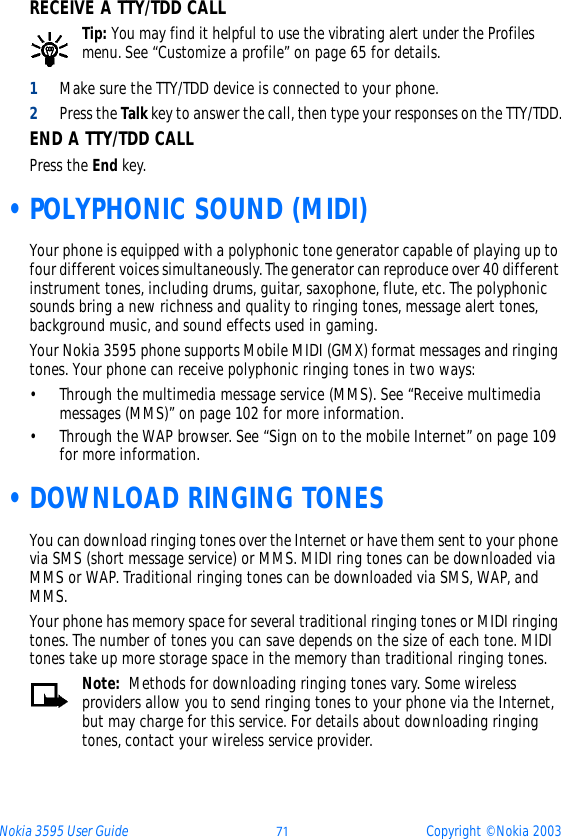
![Nokia 3595 User Guide þý Copyright © Nokia 2003Enter spaces and punctuation• To enter a space, press 0 once.• To enter punctuation, press 1 repeatedly until the character you want appears.Erase mistakesIf you make a mistake:•Press Clear to erase each character.• Press and hold Clear to erase the entire field of characters.Change letter caseTo switch between uppercase and lowercase letters, press #.The ABC icon switches to abc, showing you are using lowercase letters.Enter numbersTo enter numbers:• Press and hold # to switch to 123 mode. Press the appropriate number key to enter a number. OR• While in ABC mode, press and hold the corresponding number key until the number appears.If you make a mistake:•Press Clear to erase the number. • To switch back to the ABC mode, press and hold # again.Use special characters IN ABC MODE1Press #. A screen appears with the following special characters: . , ‘ ? ! “ - ( ) @ / : _ ; + & % * = < > £ $ ¥ ¤ [ ] { } \ ~ ˆ ¡ ¿ § 2Use scroll keys to select the character you want, then press Insert. ÿ](https://usermanual.wiki/Microsoft/NPM-10.Manual/User-Guide-310383-Page-41.png)
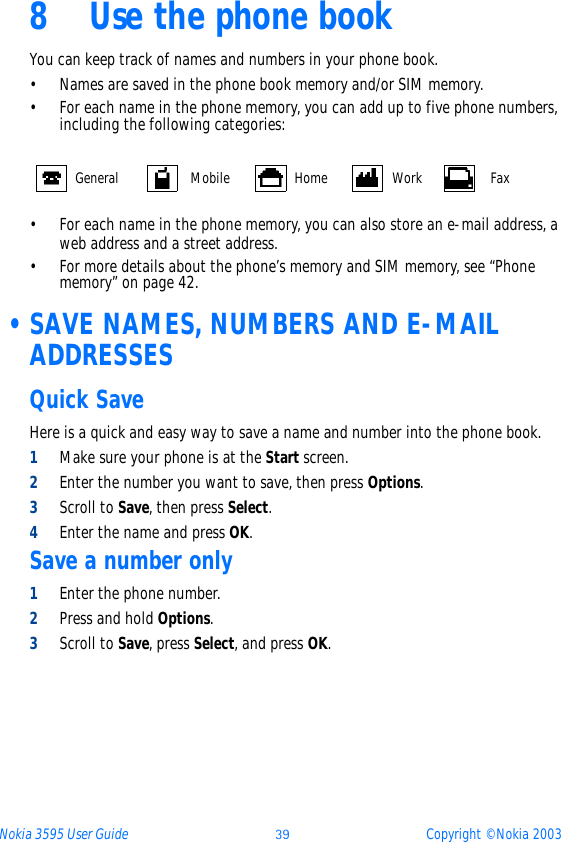

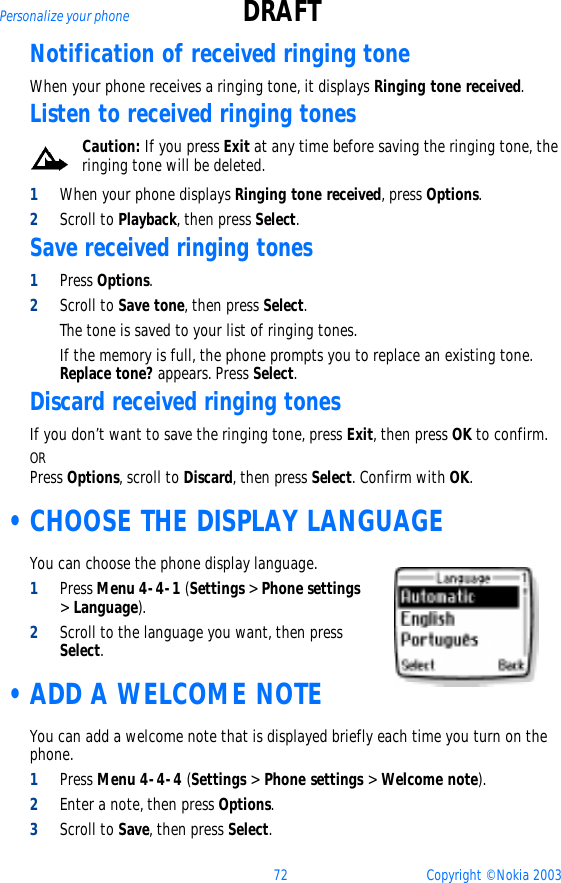

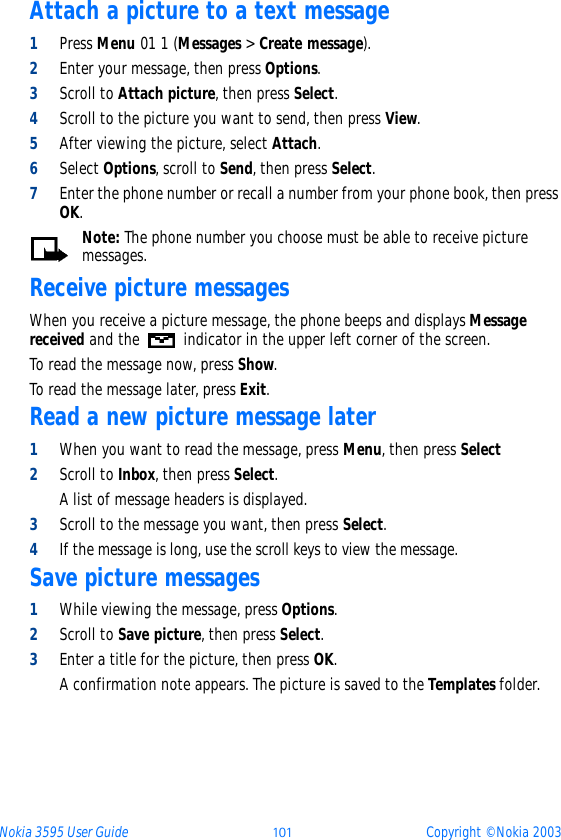

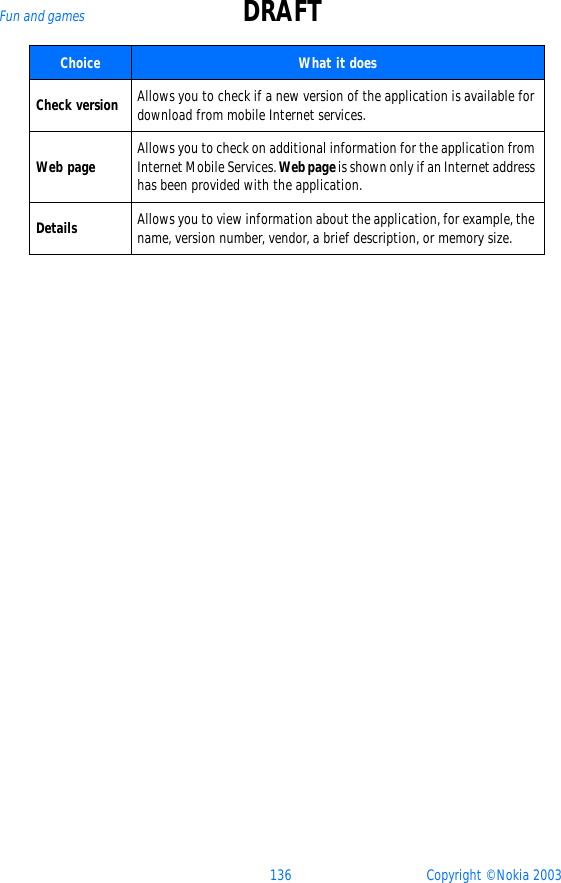
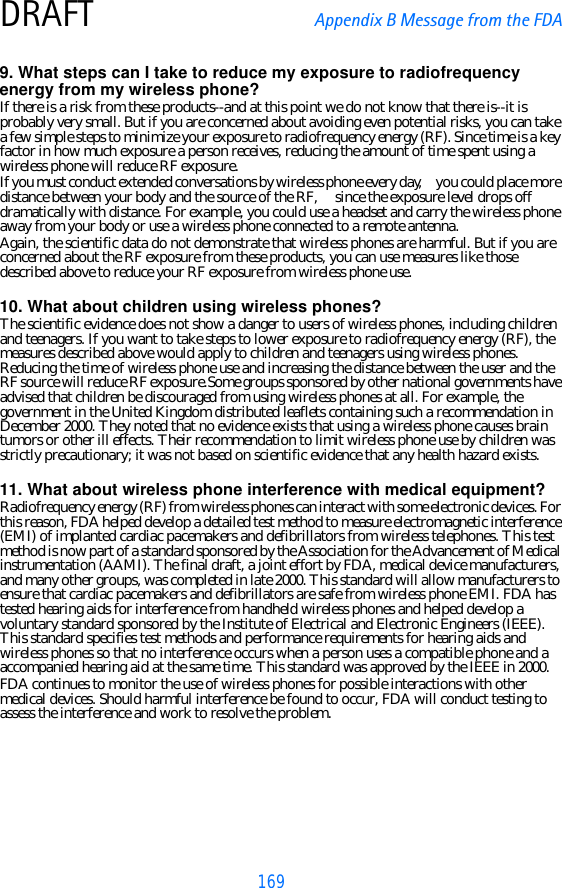
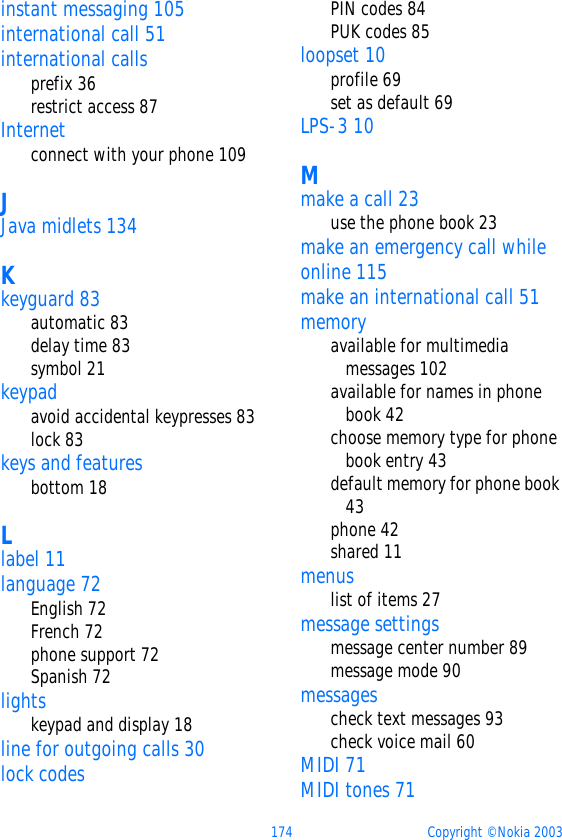
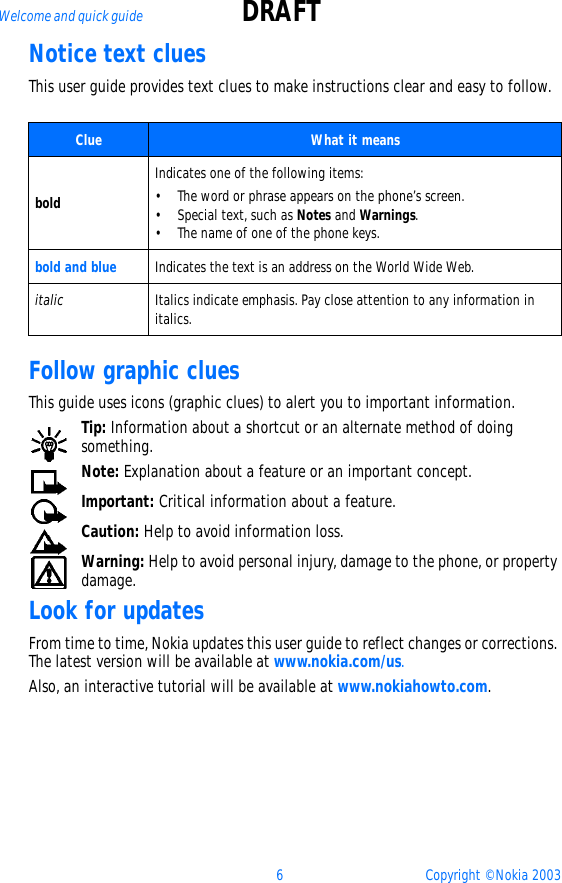
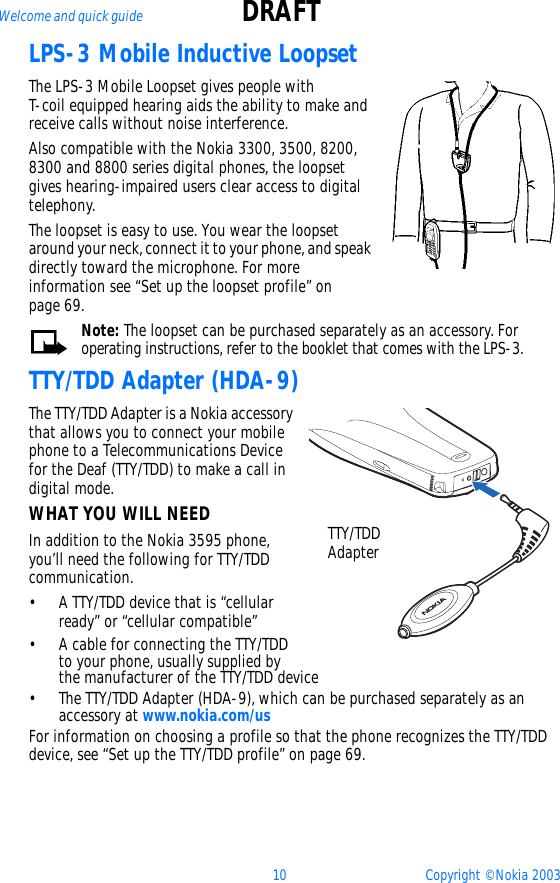
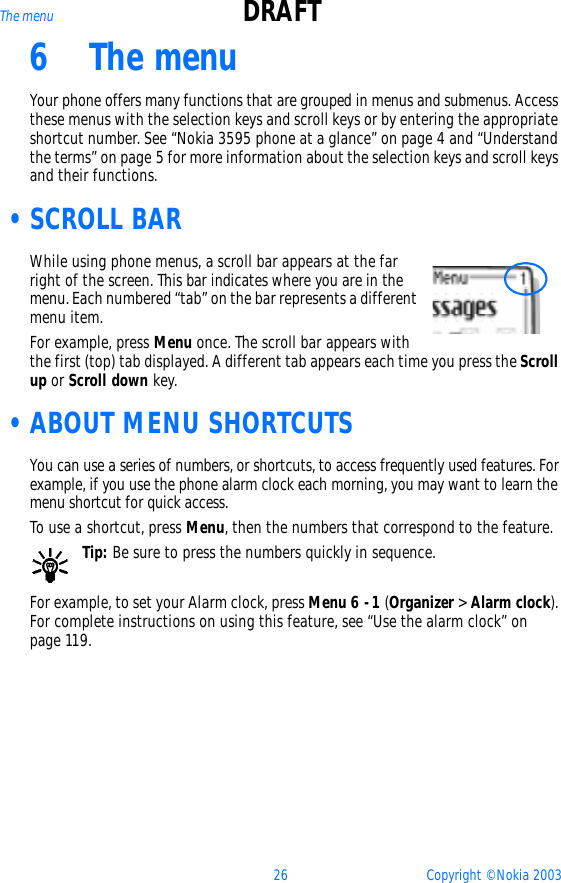
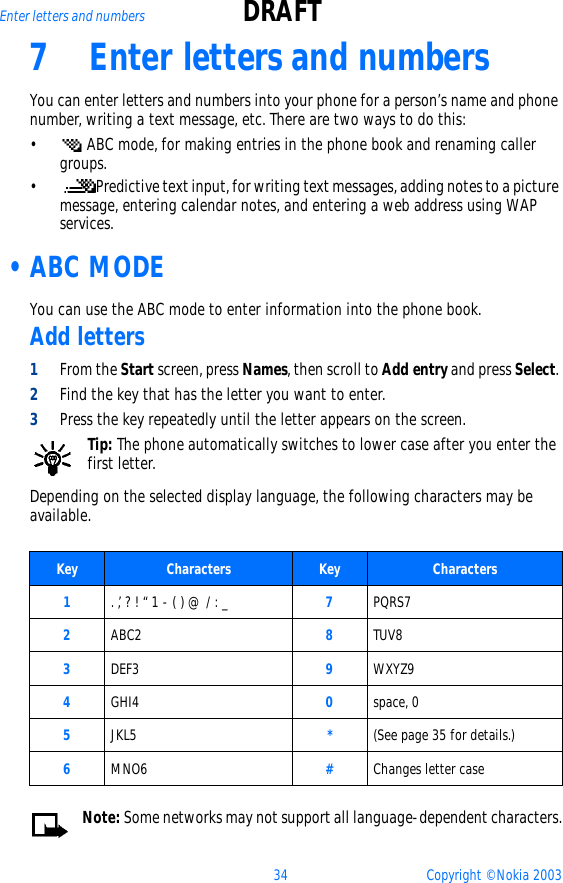
![Nokia 3595 User Guide þþþ Copyright © Nokia 2003Examples of mobile Internet sitesThe following illustrations show most of the elements you may find on a mobile Internet site. These are examples only. 1) Header line: shows the current Internet site.2) Inactive link: appears as an underlined word.3) Active link: appears as a highlighted word.Use the Scroll up and Scroll down keys to scroll through the list of links.1) Selection list: Brackets [ ] appear when you have the option to enter information. 2) Options: Press Options to go to the site’s menu and/or browser page.3) Back: Press Back to return to the previous page.Data entry field: Brackets [ ] around three dots appear when you need to enter information. In this example, you can enter your zip code to receive the local weather forecast. •USE BOOKMARKSYou can save addresses for your favorite sites as bookmarks. A bookmark helps you find a site again, just as a slip of paper helps you find a page in a book.Set a bookmarkYou can add up to 50 bookmarks.1Press Menu 10-2 (Services > Bookmarks), then press Options.2Scroll to New bookmark, then press Select.3Enter address, then press OK.4Enter a title, then press OK.1)2)3)1)2) 3)](https://usermanual.wiki/Microsoft/NPM-10.Manual/User-Guide-310383-Page-117.png)


![128 Copyright © Nokia 2003Your personal digital assistant DRAFTWallet time-outIf Wallet is open for longer than 5 minutes without any input (keypresses), the phone prompts you for a response. The words, Close wallet? appear on the display.• To close the wallet, press OK.• To keep the wallet open, press Back.If you don’t respond within five seconds, Wallet closes and the phone returns to the Start screen.Create a wallet cardWallet cards contain data entry fields for shipping, billing, receipt, and credit card information. Once you create a wallet card, you can make online purchases. Your wallet can hold up to 5 card sets.1Press Menu 6-4 (Organizer > Wallet). If the code request is activated, the phone prompts you for the wallet code.2Enter the wallet code and press OK. Scroll to Cards, then press Select.3Scroll to a card set, then select one of the options listed below:Choice What it doesCard info Allows you to enter card holder, type, number, verification value, expiration date (day, month and year).User info Allows you to enter your user name and password.Shipping info Allows you to enter your first, middle and last name, company name, street address 1, street address 2, city, state, zip code, country, phone number, and e-mail address.Billing info Allows you to enter your first, middle and last name, company name, street address 1, street address 2, city, state, zip code, country, phone number and e-mail address.Receipt info Allows you to enter a receipt to phone number and a receipt to e-mail address Copy card Copies the contents of the selected card to one of the other four cards [not in Amadeus proto but in Wallet spec...?]Clear card Allows you to delete the contents of the selected card](https://usermanual.wiki/Microsoft/NPM-10.Manual/User-Guide-310383-Page-134.png)
![132 Copyright © Nokia 2003Your personal digital assistant DRAFTStart the synchronization processDuring the synchronization process, it is not possible to access the database where your data is stored. However, you can cancel the synchronization process by pressing Quit or the End key.Note: It is not possible to place or receive calls, including emergency calls, during synchronization. To place a call, you must cancel the synchronization process.1Press Menu 6-5-2 (Organizer > Synchronize).Synchronize selected data? appears.2Press Yes and the synchronization begins. Once all selected databases have been synchronized, a confirmation notes appears, indicating which databases have been synchronized.3Press OK to return to the Start screen.PasswordAllows you to establish or change your password, which is used to authenticate your user name while connecting with the synchronization server. If you change your password or user name in the phone without also changing them with the synchronization service provider, you will not be able to synchronize your data.Synchronization Server Allows you to enter the name of the synchronization server to which you are connecting to synchronize your data.Copy card Copies the contents of the selected card to one of the other four cards [not in Amadeus proto but in Wallet spec...?]Clear card Allows you to delete the contents of the selected cardRename card Allows you to assign a new name to the selected card. The name cannot be more than 20 characters.Choice What it does](https://usermanual.wiki/Microsoft/NPM-10.Manual/User-Guide-310383-Page-138.png)