Microsoft NPM-6 Wireless GSM Phone User Manual Revised users manual
Microsoft Mobile Oy Wireless GSM Phone Revised users manual
UserManual.wiki
>
Microsoft
>
NPM 6 User Manual
Revised users manual
Navigation menu
Upload a User Manual
Namespaces
Wiki Guide
HTML
PDF
Info
Views
User Manual
Discussion / Help
Navigation

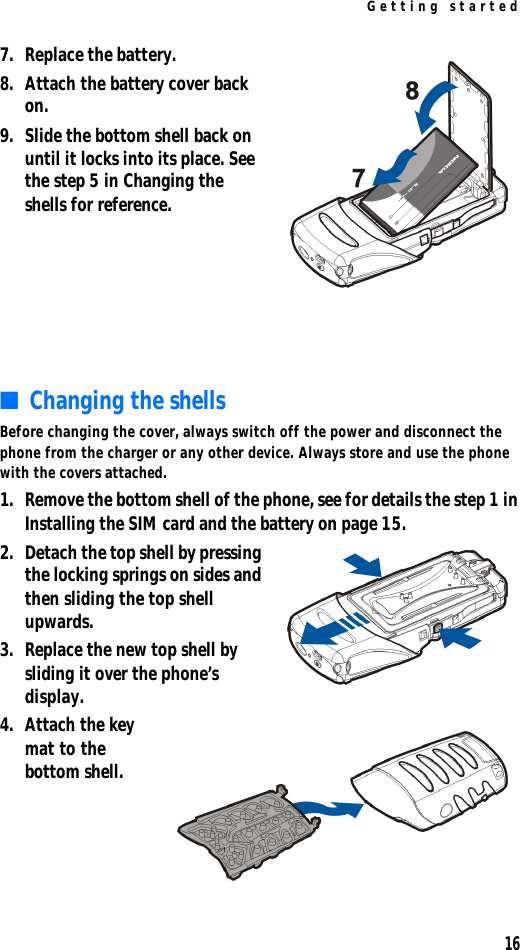

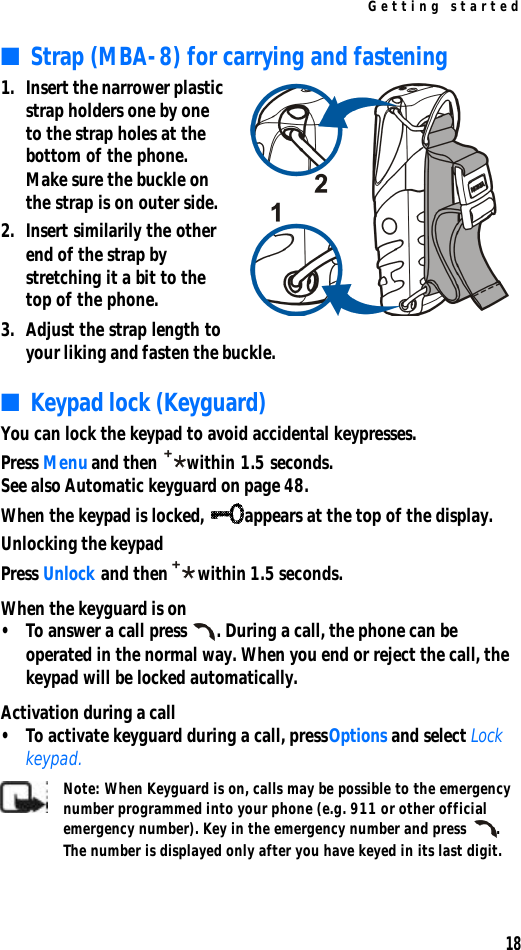


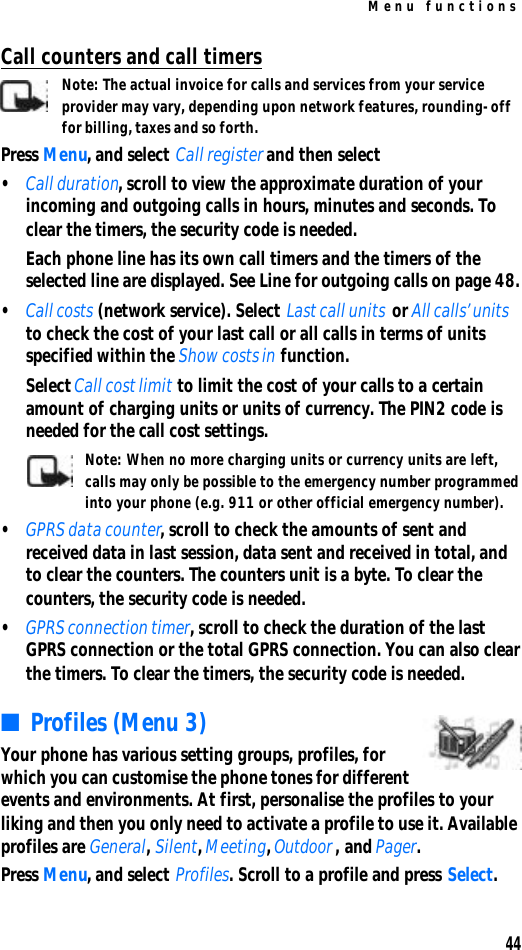


![IMPORTANT SAFETY INFORMATION85To make an emergency call:If the phone is not on, switch it on. Check for adequate signal strength. Some networks may require that a valid SIM card is properly inserted in the phone.1Press [handset down] as many times as needed (for example, to exit a call, to exit a menu, etc.) to clear the display and ready the phone for calls. 2Key in the emergency number for your present location (for example, 911 or other official emergency number). Emergency numbers vary by location.3Press the key.If certain features are in use, you may first need to turn those features off before you can make an emergency call. Consult this user guide and your local cellular service provider.When making an emergency call, remember to give all the necessary information as accurately as possible. Remember that your wireless phone may be the only means of communication at the scene of an accident - do not end the call until given permission to do so.](https://usermanual.wiki/Microsoft/NPM-6/User-Guide-282507-Page-85.png)