Microsoft RH-28 GSM 850/1800/1900 Cellular Telephone w/Bluetooth User Manual Part 1
Microsoft Mobile Oy GSM 850/1800/1900 Cellular Telephone w/Bluetooth Part 1
UserManual.wiki
>
Microsoft
>
RH-28 User Manual
>
Part 1
Contents
1.
Part 1
2.
Part 2
3.
Users Guide 1 of 2
4.
Users Guide 2 of 2
Part 1
Navigation menu
Upload a User Manual
Namespaces
Wiki Guide
HTML
PDF
Info
Views
User Manual
Discussion / Help
Navigation


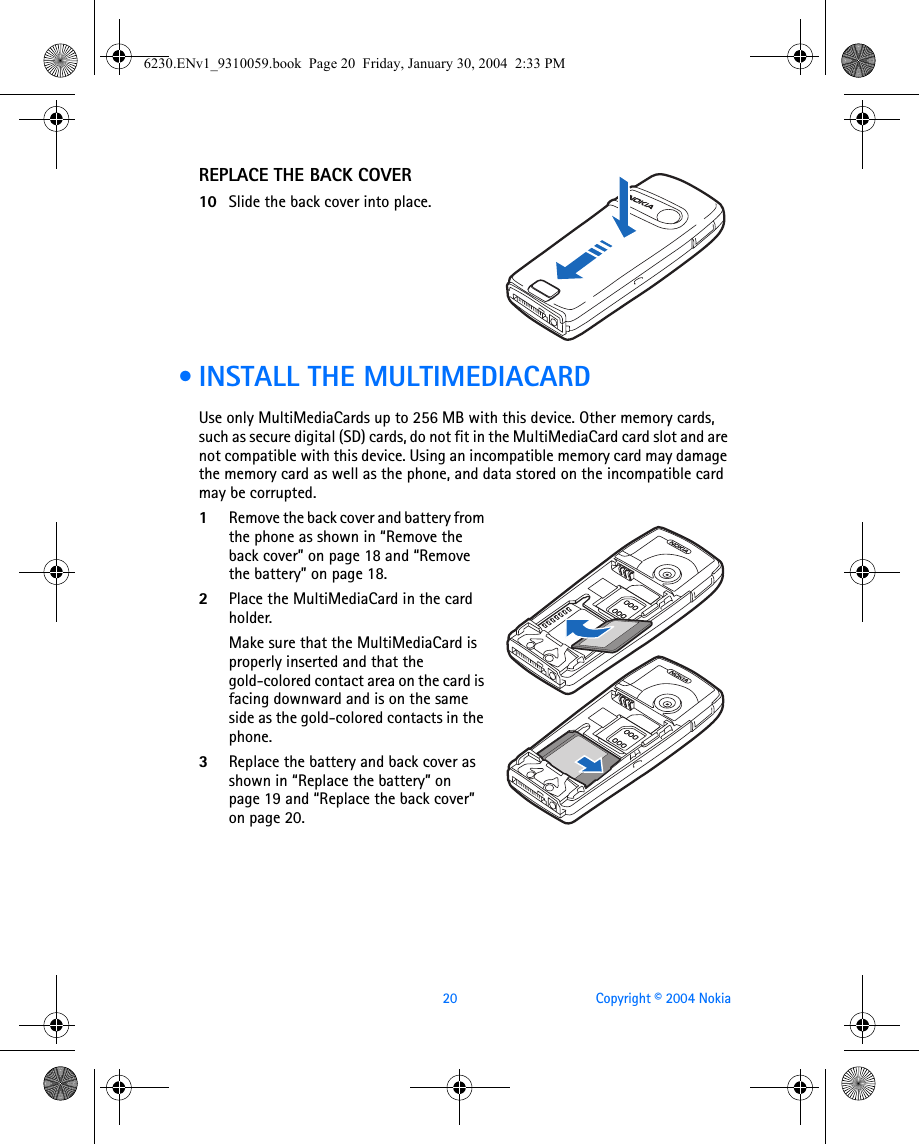
![6 Copyright © 2004 Nokia • POLYPHONIC SOUND (MIDI)Polyphonic sounds can be used in ringing tones, gaming sounds, and message alert tones. They consist of several sound components played at the same time, like an actual melody through a speaker. Your phone has sound components from over 128 instruments and it can play up to 24 instruments at once. The phone supports scalable polyphonic MIDI (SP-MIDI) format.You can receive polyphonic ringing tones using a multimedia service (see “Read and reply” on page 50) or download them using the gallery menu [see “Gallery (Menu 5)” on page 98]. • BROWSERYour phone has a built-in browser you can use to connect to selected services on the mobile Internet. You can view weather reports, check news or flight times, view financial information, and much more. See “Services (Menu 9)” on page 135 for more information.6230.ENv1_9310059.book Page 6 Friday, January 30, 2004 2:33 PM](https://usermanual.wiki/Microsoft/RH-28.Part-1/User-Guide-398603-Page-18.png)