Microsoft RH-37 Triple Band GSM Phone, User Manual 3220 ENv2 9232826
Microsoft Mobile Oy Triple Band GSM Phone, 3220 ENv2 9232826
UserManual.wiki
>
Microsoft
>
RH 37 User Manual
Manual
Navigation menu
Upload a User Manual
Namespaces
Wiki Guide
HTML
PDF
Info
Views
User Manual
Discussion / Help
Navigation


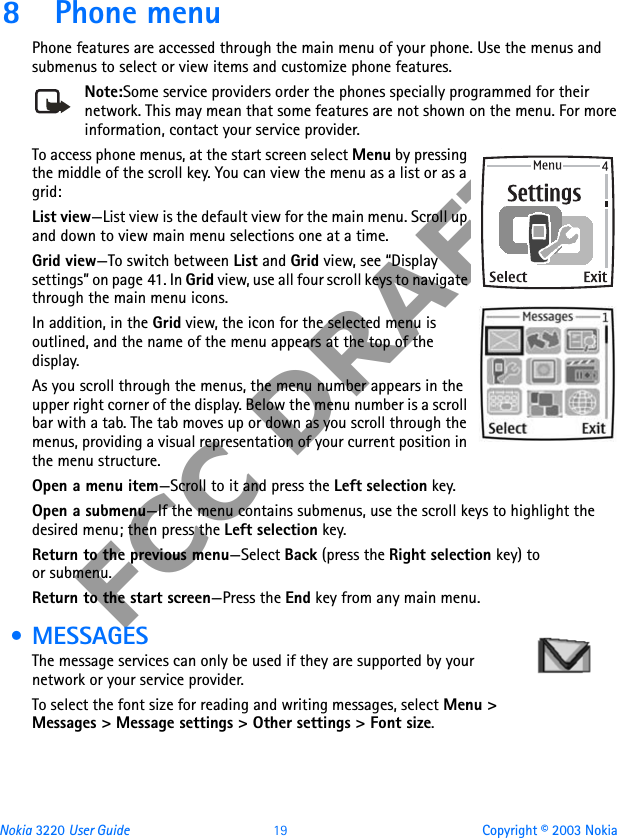
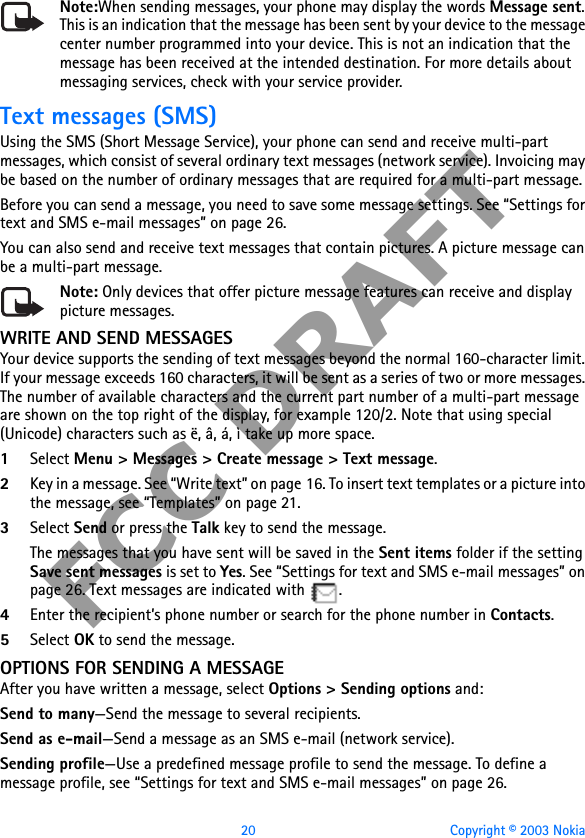
![14 Copyright © 2003 NokiaFCC DRAFT5 Basic operations • SWITCH THE PHONE ON OR OFF1To turn your phone on or off, press and hold the Power key as shown.If the phone displays Insert SIM card even though the SIM card is properly inserted, or SIM card not supported, contact your service provider.2If the phone asks for a PIN code, enter the PIN code (displayed as ****) and select OK.3If the phone asks for a security code, enter the security code and select OK.See “Access codes” on page 18 for more information. • SET THE TIMESelect Menu > Settings > Time and date settings > Clock > Set the time. Enter the time (in hh:mm format), select OK, then select am or pm. • MAKE AND ANSWER CALLS•Use the keypad—Enter the phone number (including the area code), and press the Talk key. To delete a character to the left of the cursor, select Clear. To end the call or to cancel the call attempt, press the End key.•Use contacts—At the start screen, press the Scroll down key to view your contacts, scroll to the entry you want to call, and press the Talk key to make the call.•Redial the last number—At the start screen, press the Talk key twice.•Make an international call—Press the *key twice to enter the international prefix [a plus (+) sign] in place of the international access code. Then enter the country code, the area code without a leading zero (if necessary), and the phone number.•Answer or reject a call—Press the Talk key to answer the call, or press the End key to reject the call. If Forward if busy is activated to your voice mailbox, the call is forwarded to your voice mail. If not, the call is rejected.If you select Silence, only the ringing tone is muted. You can then either answer or reject the incoming call.•Answer a call with the keypad locked—See “Lock the keypad (Keyguard)” on page 18.•1-touch dialing—See “1-touch dialing” on page 38.•Call waiting—See “Call settings” on page 41.](https://usermanual.wiki/Microsoft/RH-37/User-Guide-441208-Page-22.png)