Microsoft RH-47 GSM 850/1900 Cellular Phone with Bluetooth User Manual Aquarius
Microsoft Mobile Oy GSM 850/1900 Cellular Phone with Bluetooth Aquarius
UserManual.wiki
>
Microsoft
>
RH 47 User Manual
Users Manual
Navigation menu
Upload a User Manual
Namespaces
Wiki Guide
HTML
PDF
Info
Views
User Manual
Discussion / Help
Navigation
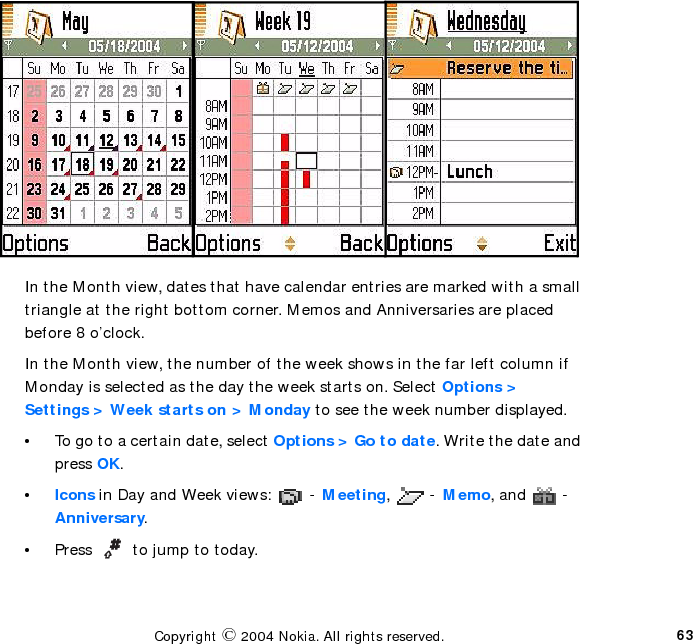
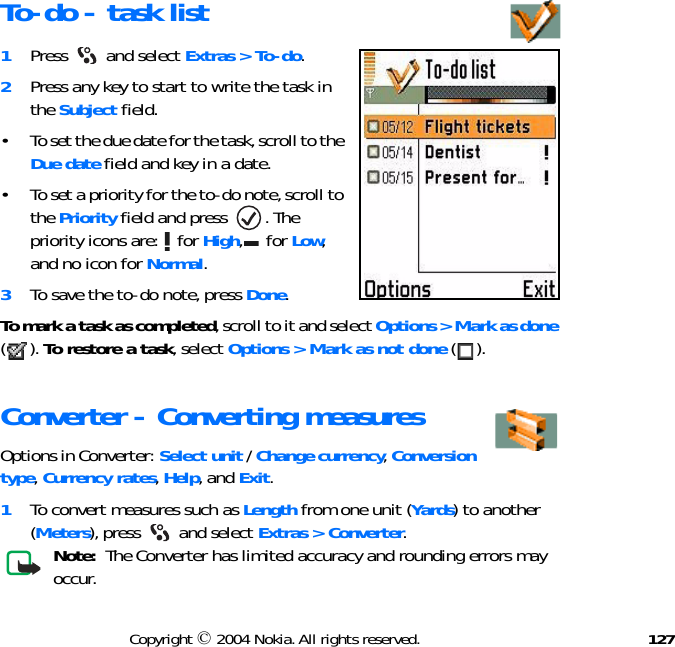
![16Copyright © 2004 Nokia. All rights reserved.BACKUP COPIESRemember to make backup copies of all important data. CONNECTING TO OTHER DEVICESWhen connecting to any other device, read its user guide for detailed safety instructions. Do not connect incompatible products.CALLINGEnsure the device is switched on and in service. Enter the phone number, including the area code, then press . To end a call, press . To answer a call, press [handset up].EMERGENCY CALLSEnsure the device is switched on and in service. Press as many times as needed (for example, to exit a call, to exit a menu) to clear the display. Enter the emergency number, then press . Give your location. Do not end the call until told to do so. Emergency calls cannot be made in Offline mode.HEADPHONESDo not use dual headphones when your attention is required for safety purposes.](https://usermanual.wiki/Microsoft/RH-47/User-Guide-413809-Page-13.png)