Microsoft RM-125 Tri-Mode Dual-Band PCS Phone w/ Bluetooth User Manual Azul
Microsoft Mobile Oy Tri-Mode Dual-Band PCS Phone w/ Bluetooth Azul
UserManual.wiki
>
Microsoft
>
RM 125 User Manual
Manual
Navigation menu
Upload a User Manual
Namespaces
Wiki Guide
HTML
PDF
Info
Views
User Manual
Discussion / Help
Navigation


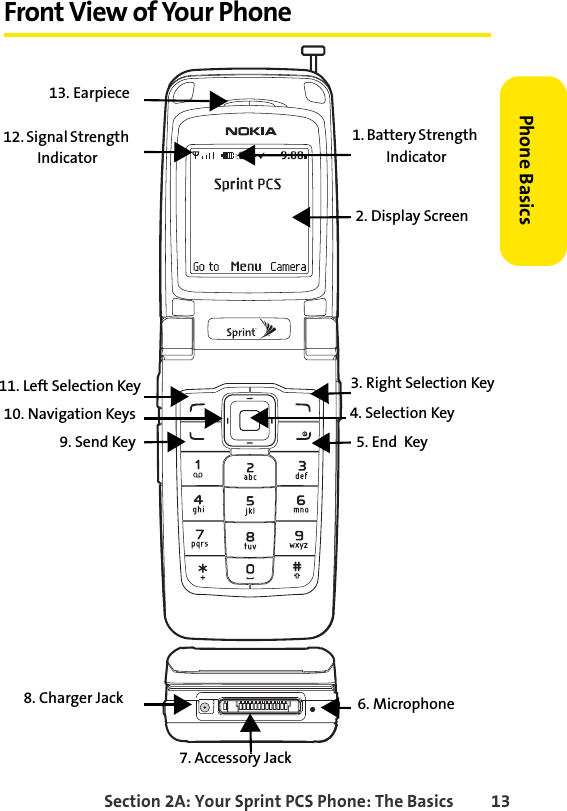
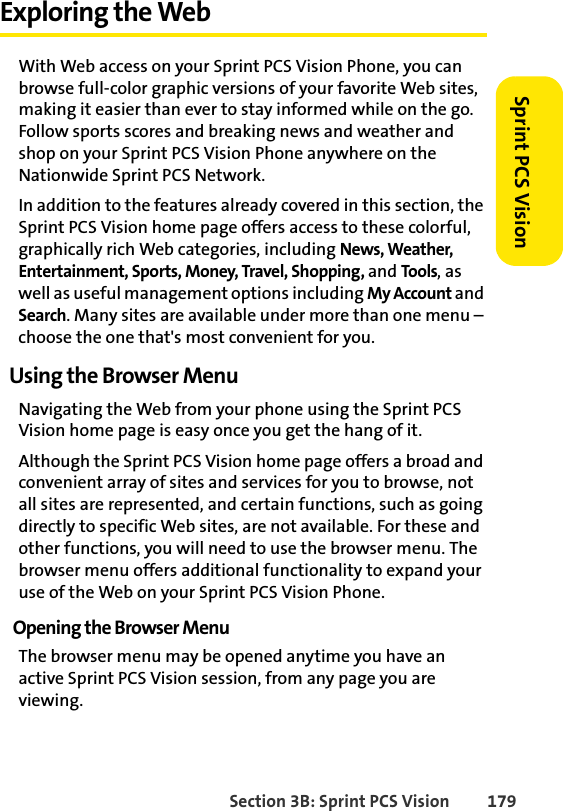
![Section 2A: Your Sprint PCS Phone: The Basics 29Phone BasicsDialing OptionsWhen you enter numbers in standby mode, you will see a variety of dialing options appear as softkeys on the phone’s display screen.To initiate an option, press the corresponding softkey button.vAdd to contact: Adds the number to an existing contact in your Contacts list.vSend Picture Mail: Sends a picture to that number.vSend message: Sends a text message to that number.vCountdown timer: Sets a timer and a reminder.vCall: Dials the phone number.v1-touch Dialing: Enter a number (2-9) and press View to display the entry contained in the 1-touch dialing location you entered (if applicable).vSave: Enter a seven or ten-digit number (phone number and area code) and press to save the phone number in your Contacts.vFind: Enter a digit or string of digits and press Options (left key). Press Search to display Contacts entries that contain the entered numbers.Tip: To 1-touch dial a phone number from standby mode, press and hold the 1-touch dial number. If the 1-touch dial number is two digits, enter the first digit, then press and hold the second digit. (This feature will not work when you are roaming off the Nationwide Sprint PCS Network; when roaming you must dial using eleven digits [1 + the area code + the seven-digit phone number.])](https://usermanual.wiki/Microsoft/RM-125/User-Guide-612498-Page-53.png)


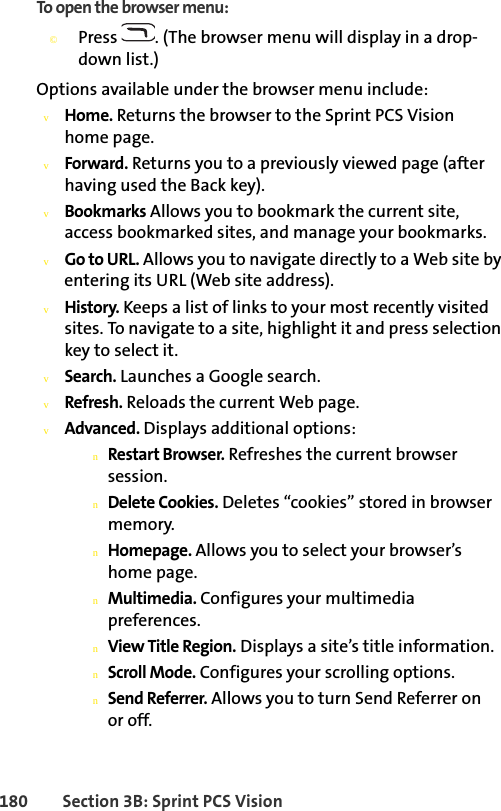
![156 Section 3A: PCS Service FeaturesnTo use a preset message or a smiley, press the right softkey, select Smileys () or Canned Msgs ( ), then highlight your desired message or emoticon and press .4. Review your message and press Send. (You may also select additional messaging options by pressing Options to set the callback number and/or the message priority [Normal or Urgent].)Accessing Text SMS MessagesTo read a Text SMS message:©When you receive a text message, it will automatically appear on your phone’s main display screen. Use your navigation key to scroll down and view the entire message.To reply to a Text SMS message:1. While the message is open, select Reply (left softkey).2. Compose your reply or use the preset messages or icons.nTo type a message, use your keypad to enter your message. Use the right softkey to select a character input mode. (See “Entering Text” on page 37.)nTo use a preset message or a smiley, press the right softkey, select Smileys () or Canned Msgs ( ), highlight your desired message or emoticon, and press .3. Review your reply and press Send. (You may also select additional messaging options by pressing Options to set the callback number and/or the message priority [Normal or Urgent].)](https://usermanual.wiki/Microsoft/RM-125/User-Guide-612498-Page-176.png)
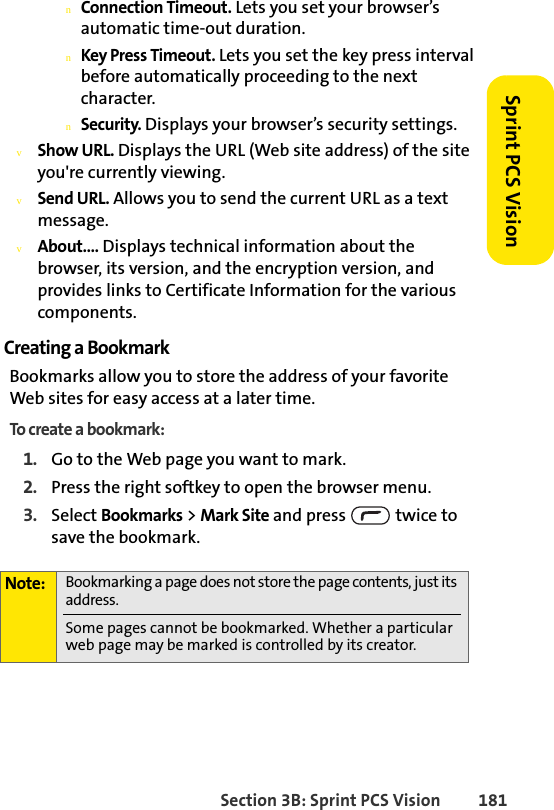
![Section 3A: PCS Service Features 159PCS Service Features4. Press Play (left softkey) to play the message. (To display the message options, press Options [right softkey].)Composing Voice SMS MessagesTo compose a Voice SMS message:1. Select Menu > Messaging > Send Message > Voice SMS.2. Select Mobile or Email to enter a recipient’s wireless phone number or email address directly.3. Select Contacts Entry.4. Select your desired list and press to select the recipient.5. Press Next (left softkey) when you are finished selecting and entering recipients.6. Start recording after the beep. (You can record up to two minutes.)7. To finish recording, press .8. Press Send (left softkey) to send the voice message.Accessing Voice SMS MessagesTo play a Voice SMS message:©When you receive a voice message, a pop-up notification will automatically appear on your phone’s main display screen. Use your softkeys to view and play the voice message.To reply to a Voice SMS message:1. From the Voice SMS inbox, press Reply (left softkey).2. Select Voice SMS.3. Record your reply, then press Send (left softkey).](https://usermanual.wiki/Microsoft/RM-125/User-Guide-612498-Page-179.png)
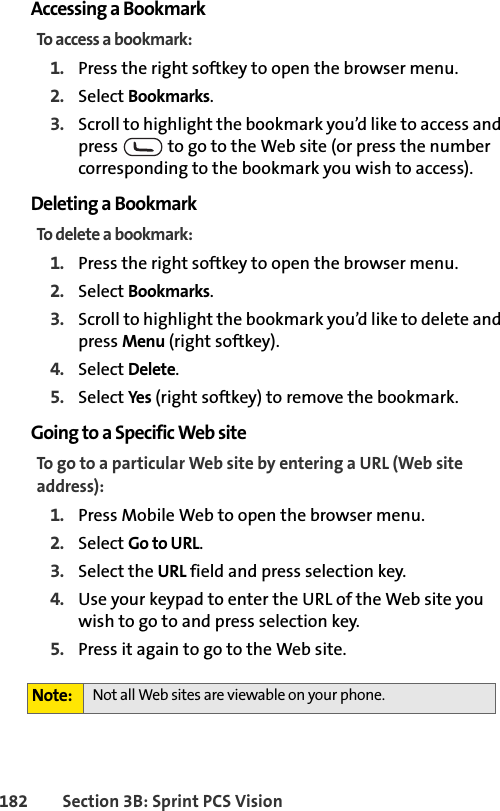
![170 Section 3B: Sprint PCS VisionNavigating the WebNavigating through menus and Web sites during a Sprint PCS Vision session is easy once you've learned a few basics. Here are some tips for getting around:SoftkeysDuring a Sprint PCS Vision session, the bottom line of your phone's display contains one or more softkeys. These keys are shortcut controls for navigating around the Web, and they correspond to the softkey buttons directly below the phone’s display screen.To use softkeys:©Press the desired softkey button. (If an additional pop-up menu appears when you press the softkey button, select the menu items using your keypad [if they’re numbered] or by highlighting the option and pressing selection key.)ScrollingAs with other parts of your phone's menu, you'll have to scroll up and down to see everything on some Web sites.To scroll line by line through Web sites:©Press the navigation key up and down.To scroll page by page through Web sites:©Press the volume buttons on the side of the phone.Tip: Depending on which Web sites you visit, the labels on the softkeys may change to indicate their function.](https://usermanual.wiki/Microsoft/RM-125/User-Guide-612498-Page-190.png)
![178 Section 3B: Sprint PCS VisionDownload screen appears, the item has been successfully downloaded to your phone.)3. Select an option to continue:nSelect Use/Run/View to assign the downloaded item (or to launch, in the case of a game or application). Your Sprint PCS Vision session will end and you will be redirected to the appropriate phone menu screen.nSelect Set as to assign a ringer or screen saver to a phone function.nSelect Settings to configure downloaded games or applications.nSelect Shop to browse for other items to download.nPress 2-3 times to quit the browser and return to standby mode.For complete information and instructions on downloading Games, Ringers, Screen Savers, and Applications, see the Sprint PCS Vision User’s Guide at www.sprint.com.Tip: You can also access My Content Manager through the phone’s main menu. Select Menu > My Content > [Games, Ringers, Screen Savers, or Applications] > My Content Manager. The browser will launch and take you to the corresponding content.](https://usermanual.wiki/Microsoft/RM-125/User-Guide-612498-Page-198.png)