Microsoft RM-142 Dual Band CDMA Phone User Manual V1 6305i Verizon 9242631v1 31Oct05
Microsoft Mobile Oy Dual Band CDMA Phone V1 6305i Verizon 9242631v1 31Oct05
UserManual.wiki
>
Microsoft
>
RM 142 User Manual
Manual
Navigation menu
Upload a User Manual
Namespaces
Wiki Guide
HTML
PDF
Info
Views
User Manual
Discussion / Help
Navigation
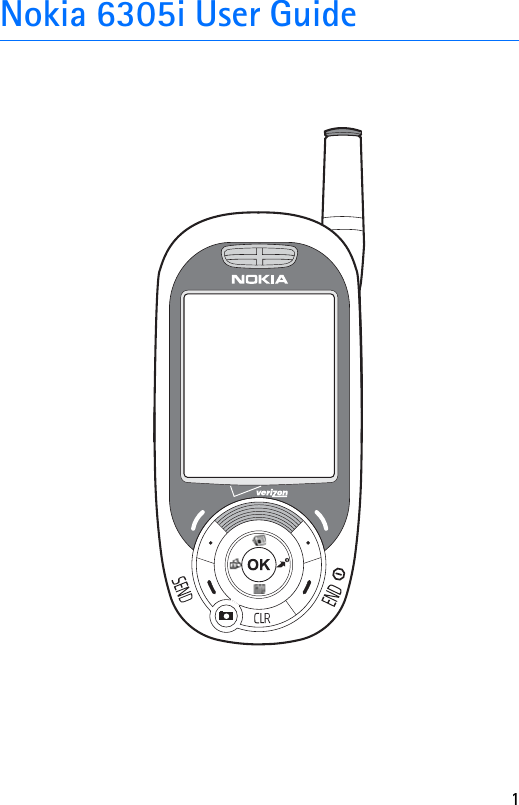


![Set up your phone17Voice recognitionYou can use voice commands to make calls, look up contact information, address messages, open applications, and check the phone status.Note: Using voice recognition may be difficult in a noisy environment or during an emergency, so you should not rely solely upon voice commands in all circumstances.1. Press the voice recognition key. Say a command is announced.2. Say one of the following commands:Call followed by the contact name, location, or number with area code—To dial a contact or number.Send text followed by the contact name or number with area code—To open the TXT message screen.Lookup followed by the contact name—To open a contact file.Go to followed by an application name—To open an application.Check [status]—To display phone coverage, signal strength, and battery level.To adjust voice recognition settings, press the voice recognition key and select Settings. See "Voice services," p. 48.Headphone callsTo answer a call when the headphone is connected, press the send key located on the headphone enhancement or use the send key on your phone. Use the volume key on your headset to adjust call volume.■Answer callsThe following options are available to manage incoming calls.Answer or silence an incoming call• To answer a call, open the slide; or, if the slide is already open, press the send key.• To silence an incoming call, select Quiet.• To forward an incoming call to voicemail, select Ignore.• To end a call press the end key.](https://usermanual.wiki/Microsoft/RM-142/User-Guide-607630-Page-17.png)