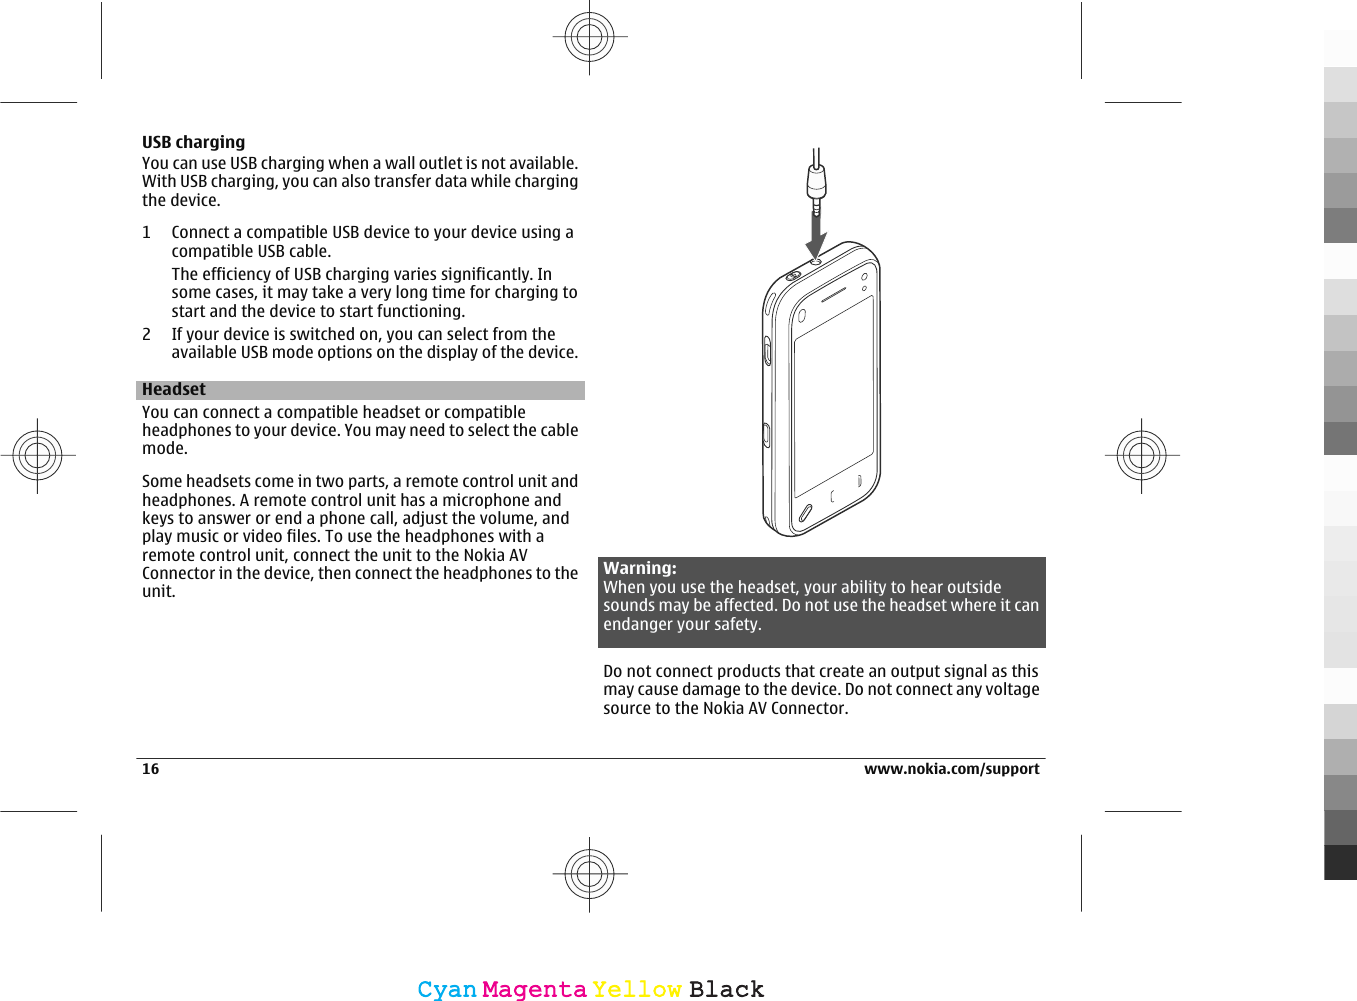
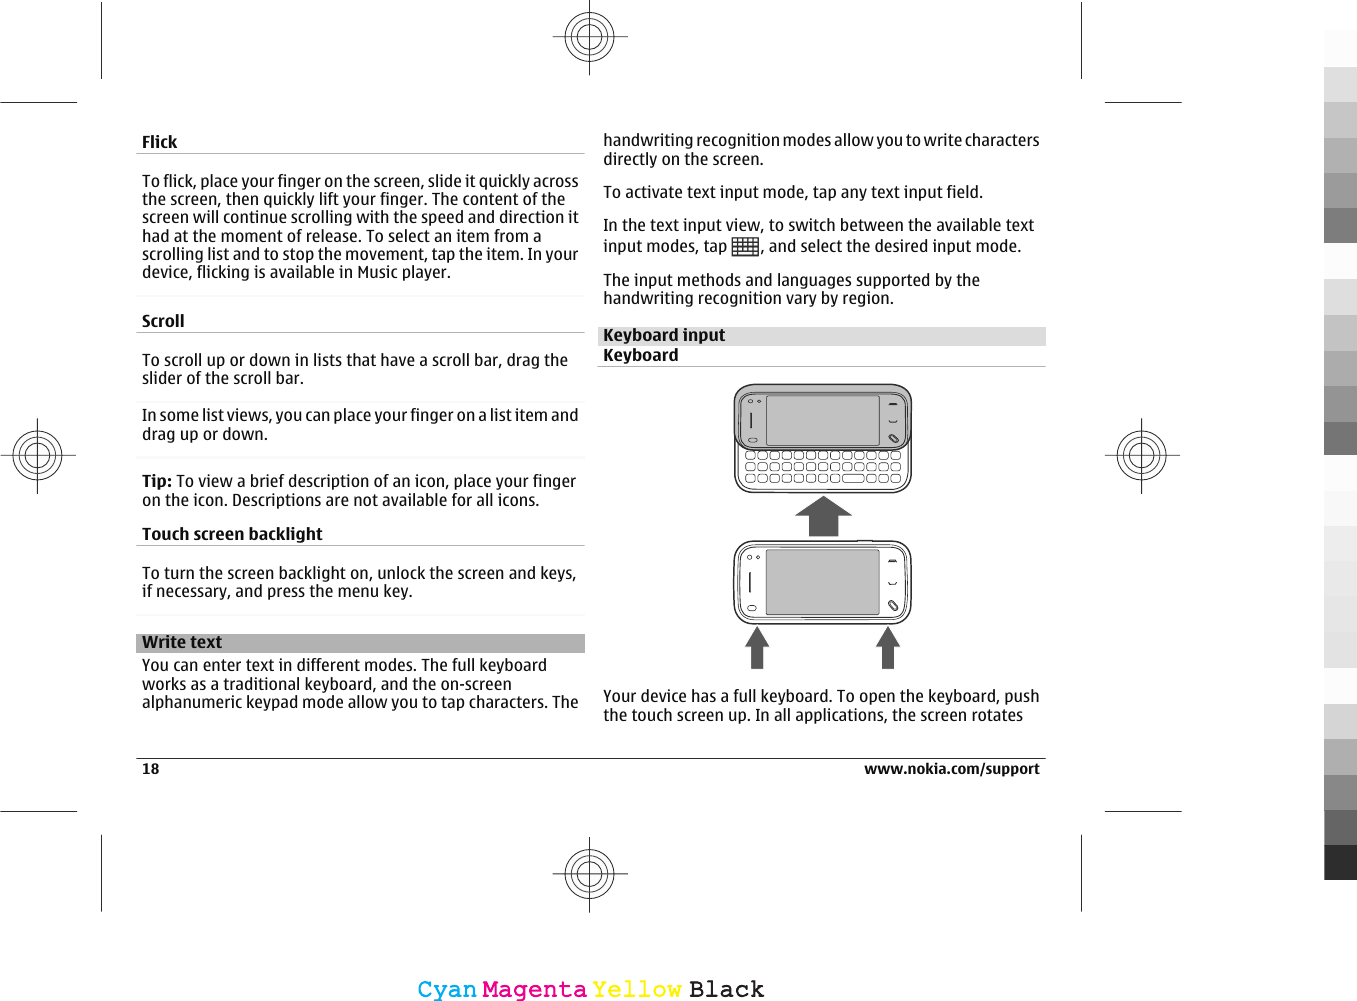
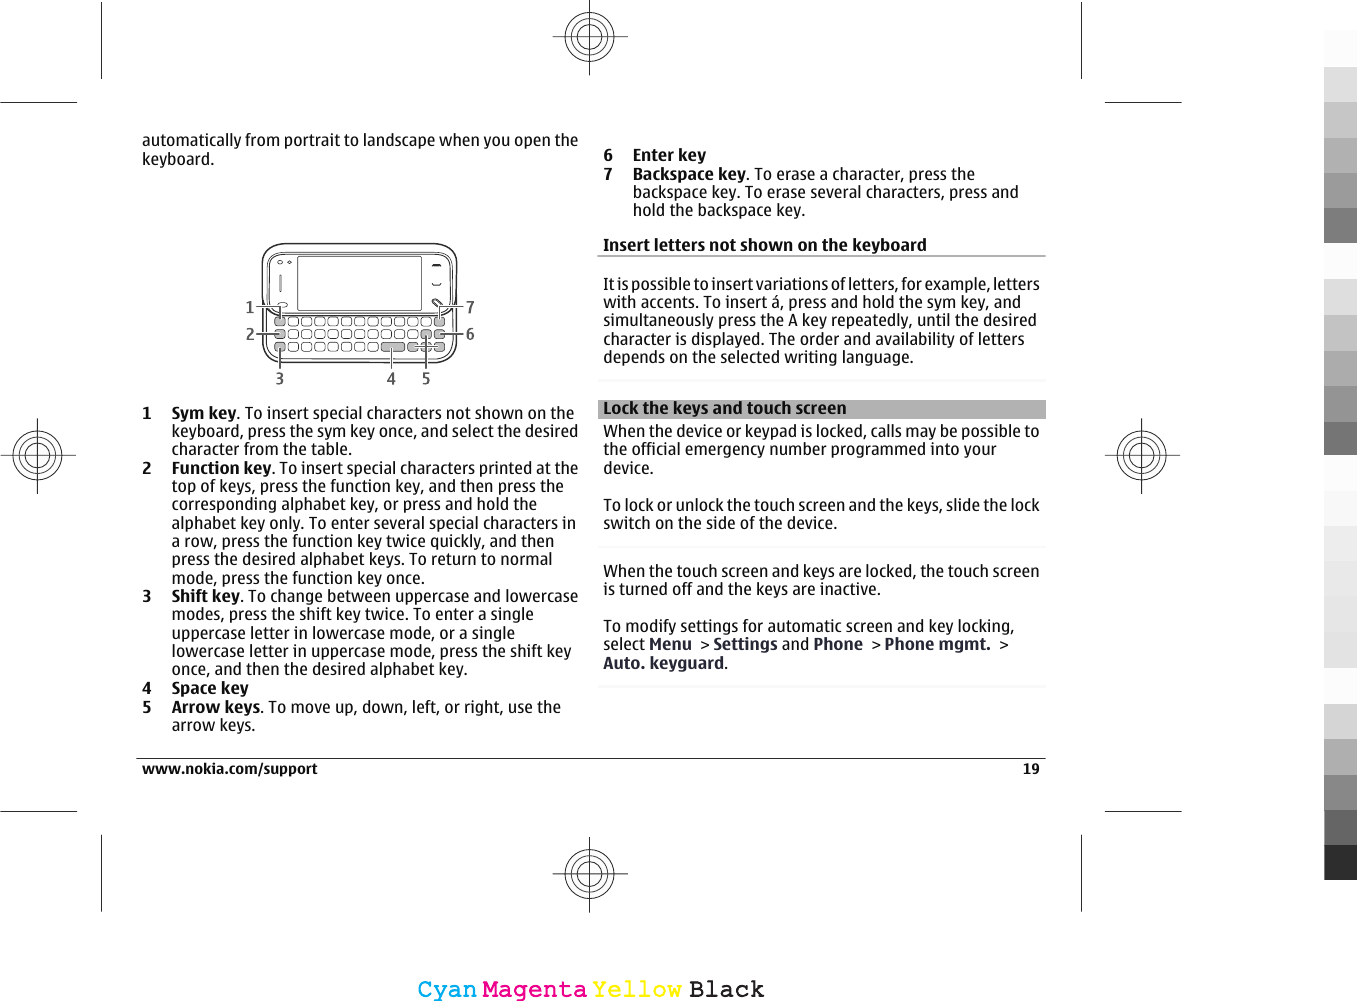
Microsoft RM-553 GSM 850/900/18001900, WCDMA 1900/850 Cellular Telephone with BT&WLAN; User Manual Manual
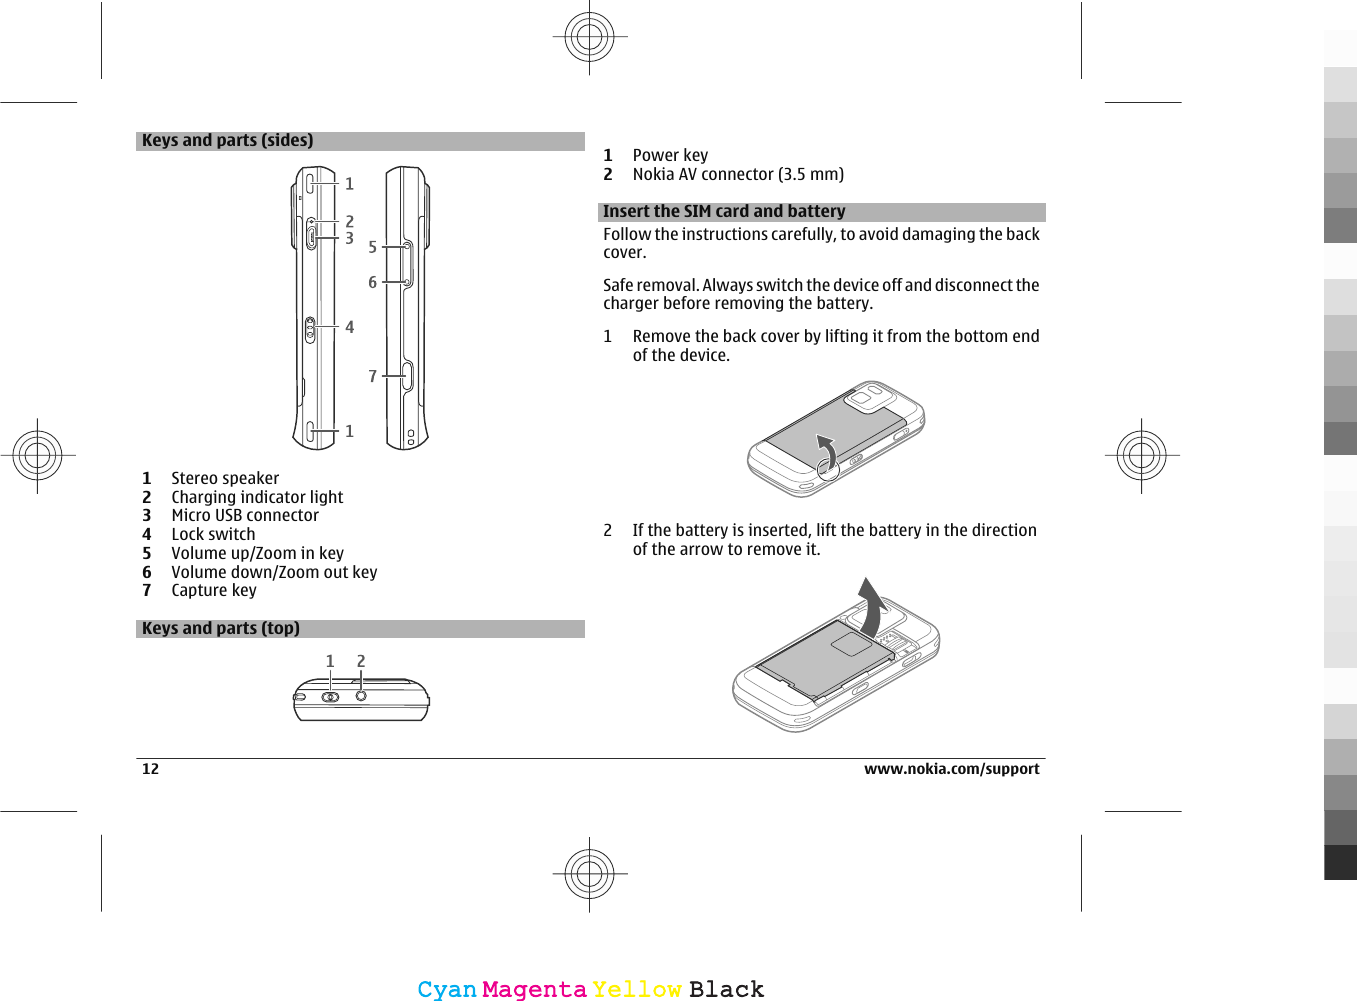
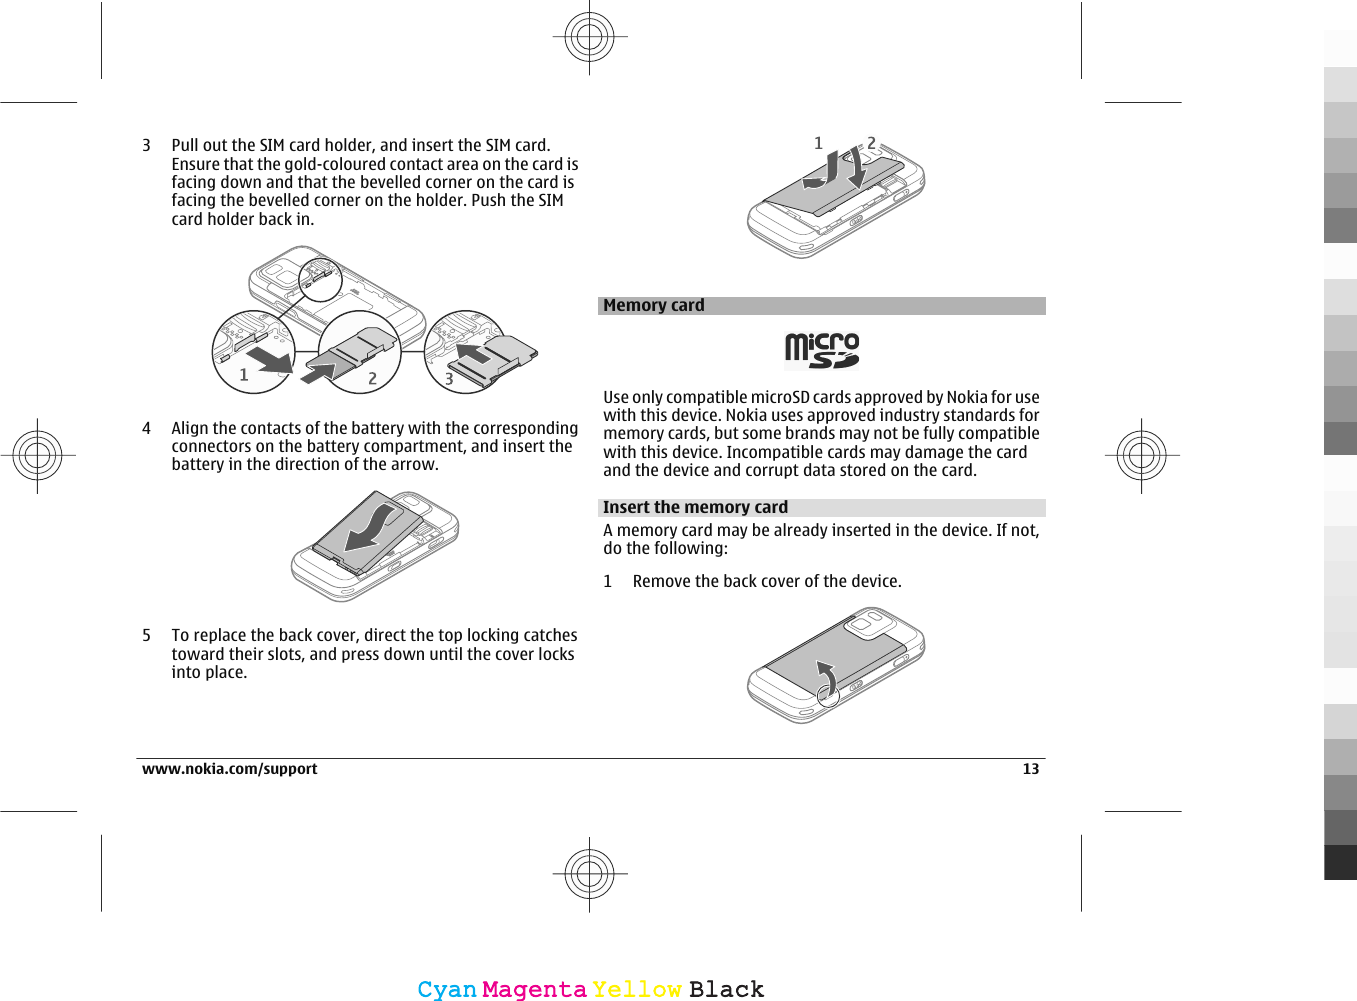
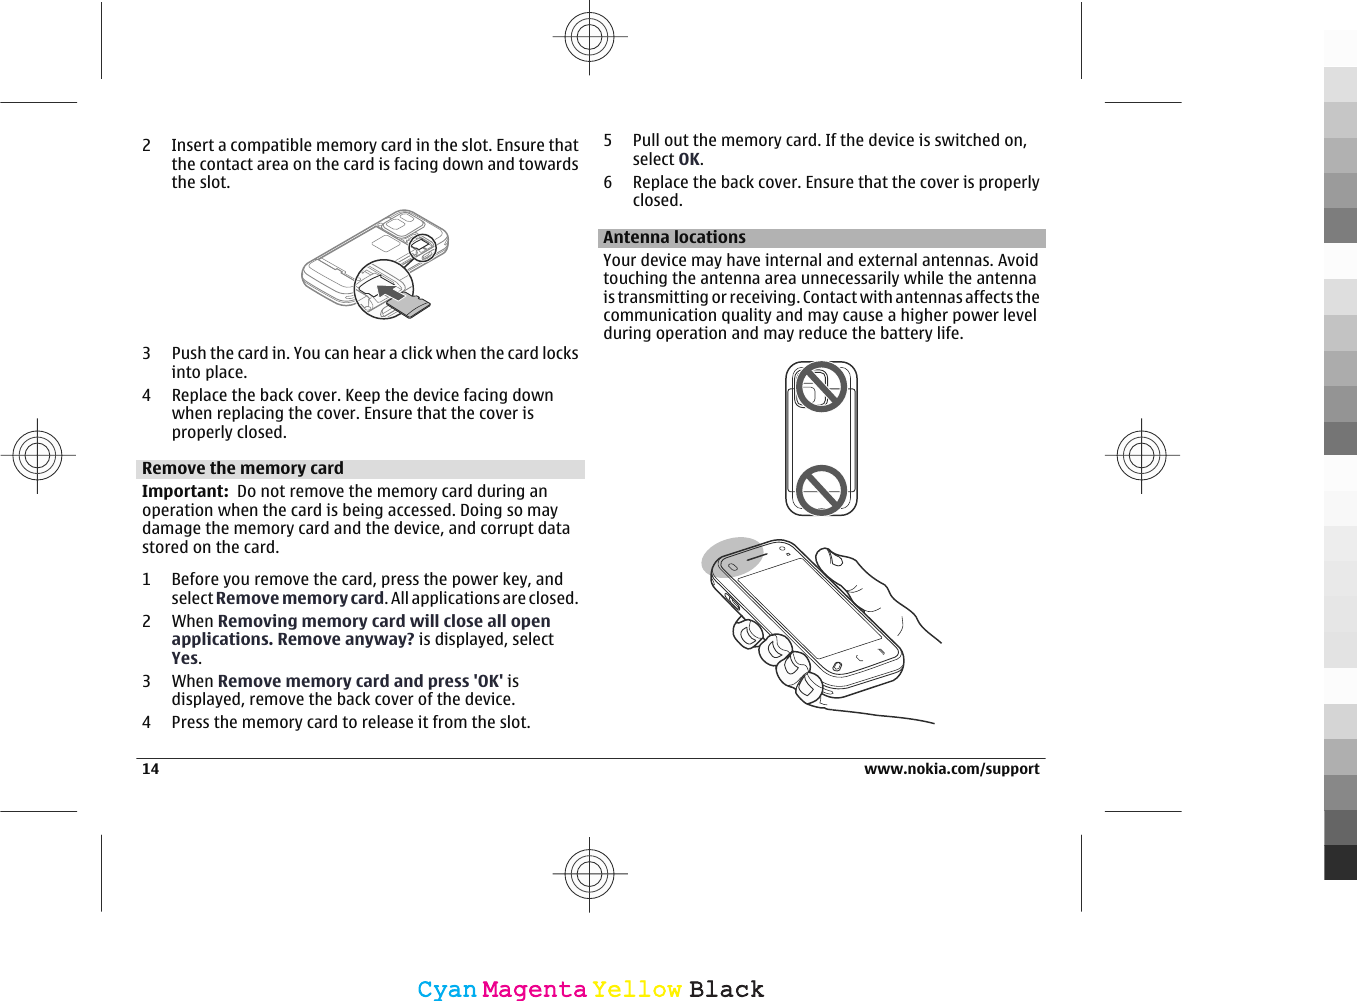
Microsoft Mobile Oy GSM 850/900/18001900, WCDMA 1900/850 Cellular Telephone with BT&WLAN; Manual
UserManual.wiki
>
Microsoft
>
RM 553 User Manual
Manual
Navigation menu
Upload a User Manual
Namespaces
Wiki Guide
HTML
PDF
Info
Views
User Manual
Discussion / Help
Navigation


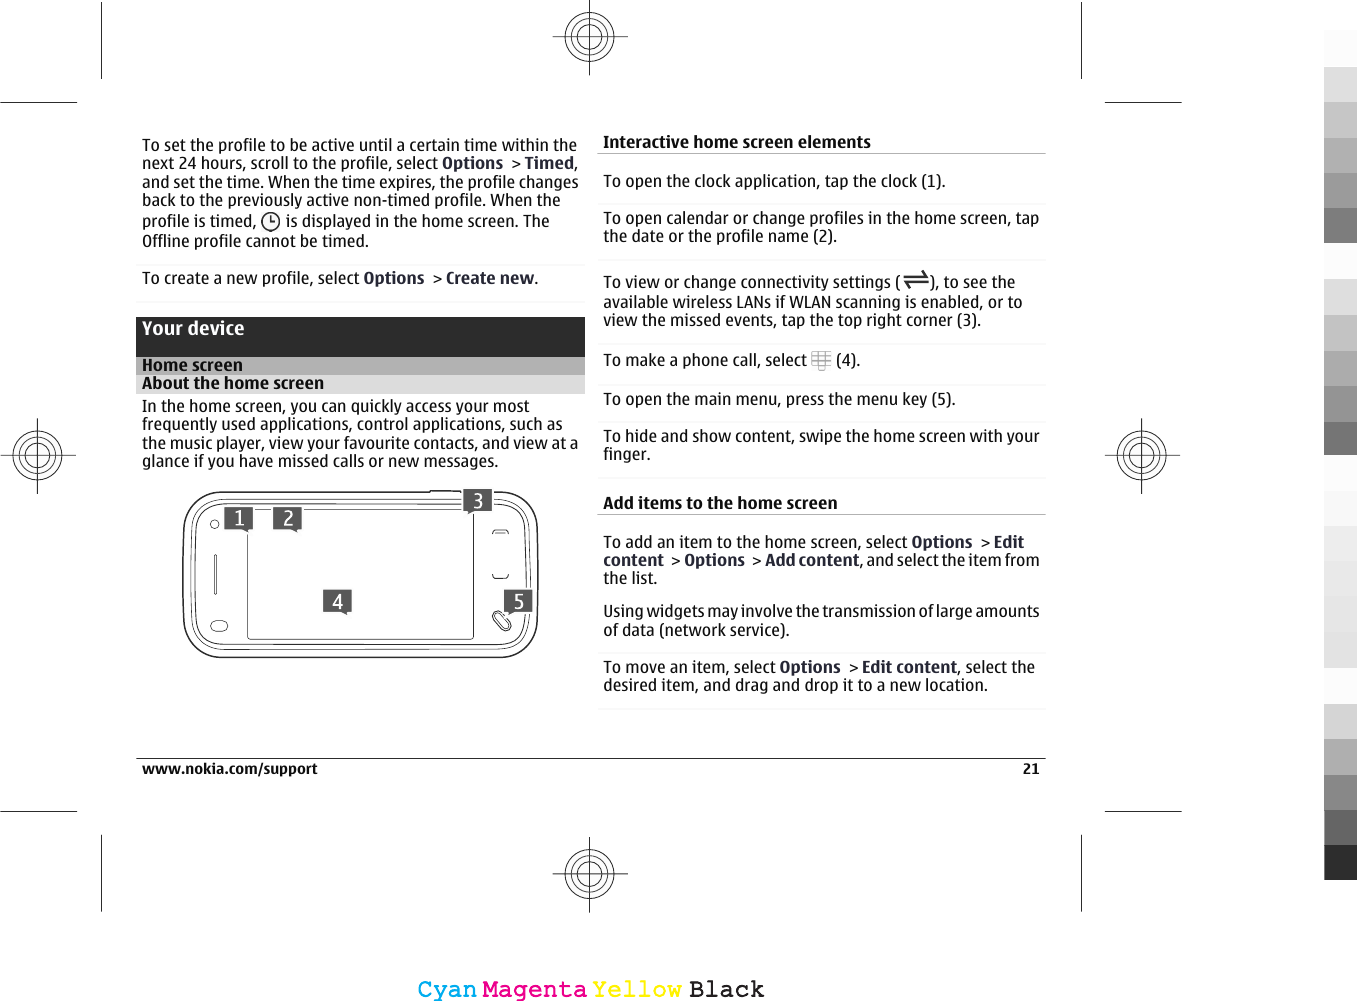
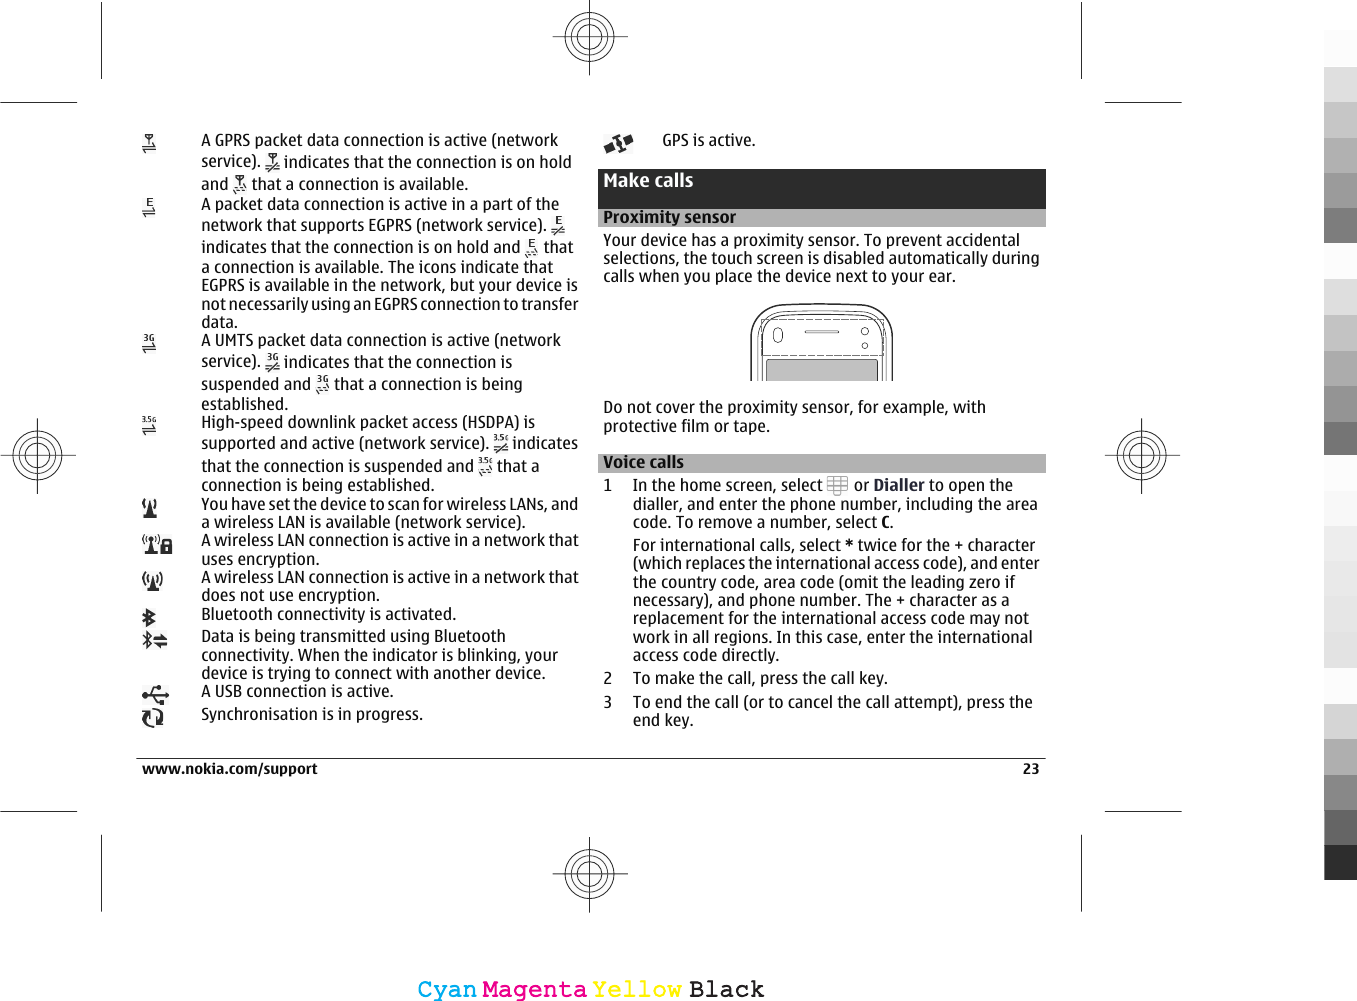
![Pressing the end key always ends a call, even if anotherapplication is active.1 To make a call from the contacts list, select Menu >Contacts.2 Scroll to the desired name. Or, tap the search field to enterthe first letters or characters of the name, and scroll tothe name.3 To call the contact, press the call key. If you have savedseveral numbers for a contact, select the desired numberfrom the list, and press the call key.Internet callsAbout internet callsWith the internet call network service, you can make andreceive calls over the internet. Internet call services maysupport calls between computers, between mobile phones,and between a VoIP device and a traditional telephone. Foravailability and costs, contact your internet call serviceprovider.To make or receive an internet call, you must be in the servicearea of a wireless LAN (WLAN) or have a packet data (GPRS)connection in a UMTS network, and be connected to aninternet call service.Your device may offer you an installation widget, to installinternet call services.Log into an internet call serviceWhen an internet call service has been installed, a tab for theservice is displayed in the contacts list.To log into a service, select Menu > Contacts, the service,and Options > Log in.To add contacts as service contacts to the friends list manuallyor from the contacts list, select Options > New contact.Make internet callsTo call a contact when you are logged into a service, tap thecontact in the friends list, and select .To make an internet call in the home screen, select , enterthe number, and select Options > Call > Internet call.To make an internet call to an internet call address, in thehome screen, select and Options > Open keyboard.Enter the address, and select .Internet communication settingsSelect Menu > Settings and Connectivity > Admin.settings > Net settings.To view and edit the settings for a service, select [09] sett..To remove a service from your service list, select Options >Delete service.24 www.nokia.com/supportCyanCyanMagentaMagentaYellowYellowBlackBlack](https://usermanual.wiki/Microsoft/RM-553/User-Guide-1174191-Page-24.png)