Microsoft RM-68 GSM 850/1800/1900 Cellular Telephone w/BT User Manual 6822 US LTA1
Microsoft Mobile Oy GSM 850/1800/1900 Cellular Telephone w/BT 6822 US LTA1
UserManual.wiki
>
Microsoft
>
RM 68 User Manual
Manual
Navigation menu
Upload a User Manual
Namespaces
Wiki Guide
HTML
PDF
Info
Views
User Manual
Discussion / Help
Navigation

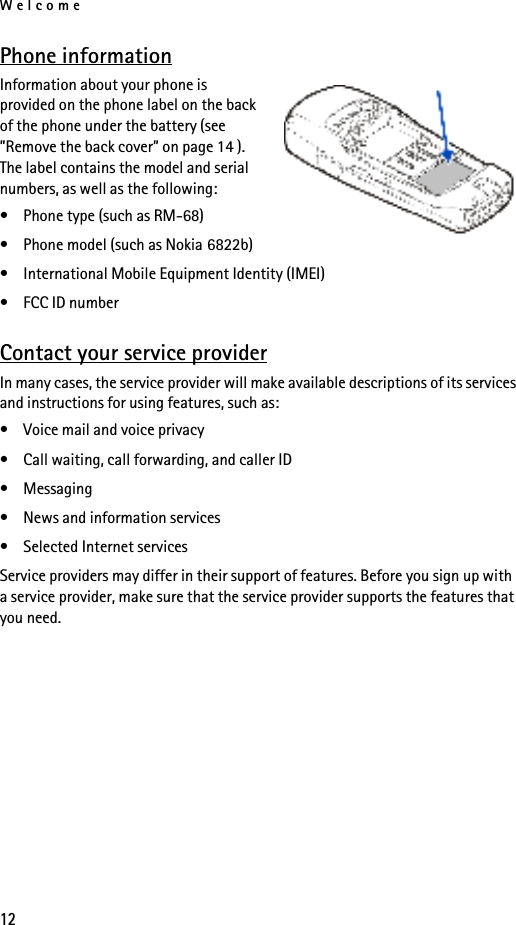
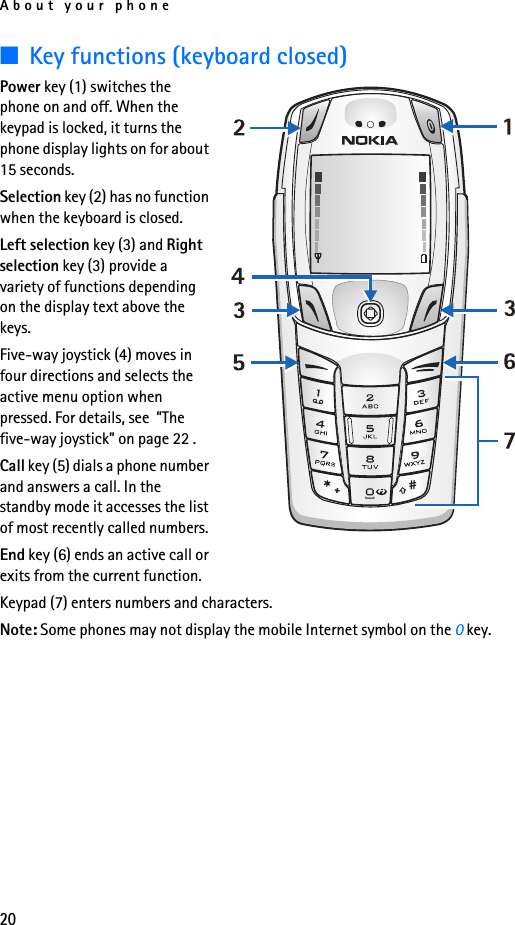
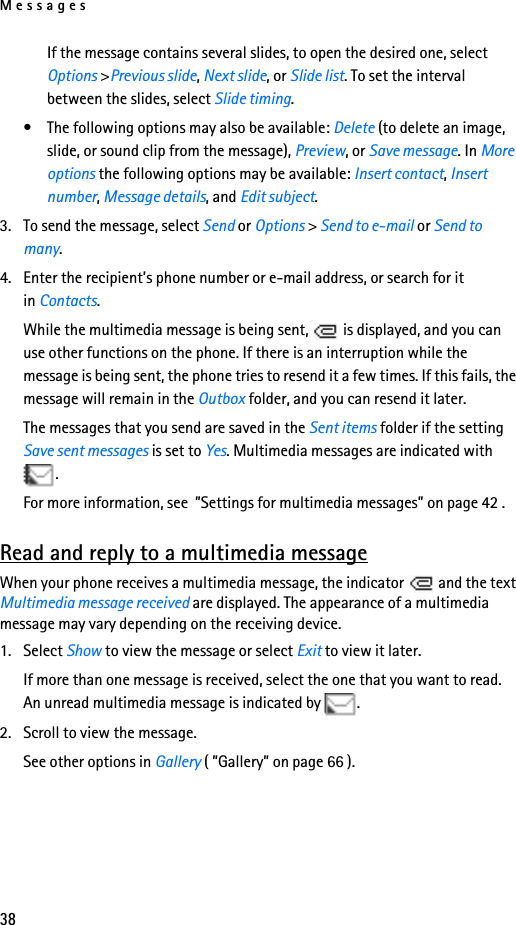
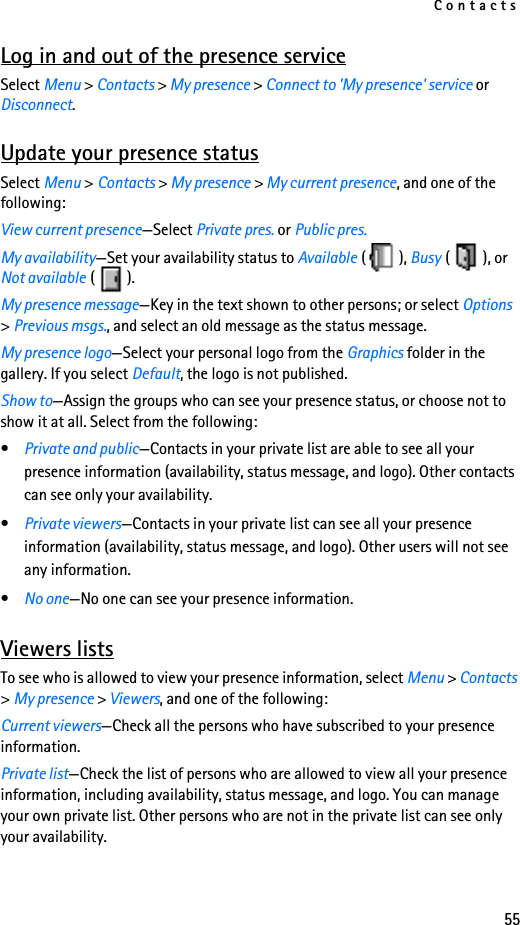
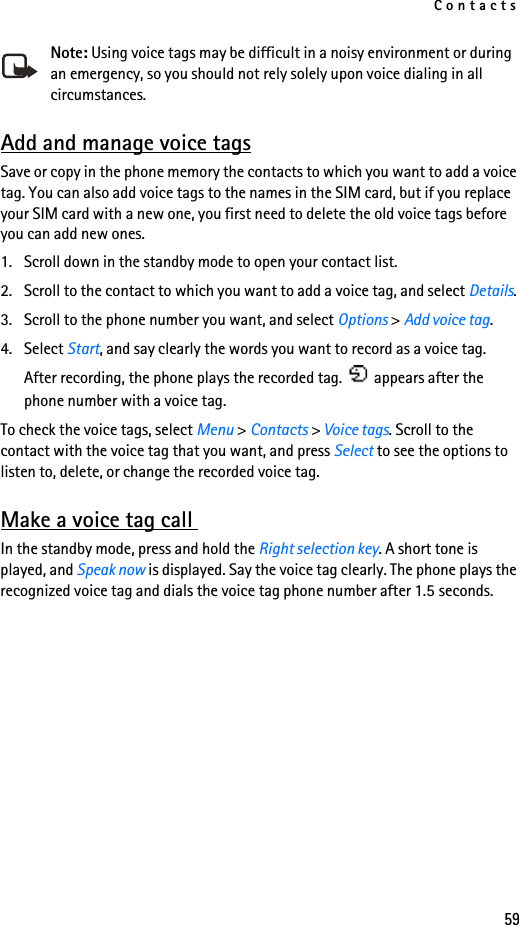
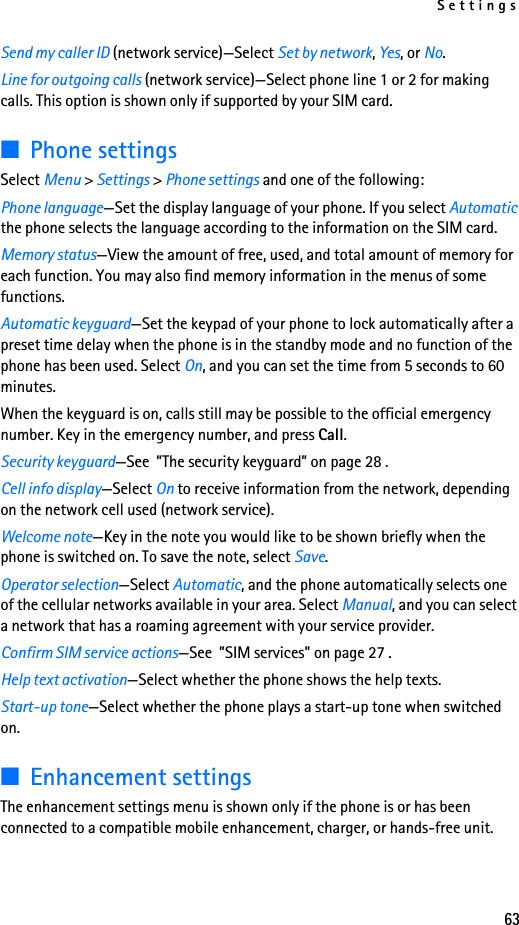
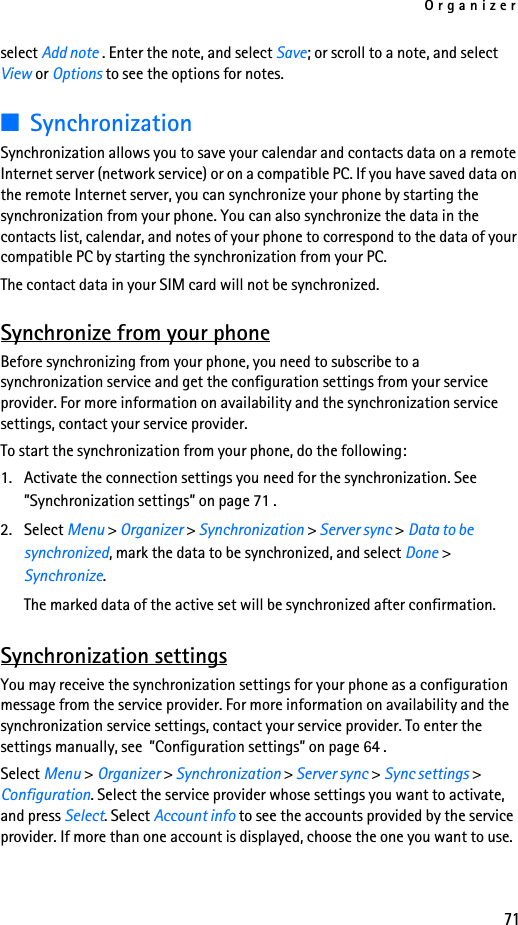
![For your safety9instance, some networks may not support all language-dependent characters and services.Your service provider may have requested that certain features be disabled or not activated in your device. If so, they will not appear on your device menu. Contact your service provider for more information.This wireless device is a 3GPP GSM Release 99 terminal supporting GPRS service, and is designed to support Release 4 GPRS networks. However, there may be some compatibility issues when used in some Release 97 GPRS networks. For more information contact your service provider. This device supports WAP 2.0 protocols [HTTP and SSL] that run TCP/IP protocols. Some features of this device require network support for these technologies.■Shared memoryThe phone has three different memories. Contacts, text messages, SMS e-mail, voice tags, calendar, and notes may share the first memory. The second shared memory is used by multimedia messages, files stored in Gallery, and configuration settings. The third shared memory is used by the e-mail application and Java games and applications. Using one or more of these features may reduce the memory available for the remaining features sharing the same memory. For example, saving many Gallery items may use all of the available memory in the second memory. Your device may display a message that the memory is full when you try to use a shared memory feature. In this case, delete some of the information or entries stored in the corresponding shared memory before continuing.](https://usermanual.wiki/Microsoft/RM-68/User-Guide-510390-Page-9.png)
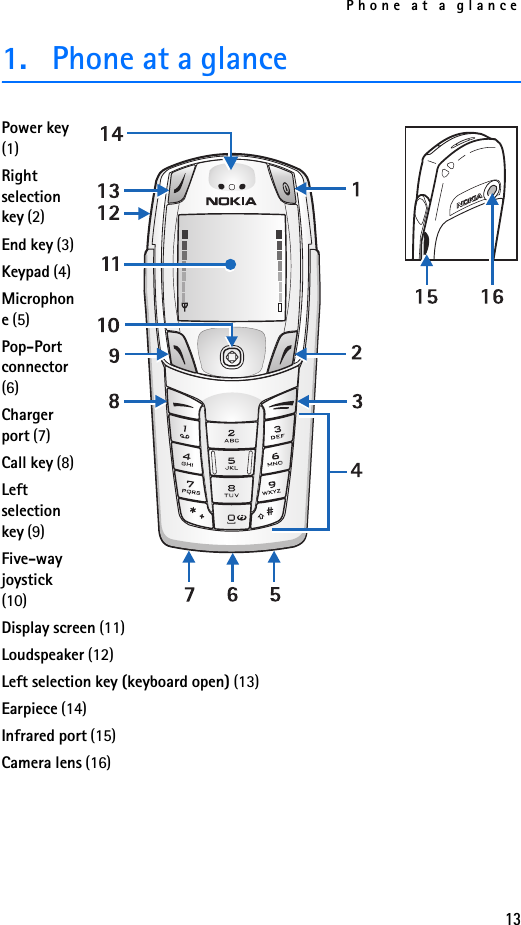
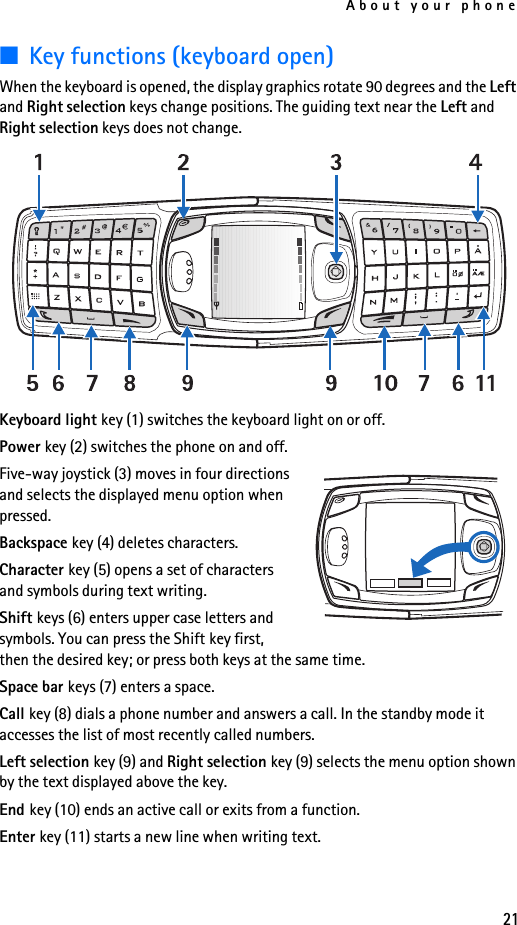
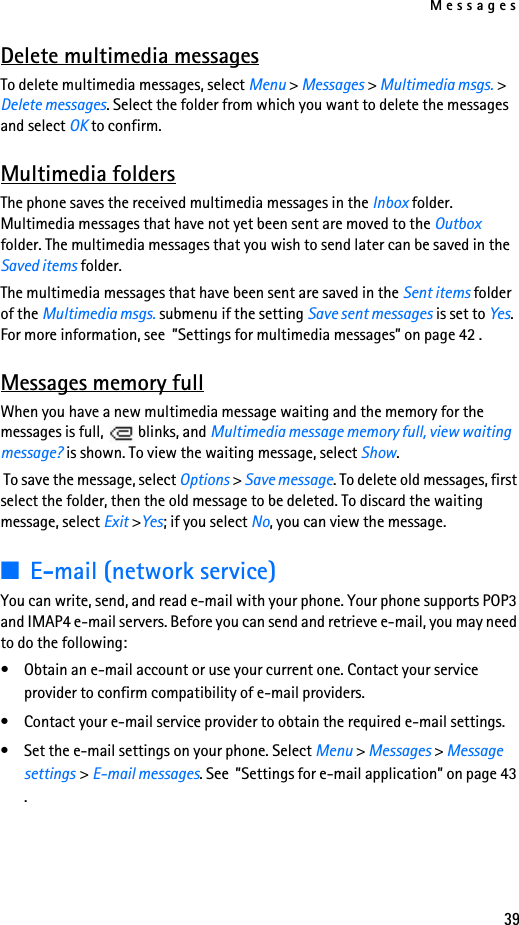
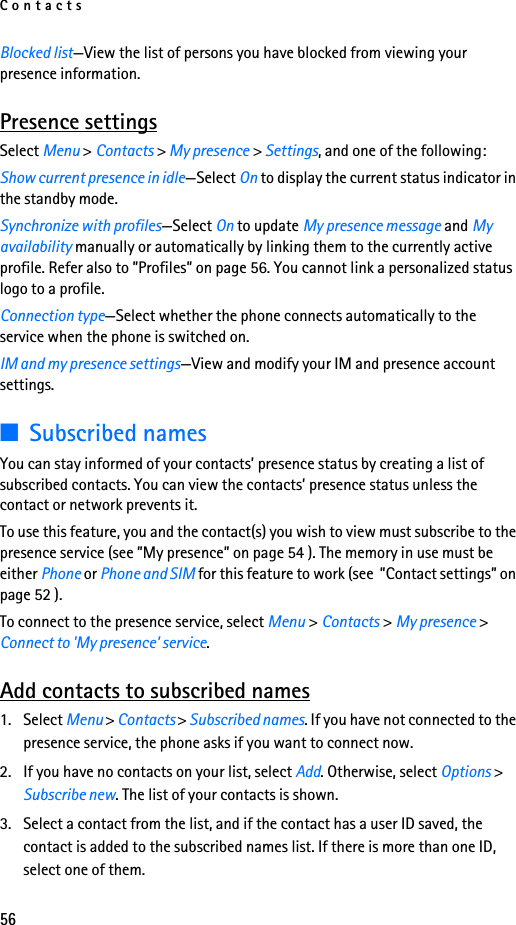
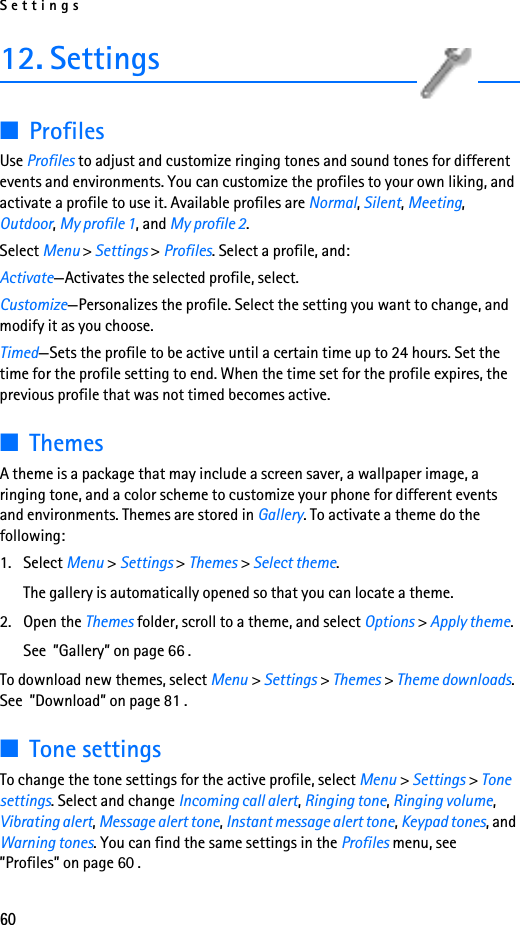
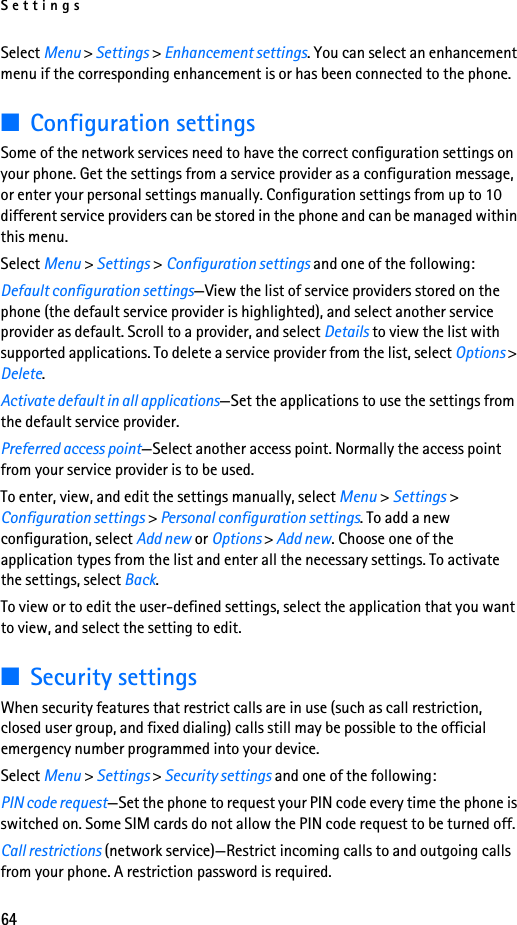
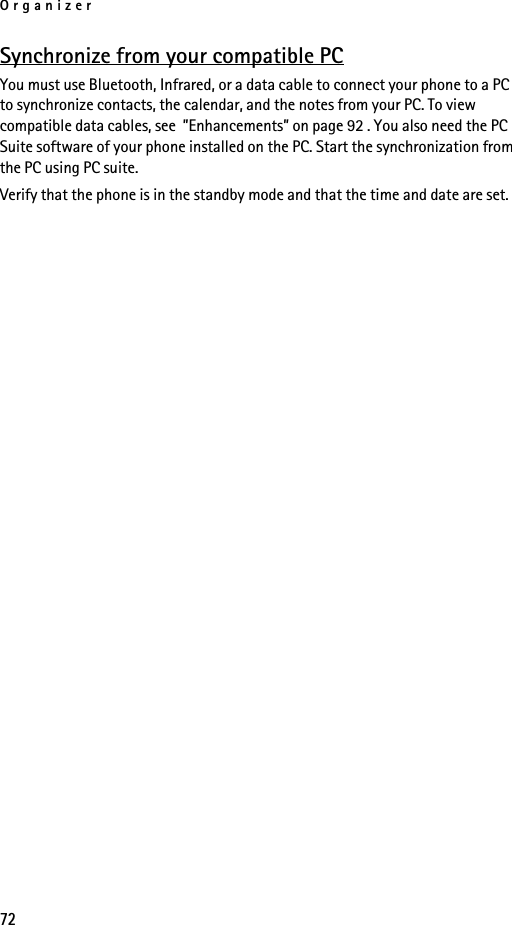
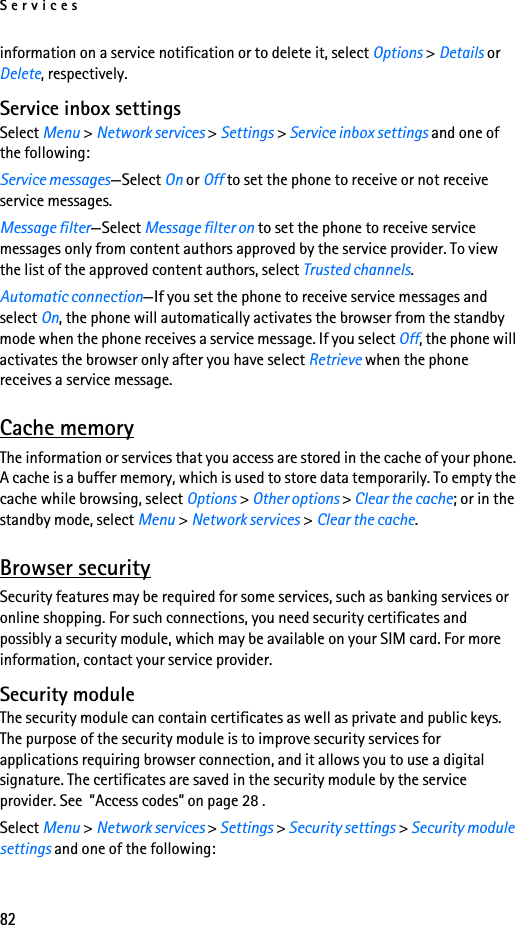
![Basic operations244. Basic operations■Switch the phone on or off1. To switch your phone on or off, press and hold the power key as shown.If the phone displays Insert SIM card or SIM card not supported, even though the SIM card is properly inserted, contact your service provider.2. If the phone asks for a PIN code, enter the PIN code (displayed as ****), and select OK.3. If the phone asks for a security code, enter the security code, and select OK.See ”Access codes” on page 28 for more information.■Set the timeSelect Menu > Settings > Time and date settings > Clock > Set the time. Enter the time (in hh:mm format), and select OK >am or pm.■Make and answer callsUse the keypad—Enter the phone number (including the area code), and press Call. To delete a character to the left of the cursor, select Clear. To end the call or to cancel the call attempt, press End.Use contacts—At the start screen, move the Five-way joystick downward to view your contacts, scroll to the entry you want to call, and press Call to make the call.Redial the last number—At the start screen, press Call twice.Make an international call—Press* twice to enter the international prefix [a plus (+) sign] in place of the international access code. Then enter the country code, the area code without a leading zero (if necessary), and the phone number.Answer or reject a call—Press Call to answer the call, or press End to reject the call. If Forward if busy is activated to your voice mailbox, the call is forwarded to your voice mail. If not, the call is rejected.If you select Silence, only the ringing tone is muted. You can then either answer or reject the incoming call.](https://usermanual.wiki/Microsoft/RM-68/User-Guide-510390-Page-24.png)

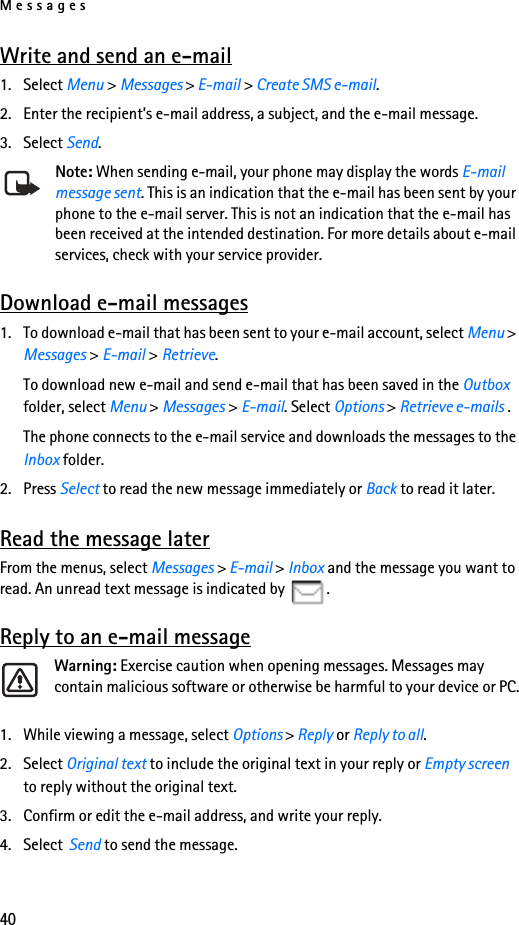

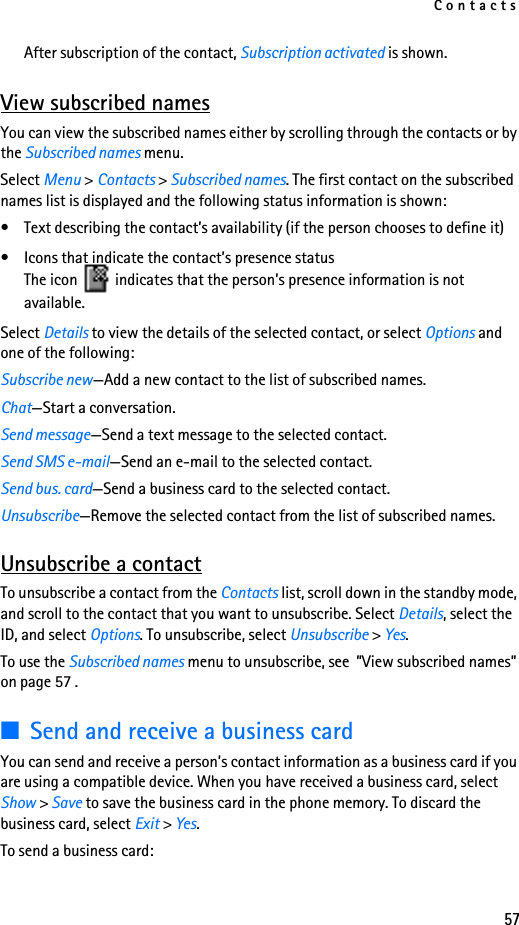
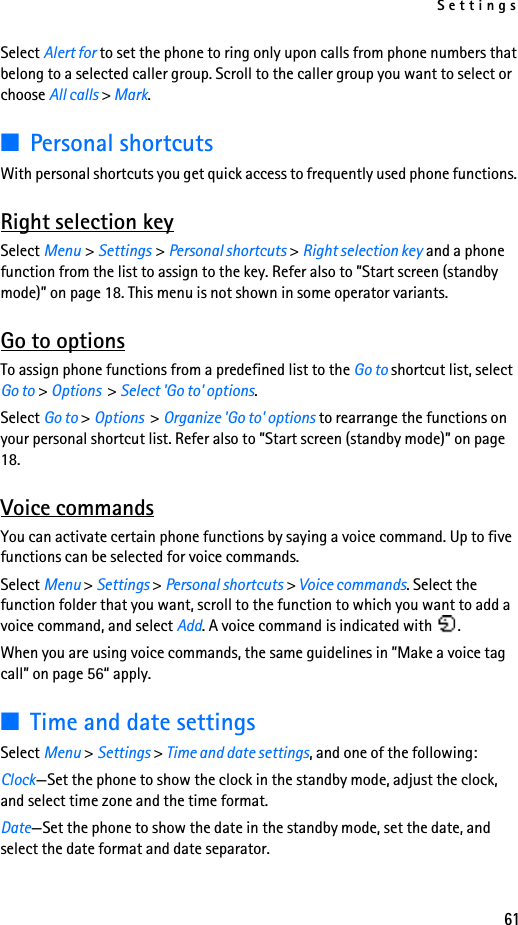
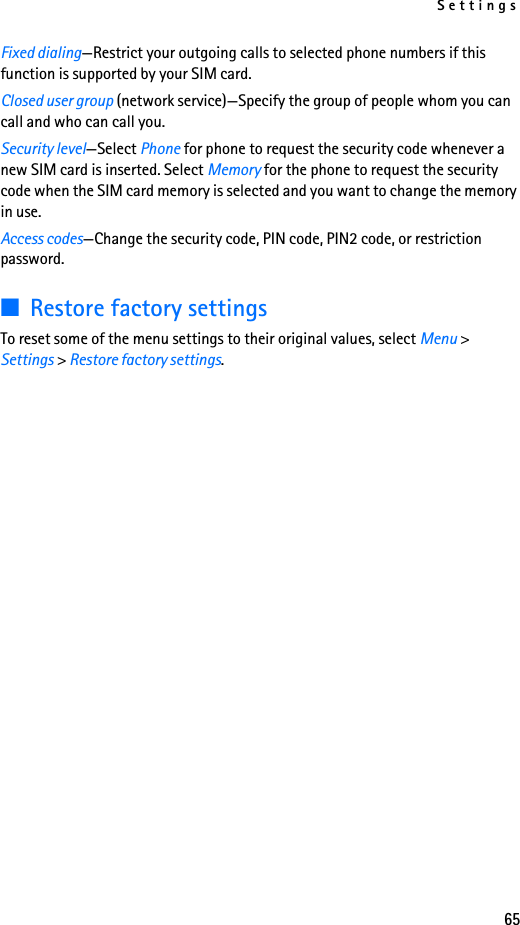
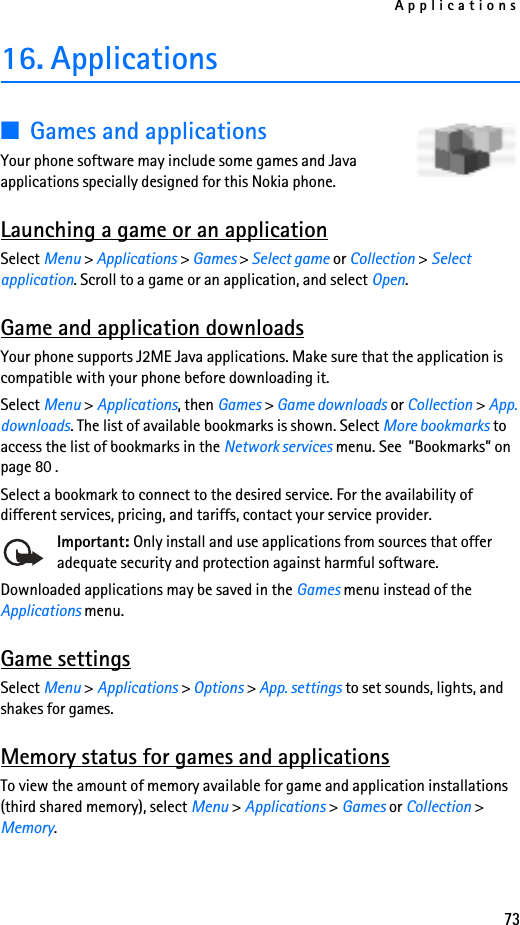


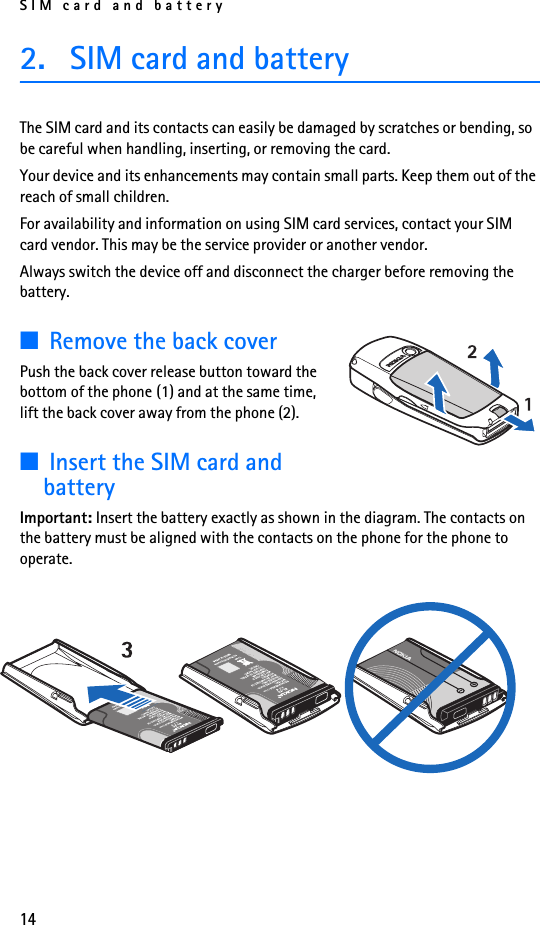
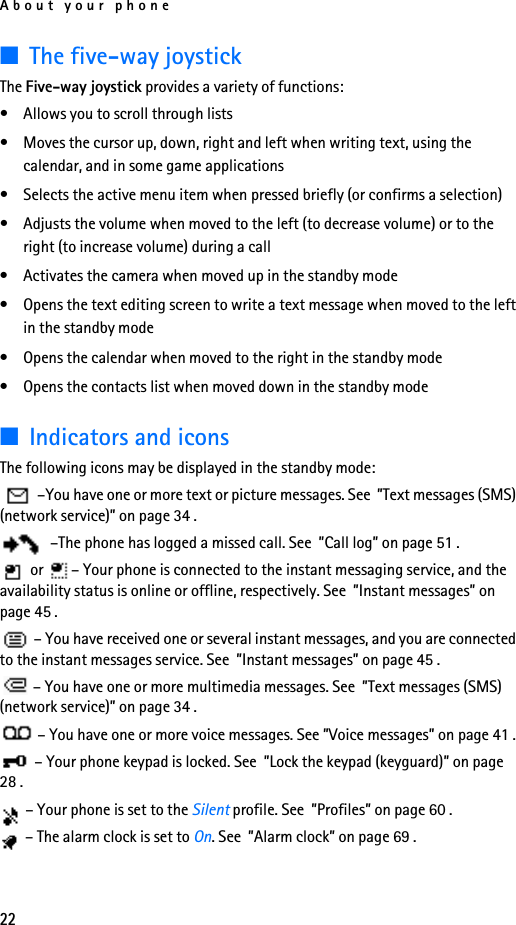
![Reference information99emergency call. Consult this guide or your service provider. When making an emergency call, give all the necessary information as accurately as possible. Your wireless phone may be the only means of communication at the scene of an accident. Do not end the call until given permission to do so.Certification Information [SAR]THE NOKIA 6822b DEVICE MEETS THE GOVERNMENT’S REQUIREMENTS FOR EXPOSURE TO RADIO WAVES.Your mobile device is a radio transmitter and receiver. It is designed and manufactured not to exceed the limits for exposure to radio frequency [RF] energy recommended by international guidelines [ICNIRP]. These limits establish permitted levels of RF energy for the general population. The guidelines are based on standards that were developed by independent scientific organisations through periodic and thorough evaluation of scientific studies. The standards and guidelines include a substantial safety margin designed to assure the safety of the public, regardless of age and health and to account for any variations in measurements. The exposure guidelines for mobile devices employs a unit of measurement known as the Specific Absorption Rate, or SAR. The SAR limit stated in the international guidelines is 2.0 W/kg* averaged over ten grams of tissue. Tests for SAR are conducted using standard operating positions with the device transmitting at its highest certified power level in all tested frequency bands. The actual SAR level of an operating device can be well below the maximum value because the device is designed to use only the power required to reach the network. That amount changes depending on a number of factors such as how close you are to a network base station. The highest SAR value when tested according to international testing procedures for use at the ear for device type PYARM-68 is 0.97 W/kg. Your phone’s device type is listed on the label located under the battery.SAR values may vary depending on national reporting and testing requirements and the network band. Use of device accessories and enhancements may result in different SAR values. Additional SAR information in other regions please look under product information at www.nokia.com.USA and Canada: The SAR limit of USA (FCC) and Canada (IC) is 1.6 W/kg averaged over one gram of tissue. Device type PYARM-68 has also been tested against this SAR limit. The highest SAR value reported under this standard during product certification for use at the ear is 0.97 W/kg and when properly worn on the body is 1.01 W/kg. Information about this device can be found on the FCC’s](https://usermanual.wiki/Microsoft/RM-68/User-Guide-510390-Page-99.png)