MilDef Crete DB7 Handheld Computer User Manual
MilDef Crete Inc. Handheld Computer Users Manual
UserManual.wiki
>
MilDef Crete
>
DB7 User Manual
Users Manual
Navigation menu
Upload a User Manual
Namespaces
Wiki Guide
HTML
PDF
Info
Views
User Manual
Discussion / Help
Navigation


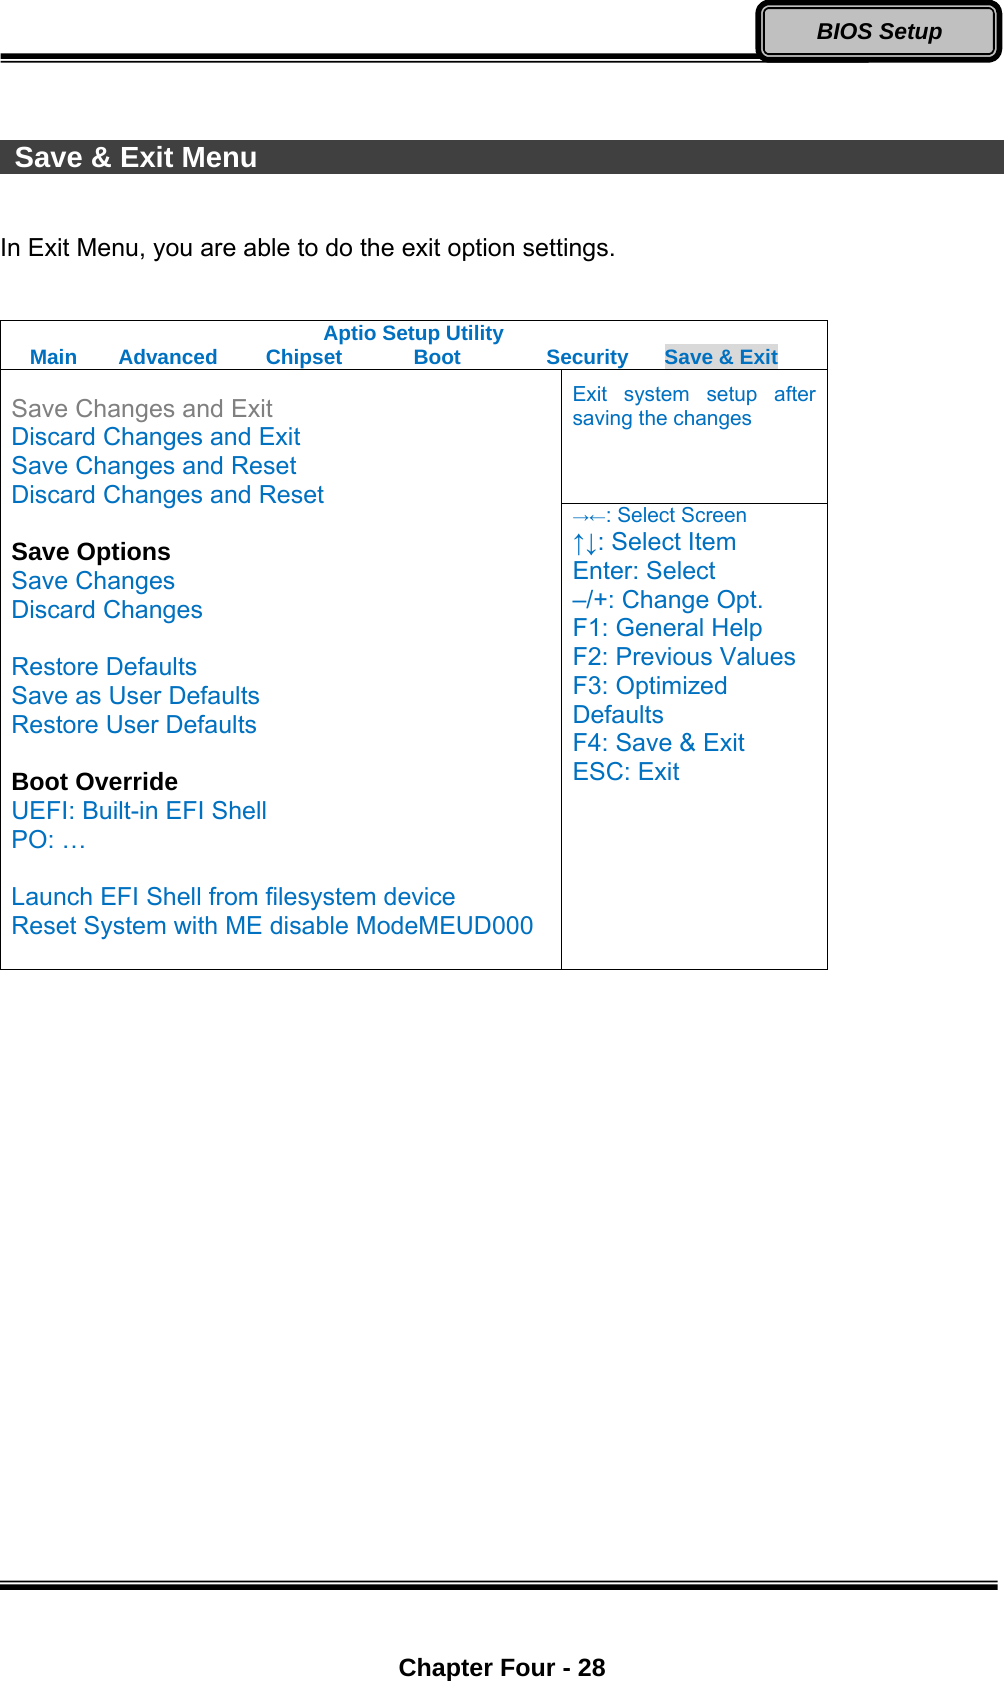
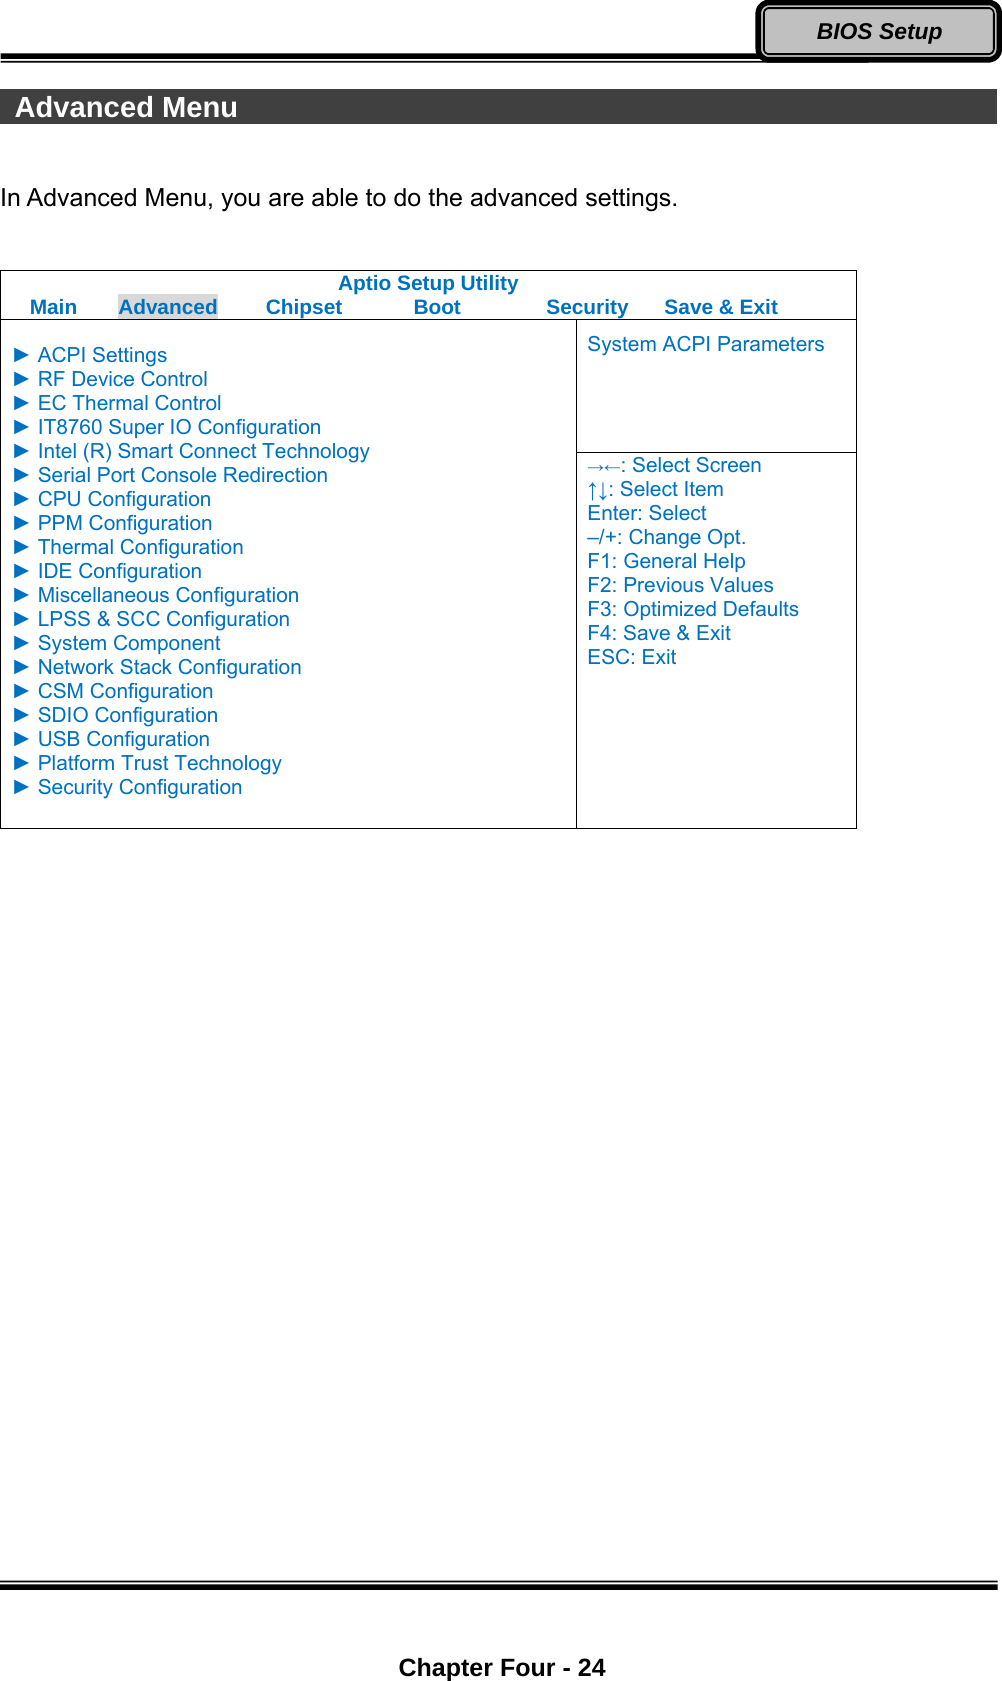
![Chapter Four - 23 BIOS Setup Chapter Four - BIOS Setup Before you entering into the BIOS menu, please connect a USB keyboard with your handheld computer. After the USB keyboard is connected, turn the power of your handheld computer ON and press “Del” on the USB keyboard to directly entering into the BIOS Menu. Main Menu In Main Menu, you are able to see the System Overview and the operating instructions. Aptio Setup Utility Main Advanced Chipset Security Boot Save & Exit Choose the system default language BIOS Information BIOS Vendor Core Version Compliancy Project Version Build Date and Time EC Version System Language [English] System Date [Mon 05/20/2013] System Time [16:19:20] Access Level Administrator →←: Select Screen ↑↓: Select Item Enter: Select –/+: Change Opt. F1: General Help F2: Previous Values F3: Optimized Defaults F4: Save & Exit ESC: Exit](https://usermanual.wiki/MilDef-Crete/DB7/User-Guide-2580851-Page-35.png)

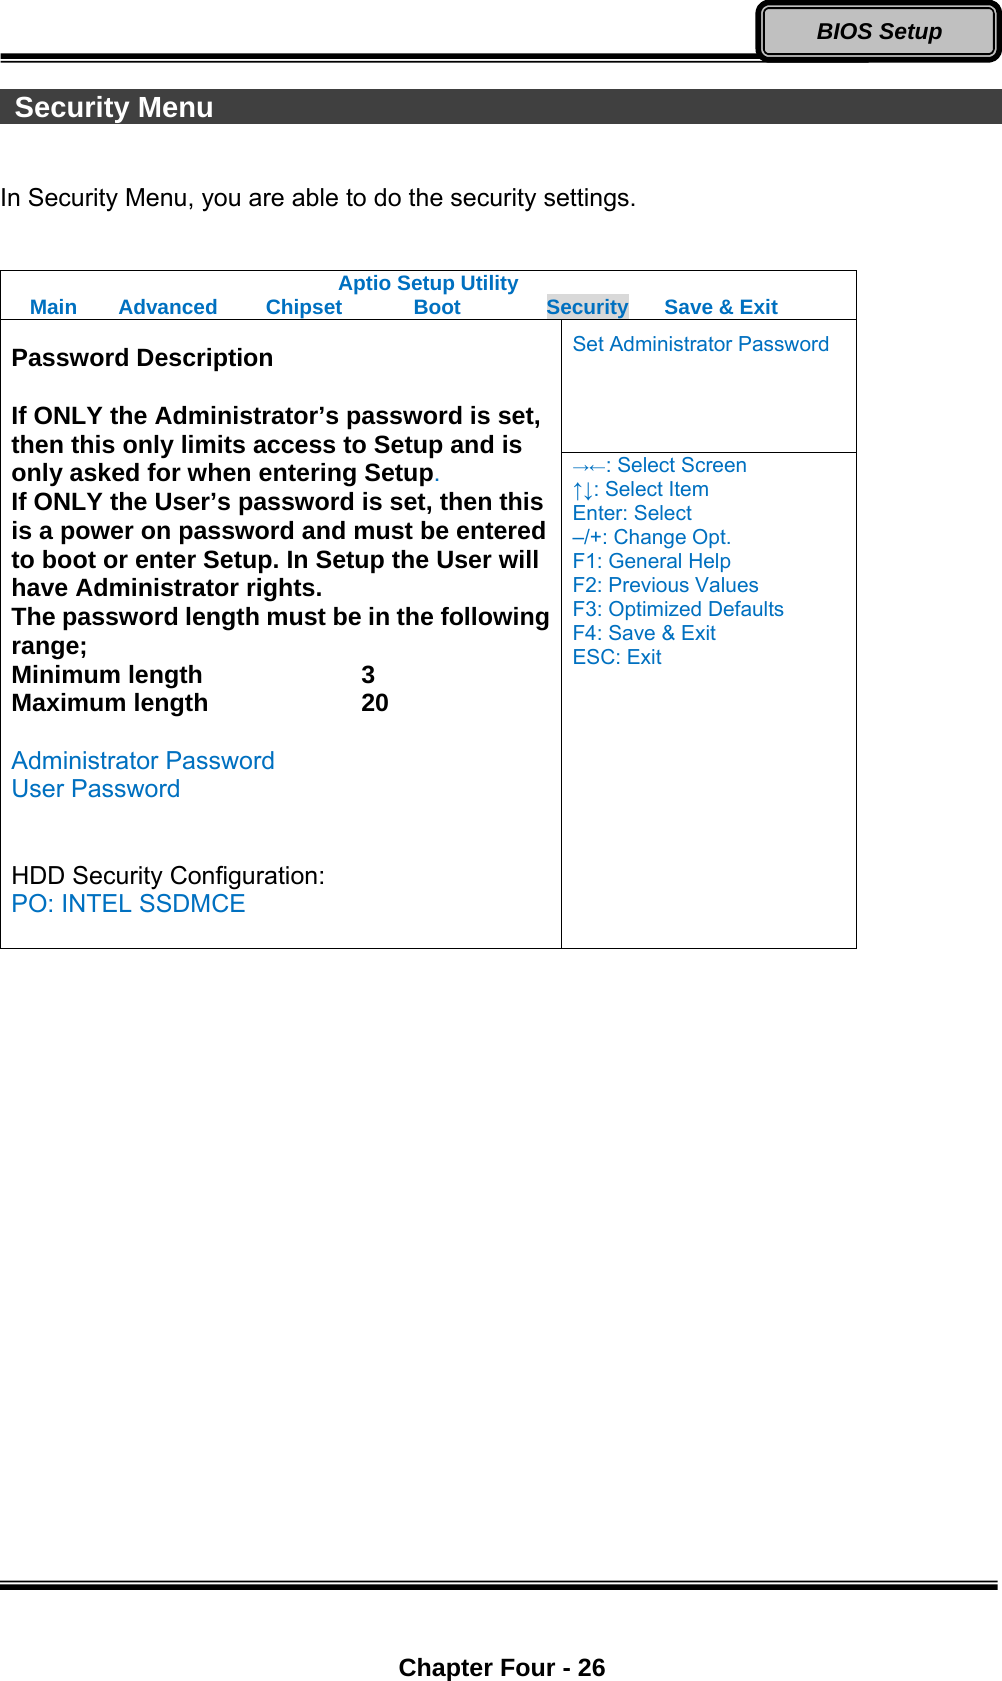
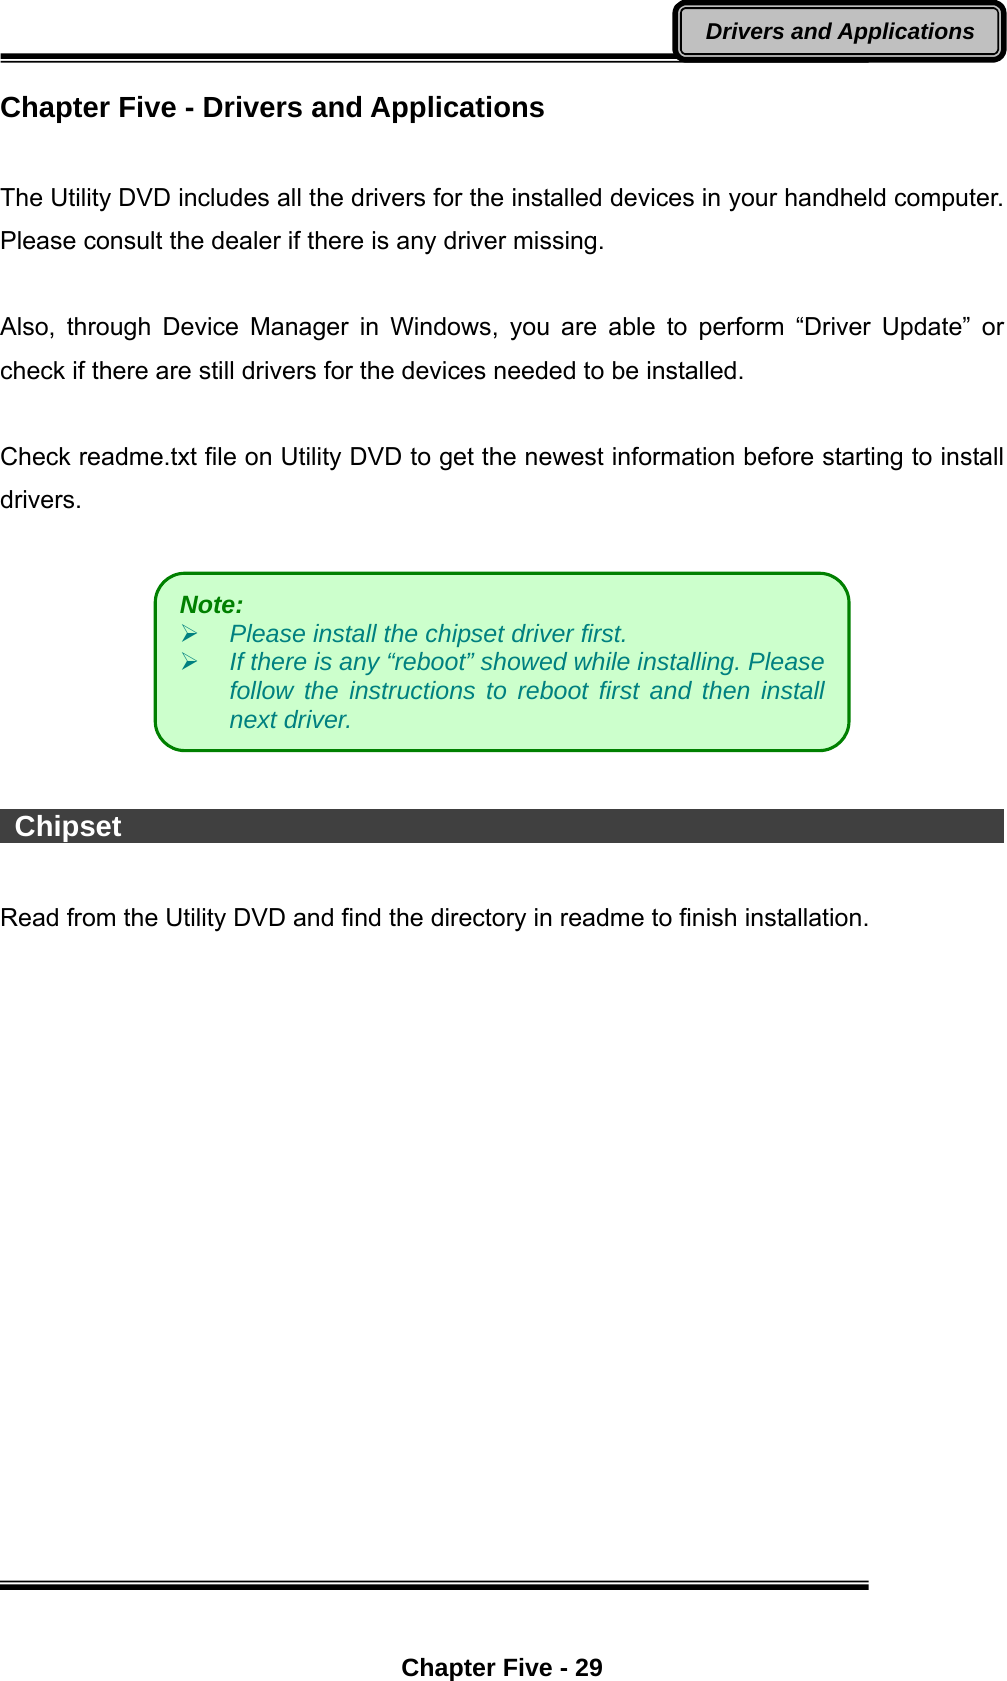
![Chapter Four - 27 BIOS Setup Boot Menu In Boot Menu, you are able to do the boot settings. Aptio Setup Utility Main Advanced Chipset Boot Security Save & Exit Select boot mode LEGACY/UEFI Boot Configuration Setup Prompt Timeout [1] Bootup NumLock State [On] Quiet Boot [Disabled] Fast Boot [Disabled] Boot Option Priorities Boot Option #1 [PO:…] Boot Option #2 [UEFI: Built-in EFI…] Hard Disk Drive BBS Priorities →←: Select Screen ↑↓: Select Item Enter: Select –/+: Change Opt. F1: General Help F2: Previous Values F3: Optimized Defaults F4: Save & Exit ESC: Exit](https://usermanual.wiki/MilDef-Crete/DB7/User-Guide-2580851-Page-39.png)