Mitac Digital Technology MIO558 Pocket PC User Manual Revised Manual
Mitac International Corporation Pocket PC Revised Manual
UserManual.wiki
>
Mitac Digital Technology
>
MIO558 User Manual
>
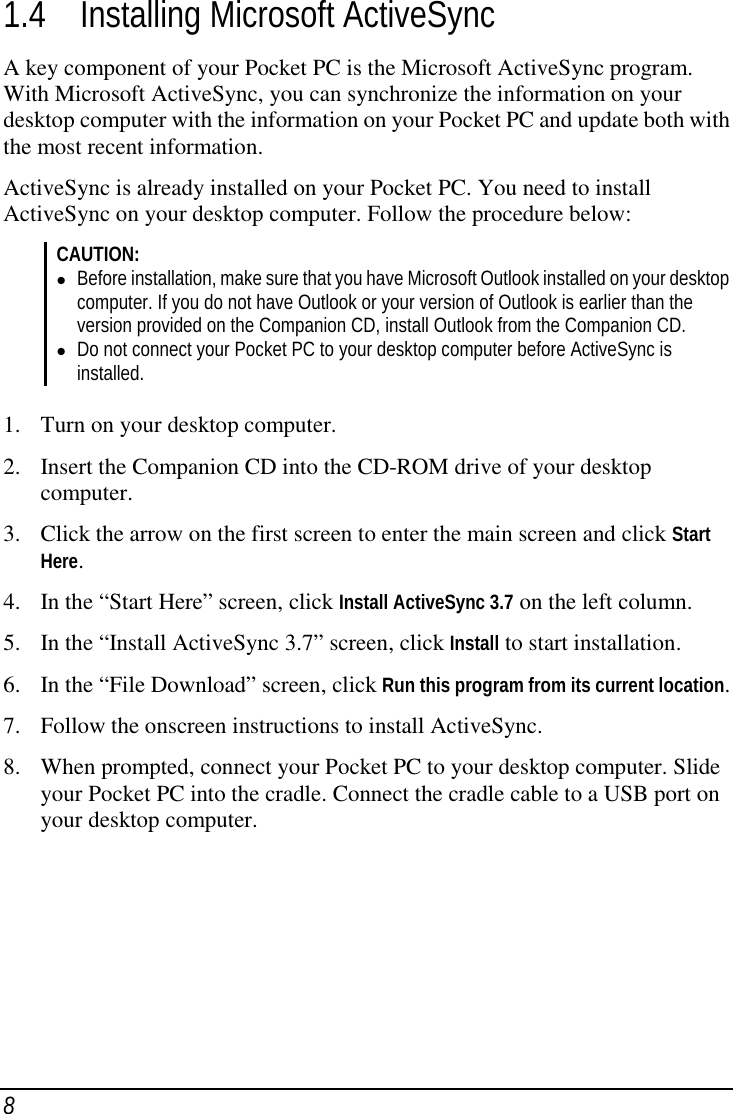
Revised Manual
Contents
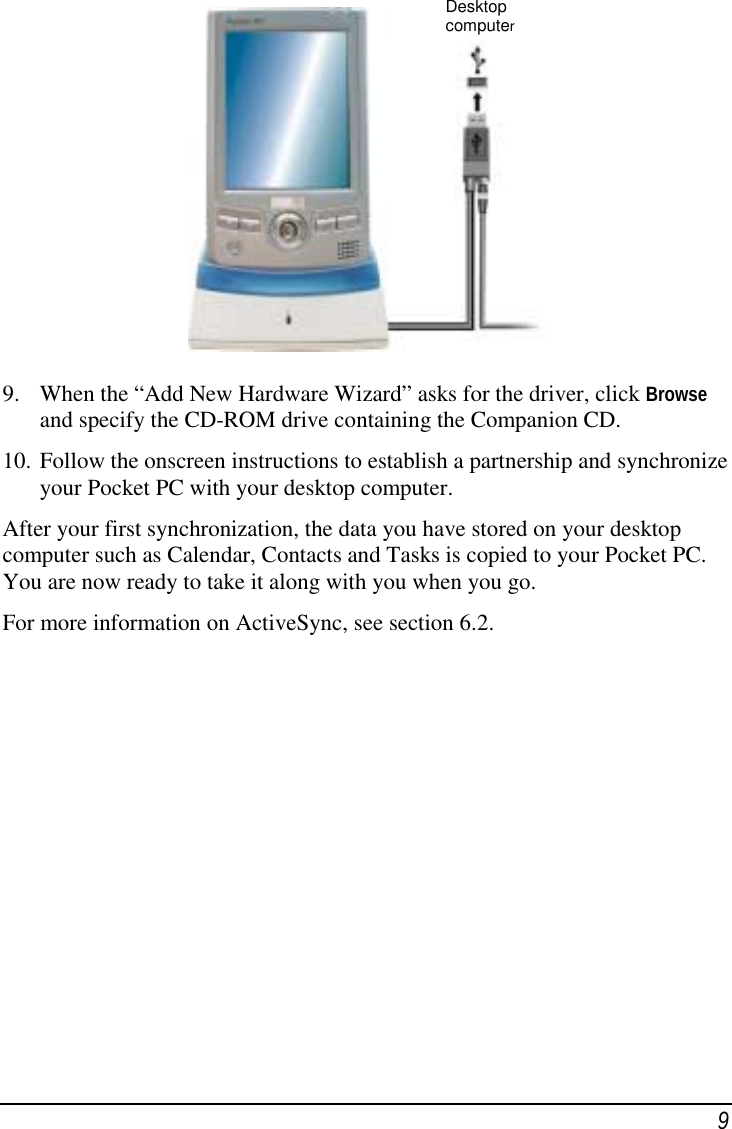
1.
Revised Manual
2.
Manual
Revised Manual
Navigation menu
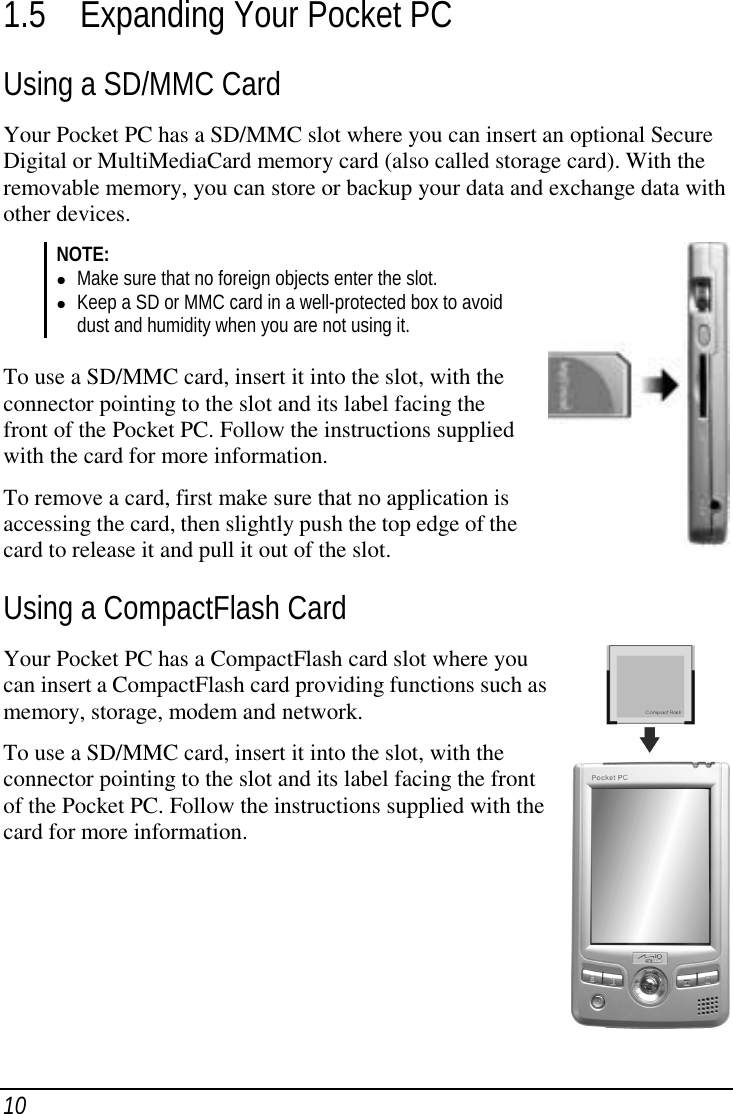
Upload a User Manual
Namespaces
Wiki Guide
HTML
PDF
Info
Views
User Manual
Discussion / Help
Navigation


![28The Bluetooth radio is turned on or off according to yourselection.By default the Bluetooth radio is turned off. If you turn it on, and then turnoff your device, the Bluetooth radio also turns off. When you turn on yourdevice again, the Bluetooth radio turns on automatically.Making Your Device Discoverable1. Tap > Settings > Connections tab.2. Tap Bluetooth.3. Select Discoverable.Other Bluetooth devices can now detect your device and attemptto beam information to it, establish a bond, or use a Bluetoothservice. Note that to receive beamed information, you mustaccept it on your device.Selecting Discoverable also turns on your Bluetooth radio.If you no longer want your device to be discoverable, tap Off to turn off theradio or On to leave the radio on, but not allow detection by other devices. Beaming Information with Bluetooth1. Tap and hold an item to beam, such as an appointment in Calendar, atask in Tasks, a contact card in Contacts, or a file in File Manager.2. Tap Beam [type of item].3. Tap the device to which you want to send the beam.The item is beamed to the device you selected.](https://usermanual.wiki/Mitac-Digital-Technology/MIO558.Revised-Manual/User-Guide-343255-Page-28.png)