Mitac 8575X Notebook Computer with Built-In Wireless LAN User Manual 8575A E
Mitac International Corporation Notebook Computer with Built-In Wireless LAN 8575A E
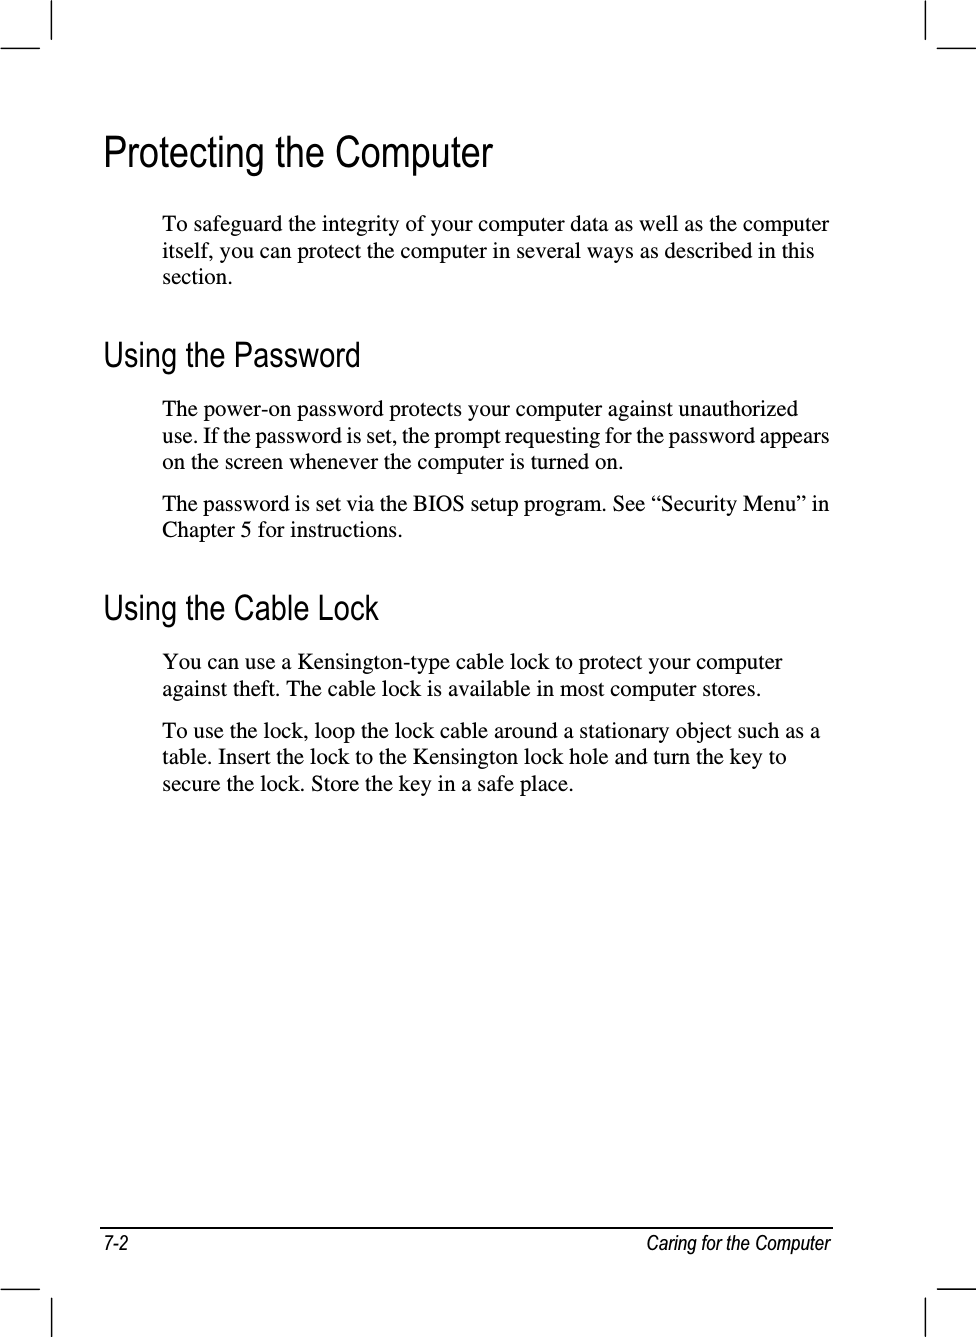
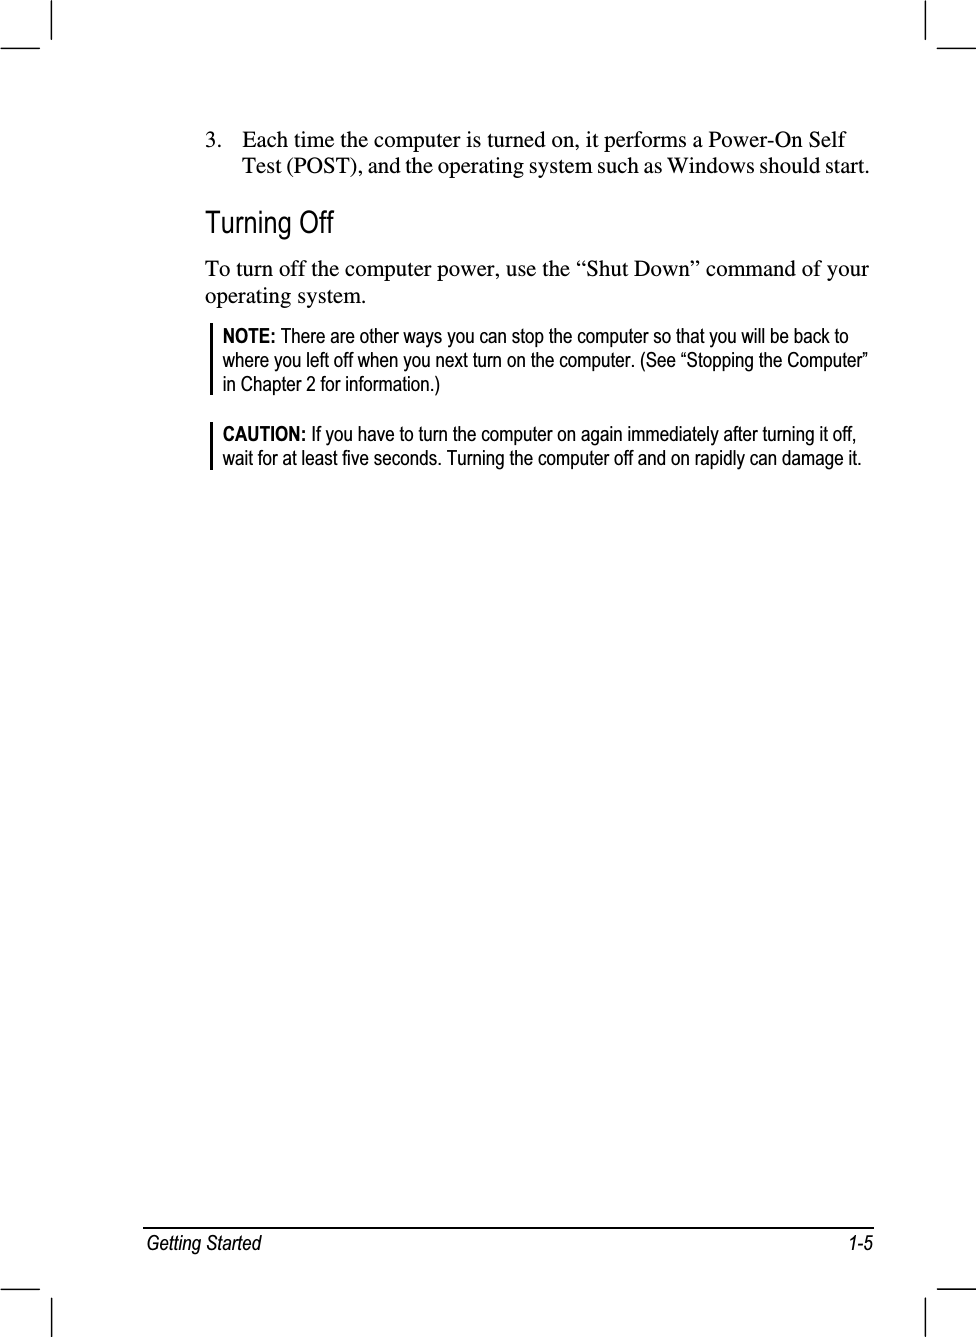
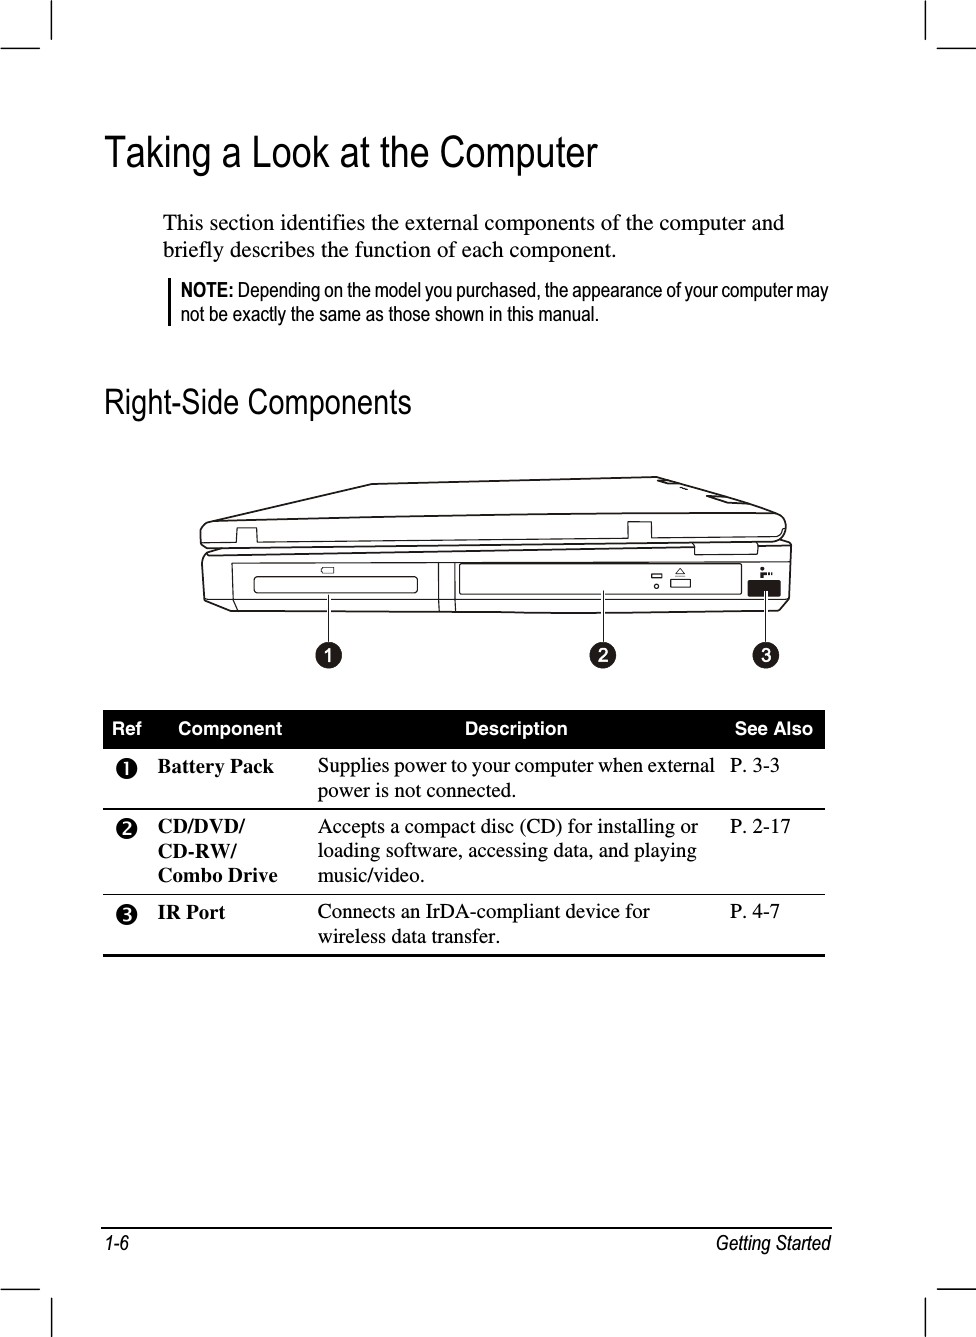
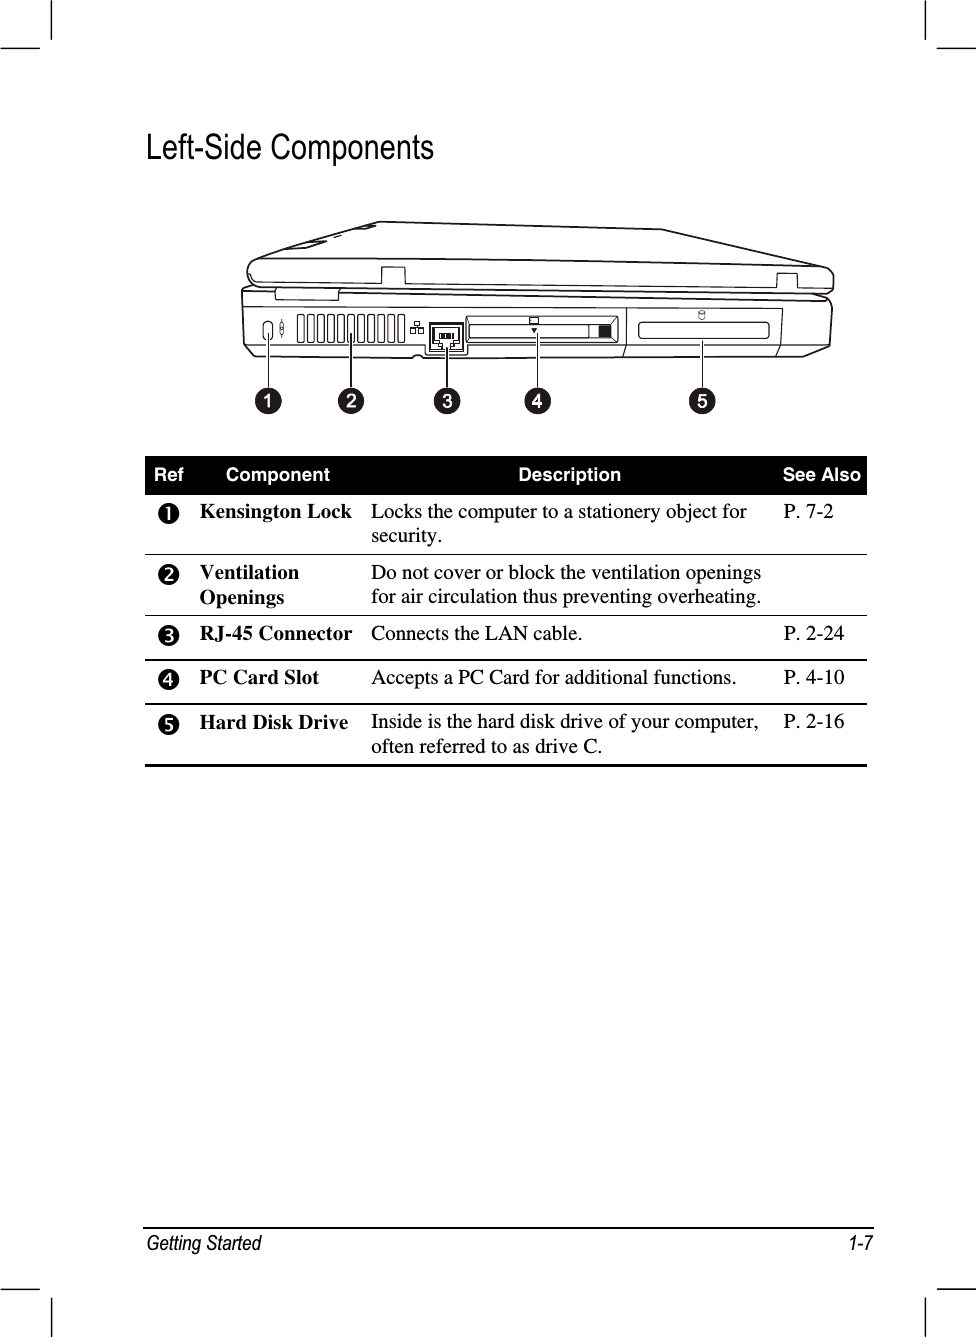
Mitac >
Contents
- 1. Notebook User Manual
- 2. Notebook User Manual with mini PCI WLAN as optional device
Notebook User Manual


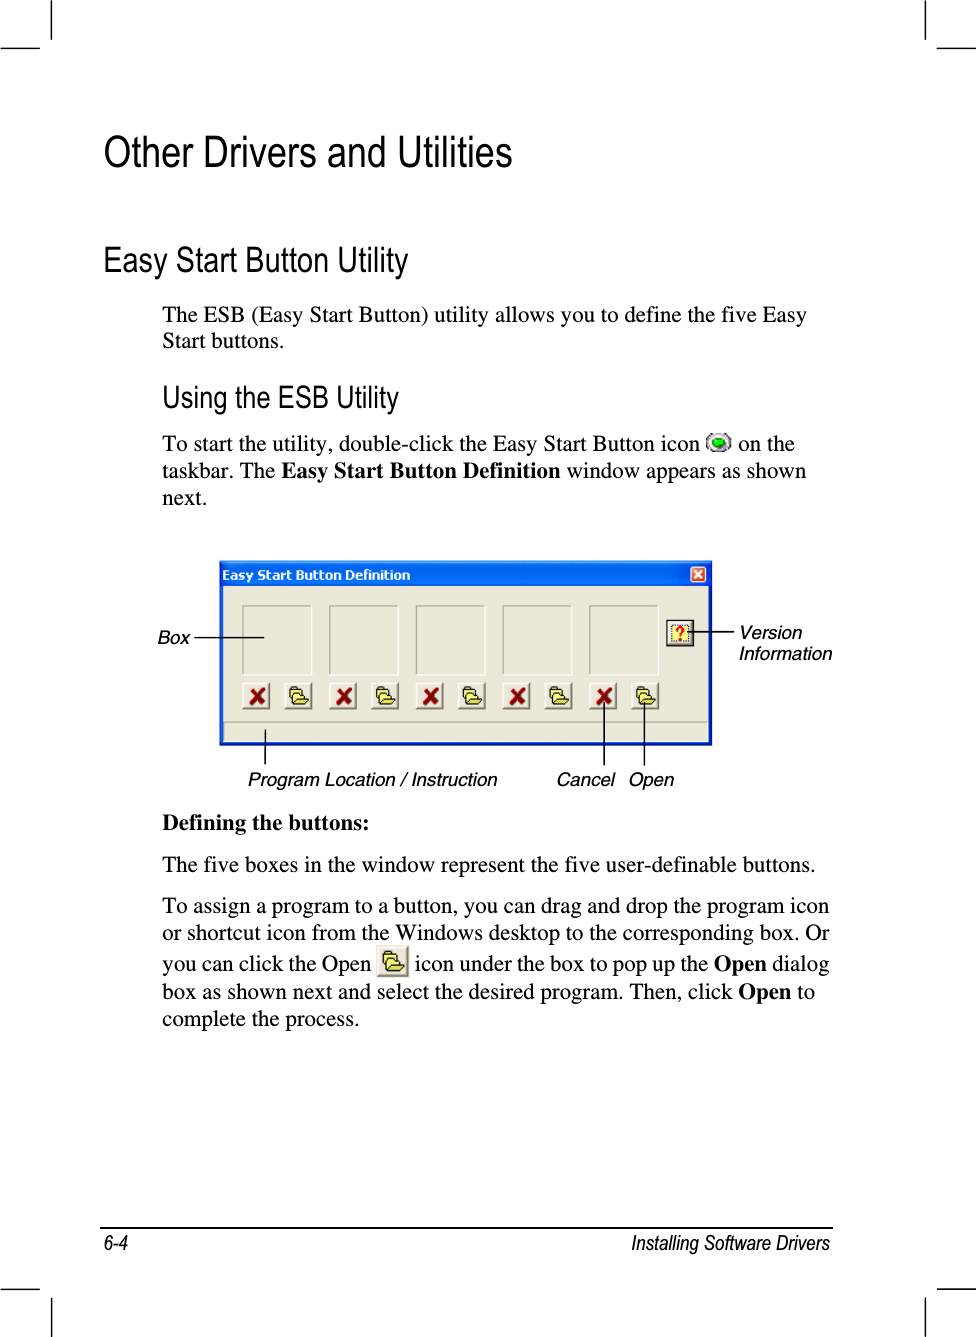
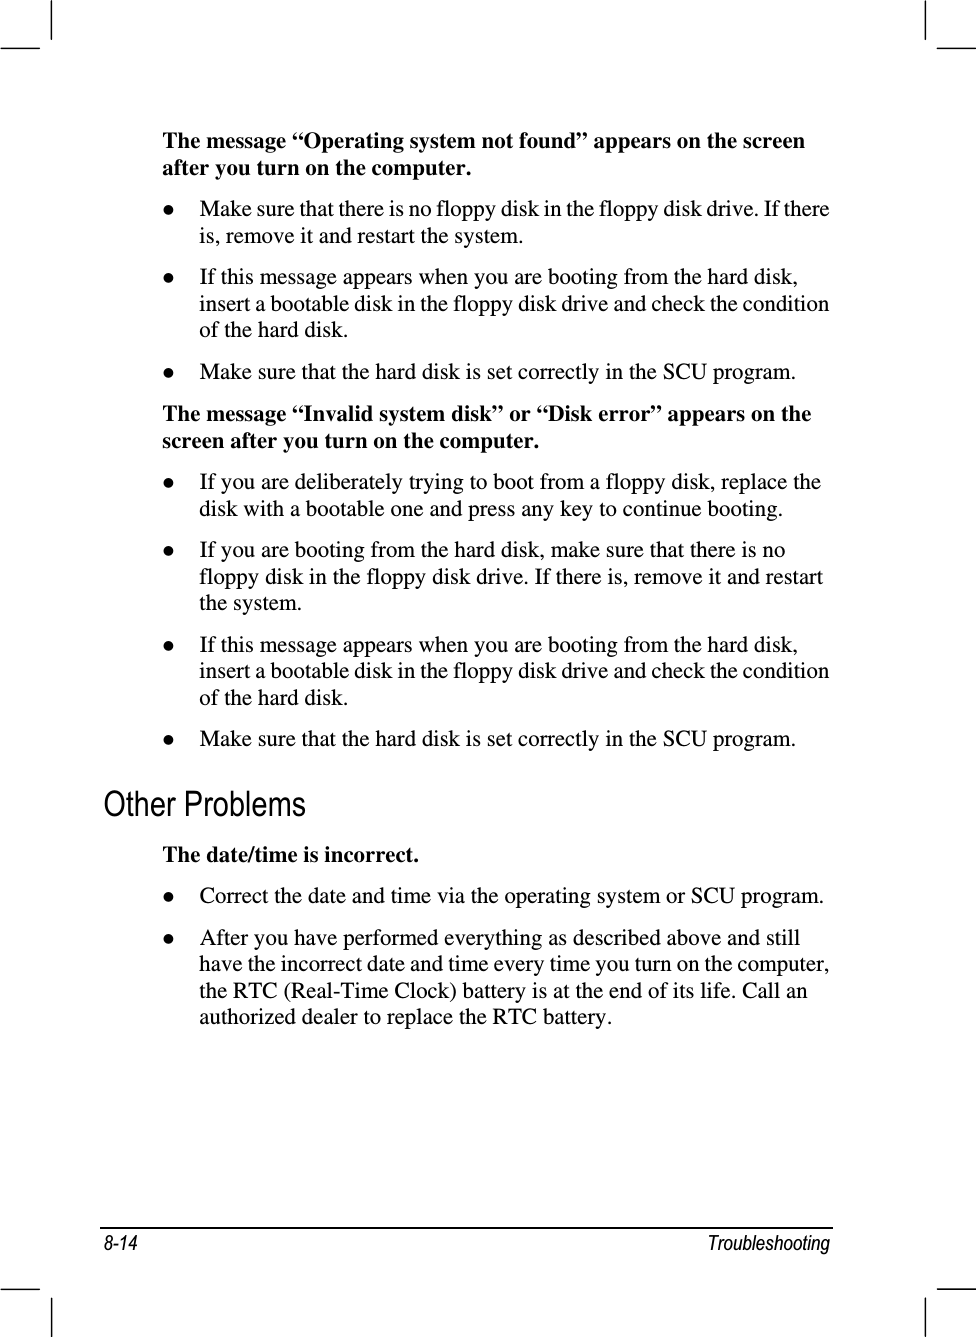
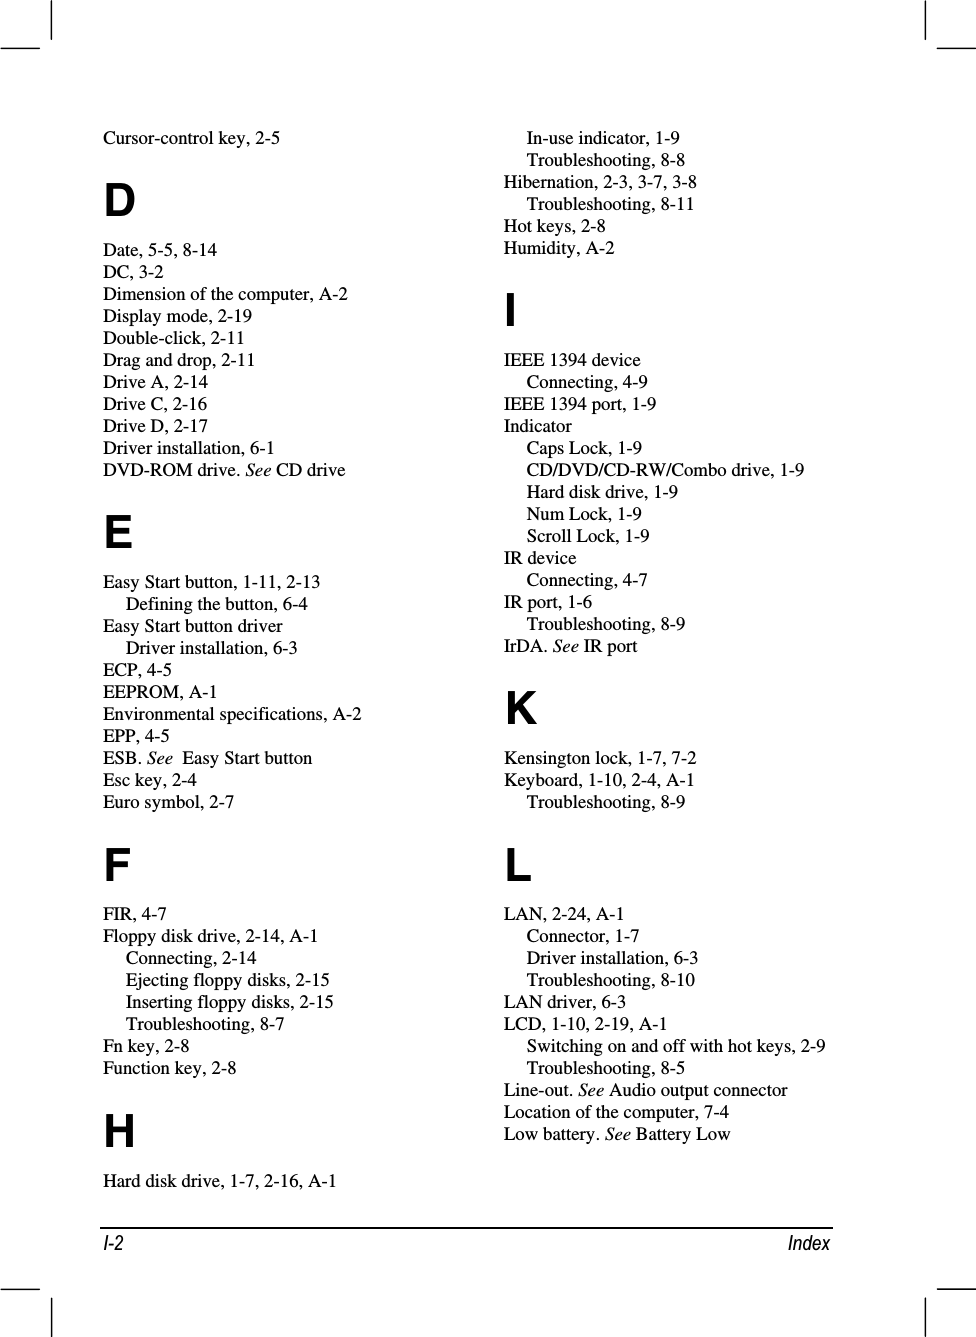
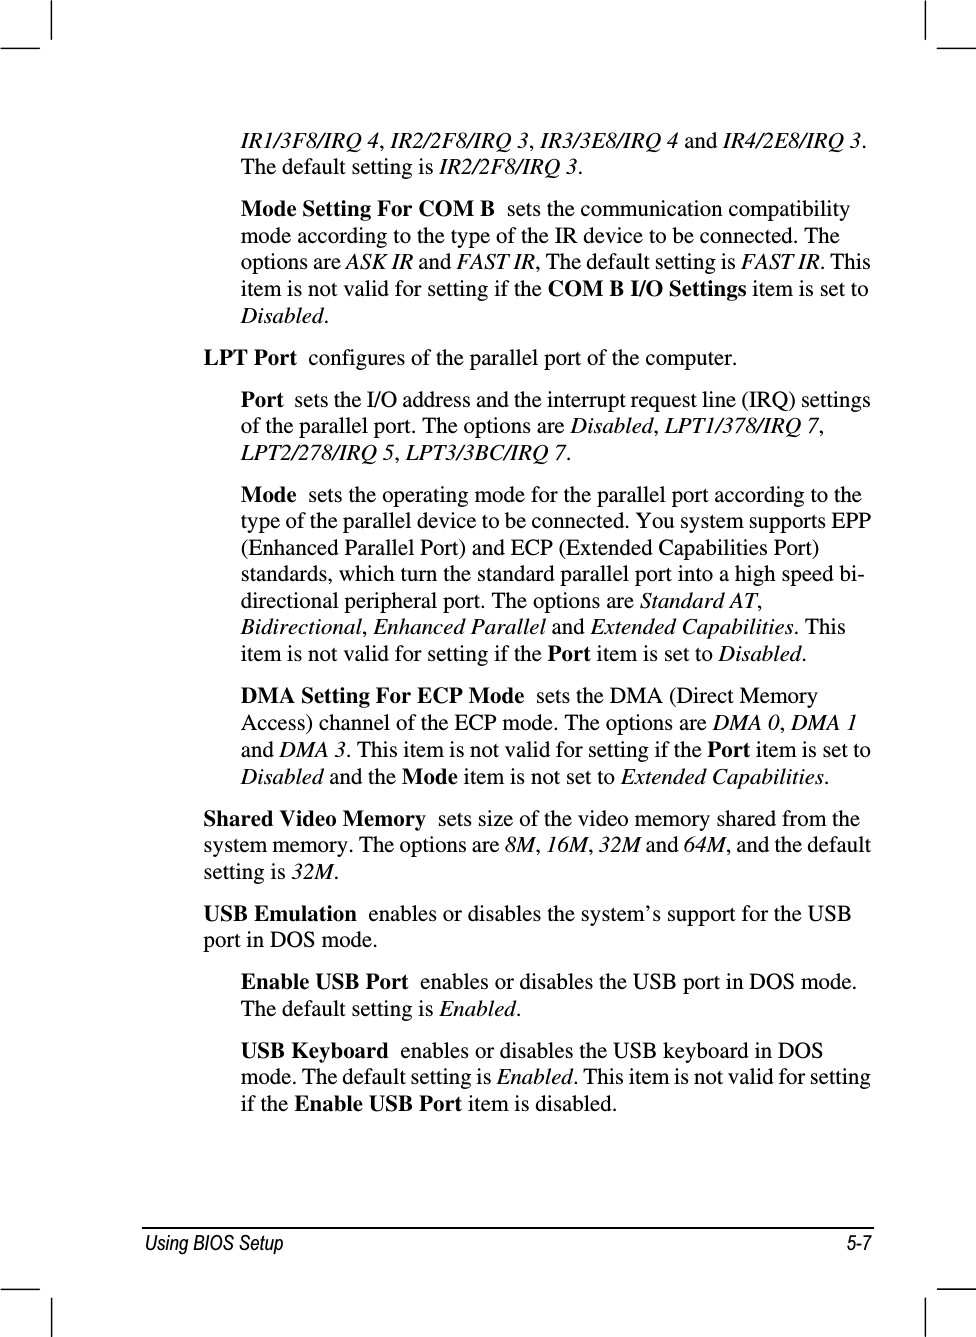
![2SHUDWLQJ<RXU&RPSXWHU Pressing )Q and this key toggles Scroll Lock on and off. When on( light on), the screen moves one line up or down when you press↑ or ↓ arrow key. Scroll Lock does not work for all programs.Pressing this key toggles the Caps Lock on and off. When on( light on), the Caps Lock keeps the letter keys in uppercase.The Pause key temporarily stops screen scrolling. Scroll Lock doesnot work for all programs.The Print Screen key prints the displayed screen. Print screen doesnot work for all programs.&XUVRU&RQWURO.H\V127(7KHZRUG³FXUVRU´UHIHUVWRWKHLQGLFDWRURQWKHVFUHHQWKDWOHWV\RXNQRZH[DFWO\ZKHUHRQ\RXUVFUHHQDQ\WKLQJ\RXW\SHZLOODSSHDU,WFDQWDNHWKHIRUPRIDYHUWLFDORUKRUL]RQWDOOLQHDEORFNRURQHRIPDQ\RWKHUVKDSHVCursor-control keys are generally used for editing purposes. They are:](https://usermanual.wiki/Mitac/8575X.Notebook-User-Manual/User-Guide-263114-Page-29.png)

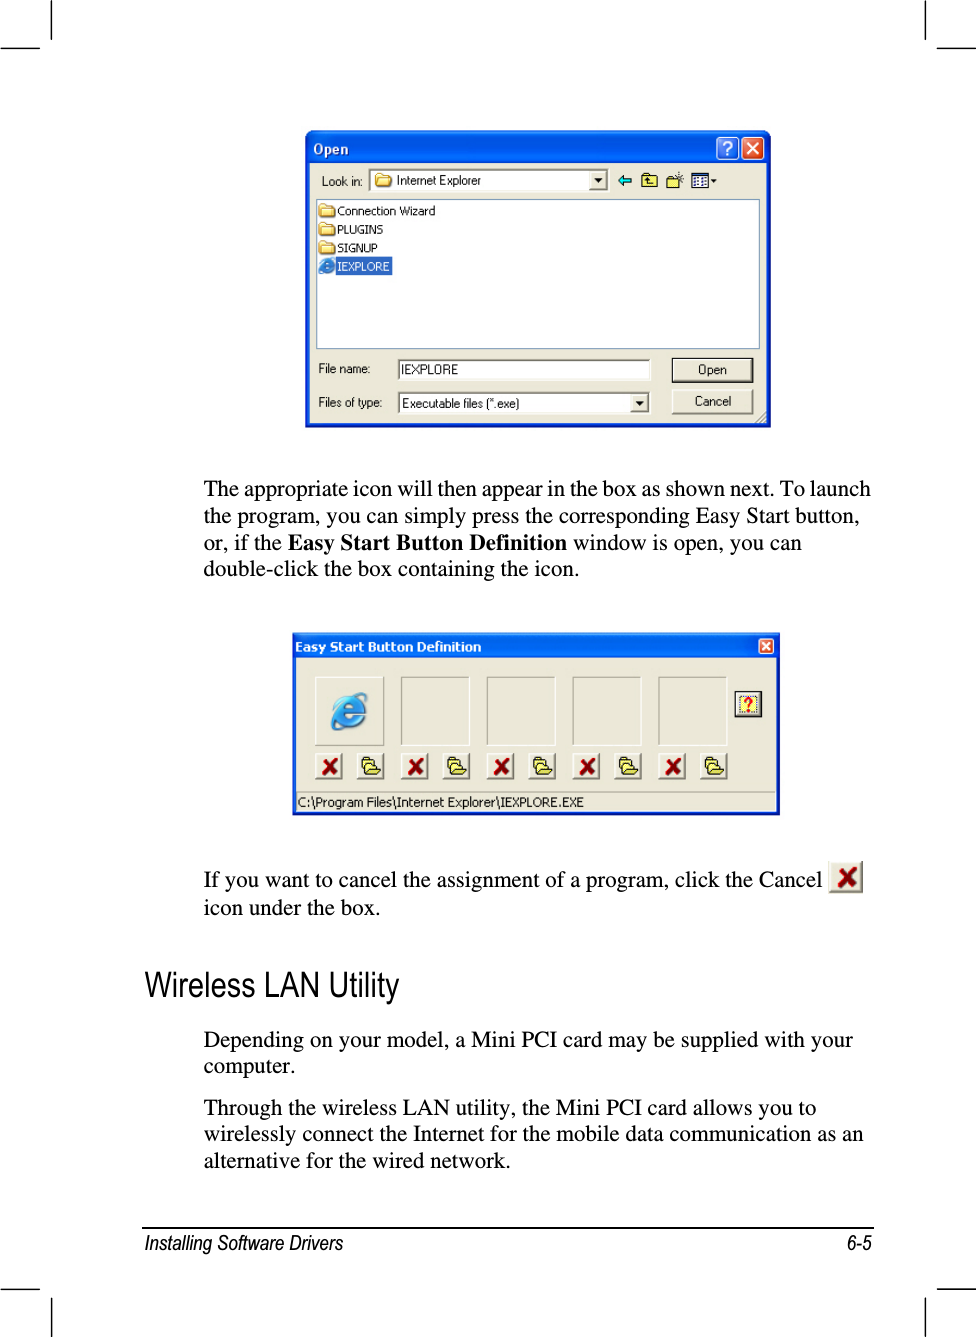
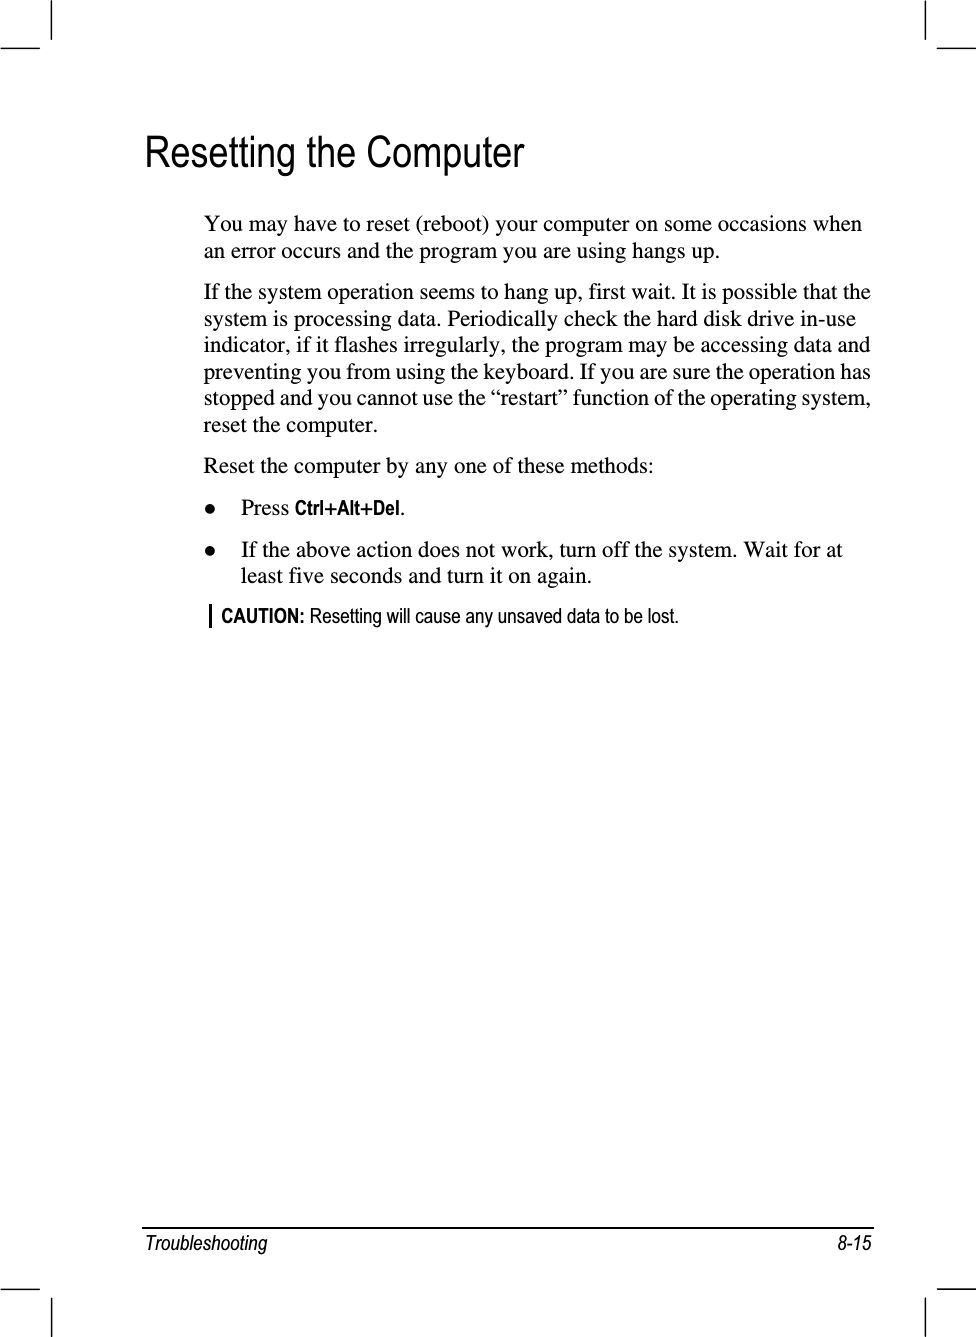
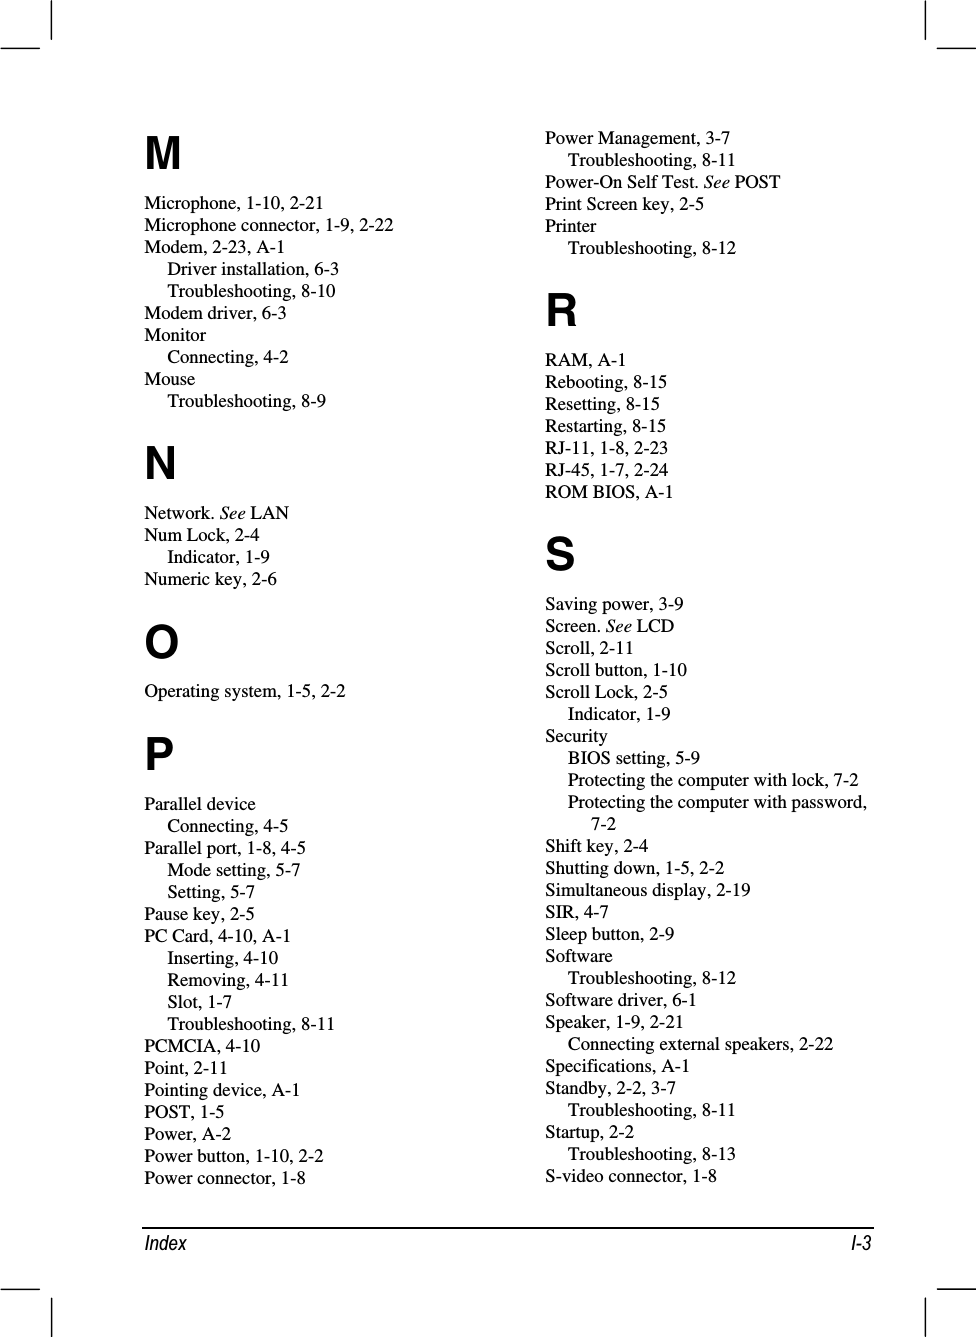
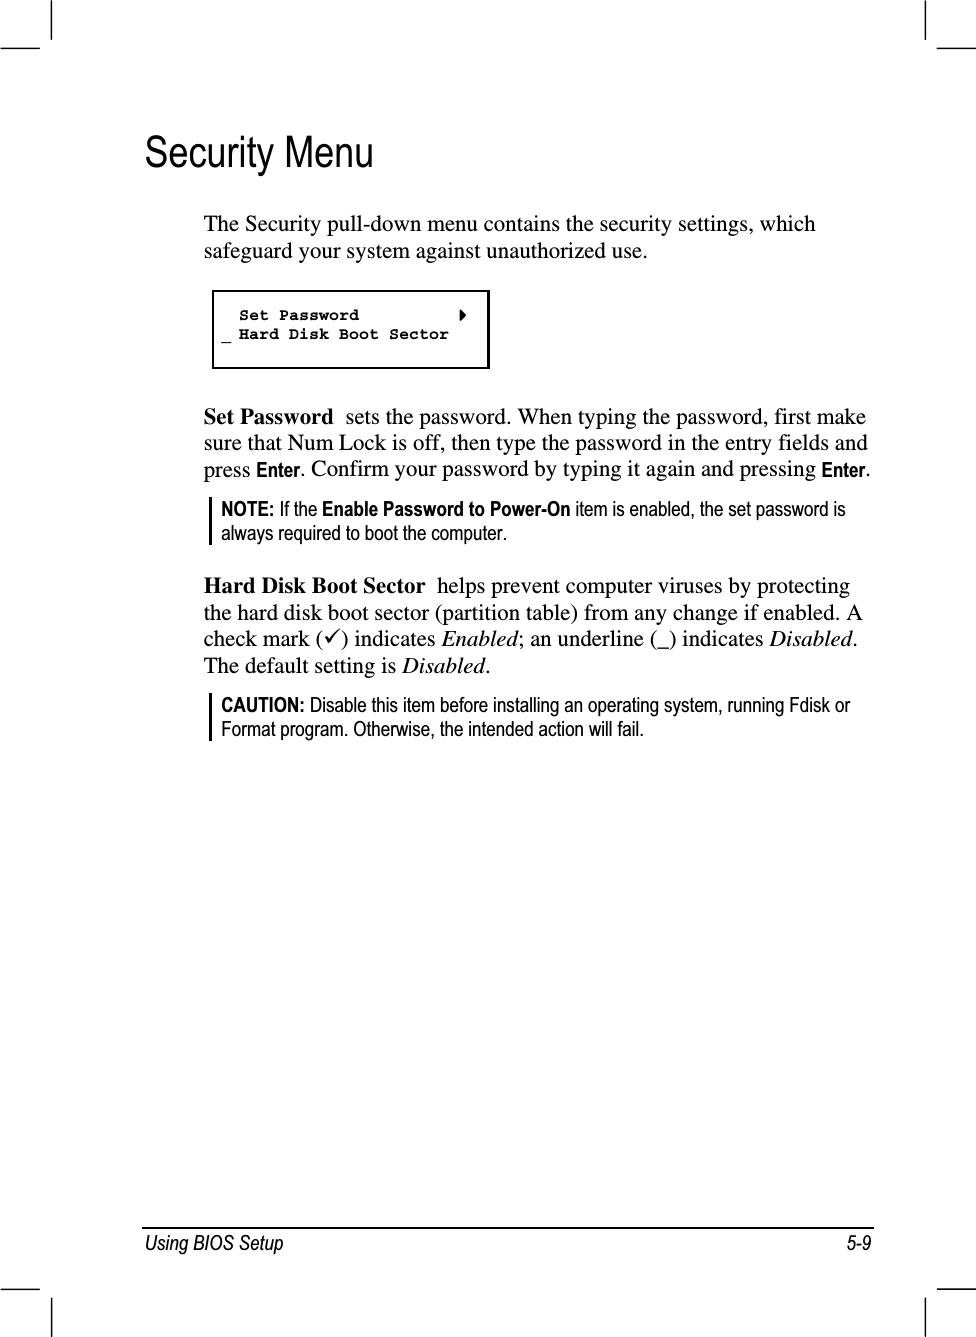
![2SHUDWLQJ<RXU&RPSXWHU 8VLQJWKH&''9''ULYHYour computer comes with a CD/DVD drive, usually configured as driveD.The drive uses removable 5.25-inch silver discs, which look like standardmusic CDs. It is an ideal medium to use for distributing multimediabecause of the huge amount of data that a disc can store.Depending on the model, your drive is one of the following:z CD-ROM drive can read CD-ROMs, audio CDs, CD-R, and CD-RW discs.z CD-RW drive can not only read the above discs but also write toCD-R and CD-RW discs.z DVD-ROM drive can read DVD (Digital Versatile Disc) discs inaddition to the above discs.z Combo drive can work both as a DVD-ROM drive and CD-RWdrive.&$87,21z :KHQLQVHUWLQJD&'GRQRWXVHIRUFHz 0DNHVXUHWKH&'LVFRUUHFWO\LQVHUWHGLQWRWKHWUD\DQGWKHQFORVHWKHWUD\z 'RQRWOHDYHWKH&'WUD\RSHQ$OVRDYRLGWRXFKLQJWKHOHQVLQWKHWUD\ZLWK\RXUKDQG,IWKHOHQVEHFRPHVGLUW\WKH&'520PD\PDOIXQFWLRQz 'RQRWZLSHWKHOHQVXVLQJPDWHULDOVZLWKURXJKVXUIDFHVXFKDVSDSHUWRZHO,QVWHDGXVHDFRWWRQVZDEWRJHQWO\ZLSHWKHOHQV)'$UHJXODWLRQVUHTXLUHWKHIROORZLQJVWDWHPHQWIRUDOOODVHUEDVHGGHYLFHV³&DXWLRQ8VHRIFRQWUROVRUDGMXVWPHQWVRUSHUIRUPDQFHRISURFHGXUHVRWKHUWKDQWKRVHVSHFLILHGKHUHLQPD\UHVXOWLQKD]DUGRXVUDGLDWLRQH[SRVXUH´127()RU'9'520GULYHRQO\7KLVSURGXFWLQFRUSRUDWHVFRS\ULJKWSURWHFWLRQWHFKQRORJ\WKDWLVSURWHFWHGE\PHWKRGFODLPVRIFHUWDLQ86SDWHQWVDQGRWKHULQWHOOHFWXDOSURSHUW\ULJKWVRZQHGE\0DFURYLVLRQ&RUSRUDWLRQDQGRWKHUULJKWVRZQHUV8VHRIWKLVFRS\ULJKWSURWHFWLRQWHFKQRORJ\PXVWEHDXWKRUL]HGE\0DFURYLVLRQ&RUSRUDWLRQDQGLVLQWHQGHGIRUKRPHDQGRWKHUOLPLWHGYLHZLQJXVHVRQO\XQOHVVRWKHUZLVHDXWKRUL]HGE\0DFURYLVLRQ&RUSRUDWLRQ5HYHUVHHQJLQHHULQJRUGLVDVVHPEO\LVSURKLELWHG](https://usermanual.wiki/Mitac/8575X.Notebook-User-Manual/User-Guide-263114-Page-41.png)


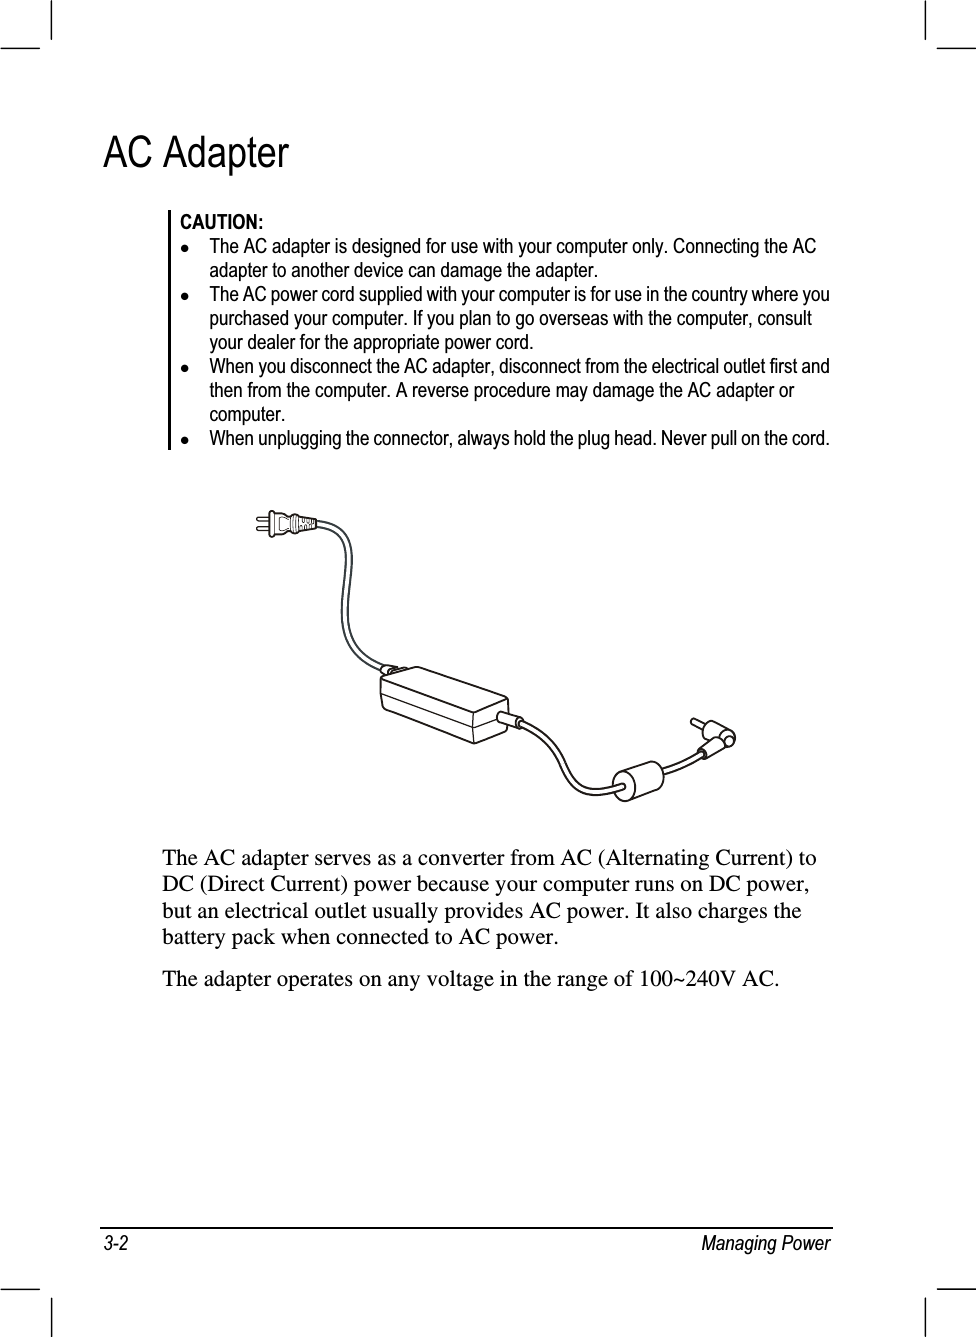
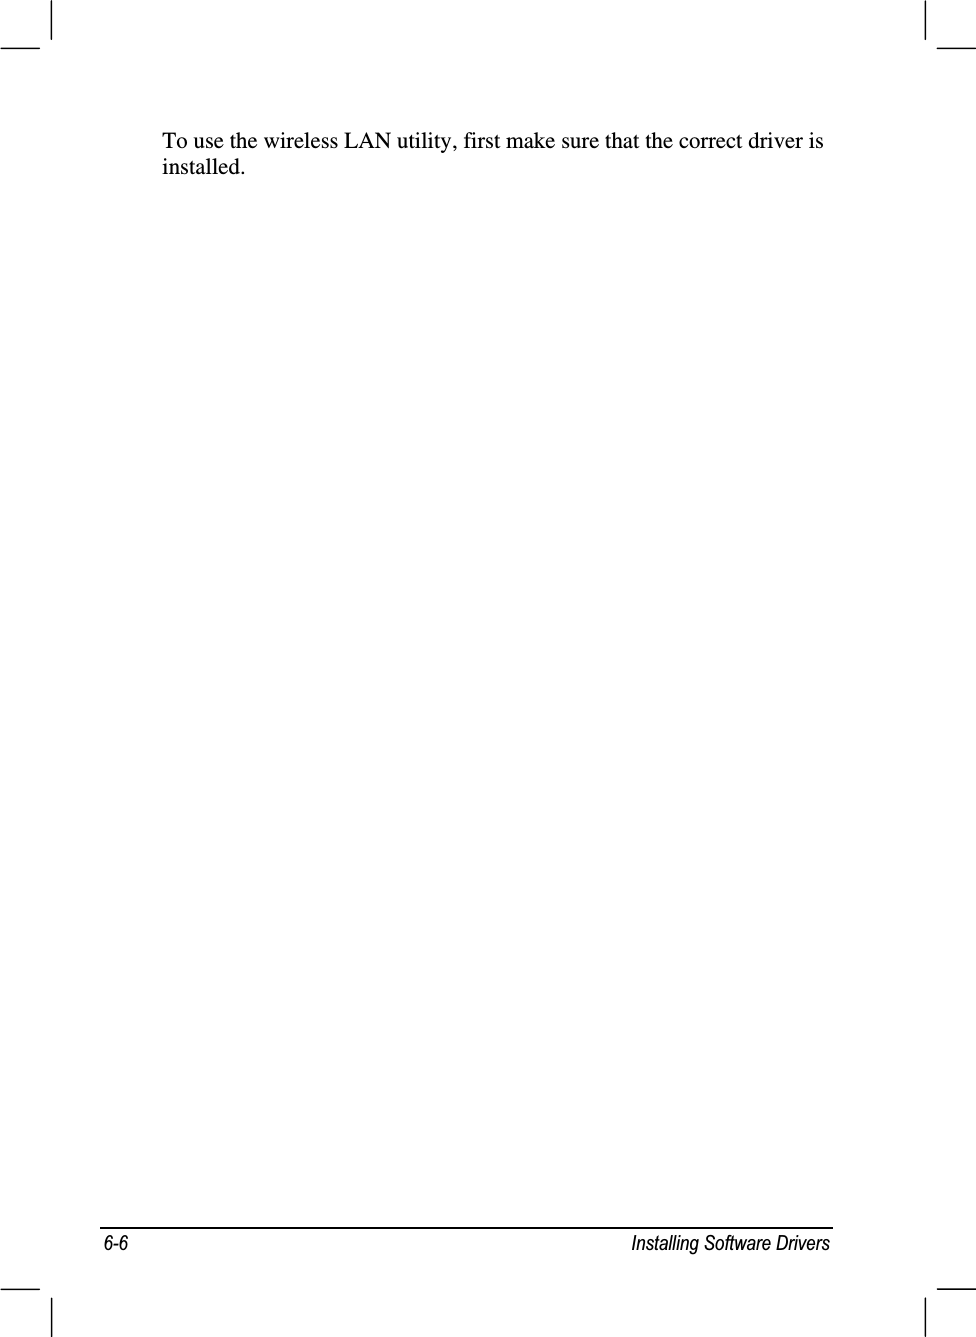
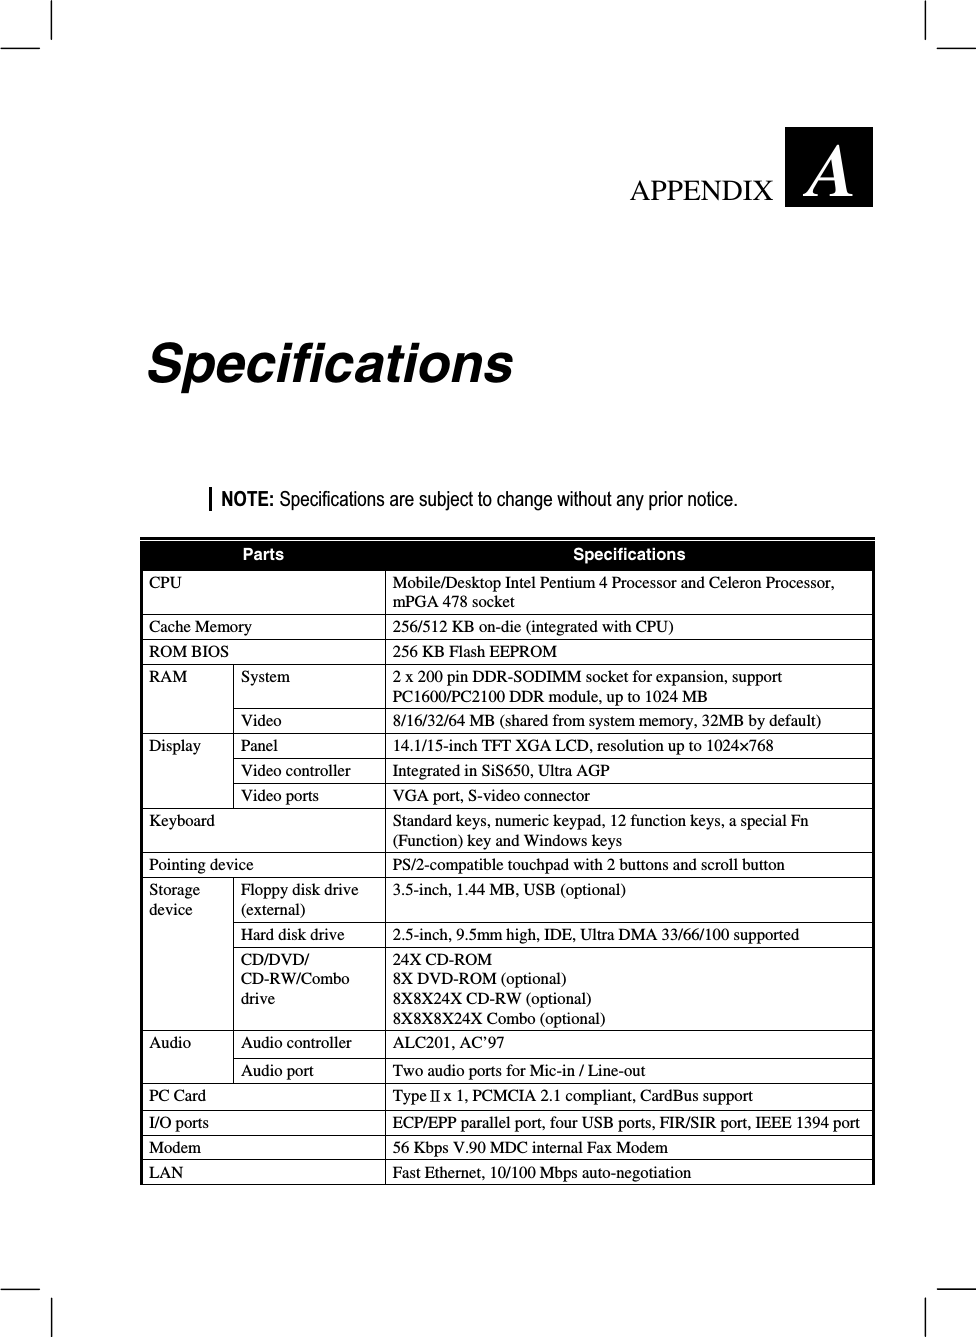
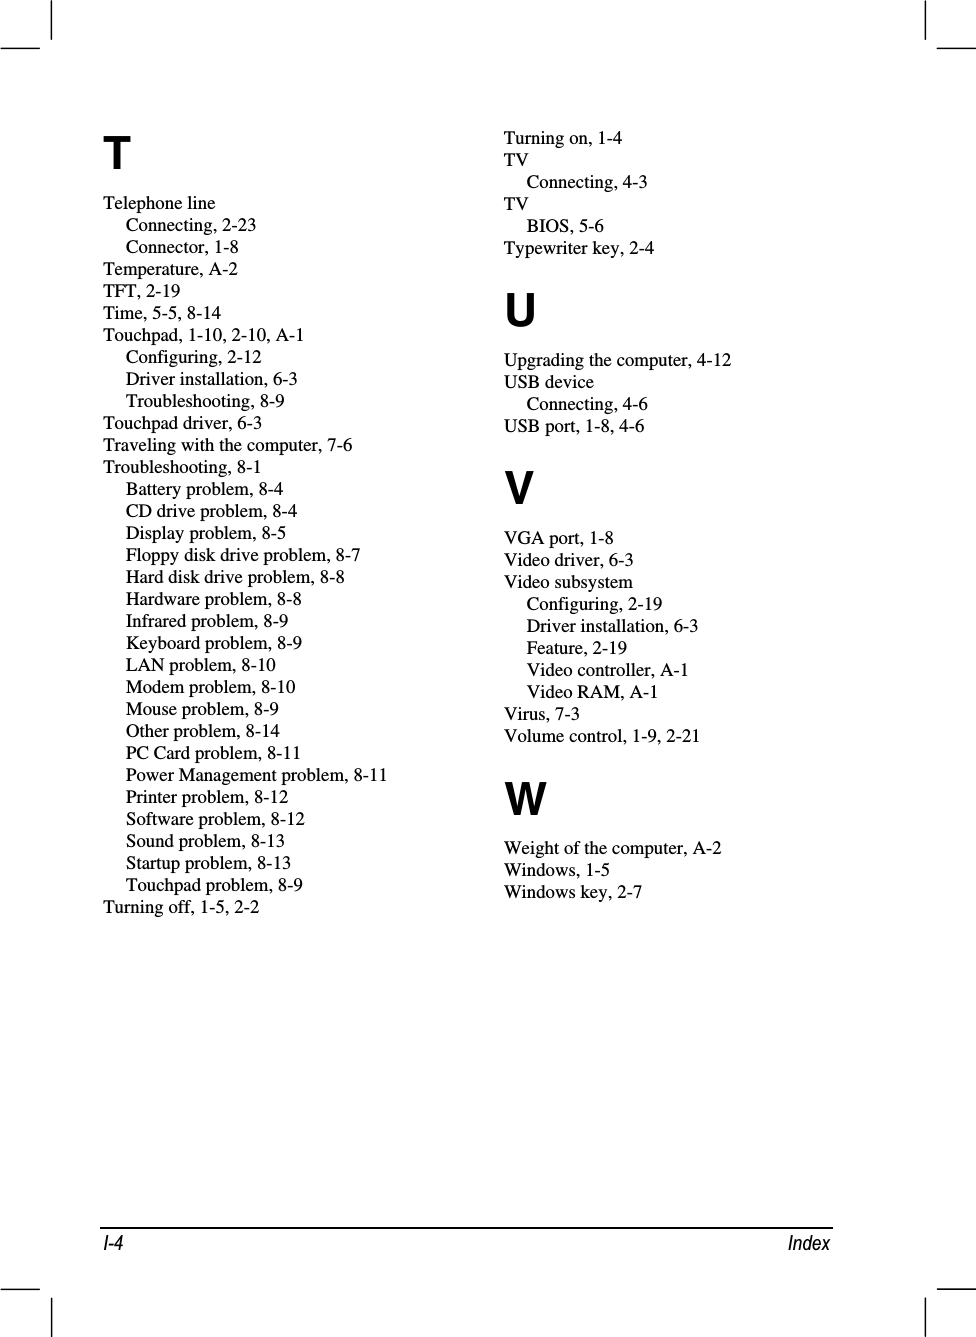
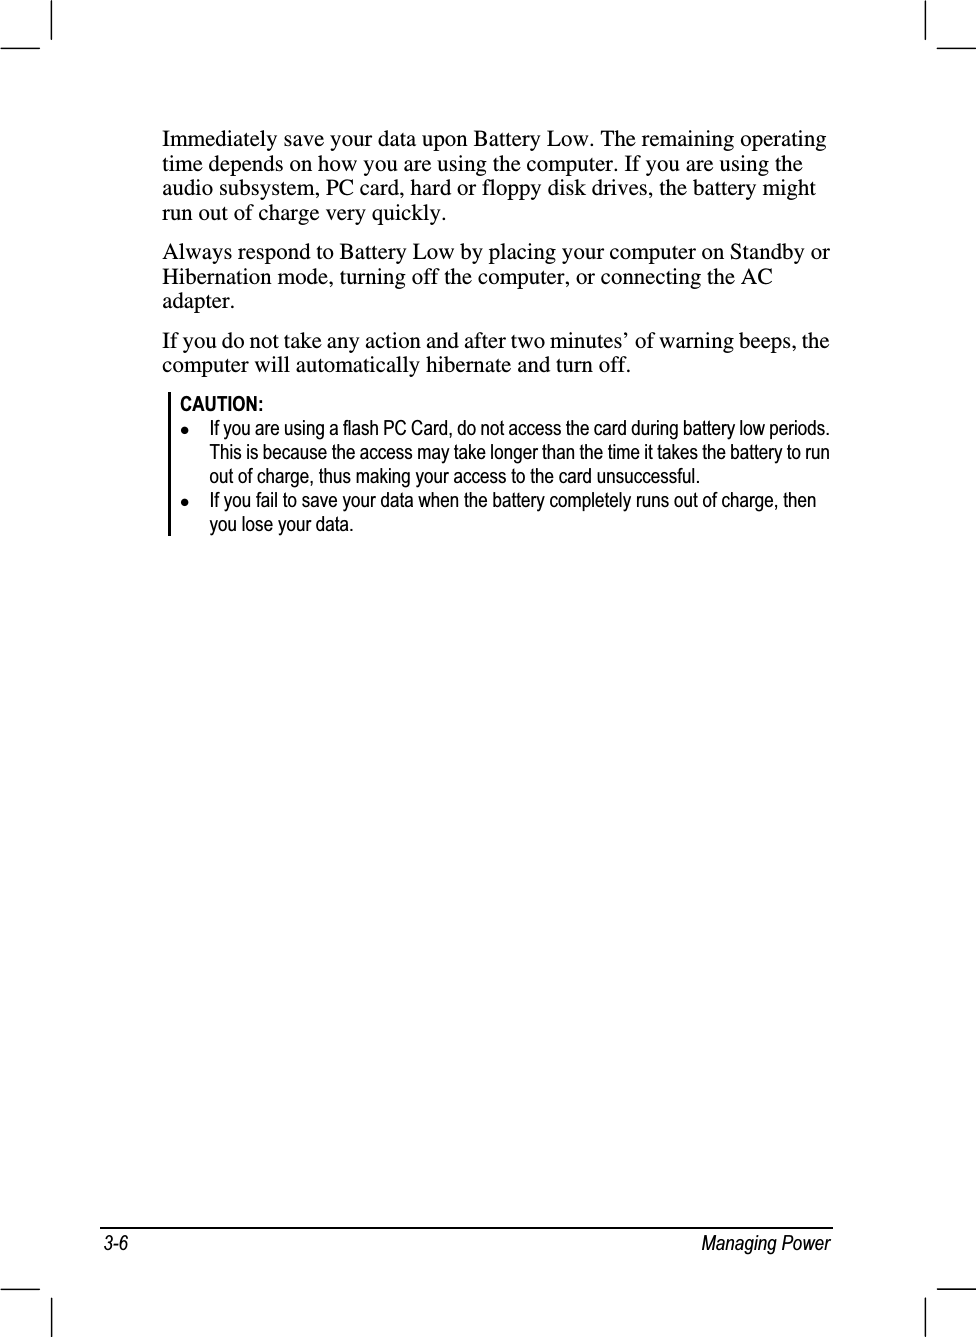
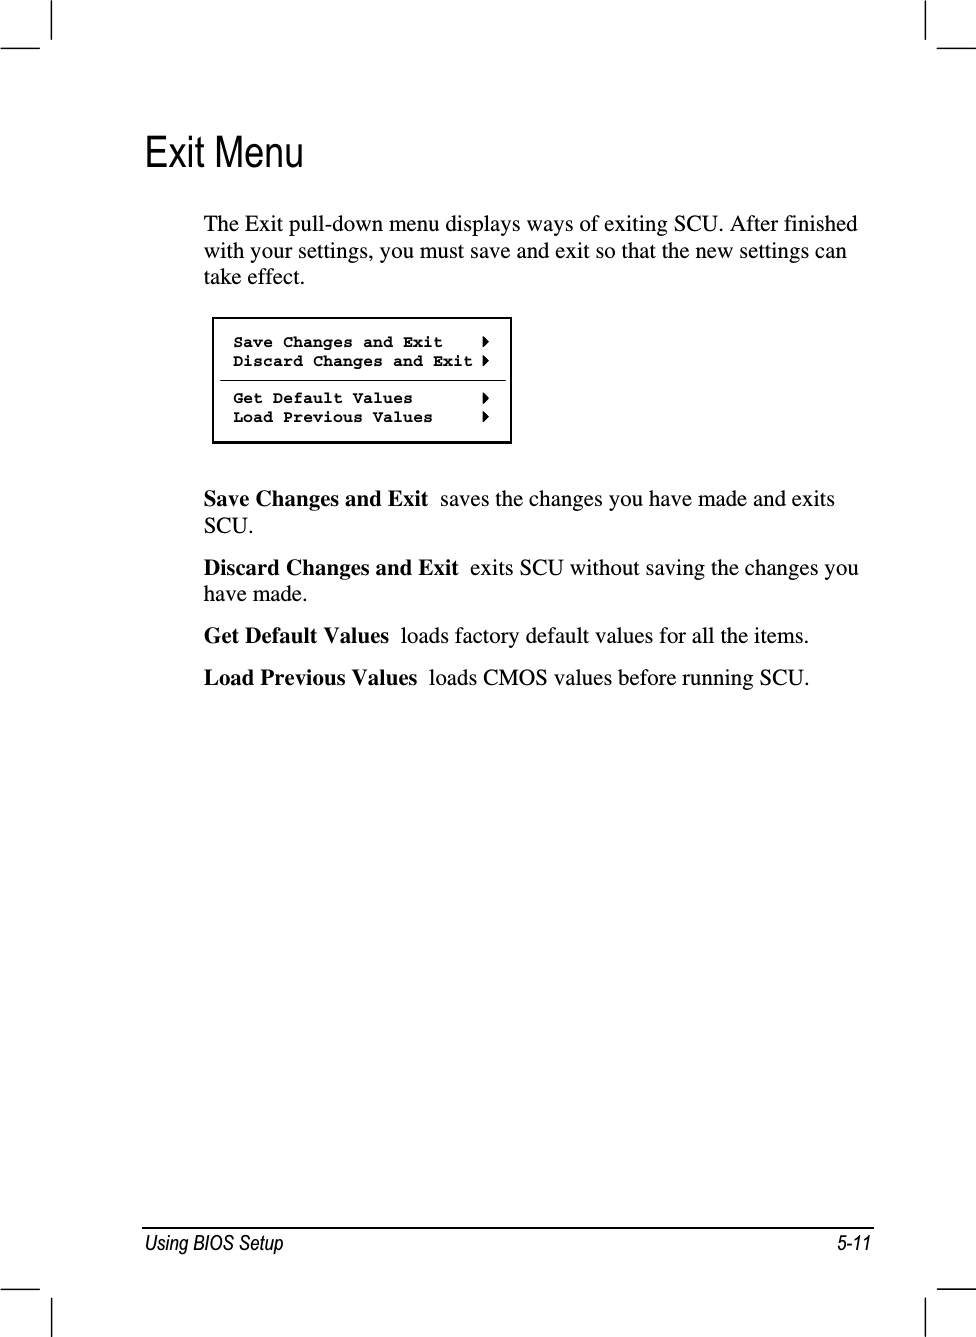
![ 0DQDJLQJ3RZHU,QLWLDOL]LQJWKH%DWWHU\3DFNYou need to initialize a new battery pack before using it for the first timeor when the actual operating time of a battery pack is much less thanexpected.Initializing is the process of fully charging, discharging, and thencharging. It can take several hours.1. Make sure the computer power is turned off. Connect the AC adapterto fully charge the battery pack.2. After the battery pack is fully charged, turn on the computer. Whenthe message “Press <F2> to enter System Configuration Utility”appears, press)to invoke the program.3. Disconnect the AC adapter and leave the computer on until thebattery is fully discharged. The computer will shut downautomatically.4. Connect the AC adapter to fully charge the battery pack.&KHFNLQJWKH%DWWHU\/HYHO127($Q\EDWWHU\OHYHOLQGLFDWLRQLVDQHVWLPDWHGUHVXOW7KHDFWXDORSHUDWLQJWLPHFDQEHGLIIHUHQWIURPWKHHVWLPDWHGWLPHGHSHQGLQJRQKRZ\RXDUHXVLQJWKHFRPSXWHUYou can check the approximate battery level using the battery meterfunction of the operating system. To read the battery level in Windows,click the icon on the taskbar. (Click the icon if the computer isusing AC power.)5HSODFLQJWKH%DWWHU\3DFN&$87,21z 7KHUHLVGDQJHURIH[SORVLRQLIWKHEDWWHU\LVLQFRUUHFWO\UHSODFHG5HSODFHWKHEDWWHU\RQO\ZLWKWKHFRPSXWHUPDQXIDFWXUHU¶VRSWLRQDOEDWWHU\SDFNV'LVFDUGXVHGEDWWHULHVDFFRUGLQJWRWKHGHDOHU¶VLQVWUXFWLRQVz 'RQRWDWWHPSWWRGLVDVVHPEOHWKHEDWWHU\SDFN](https://usermanual.wiki/Mitac/8575X.Notebook-User-Manual/User-Guide-263114-Page-52.png)


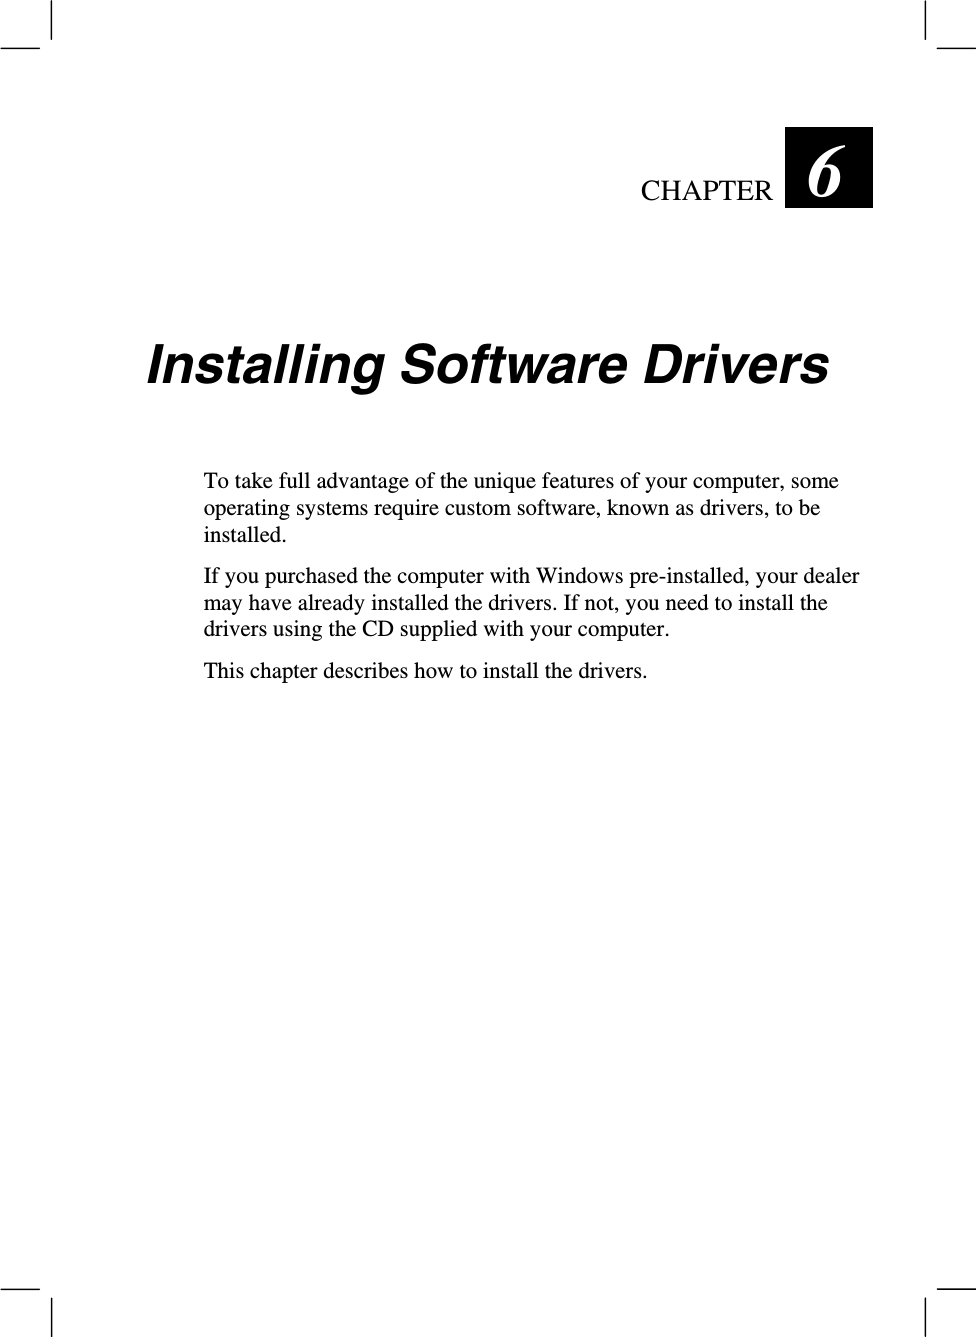
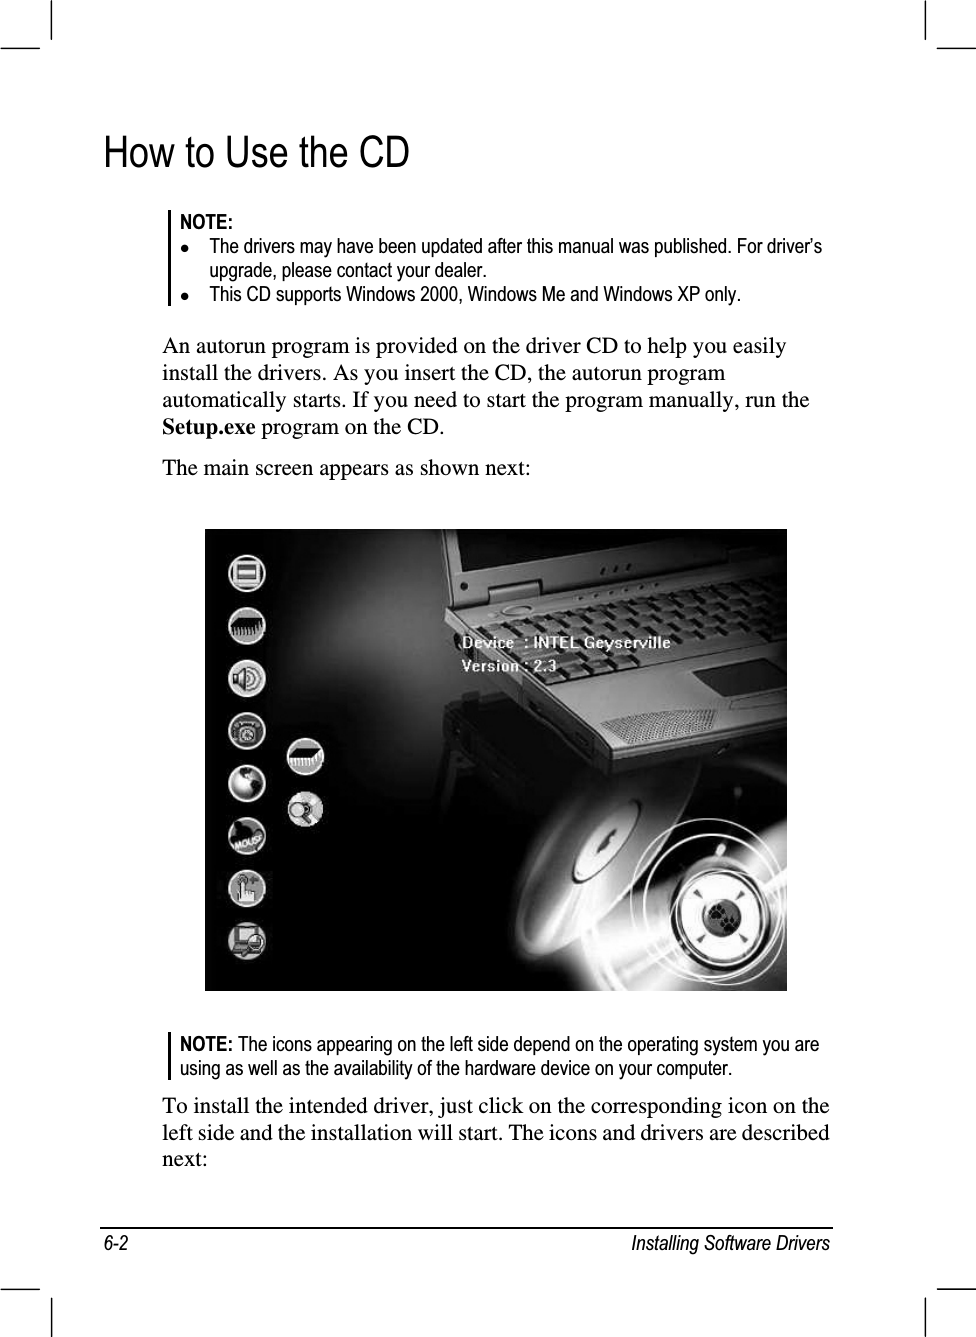
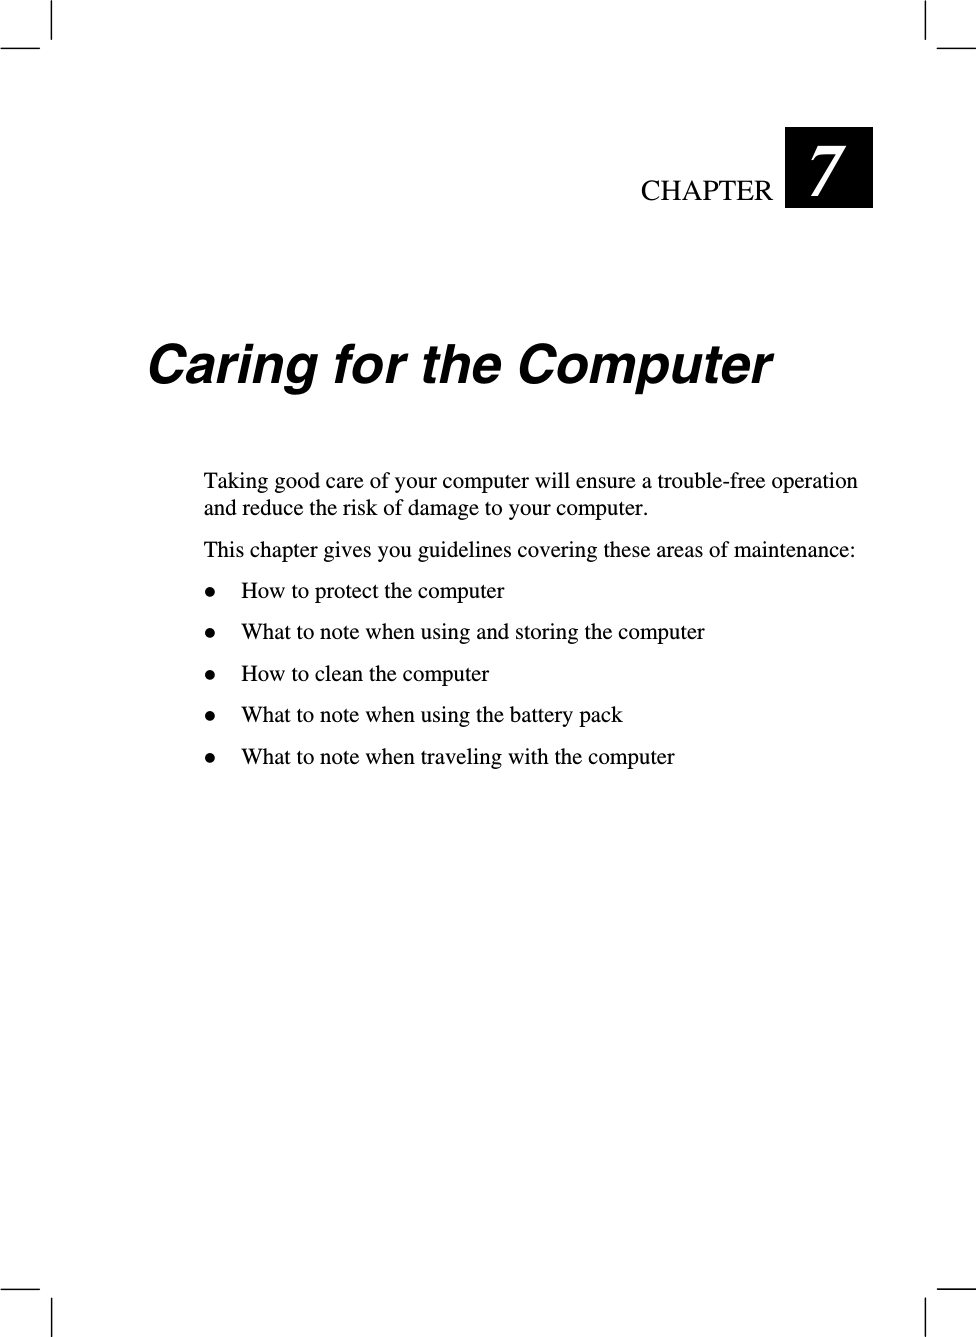
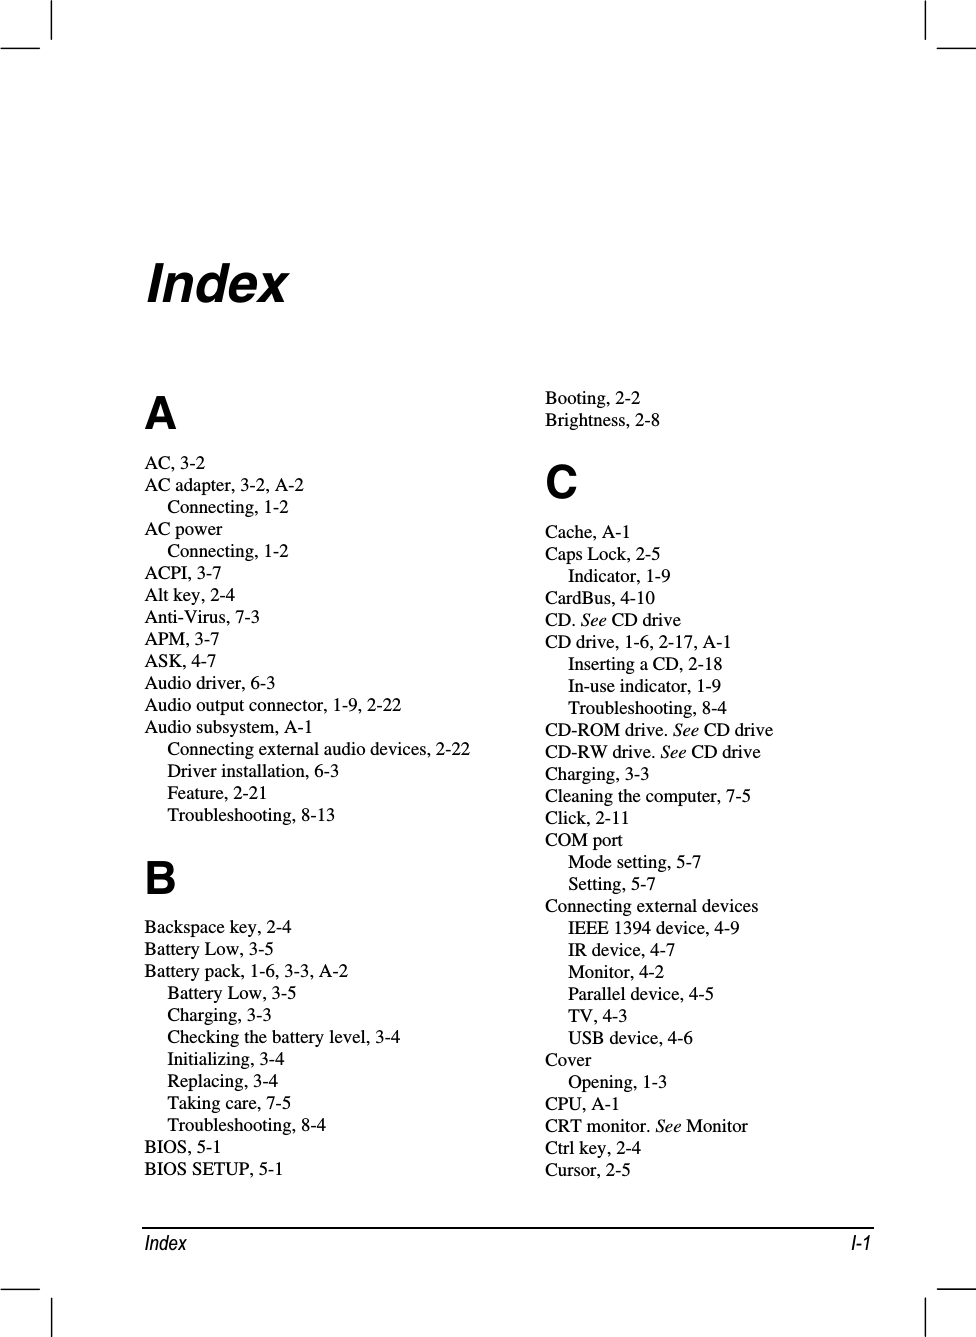
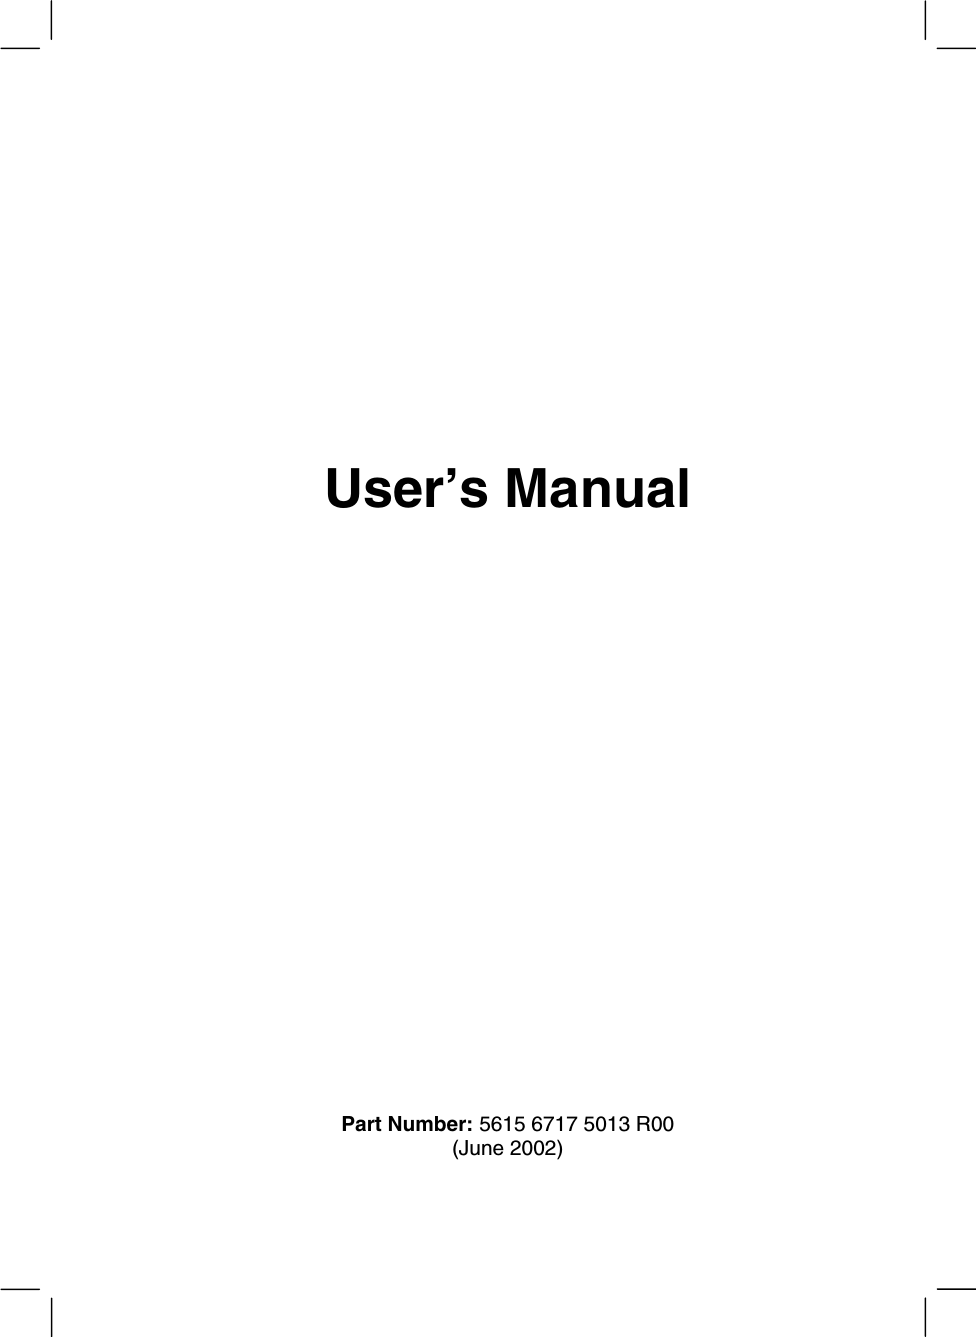
![,QVWDOOLQJ6RIWZDUH'ULYHUV Icon Name DescriptionVideo driver Installs the driver that allows you to select high-resolution displays with richer colors.AGP driver Installs the AGP 4X/133 driver to ensure the fullfunction of the VGA and other drivers.127(7KLVIXQFWLRQLVIRU:LQGRZV;3RQO\Audio driver Installs the driver that allows you to take fulladvantage of the audio subsystem.Modem driver Installs the driver that allows you to use the modemfunction of the computer.127()RU:LQGRZV0HVHOHFW6SHFLI\WKHORFDWLRQRIWKHGULYHU$GYDQFHGZKHQWKH$GG1HZ+DUGZDUH:L]DUGZLQGRZDSSHDUVWKHQFOLFN1H[W&OLFN1H[WDJDLQDQGWKHV\VWHPZLOODXWRPDWLFDOO\ORFDWHWKHFRUUHFWGULYHULAN driver Installs the driver that allows you to use the networkfunction of the computer.TouchpaddriverInstalls the driver that allows you to take fulladvantage of the touchpad features.Easy StartButton driverAllows you to define the Easy Start buttons. (Forinformation on installing and using the utility, see“Other Drivers and Utilities” later in this chapter.)PowerManagementutilityAllows you to optimize the power consumption ofCPU.127(7KLVLWHPLVDYDLODEOHRQO\ZKHQWKH&38VXSSRUWVWKH*H\VHUYLOOHIHDWXUHDQG\RXGRQRWQHHGWRLQVWDOOWKLVGULYHUZKHQXVLQJ:LQGRZV;3IR ModuleSelect guideShows how to set the IR module for the operatingsystem used.Browse CD Browses the contents of this CD.](https://usermanual.wiki/Mitac/8575X.Notebook-User-Manual/User-Guide-263114-Page-85.png)