MitraStar Technology HGW500BNAQCV2 Adaptador Wifi+ Dual User Manual
MitraStar Technology Corporation Adaptador Wifi+ Dual
User Manual

Firmware Version 1.00
Edition 1, 10/2015
Default Login Details
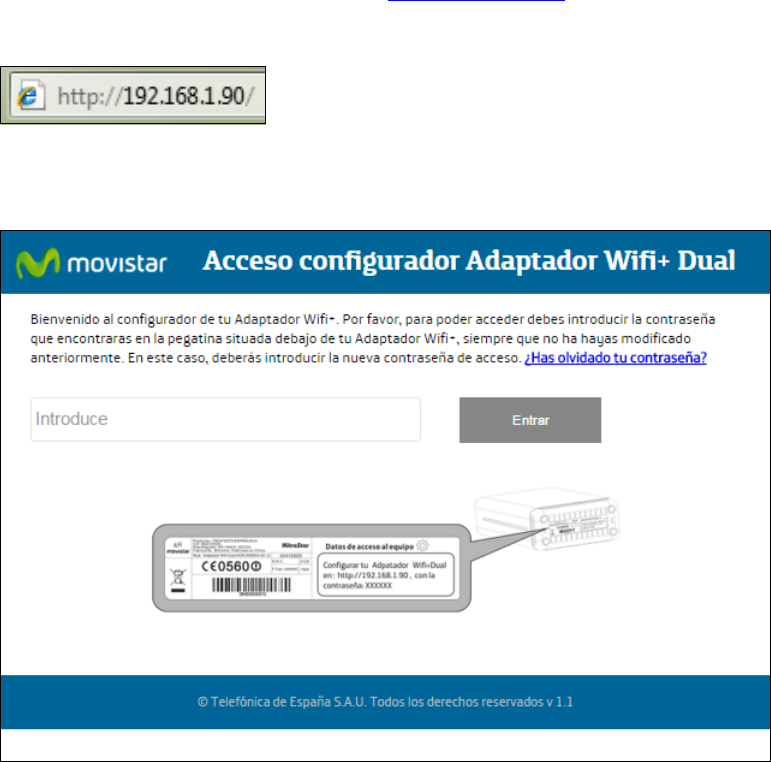
http://192.168.1.90
Password: See device bottom label
HGW-500BNA-QC v2
Adaptador Wifi+ Dual
User’s Guide
IMPORTANT!
READ CAREFULLY BEFORE USE.
KEEP THIS GUIDE FOR FUTURE REFERENCE.
Graphics in this book may differ slightly from the product due to differences in operating systems,
operating system versions, or if you installed updated firmware/software for your device. Every
effort has been made to ensure that the information in this manual is accurate.
1
Chapter
Chapter 1 Configuration 4
CHAPTER 1
Chapter 1Configuration
1.1 Access the Adaptador Wifi+ Dual
In your Internet browser go to IP address http://192.168.1.90 to connect to the Adaptador Wifi+
Dual’s web configuration screens.
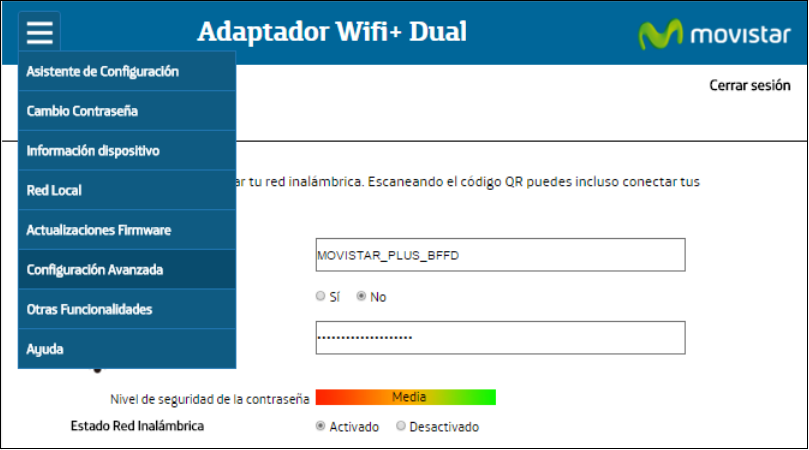
The login screen displays. The default password is on the sticker on the bottom of your device. Enter
the password and click Entrar.
Use t
Chapter 1 Configuration 5
1.2 Screen Layout
The first screen displays. Use the menu on the upper left to access the configuration screens and
the help (Ayuda). Use Cerrar sesión on the upper right to log out.
Chapter 1 Configuration 6
1.3 2.4 GHz Wireless Configuration
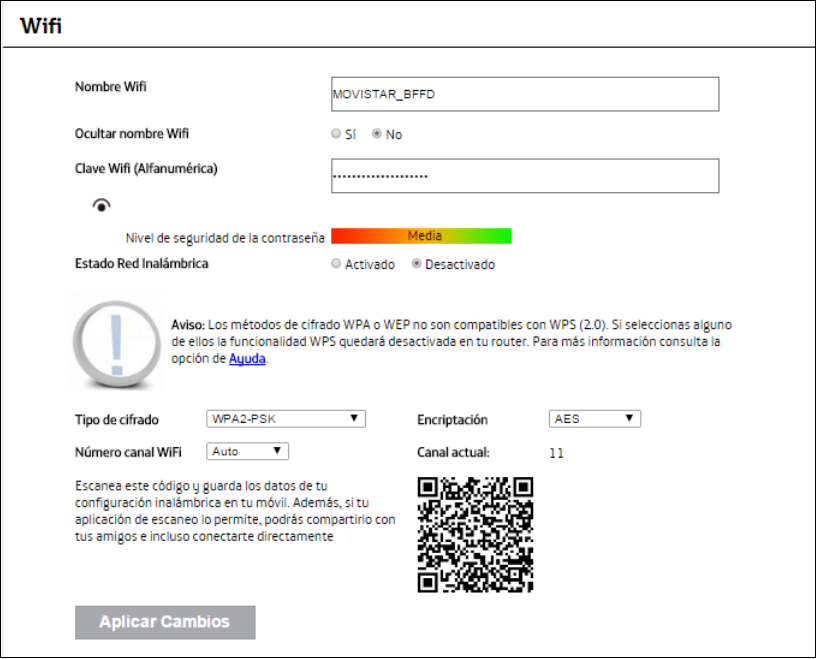
Click Asistente de Configuración in the menu and use the Wifi section to configure the Adaptador
Wifi+ Dual’s 2.4 GHz wireless network settings.
1Use Nombre Wifi to set the network name.
2Set Ocultar nombre Wifi to Sí if you want to hide the network name from SSID scans.
3Use Clave Wifi (Alfanumérica) to set the Wifi key (network password). Nivel de seguridad de la
contraseña shows the password strength.
42.4 GHz wireless is enabled by default. If you want to disable it, switch the Estado Red Inalámbrica
button to Desactivado.
5 The basic wireless security mode is WPA2-PSK (recommended). You can change it in the Tipo de
cifrado field.
6The Adaptador Wifi+ Dual uses AES encryption by default. Use the Encriptación field if you want
to change it to AES+TKIP.
7Use Número canal WiFi to select a specific WiFi channel or use Auto to have the Adaptador Wifi+
Dual automatically select one. Canal actual shows the current channel.
Chapter 1 Configuration 7
8If your smartphone or tablet has a QR code reader application, you can scan the QR code to quickly
get the 2.4 GHz wireless network settings to connect to the Adaptador Wifi+ Dual.
9Click Aplicar Cambios to save and apply your 2.4 GHz settings.
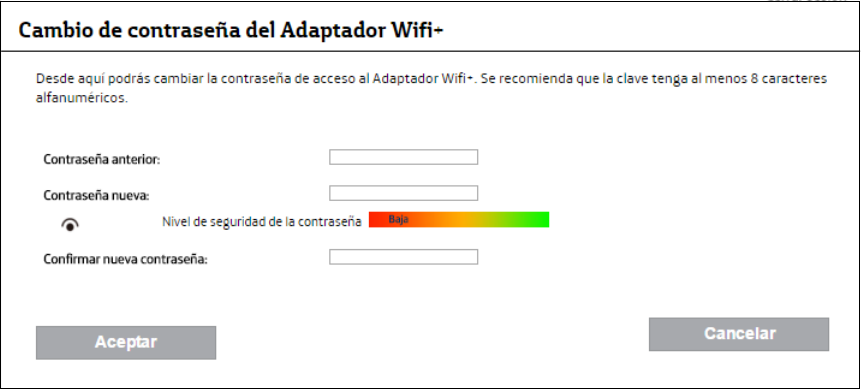
1.4 Changing the Adaptador Wifi+ Dual’s Password
Click Cambio Contraseña in the menu.
1Enter the Adaptador Wifi+ Dual’s current password in Contraseña anterior and the new password
in Contraseña nueva.
Nivel de seguridad de la contraseña shows the password strength.
2Retype the new password in the Confirmar nueva contraseña field and click Aceptar to save the
setting. The Adaptador Wifi+ Dual logs you out. Log back in with your new password.
Chapter 1 Configuration 8
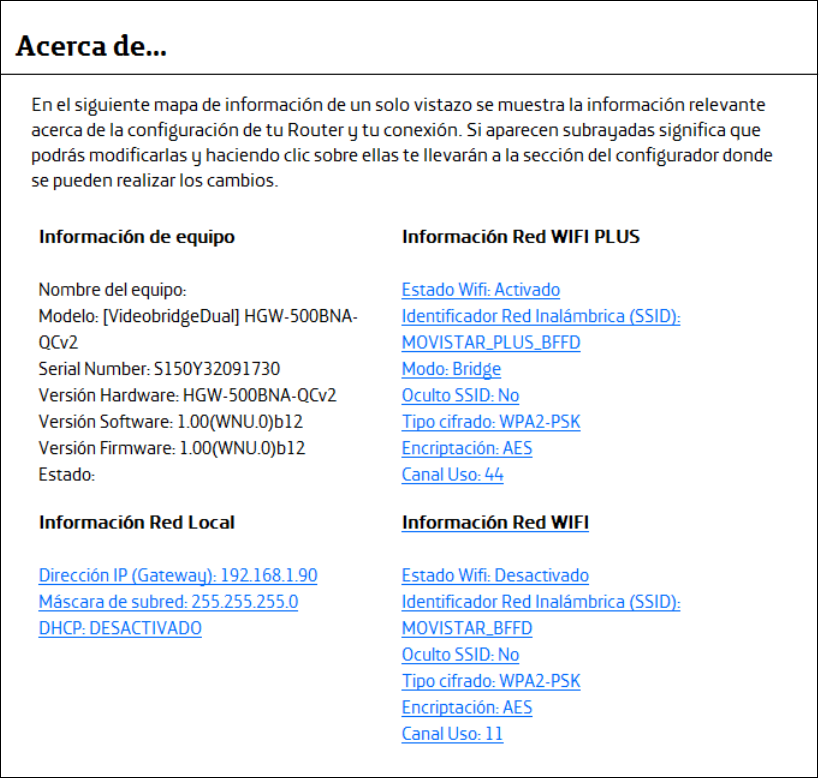
1.5 Device Information
Click Información dispopsitivo in the menu to display the Adaptador Wifi+ Dual’s device details
including the firmware version, LAN network settings, and 2.4 GHz WiFi network information. Click a
hyper link to go to the screen where you can configure the setting.
Chapter 1 Configuration 9
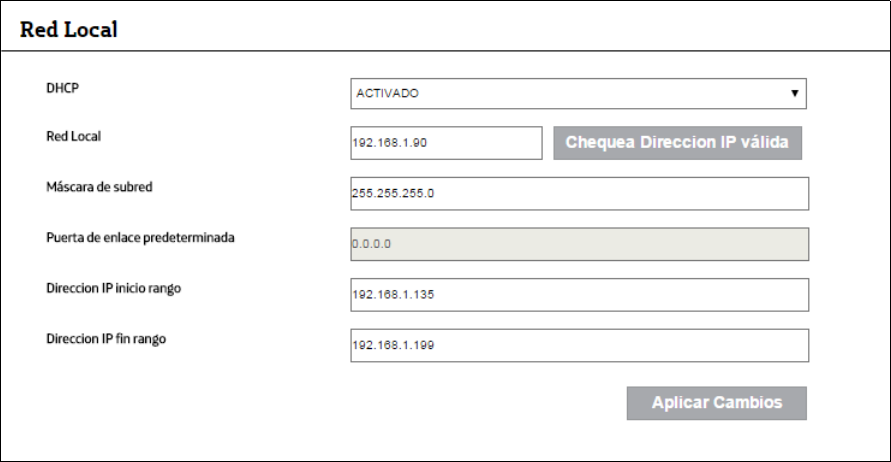
1.6 LAN Configuration
Click Red Local to configure the Adaptador Wifi+ Dual’s LAN network settings.
1The DHCP feature enabled (ACTIVADO) by default to assign IP addresses and provide subnet mask,
gateway, and DNS server information to LAN devices. You can configure the IP range. If you want to
disable it, select DESACTIVADO.
2Enter the Adaptador Wifi+ Dual’s LAN IP address (Red Local). Use the Chequea Direccion IP válida
button it check if the IP address is valid.
3Enter the subnet mask in Máscara de subred.
4Specify a default gateway (Puerta de enlace predeterminada) if you disable DHCP.
5Use Direccion IP inicio rango and Direccion IP fin rango to configure the range of IP addresses to
give to LAN DHCP clients.
6Click Aplicar Cambios to save and apply your settings.
1.7 Firmware Upgrade
Click Actualizaciones Firmware to upload firmware to the Adaptador Wifi+ Dual.
•Use Selecciona el archivo de actualización en tu PC to upload firmware from your computer.
Choose the firmware’s file path and click Actualizar.
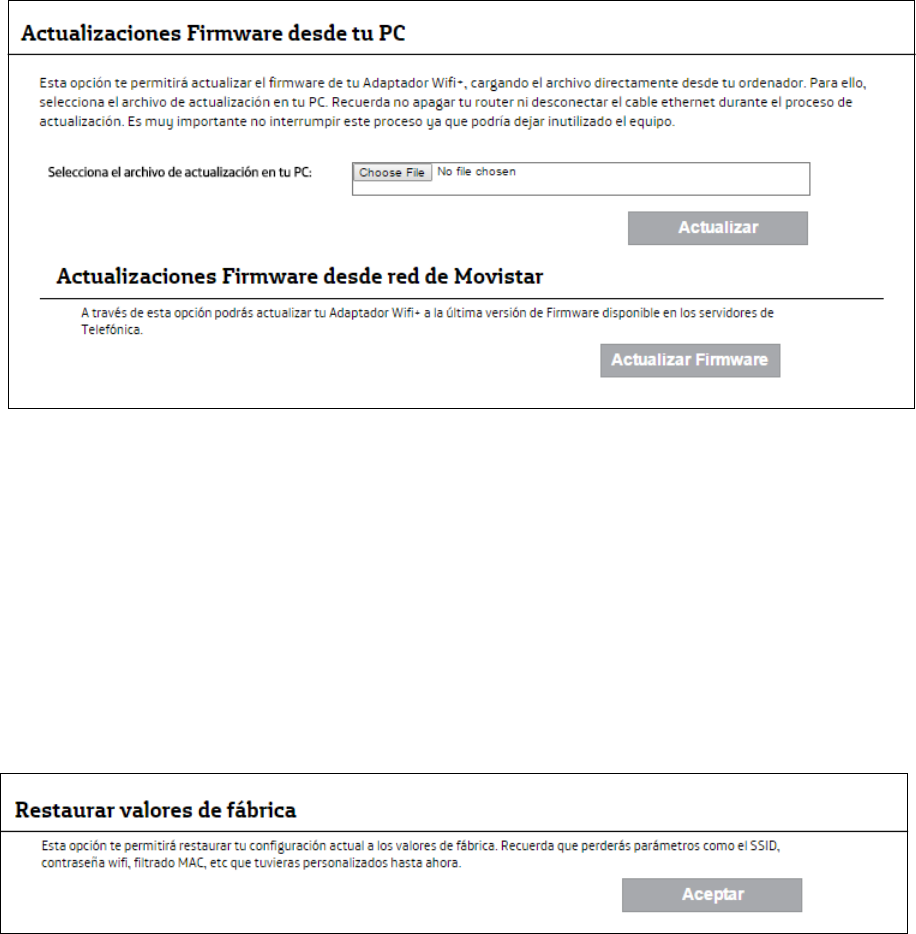
Chapter 1 Configuration 10
•Use Actualizaciones Firmware desde red de Movistar to upload firmware from the Movistar
network. Click Actualizar Firmware.
The process may take several minutes. The Adaptador Wifi+ Dual reboots after a successful upload.
Make sure you are using the correct firmware for this device.
Do NOT turn off the Adaptador Wifi+ Dual while firmware upload is in progress!
1.8 Restore Default Settings
Click Otras Funcionalidades in the menu to open this screen where you can click Aceptar to
restore the factory default configuration.

Chapter 1 Configuration 11
1.9 Help
Click Ayuda in the menu to display the web configuration help.
2
Chapter
Chapter 2 Legal 12
CHAPTER 2
Chapter 2 Legal
Federal Communication Commission Interference Statement
This device complies with Part 15 of the FCC Rules. Operation is subject to the following two
conditions: (1) This device may not cause harmful interference, and (2) this device must accept any
interference received, including interference that may cause undesired operation.
This equipment has been tested and found to comply with the limits for a Class B digital device,
pursuant to Part 15 of the FCC Rules. These limits are designed to provide reasonable protection
against harmful interference in a residential installation. This equipment generates, uses and can
radiate radio frequency energy and, if not installed and used in accordance with the instructions,
may cause harmful interference to radio communications. However, there is no guarantee that
interference will not occur in a particular installation. If this equipment does cause harmful
interference to radio or television reception, which can be determined by turning the equipment off
and on, the user is encouraged to try to correct the interference by one of the following measures:
-Reorient or relocate the receiving antenna.
-Increase the separation between the equipment and receiver.
-Connect the equipment into an outlet on a circuit different from that
to which the receiver is connected.
-Consult the dealer or an experienced radio/TV technician for help.
FCC Caution: Any changes or modifications not expressly approved by the party responsible for
compliance could void the user's authority to operate this equipment.
This transmitter must not be co-located or operating in conjunction with any other antenna or
transmitter.
Chapter 2 Legal 13
Radiation Exposure Statement:
This equipment complies with FCC radiation exposure limits set forth for an uncontrolled
environment. This equipment should be installed and operated with minimum distance 20cm
between the radiator & your body.