Mitsumi Electric Co WLPS3 VoIP Mobile Phone Terminal User Manual UGform
Mitsumi Electric Co Ltd VoIP Mobile Phone Terminal UGform
Contents
- 1. Users Manual 1
- 2. Users Manual 2
Users Manual 2
- 37 -
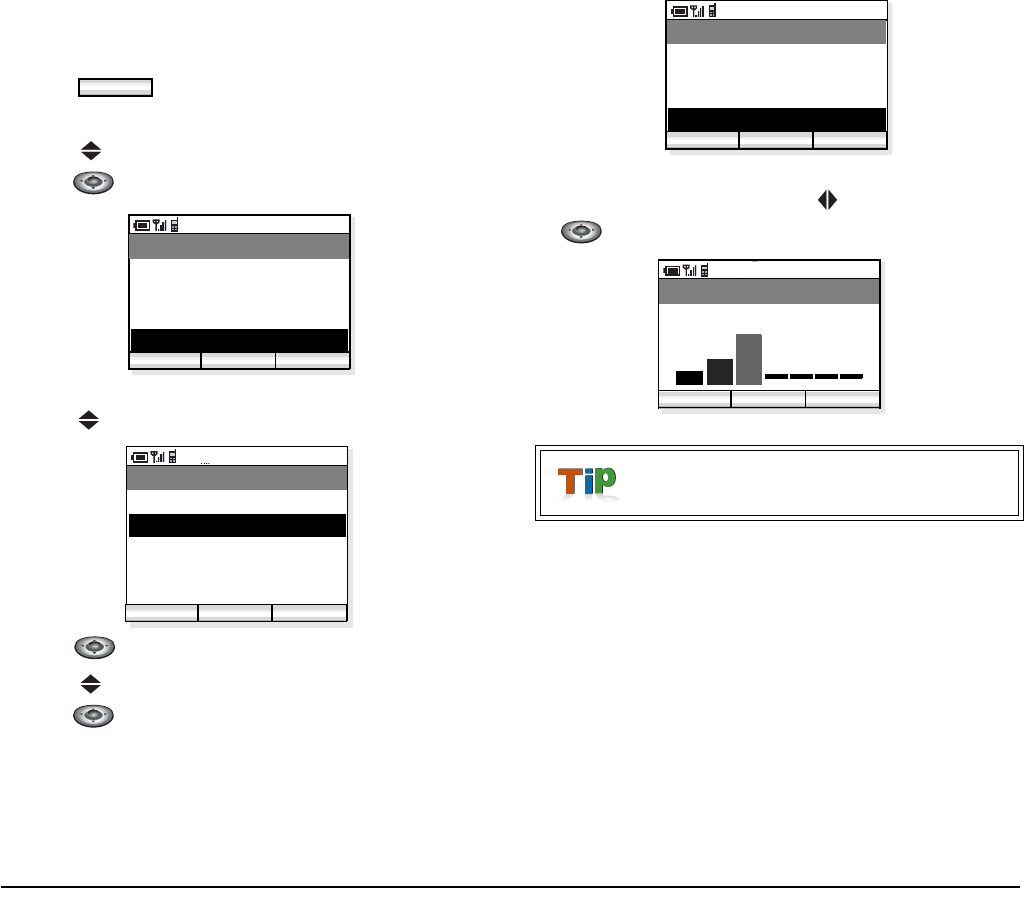
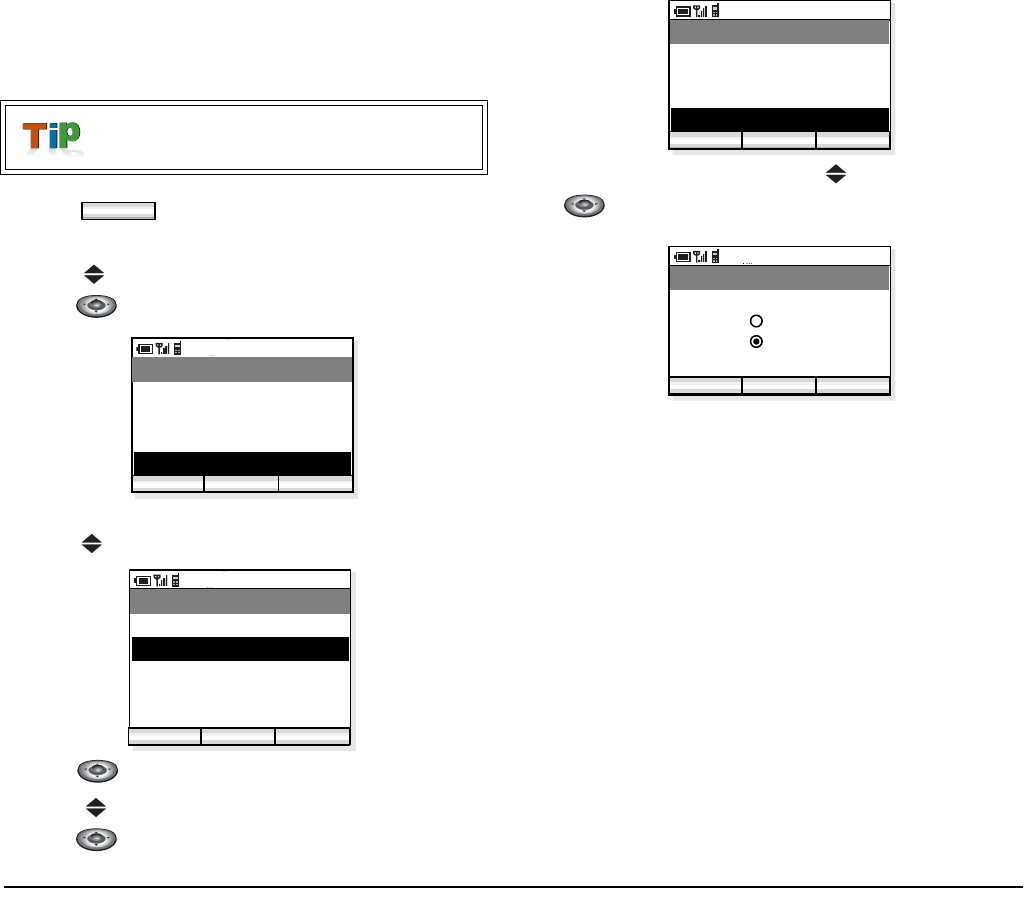
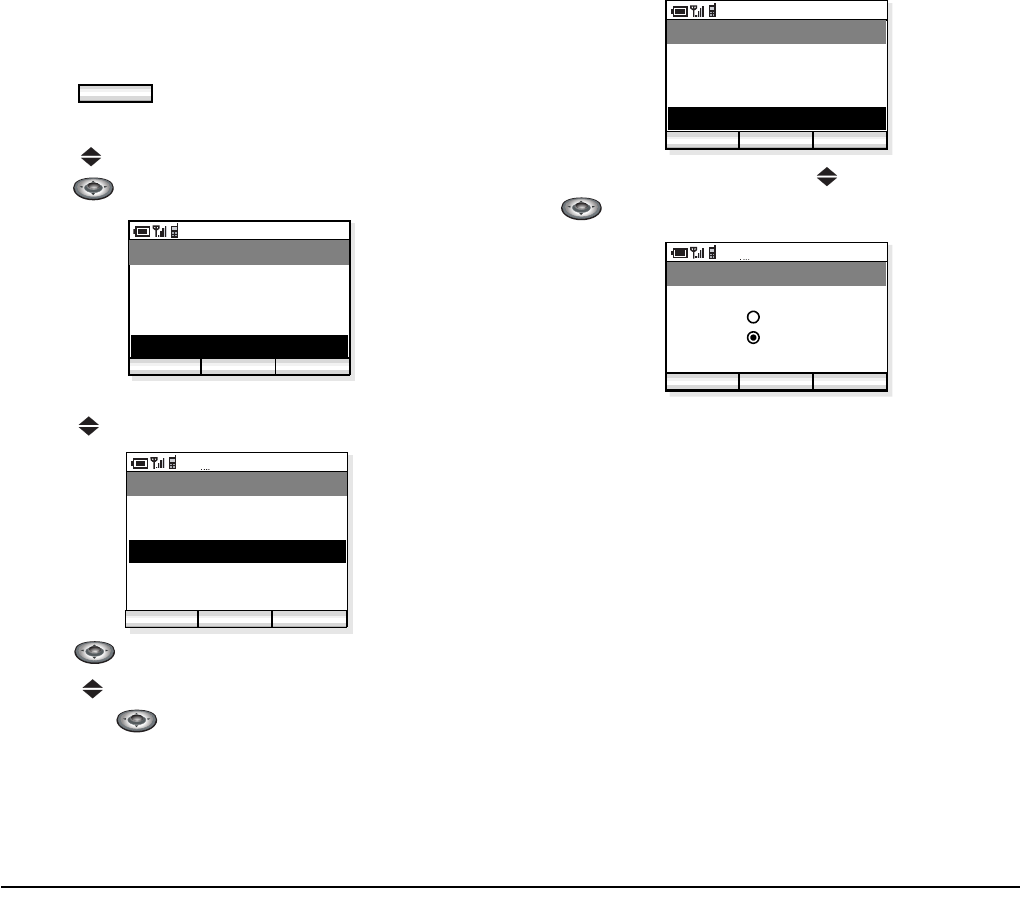
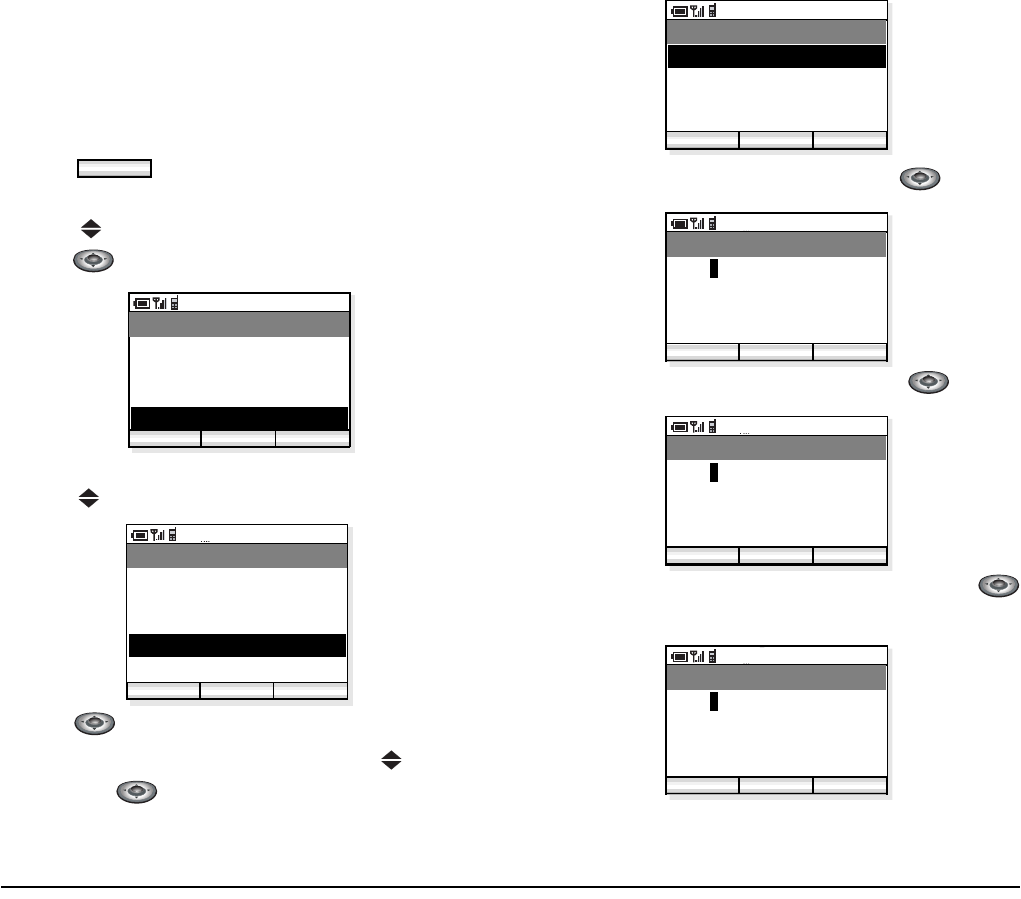
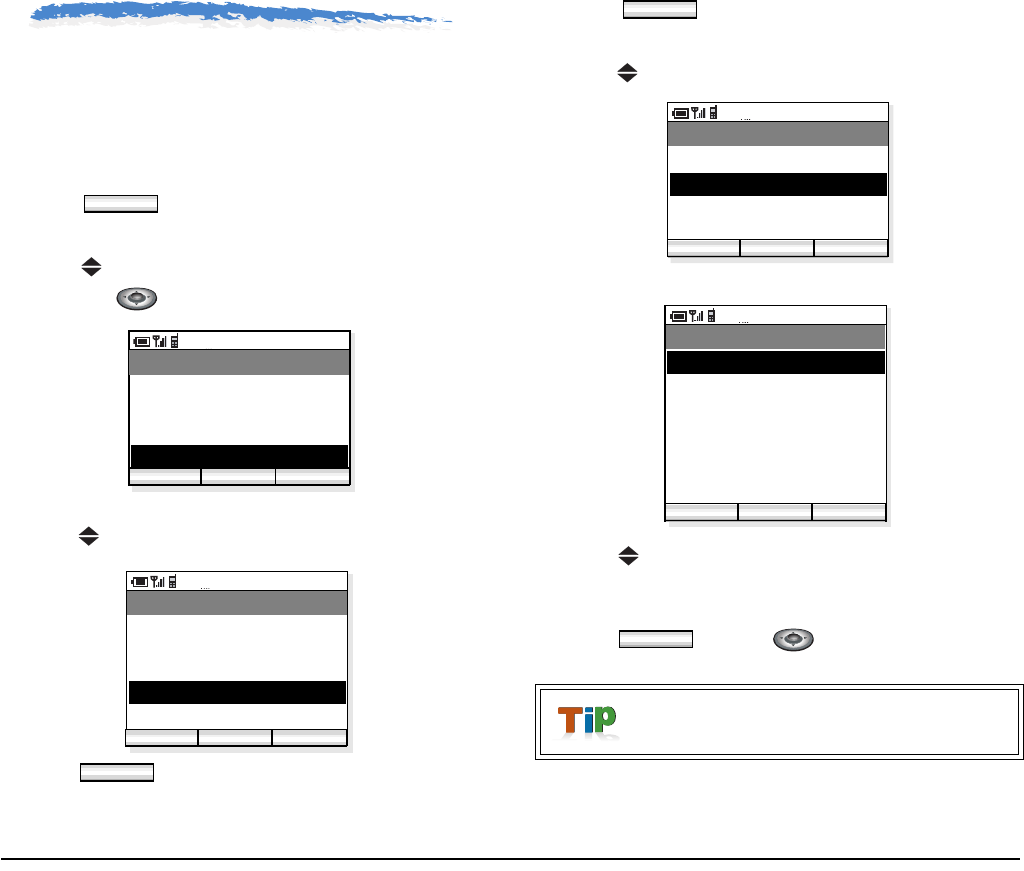
• CALL VOLUME
Factory Default:5
You can adjust receiver volume.
- Press key in standby mode.
- The phone displays the Main Menu.
- Press key to select “04. Setup Menu” and then
press key.
- The phone displays the Setup Menu.
- Press key to select “02. Sound&Vibrator”.
- Press key. Sound&Vibrator menu appears.
- Press key to select “06. Call Volume” and then
press key.
- Call Volume can be set in eight levels (0 - 7). Select
a desired volume by using key and then press
key.
Menu
AM 12:58
OK Exit
Menu
02. Directory
03. Speed Dial
01. Call history
04. Setup Menu
AM 12:58
Enter Back
Setup Menu
02. Sound&Vibrator
03. Setup Time
01. Display setting
Func
04. Password
05. 言語設定
Ongoing call will not be affected by this
setting.
AM 12:58
OK Back
Sound&Vibrator
04. Private Call
05. Ring Volume
03. Internal Call
06. Call Volume
AM 12:58
OK Back
Call Volume
Volume (0 - 7)
- 38 -
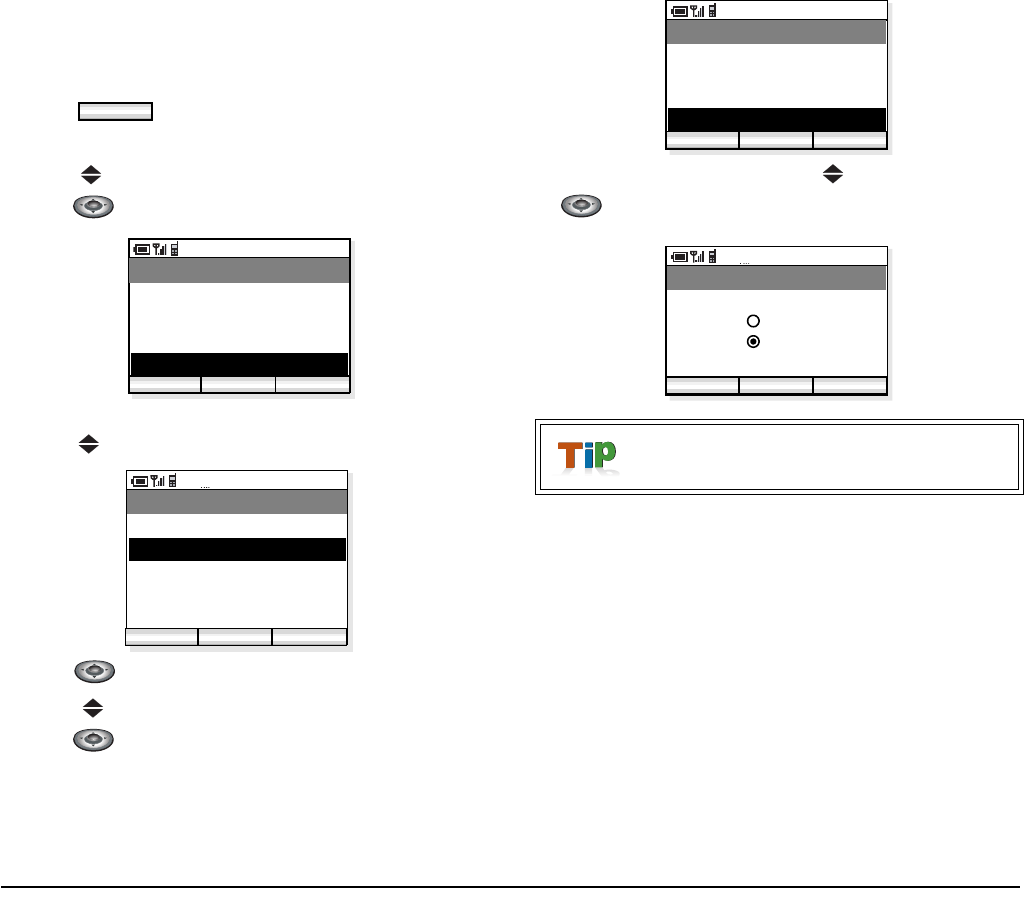
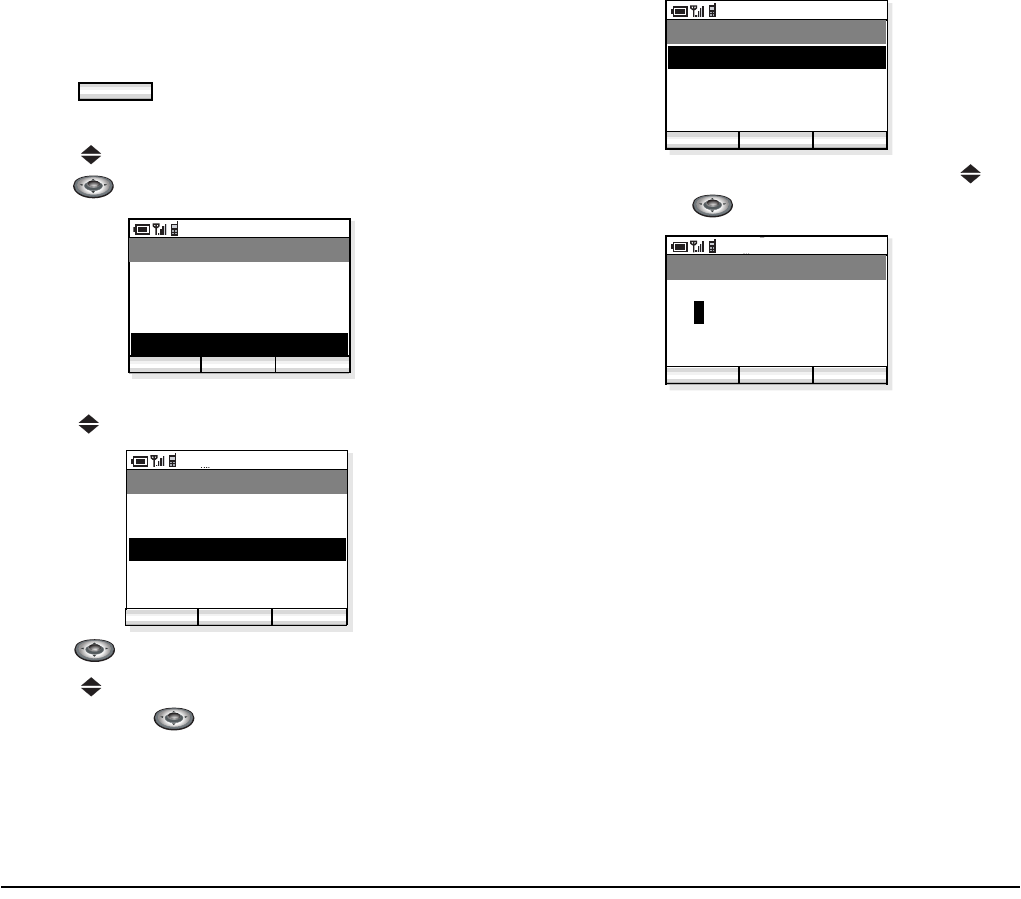
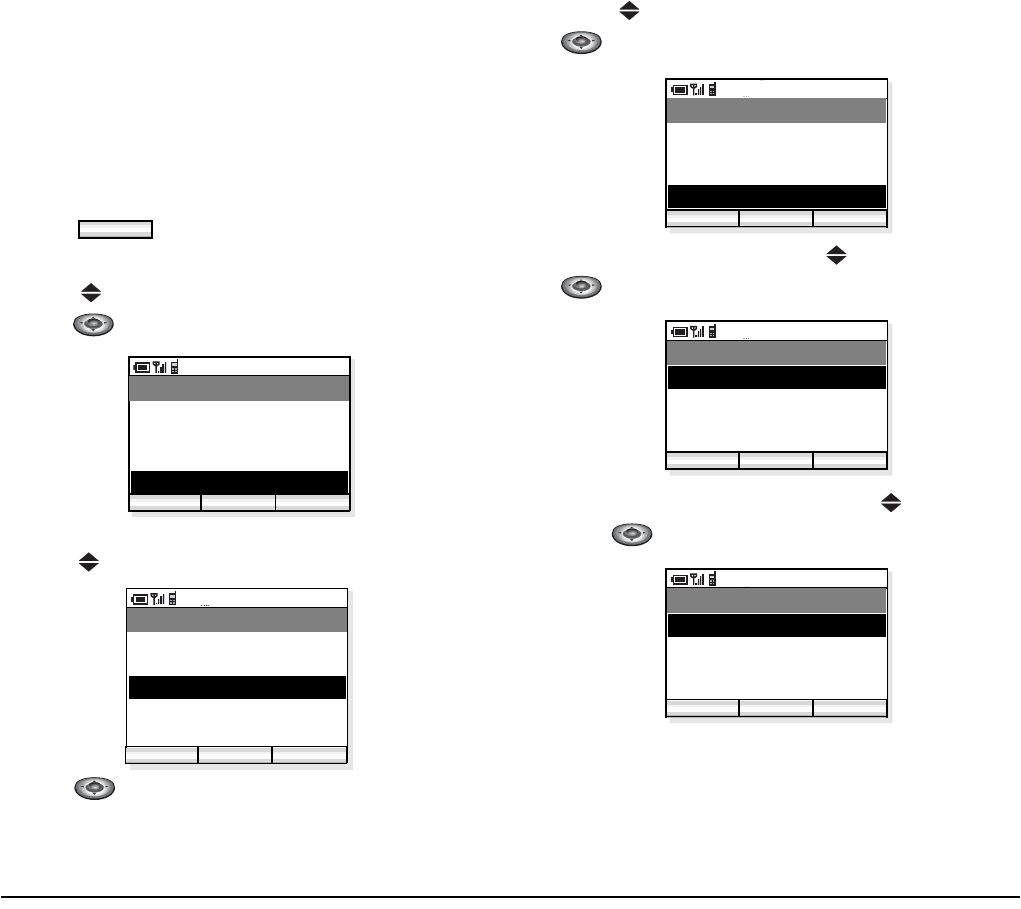
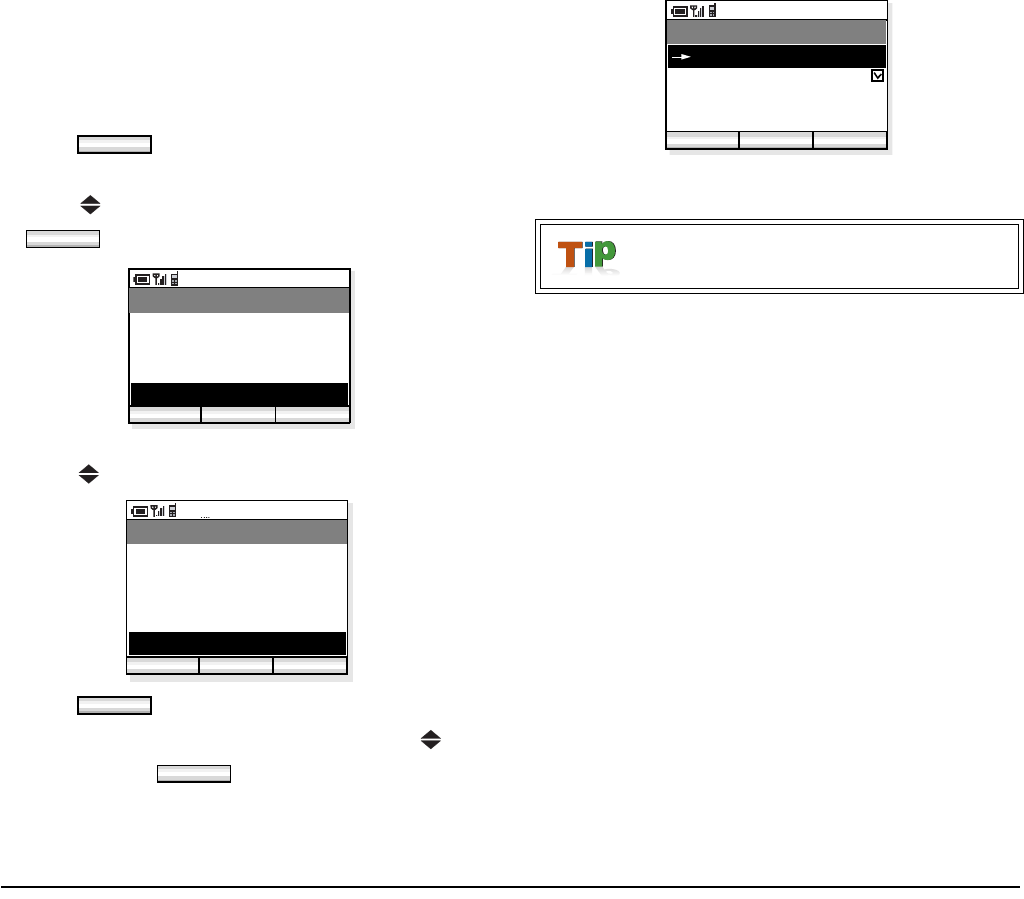
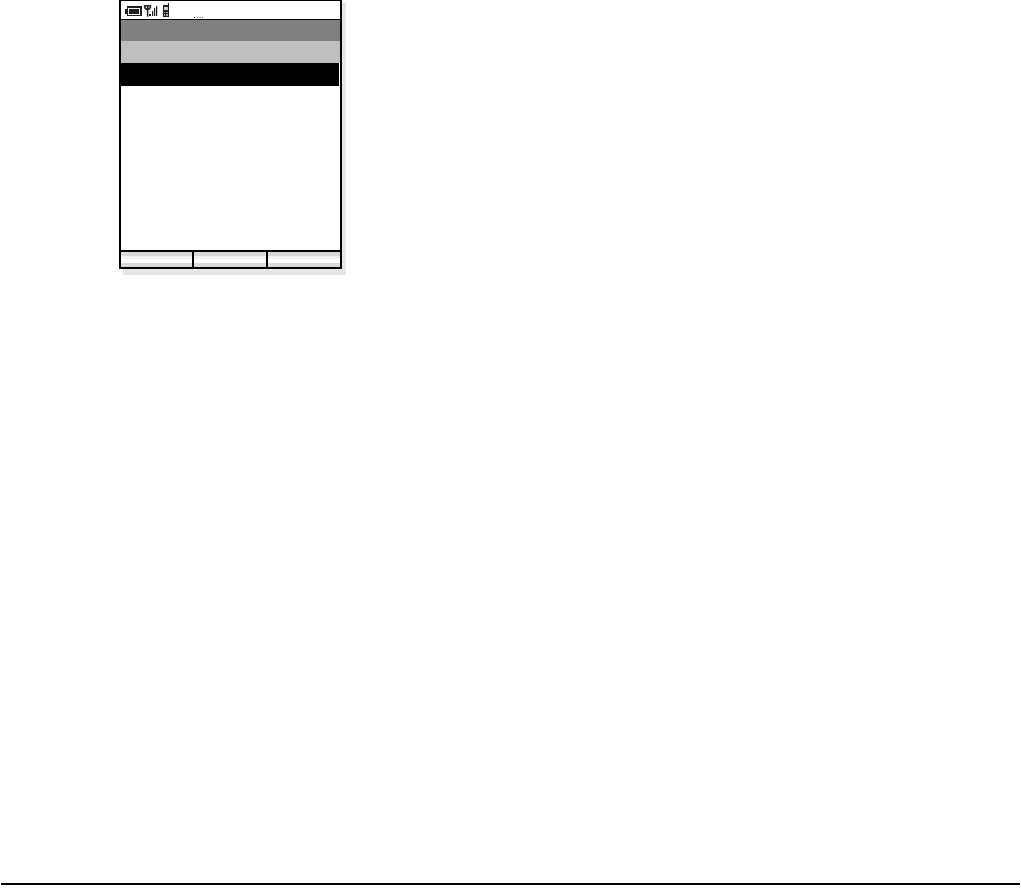
•KEY CLICK
Factory Default: Off
You can sound or mute a tone that is provided when any
key is pressed on the phone.
- Press key in standby mode.
- The phone displays the Main Menu.
- Press key to select “04. Setup Menu” and then
press key.
- The phone displays the Setup Menu.
- Press key to select “02. Sound&Vibrator”.
- Press key. Sound&Vibrator menu appears.
- Press key to select “07. Key Click” and then
press key.
- Select ON or OFF by using key and then press
key.
Menu
AM 12:58
OK Exit
Menu
02. Directory
03. Speed Dial
01. Call history
04. Setup Menu
AM 12:58
Enter Back
Setup Menu
02. Sound&Vibrator
03. Setup Time
01. Display setting
Func
04. Password
05. 言語設定
Volume adjustment or sound modification
is not available for Key Click.
AM 12:58
OK Back
Sound&Vibrator
05. Ring Volume
06. Call Volume
04. Private Call
07. Key Click
AM 12:58
OK Back
Key Click
Off
On
- 39 -
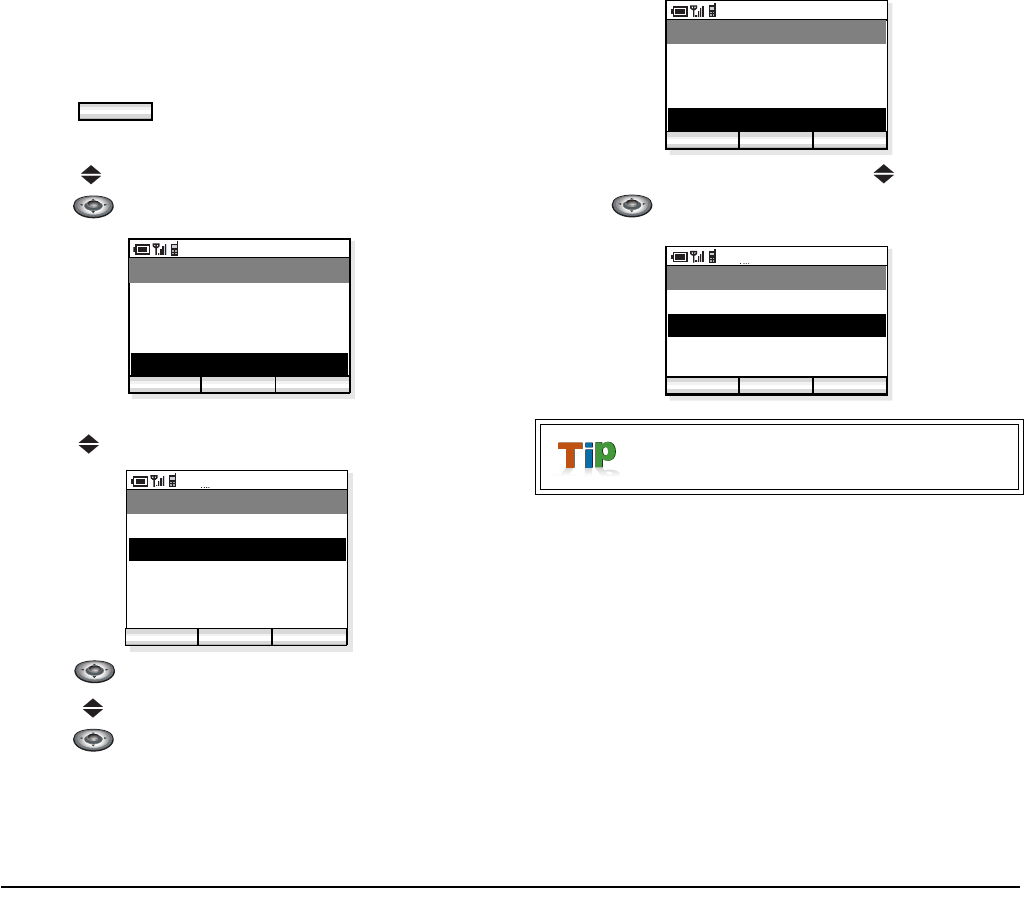
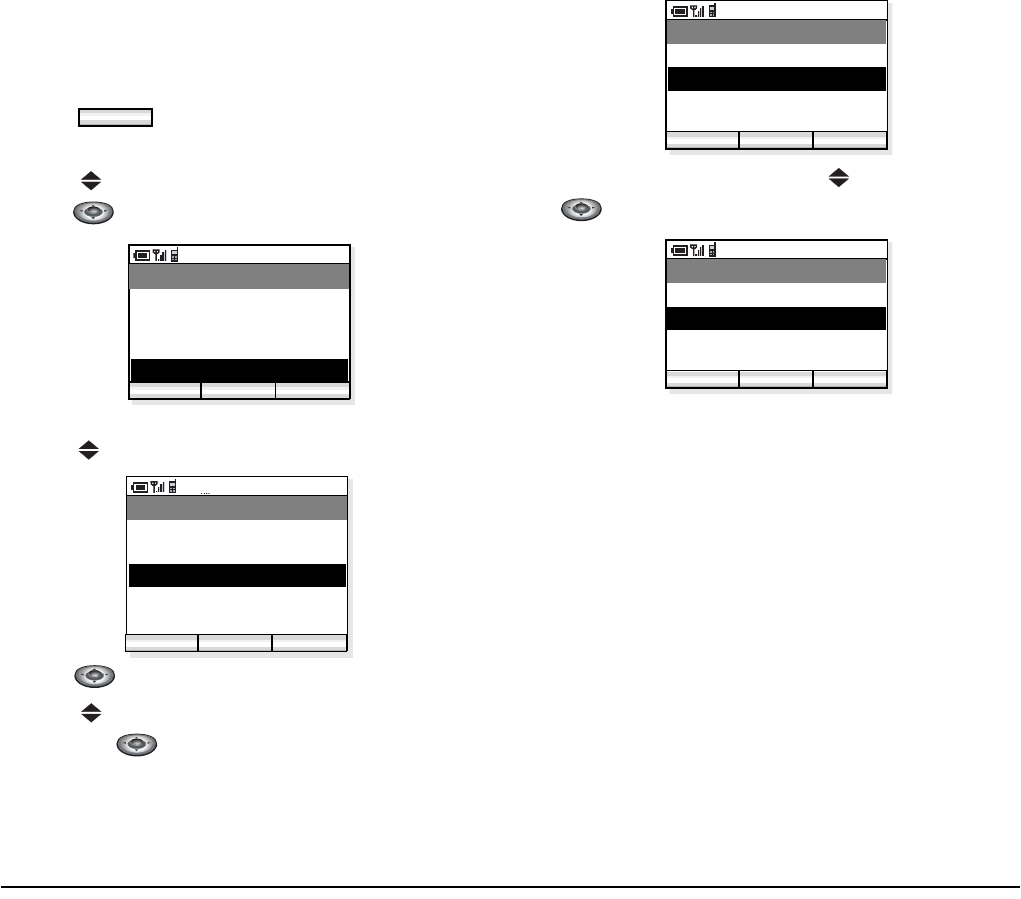
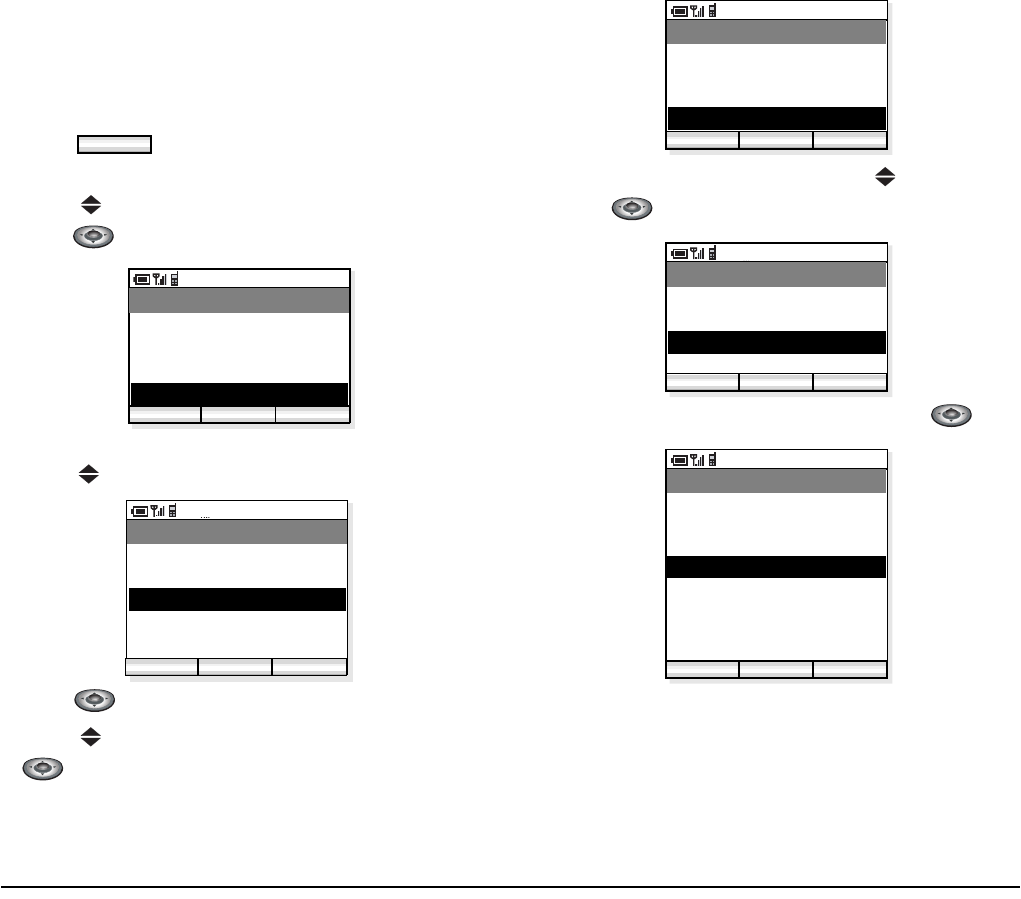
• MUSIC SELECT
Factory Default:Data-1 (Minuet)
You can select music that is provided while the phone
is in hold status.
- Press key in standby mode.
- The phone displays the Main Menu.
- Press key to select “04. Setup Menu” and then
press key.
- The phone displays the Setup Menu.
- Press key to select “02. Sound&Vibrator”.
- Press key. Sound&Vibrator menu appears.
- Press key to select “07. Key Click” and then
press key.
- Select Data-1 or Data-2 by using key and then
press key.
Menu
AM 12:58
OK Exit
Menu
02. Directory
03. Speed Dial
01. Call history
04. Setup Menu
AM 12:58
Enter Back
Setup Menu
02. Sound&Vibrator
03. Setup Time
01. Display setting
Func
04. Password
05. 言語設定
Data-1: Minuet (default) and Data-2: For
Elise.
AM 12:58
OK Back
Sound&Vibrator
06. Call Volume
07. Key Click
05. Ring Volume
08. Music Select
AM 12:58
OK Back
Music Select
Data-2
Data-1
- 40 -
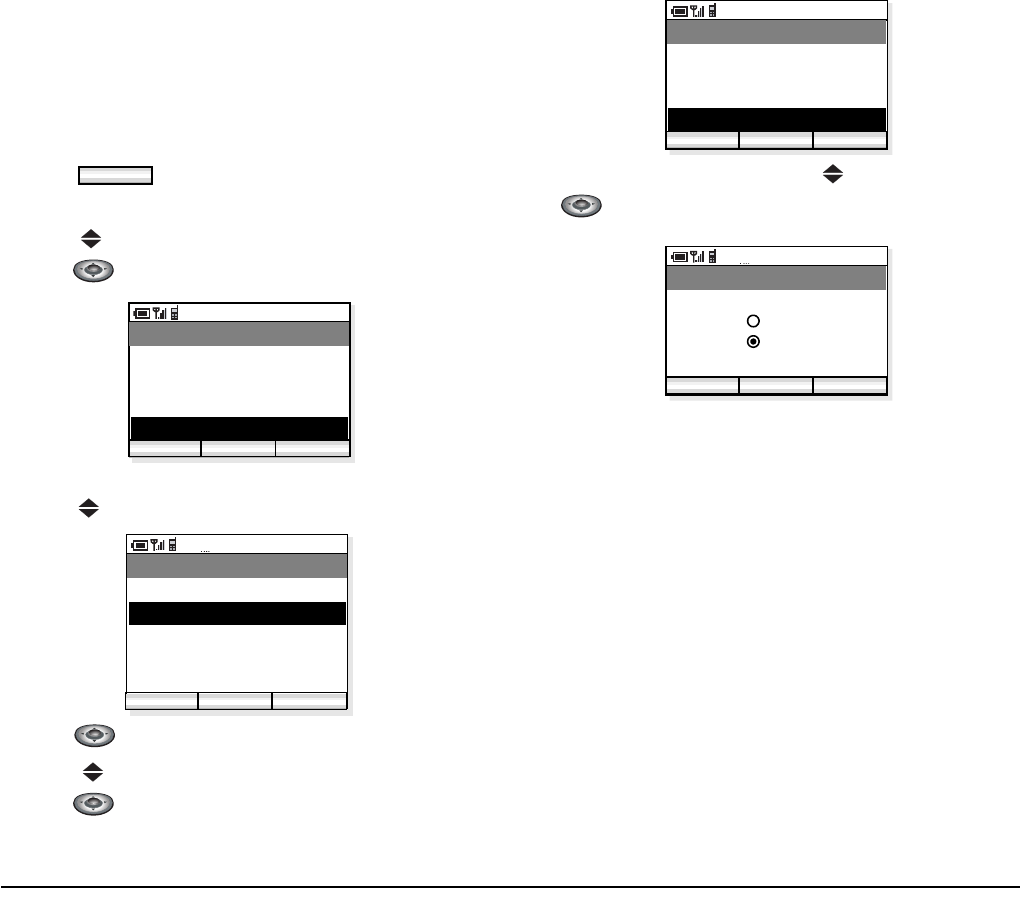
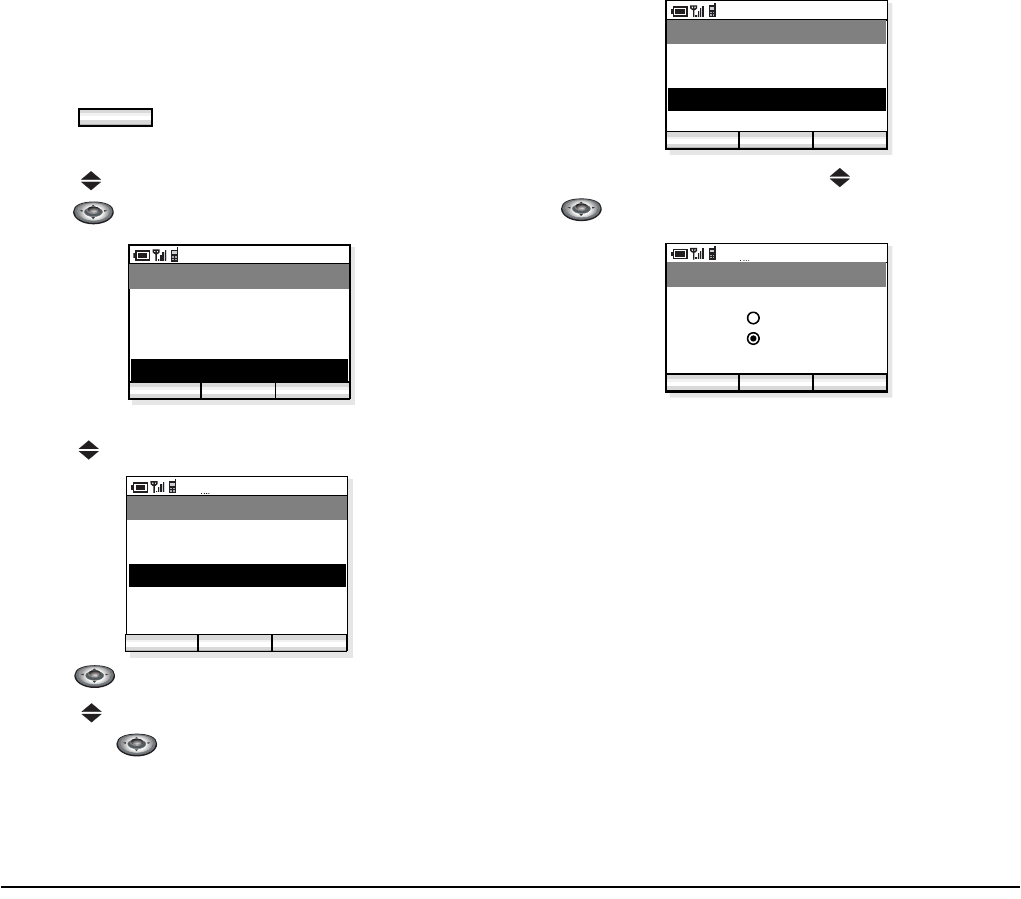
• RTP ALARM
Factory Default: Off
The phone can provide alarm if RTP packet loss is
suspected. Note
Note: If RTP packet loss exceeds a predetermined
value, this alarm is provided.
- Press key in standby mode.
- The phone displays the Main Menu.
- Press key to select “04. Setup Menu” and then
press key.
- The phone displays the Setup Menu.
- Press key to select “02. Sound&Vibrator”.
- Press key. Sound&Vibrator menu appears.
- Press key to select “07. Key Click” and then
press key.
- Select ON or OFF by using key and then press
key.
Menu
AM 12:58
OK Exit
Menu
02. Directory
03. Speed Dial
01. Call history
04. Setup Menu
AM 12:58
Enter Back
Setup Menu
02. Sound&Vibrator
03. Setup Time
01. Display setting
Func
04. Password
05. 言語設定
AM 12:58
OK Back
Sound&Vibrator
07. Key Click
08. Music Select
06. Call Volume
09. RTP Alarm
AM 12:58
OK Back
RTP Alarm
Off
On
- 41 -
• H.O. TONE
Factory Default: Off
The phone can provide warning tone when handover
takes place.
- Press key in standby mode.
- The phone displays the Main Menu.
- Press key to select “04. Setup Menu” and then
press key.
- The phone displays the Setup Menu.
- Press key to select “02. Sound&Vibrator”.
- Press key. Sound&Vibrator menu appears.
- Press key to select “07. Key Click” and then
press key.
- Select ON or OFF by using key and then press
key.
Handover is ...
Menu
AM 12:58
OK Exit
Menu
02. Directory
03. Speed Dial
01. Call history
04. Setup Menu
AM 12:58
Enter Back
Setup Menu
02. Sound&Vibrator
03. Setup Time
01. Display setting
Func
04. Password
05. 言語設定
AM 12:58
OK Back
Sound&Vibrator
08. Music Select
09. RTP Alarm
07. Key Click
10. H.O. Tone
AM 12:58
OK Back
H.O. Tone
Off
On
- 42 -
• DATE AND TIME ADJUSTMENT
Date and time information of the phone can be adjusted
as required.
- Press key in standby mode.
- The phone displays the Main Menu.
- Press key to select “04. Setup Menu” and then
press key.
- The phone displays the Setup Menu.
- Press key to select “03. Setup Time”.
- Press key. Sound&Vibrator menu appears.
- Press key to select “01. Adjust DATE&TIME”
and then press key.
- Select an item you want to change by using key
and then press key.
Note: The last two digits of the year information
only can be modified (20??).
Menu
AM 12:58
OK Exit
Menu
02. Directory
03. Speed Dial
01. Call history
04. Setup Menu
AM 12:58
Enter Back
Setup Menu
02. Sound&Vibrator
03. Setup Time
01. Display setting
Func
04. Password
05. 言語設定
AM 12:58
OK Back
Setup Time
02. DATE FORMAT
03. TIME FORMAT
01. Adjust DATE&TIME
04. Daylight saving
AM 12:58
OK Back
Adjust DATE&TIME
Date (yyyy/mm/dd)
Time
21:46
2007/01/01
- 43 -
•DATE FORMAT
Factory Default: yyyy/mm/dd
Date format (yyyy/mm/dd, mm/dd/yy, or mm/dd) can
be changed as required.
- Press key in standby mode.
- The phone displays the Main Menu.
- Press key to select “04. Setup Menu” and then
press key.
- The phone displays the Setup Menu.
- Press key to select “03. Setup Time”.
- Press key. Sound&Vibrator menu appears.
- Press key to select “02. DATE FORMAT” and
then press key.
- Select a date format by using key and then press
key.
Menu
AM 12:58
OK Exit
Menu
02. Directory
03. Speed Dial
01. Call history
04. Setup Menu
AM 12:58
Enter Back
Setup Menu
02. Sound&Vibrator
03. Setup Time
01. Display setting
Func
04. Password
05. 言語設定
AM 12:58
OK Back
Setup Time
02. DATE FORMAT
03. TIME FORMAT
01. Adjust DATE&TIME
04. Daylight saving
AM 12:58
OK Back
DATE FORMAT
(yyyy/mm/dd)
mm/dd
mm/dd/yy
- 44 -
•TIME FORMAT
Factory Default: 12-hour
Time format (12-hour/24-hour) can be selected as
required.
- Press key in standby mode.
- The phone displays the Main Menu.
- Press key to select “04. Setup Menu” and then
press key.
- The phone displays the Setup Menu.
- Press key to select “03. Setup Time”.
- Press key. Sound&Vibrator menu appears.
- Press key to select “03. TIME FORMAT” and
then press key.
- Select a time format by using key and then press
key.
Menu
AM 12:58
OK Exit
Menu
02. Directory
03. Speed Dial
01. Call history
04. Setup Menu
AM 12:58
Enter Back
Setup Menu
02. Sound&Vibrator
03. Setup Time
01. Display setting
Func
04. Password
05. 言語設定
AM 12:58
OK Back
Setup Time
02. DATE FORMAT
03. TIME FORMAT
01. Adjust DATE&TIME
04. Daylight saving
AM 12:58
OK Back
TIME FORMAT
24 hour
12 hour
- 45 -
• DAYLIGHT SAVING
Factory Default:Off
Daylight saving can be used as required.
- Press key in standby mode.
- The phone displays the Main Menu.
- Press key to select “04. Setup Menu” and then
press key.
- The phone displays the Setup Menu.
- Press key to select “03. Setup Time”.
- Press key to open Sound&Vibrator menu.
- Press key to select “04. Daylight saving” and
then press key.
- Select On or Off by using key and then press
key.
Menu
AM 12:58
OK Exit
Menu
02. Directory
03. Speed Dial
01. Call history
04. Setup Menu
AM 12:58
Enter Back
Setup Menu
02. Sound&Vibrator
03. Setup Time
01. Display setting
Func
04. Password
05. 言語設定
AM 12:58
OK Back
Setup Time
02. DATE FORMAT
03. TIME FORMAT
01. Adjust DATE&TIME
04. Daylight saving
AM 12:58
OK Back
Daylight saving
Off
On
- 46 -
• TIME ADJUSTMENT MEANS
Factory Default: Real Time Clock (RTC)
The phone can use one of the following to adjust the
time information. In default, time adjustment will not
be performed.
•RTC
• SIP server
• SNTP server
- Press key in standby mode.
- The phone displays the Main Menu.
- Press key to select “04. Setup Menu” and then
press key.
- The phone displays the Setup Menu.
- Press key to select “03. Setup Time”.
- Press key to open Sound&Vibrator menu.
- Press key to select “05. Adjust” and then press
key.
- Select “01. Means” by using key and then press
key.
- Select an appropriate item by using key and then
press key.
Menu
AM 12:58
OK Exit
Menu
02. Directory
03. Speed Dial
01. Call history
04. Setup Menu
AM 12:58
Enter Back
Setup Menu
02. Sound&Vibrator
03. Setup Time
01. Display setting
Func
04. Password
05. 言語設定
AM 12:58
OK Back
Setup Time
03. TIME FORMAT
04. Daylight saving
02. DATE FORMAT
05. Adjust
AM 12:58
OK Back
Adjust
02. SNTP adjust at
03. Time offset
01. Means
AM 12:58
OK Back
Means
02. SIP server
03. SNTP
01. AirStar (RTC???)
- 47 -
• SNTP QUERY TIME
Factory Default: 00:00:00
The phone attempts to connect the SNTP server at the
specified time to adjust the time information.
- Press key in standby mode.
- The phone displays the Main Menu.
- Press key to select “04. Setup Menu” and then
press key.
- The phone displays the Setup Menu.
- Press key to select “03. Setup Time”.
- Press key to open Sound&Vibrator menu.
- Press key to select “05. Adjust” and then press
key.
- Select “02. SNTP adjust at” by using key and
then press key.
- Set appropriate time and then press key.
Menu
AM 12:58
OK Exit
Menu
02. Directory
03. Speed Dial
01. Call history
04. Setup Menu
AM 12:58
Enter Back
Setup Menu
02. Sound&Vibrator
03. Setup Time
01. Display setting
Func
04. Password
05. 言語設定
AM 12:58
OK Back
Setup Time
03. TIME FORMAT
04. Daylight saving
02. DATE FORMAT
05. Adjust
AM 12:58
OK Back
Adjust
02. SNTP adjust at
03. Time offset
01. Means
AM 12:58
OK Back
SNTP adjust at
00:00
Adjust at
- 48 -
• TIME OFFSET
Factory Default: +9:00
The phone can set time offset in the range of -12:00 to
+ 14:00, which specifies time offset between GMT and
the user’s area.
- Press key in standby mode.
- The phone displays the Main Menu.
- Press key to select “04. Setup Menu” and then
press key.
- The phone displays the Setup Menu.
- Press key to select “03. Setup Time”.
- Press key to open Sound&Vibrator menu.
- Press key to select “05. Adjust” and then press
key.
- Select “03. Time offset” by using key and then
press key.
- Set appropriate time offset and then press key.
Menu
AM 12:58
OK Exit
Menu
02. Directory
03. Speed Dial
01. Call history
04. Setup Menu
AM 12:58
Enter Back
Setup Menu
02. Sound&Vibrator
03. Setup Time
01. Display setting
Func
04. Password
05. 言語設定
AM 12:58
OK Back
Setup Time
03. TIME FORMAT
04. Daylight saving
02. DATE FORMAT
05. Adjust
AM 12:58
OK Back
Adjust
02. SNTP adjust at
03. Time offset
01. Means
AM 12:58
OK Back
Time offset
-11:00
-12:00
:
-1:00
+0
+1:00
:
+14:00
- 49 -
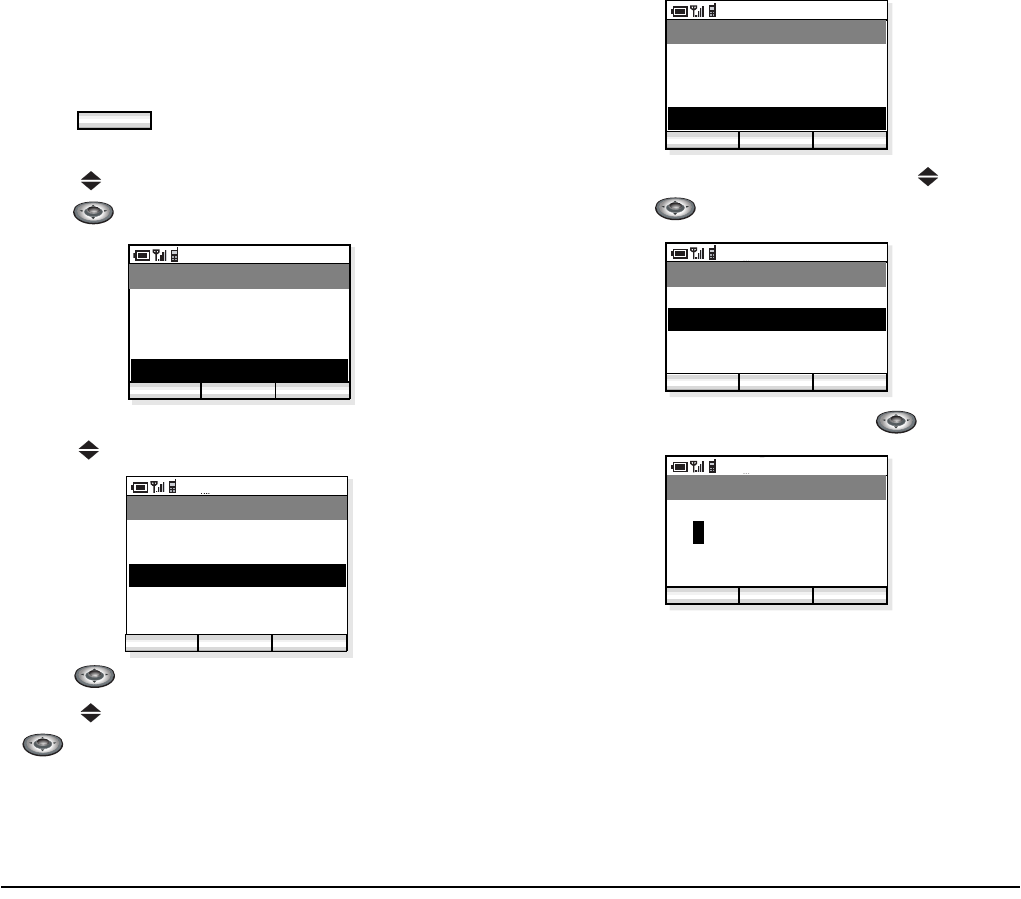
•PASSWORD
Factory Default: 0123 (User)/9999 (Admin.)
The phone can set a password for User and
Administrator respectively.
The administrator password is used for network
administrator, or maintenance personnel.
- Press key in standby mode.
- The phone displays the Main Menu.
- Press key to select “04. Setup Menu” and then
press key.
- The phone displays the Setup Menu.
- Press key to select “04. Password”.
- Press key to open Password menu.
- Select an appropriate item by pressing key and
then press key.
- Enter the old password and then press key.
- Enter the new password and then press key.
- Enter the new password again and then press
key.
Menu
AM 12:58
OK Exit
Menu
02. Directory
03. Speed Dial
01. Call history
04. Setup Menu
AM 12:58
Enter Back
Setup Menu
02. Sound&Vibrator
03. Setup Time
01. Display setting
Func
04. Password
05. 言語設定
AM 12:58
OK Back
Password
02. Administrator
01. User
05. Adjust
AM 12:58
OK Back
Old Password
****
123
AM 12:58
OK Back
New Password
****
123
AM 12:58
OK Back
Input again
****
123
- 50 -
• LANGUAGE
Factory Default: English
The information on the LCD can be displayed in
English or Japanese. You can switch between the two
languages by the following operation.
- Press key in standby mode.
- The phone displays the Main Menu.
- Press key to select “04. Setting” and then press
soft key.
- The phone displays the Setting menu.
- Press key to select “05. 言語設定 ”.
- Press soft key to open Language menu.
- Select an appropriate language by pressing key
and then press soft key.
Menu
OK
AM 12:58
OK Back
Menu
02. Phone Book
03. Speed Dial
01. Call Log
04. Setting
AM 12:58
OK Back
Setting
02. Sounds
03. Dates & Time
01. Display
04. Password
05. 言語設定
OK
OK
Current language setting is indicated by a
check box on the right side.
AM 12:58
OK Back
言語設定
English
日本語
05. Adjust
- 51 -
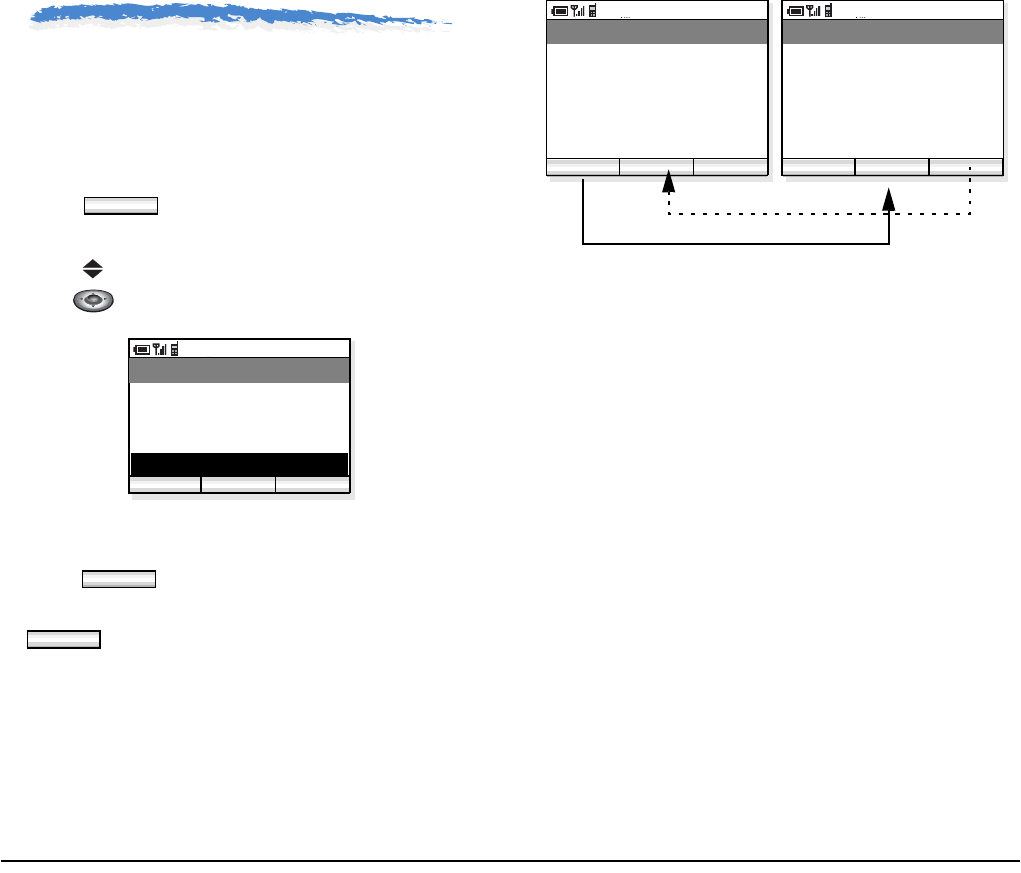
9.LOCAL INFO
You can see the local information of the phone such as
Phone Number, IP Address, Version, and MAC
Address.
• TO DISPLAY LOCAL INFO
- Press key in standby mode. The phone
displays the Main Menu.
- Press key to select “05. Local info” and then
press key.
- The phone displays the local information (General)
similar to the following.
- Press key to view the detailed informa-
tion. To return to the general information, press
key.
Menu
AM 12:58
OK Exit
Menu
03. Speed Dial
04. Setup Menu
02. Directory
05. Local info
Detail
Back
AM 12:58
Back
Local information
987123123
IP Address
Phone number:
Detail
192.168.0.36
Local Information (General)
AM 12:58
Back
Local information
AS-N-0.9.1
RF-KS-8.7
Version:
MAC Address:
Local Information (Detail)
00:00:00:20:8C:9E
- 52 -
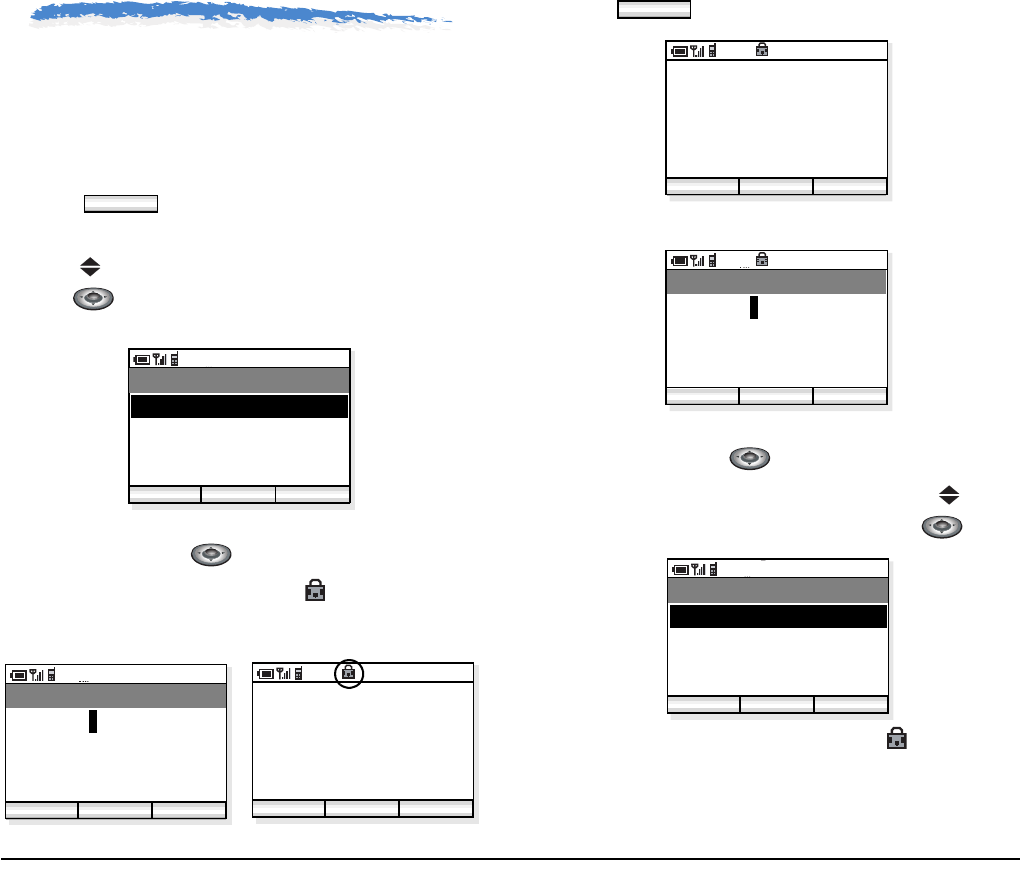
10.LOCK/UNLOCK
You can lock the phone against unauthorized usage.
This is also useful for guarding the phone against
inadvertent button presses.
• TO LOCK THE PHONE
- Press key in standby mode. The phone
displays the Main Menu.
- Press key to select “06. Lock/Unlock” and then
press key.
- Enter your User Password (4 digits) by using dial
pad and then press key.
- The phone is locked and a lock icon appears.
Note: Each number is indicated by a * on the phone.
• TO UNLOCK THE PHONE
- Press key in standby mode.
- The phone displays the password entry screen.
- Enter your User Password (4 digits) by using dial
pad and then press key.
- The phone displays the Main Menu. Press key to
select “06. Lock/Unlock” and then press key.
- The phone is unlocked and the lock icon disap-
pears.
Menu
AM 12:58
OK Exit
Menu
07. Change presence
08. Short Message
06. Lock/Unlock
09. Maintenance
AM 12:58
OK Exit
Password
* * * * 2007/01/01
12:00
Profile1
AM 12:58
Menu ProF
Func
2007/01/01
12:00
Profile1
AM 12:58
Func ProF
AM 12:58
OK Back
Password
* * * *
123
AM 12:58
OK Exit
Menu
07. Change presence
08. Short Message
06. Lock/Unlock
09. Maintenance
- 53 -
2007/01/01
12:00
Profile1
AM 12:58
Func ProF
- 54 -
11.PRESENCE
You can set the current Presence information such as
on-line, on the phone, in a meeting, out to lunch from
your phone.
• TO CHANCE PRESENCE
- Press key in standby mode. The phone
displays the Main Menu.
- Press key to select “07. Change presence” and
then press key.
- The phone displays the Change Presence Menu.
- Press key to select an appropriate presence.
- Press key to change your presence to the
selected status.
• TO VIEW PRESENCE
- Press key in standby mode. The phone
displays the Main Menu.
- Press key to select “02. Directory”.
- The phone displays the following.
- Press key to select an entry you want to see. To
view the presence, a letter ‘P’ must be indicated on
the right side of the entry.
- Press key or key to view the pres-
ence.
- The information of the selected entry is displayed.
Menu
AM 12:58
OK Exit
Menu
05. Local info
06. Lock/Unlock
04. Setup Menu
07. Change presence
AM 12:58
Edit Back
Change Presence
02. absent
03. on the phone
01. on-line
Save
04. in a meeting
05. on a break
Save
A letter P is added when the person is a
target of PRESENCE feature.
Menu
AM 12:58
OK Exit
Menu
02. Directory
03. Speed Dial
01. Call history
04. Setup Menu
AM 12:58
OK Find
Directory
02. Aaron
03. Julia
01. Ben
Func
04. Paul
05. Rachel
06. James
07. Hannah
P
P
P
P
Menu
- 55 -
AM 12:58
Back
Directory
03. 97521111
04. TEL2
02. Benjamin
01. Ben
in a meeting
06. Note
07. Group 1
05. TEL3
08. Entry presence
- 56 -
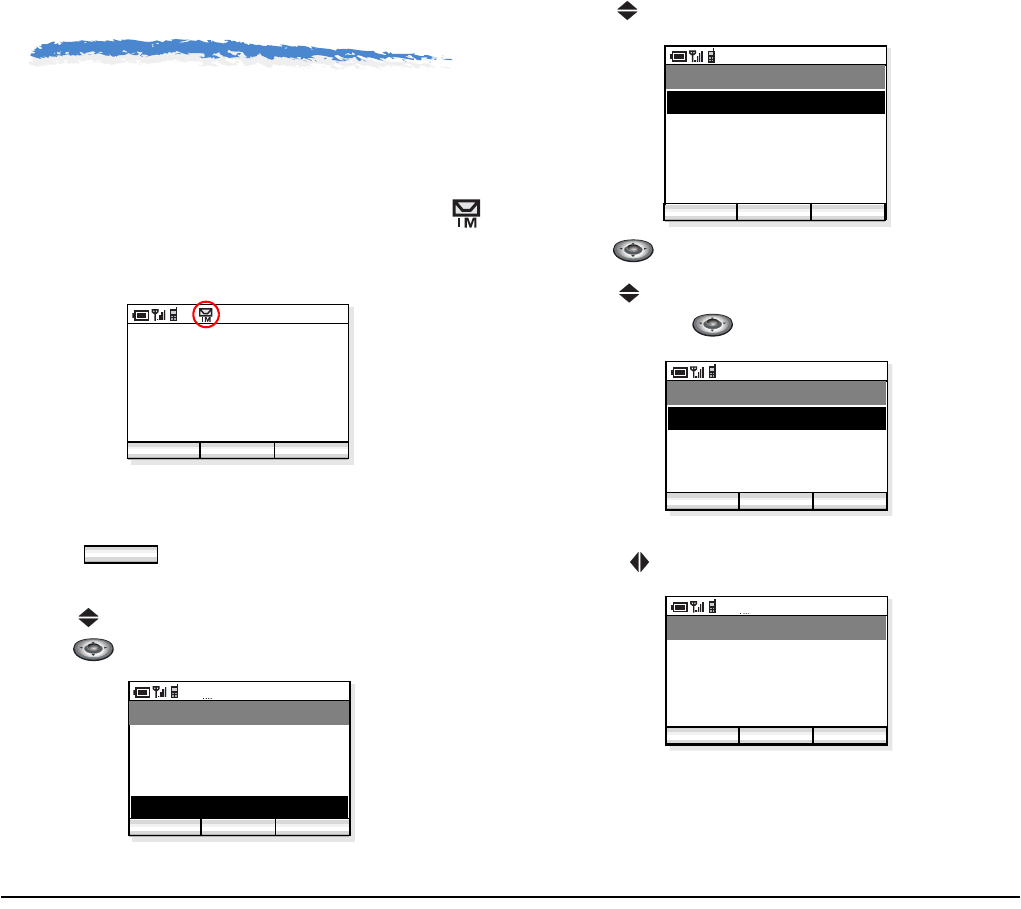
12.SHORT MESSAGE
The phone can send/receive short messages (instant
messages).
• SHORT MESSAGE INDICATION
When you receive a message, the phone displays
icon as shown below. This is an indication that you
have received a message.
• TO VIEW SHORT MESSAGE
- Press key in standby mode. The phone
displays the Main Menu.
- Press key to select “08. Short Message” and then
press key.
- The phone displays the Short Message menu.
- Press key to select “01. Inbox”or “02. Outbox”.
- Press key to open “Inbox/Outbox” menu.
- Press key to select a message you want to read
and then press key.
- The contents of the selected message will be dis-
played. .
2007/01/01
12:00
Profile1
AM 12:58
Func ProF
Menu
AM 12:58
OK Exit
Menu
06. Lock/Unlock
07. Change presence
05. Local info
08. Short Message
AM 12:58
OK Back
Short Message
02. Outbox
03. Draft
01. Inbox
04. Write
AM 12:58
Enter Back
Inbox
02. 987123412
03. Bartholomew
01. Joshua
Func
AM 12:58
Enter Back
Joshua
I’ve just arrived in London.
Here, I will join the confe
Hi, Mike!
Func
rence you said yesterday

- 57 -
• TO SEND A SHORT MESSAGE
- Press key in standby mode. The phone
displays the Main Menu.
- Press key to select “08. Short Message” and then
press key.
- The phone displays the Short Message menu.
- Press key to select “04.Write.”
- Press key to open “Write” menu.
-番号をダイヤル .
- Press key and then write your message.
- Press key to send the message to the specified
number.
Menu
AM 12:58
OK Exit
Menu
06. Lock/Unlock
07. Change presence
05. Local info
08. Short Message
AM 12:58
OK Back
Short Message
02. Outbox
03. Draft
01. Inbox
04. Write
AM 12:58
Enter Back
Write
Number:
Func
987654321
AM 12:58
Enter Back
Write
How are you?
Did you read my message
Hi, Steve!
Func
Send us the information of

- 59 -
13.TECHNICAL
SPECIFICATIONS
• TECHNICAL SPECIFICATIONS
The following shows the technical specifications.
Table 2 MH2500 Specifications
Wireless Interface IEEE802.11b
RCR STD-33/ARIB STD-T66
Codec G.711, G.729a
Payload Size: 20ms, 30ms, 40ms
Control Protocol SIP (RFC3261) + NEC expansion
LCD
Main Features
Ringer
Battery
Operating Temperature 0-40
Operating Humidity 20-90% (not
Dimension with antenna 98.0 * 47.6 * 25.6mm
Weight approximately 100g (inclusive of the battery)