MOBILE CREATE SL8090 Wireless Module User Manual
Mobile Create Co., Ltd. Wireless Module
UserManual.wiki
>
MOBILE CREATE
>
SL8090 User Manual
User Manual
Navigation menu
Upload a User Manual
Namespaces
Wiki Guide
HTML
PDF
Info
Views
User Manual
Discussion / Help
Navigation
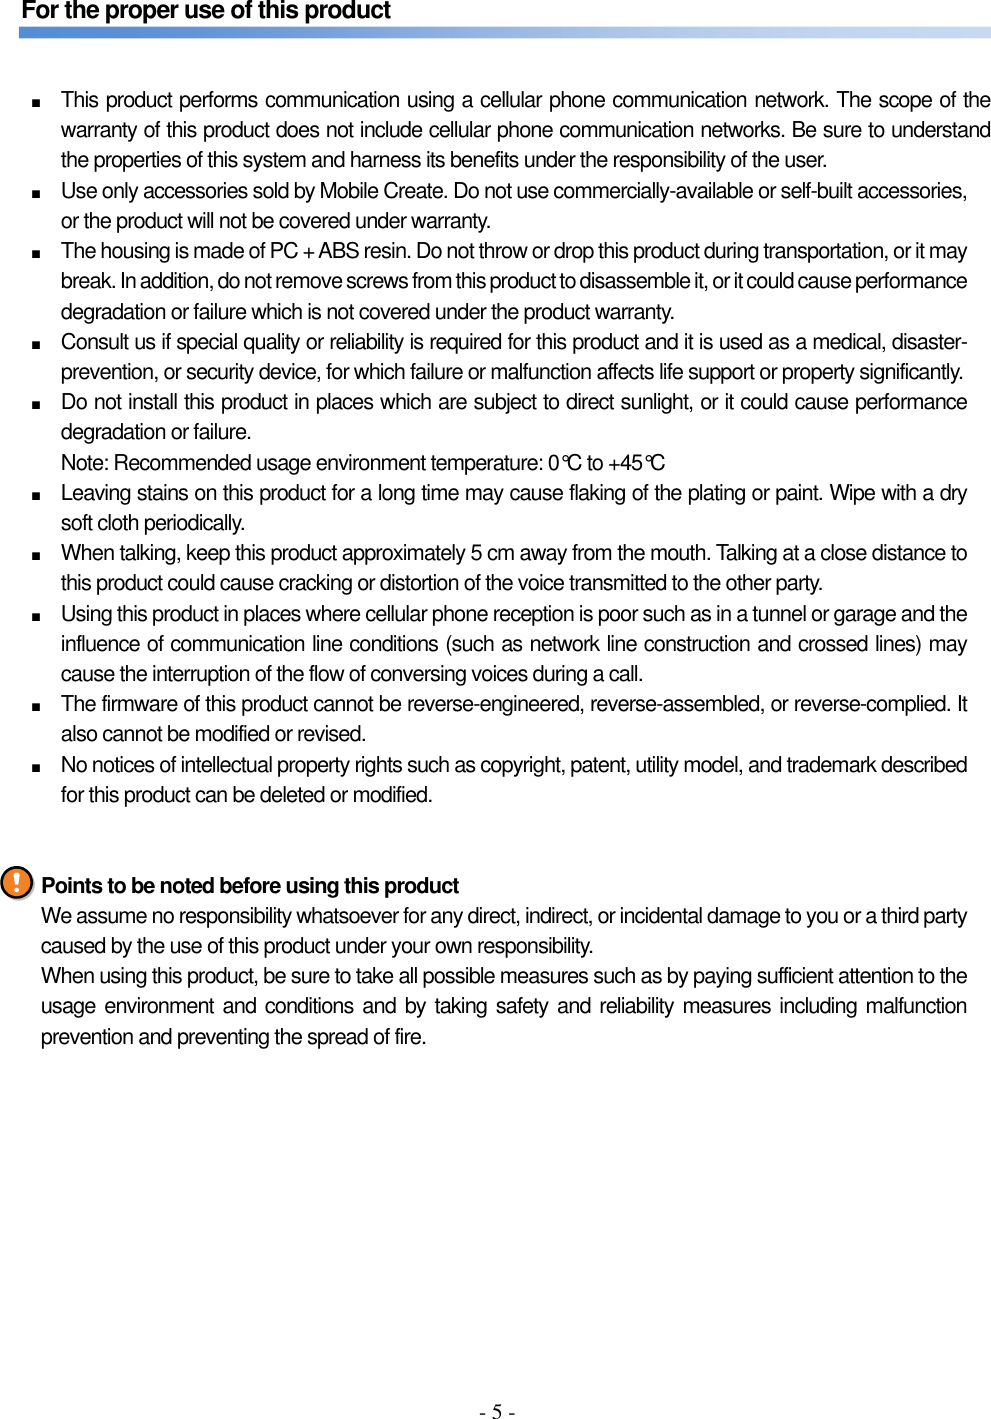
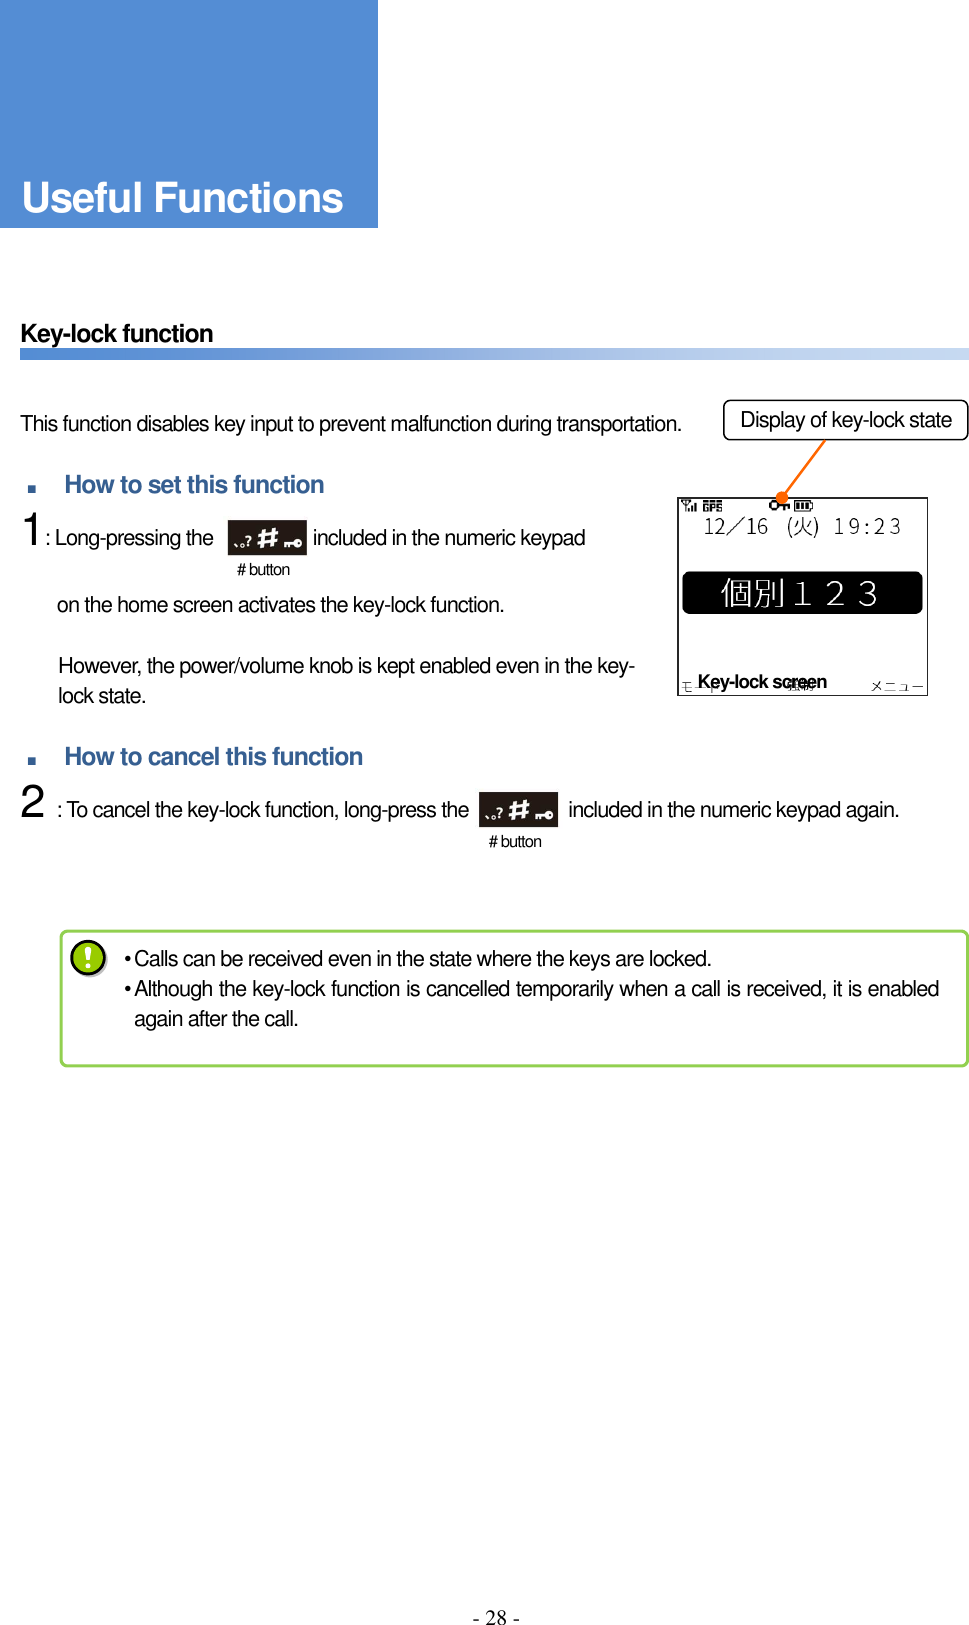
![- 16 - How to check the remaining battery level During use, the remaining battery level is displayed on top of the home screen. The more the scale marks, the more of the battery remains. When no scale marks are displayed and the red charger LED starts flashing, recharge the battery with it mounted in the main unit or replace it with a new one. During recharging, the remaining battery level icon shows that recharging is underway. Standby mode Standby mode is a mode which cuts electric power consumption. Remaining battery level • The battery pack deteriorates after repeated electric recharge and discharge. If the battery life is extremely shorter than before, replace with a new battery pack. • Under low-temperature environment, the remaining battery level displayed may be lower than the actual level. Remaining Battery Level Home screen • When Standby mode is on, the product is switched to this mode if it is not operated for a preset period of time. How to set Standby mode [Menu] > [09:機能設定 (Utilities)] > [01:一般設定 (General Settings)] > [05:エコモード設定 (Standby Setting)]](https://usermanual.wiki/MOBILE-CREATE/SL8090/User-Guide-3049319-Page-16.png)
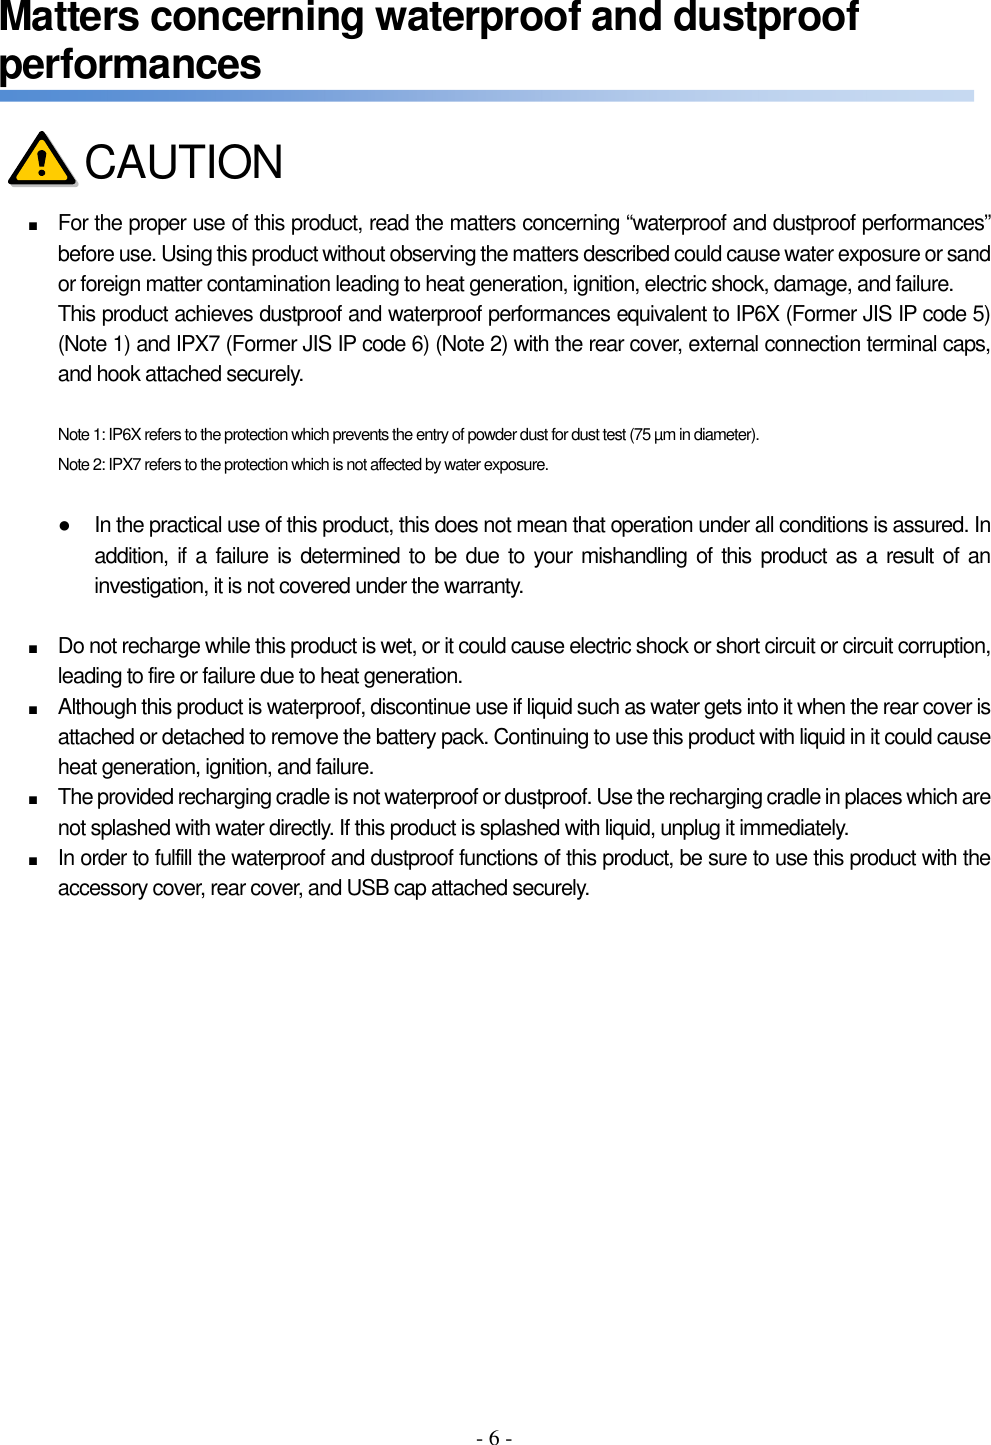
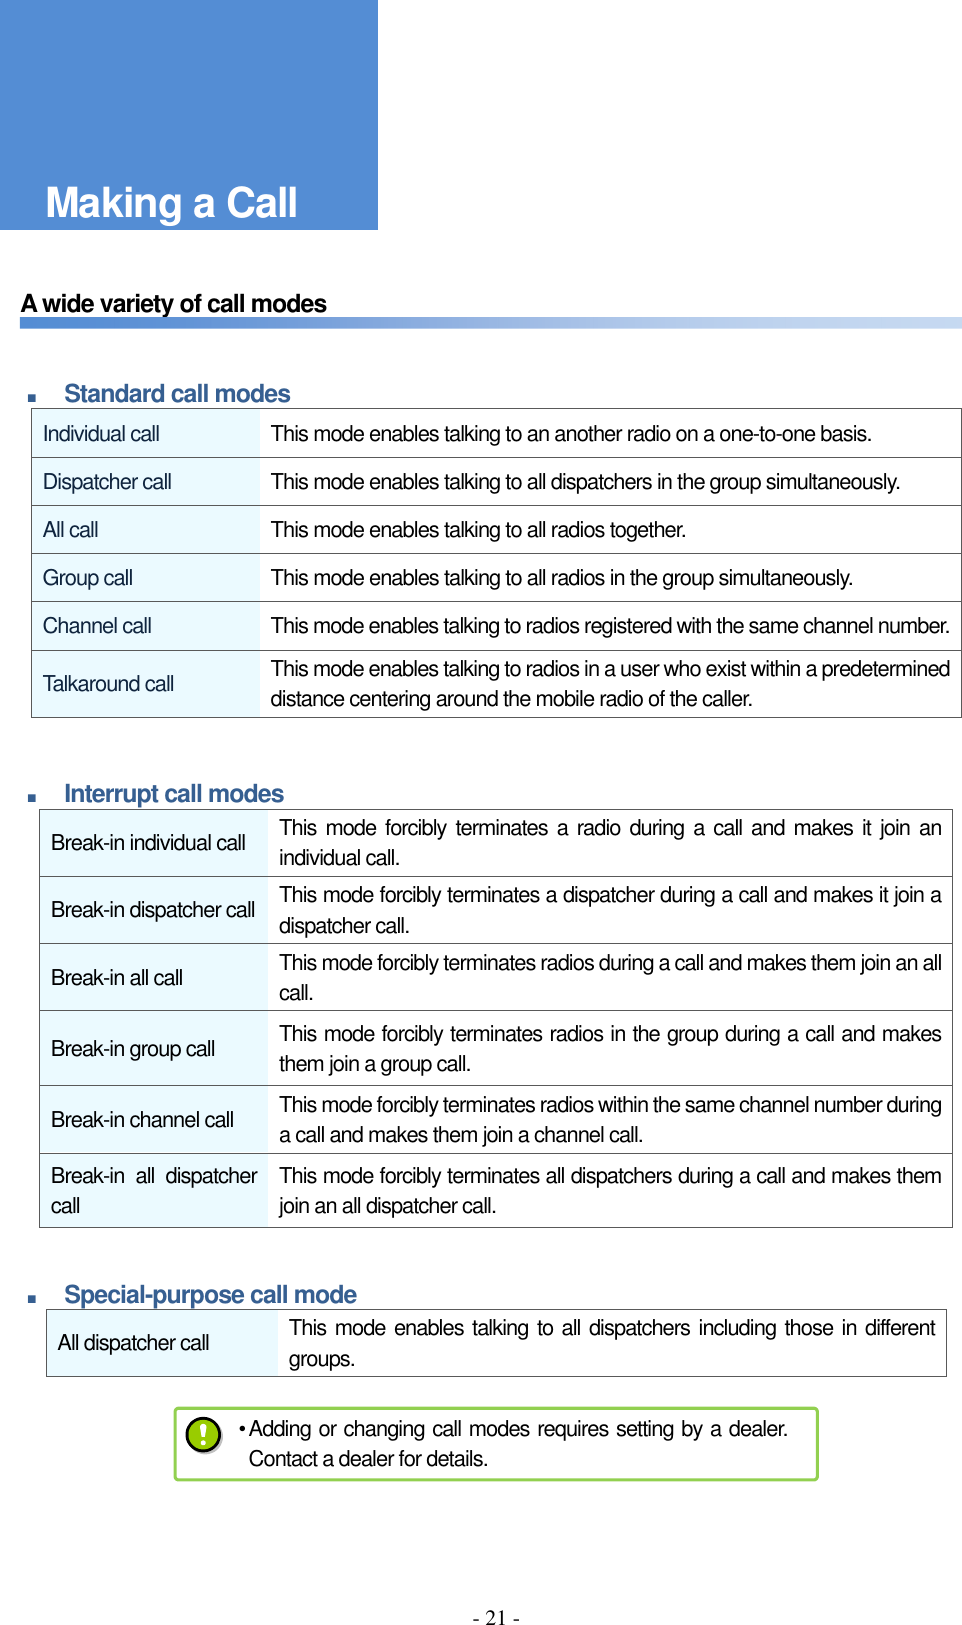
![- 19 - Changing the sound volume On the home screen, turning the switches the “Break-in” message displayed at the bottom of the screen to “Main speaker” or “Ear speaker” icons as shown in the Figure on the right to enable the volume to be changed. While the main speaker icon is displayed, the volume can be changed with the or the . While the ear speaker icon is displayed, the volume can be changed with the . Setting the volume to zero activates silent mode. The volume can also be changed during a call or on the volume settings screen in the menu Break-in call setting display Turn up Turn down Ear speaker icon Volume knob Up/down button Volume knob Up/down button The change in screen when the volume is changed Up/down button Main speaker icon To talk with better sound When talking, keep the product approximately 5 cm away from the mouth. Talking very close to the product may crack or distort the voice sound delivered to the counterpart. The sensitivity of the microphone can be changed from the Menu as follows: How to change the microphone sensitivity: [Menu] > [09:機能設定 (Utilities)] > [03:音質設定 (Voice Qualities)] > [02:マイク感度 (Mic Sensitivity)] According to the voice volume, change the quality of voice to one which is friendly to the counterpart.](https://usermanual.wiki/MOBILE-CREATE/SL8090/User-Guide-3049319-Page-19.png)

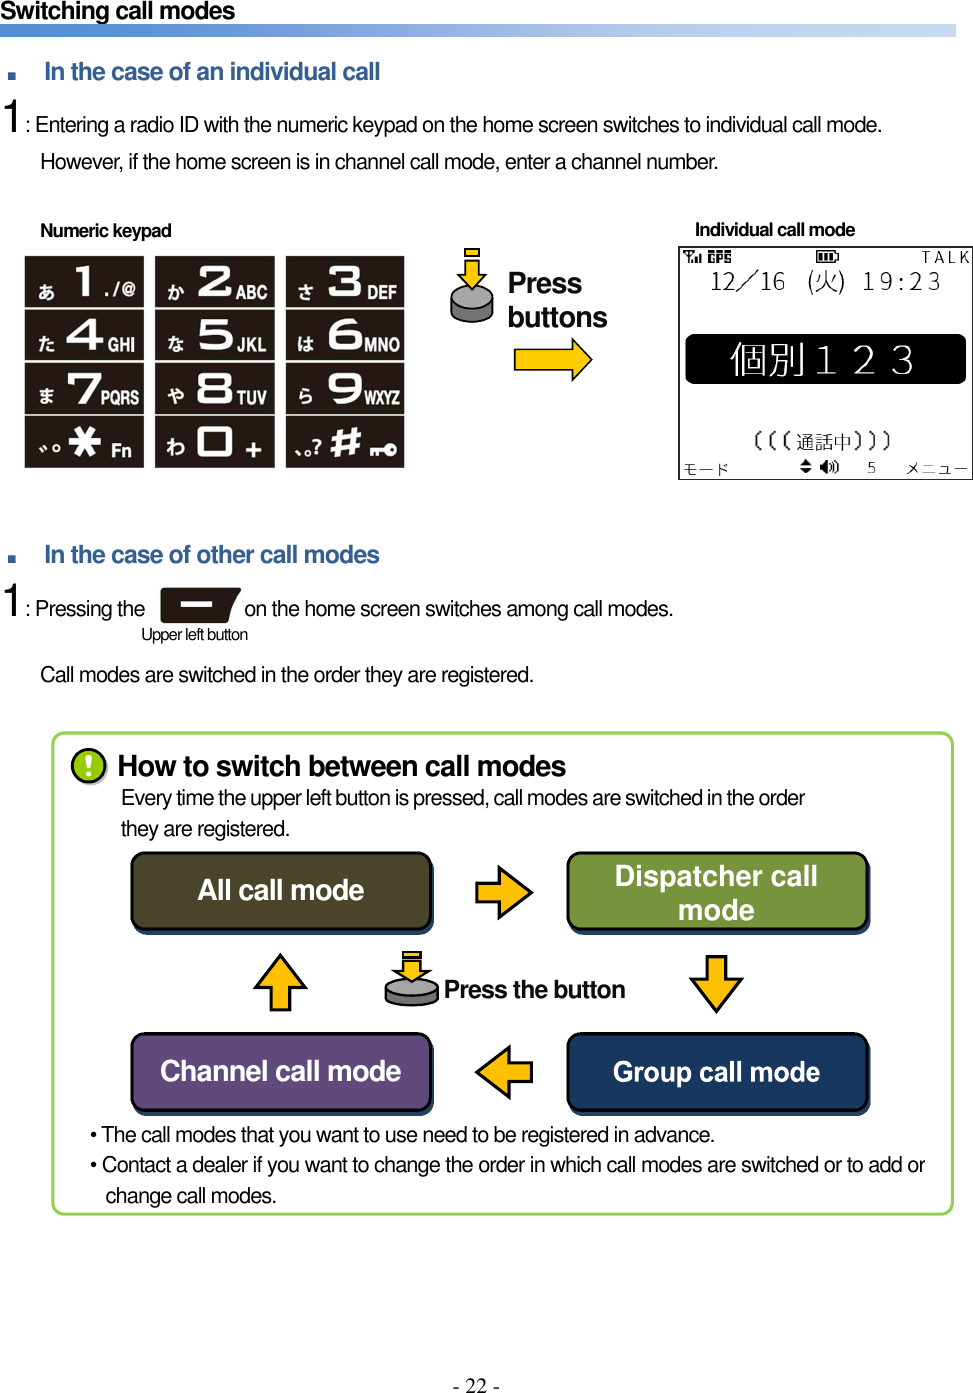
![- 23 - Register group ID function ■ How to set this function 1: Switch to the [Menu] screen using the . 2: Choose [05:グループ設定 (Group Settings)] using the and press the to go to the setting screen. 3: Choose [01:メイン登録 (Main Group)] using the and press the to go to the registration screen. 4: Choose a group using the , check it using the , and register it using the . Group ID registration screen Main group ID registration screen Registration completion screen Upper right button Useful Functions Menu screen Up/down button OK button Up/down button OK button Up/down button OK button Upper right button • Since group ID registration requires packet transfer communication, registration may fail if radio wave signals are weak. If it fails, try the registration again. • This function may not be usable depending on the type of system you use. Contact a dealer for details.](https://usermanual.wiki/MOBILE-CREATE/SL8090/User-Guide-3049319-Page-23.png)
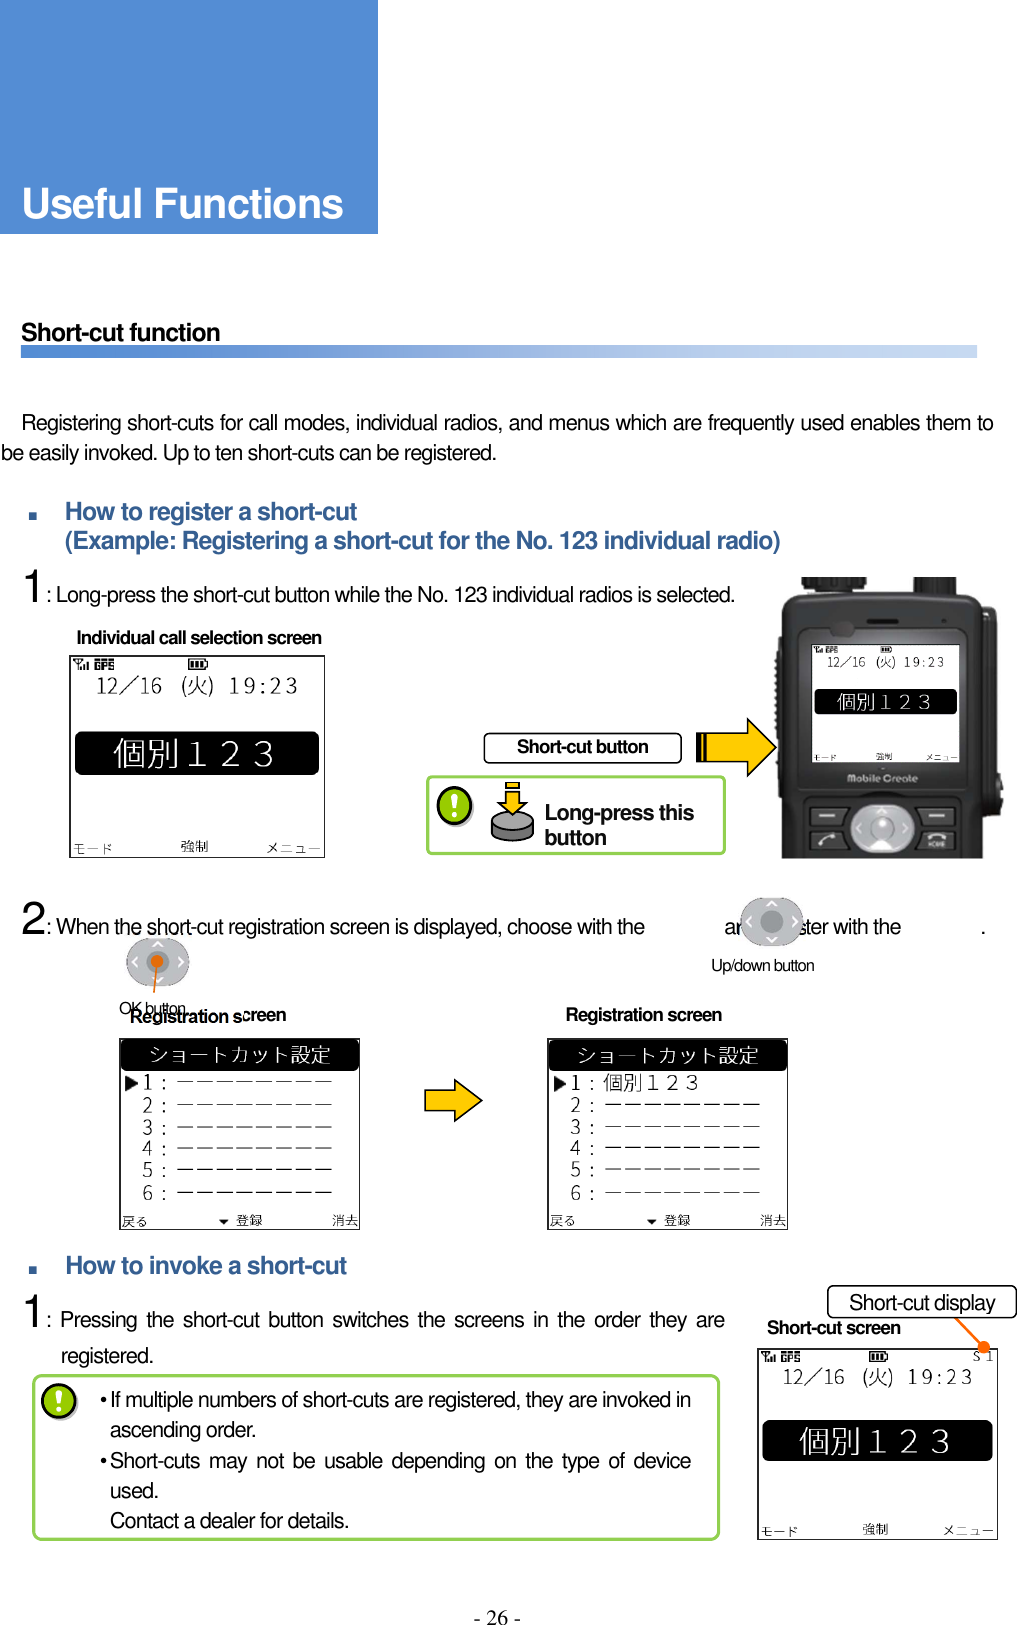
![- 24 - Channel selection function ■ How to set this function 1: Switch to the [Menu] screen using the . 2: Choose [06:チャンネル設定 (Channel Settings)] using the and press the to go to the setting screen. 3: Choose [01:チャンネル登録 (Set Channel)] using the and press the to go to the registration screen. 4: Enter a channel number using the numeric keypad and press the to register it. Menu screen Register button Up/down button OK button Up/down button OK button Upper right button • Since channel selection requires packet transfer communication, selection may fail if radio wave signals are weak. If it fails, try the selection again. • This function may not be usable depending on the type of device you have. Contact a dealer for details. Channel number registration screen Registration completion screen Channel selection screen Useful Functions](https://usermanual.wiki/MOBILE-CREATE/SL8090/User-Guide-3049319-Page-24.png)
![- 25 - Call back mode selection function The radio displayed on the home screen after a call can be changed according to the following procedure: ■ Call back mode selection Received call mode The mode of the call received from a counterpart radio is retained after a call. In the case of an individual call, the radio ID is also retained. Transmitted call mode The radio ID and mode of the call that you made are retained after a call. Previous call mode Irrespective of whether an incoming or outgoing call, the radio ID and mode of the last call are retained after a call. Initial call mode After a call, the radio ID and call modes are switched to those set here. Any individual radio and call mode which are already registered can be chosen. ■ How to set this function 1: Switch to the [Menu] screen using the . 2: Choose [02:終話設定 (Call Back Mode)] using the and press the to go to the call back mode selection screen 3: Choose the call back mode selection that you want to set using the and check it with the to complete the selection. The call mode which is set as the initial call mode needs to be registered in advance. Contact a dealer for details. Menu screen Call back mode selection screen Upper right button Up/down button OK button Up/down button OK button Useful Functions](https://usermanual.wiki/MOBILE-CREATE/SL8090/User-Guide-3049319-Page-25.png)
![- 27 - Talk history function Up to ten received and transmitted calls are saved, respectively. ■ How to display the talk history 1: Switch to the [Menu] screen using the . 2: Choose [03:発信/着信履歴 (Talk History)] using the and press the to switch between screens. 3: Press the to switch between the received call history and the transmitted call history. Switch with the upper right button Menu screen Received call history Transmitted call history Upper right button Upper right button Up/down button OK button Useful Functions](https://usermanual.wiki/MOBILE-CREATE/SL8090/User-Guide-3049319-Page-27.png)
![- 29 - Text message function If the dynamic control service has been introduced, text messages can be sent to individual radios from a computer. The text messages received can be checked again from the menu. ■ How to check text messages again 1: Switch to the [Menu] screen using the . 2: Choose [07:メッセージ確認 (Text Message)] using the and switch among screens using the . 3: Choose the text message that you want to check using the and switch among screens using the . Text message receipt screen Menu screen Test message selection screen Upper right button べんりな機能 Up/down button OK button Up/down button OK button • The dynamic control service needs to be applied for. Contact a dealer for details. • Up to ten text messages received are stored and can be checked from the menu. Useful Functions It is nighttime now. Please take care when driving.](https://usermanual.wiki/MOBILE-CREATE/SL8090/User-Guide-3049319-Page-29.png)
![- 30 - Call back function If the main unit is not operated during an individual call, the “着信あり” message is displayed on the home screen. To make a call to a caller, press the PTT button or the OK button. ■ How to set this function 1: Switch to the [Menu] screen using the . 2: Choose [08:コールバック (Call Options)] using the and switch among screens using the . 3: Press the to select [01:コールバック設定 (CallBackSettings)] and [01:コールバック機能 (On/Off)] and switch between screens. 4: Choosing “ON” with the and checking a call with the set this function. 5: Press the to switch the screen and choose [02:アナウンス時間 (Alert Timer)] to set the notification timer using the announce sound effect. The [アナウンス時間 (Alert Timer)] setting is disabled when the main unit is switched to standby mode. Home screen: If you had a call Upper left button Upper right button べんりな機能 “The “You have a missed call.” message is displayed Up/down button OK button Up/down button Up/down button OK button Useful Functions](https://usermanual.wiki/MOBILE-CREATE/SL8090/User-Guide-3049319-Page-30.png)
![- 32 - Vibration function The vibrator operates when a call is received and a mode is changed. • If the vibration function is on, a vibration pattern is executed once in the event of “power on,” “power off,” “receipt of call,” “call back,” and “no battery remained.” How to set this function [Menu] > [09:機能設定 (Utilities)] > [01:一般設定 (General Settings)] > [02:バイブ設定(Vibration)] • Different vibration patterns can be set depending on the type of call: Individual Call : No vibration + three vibration patterns Break-in Calls : No vibration + three vibration patterns Group Calls : No vibration + three vibration patterns How to set a vibration pattern when a call is received [Menu] > [09:機能設定 (Utilities)] > [01:一般設定 (General Settings)] > [04:着信設定(Receiving Call)] > [01:着信バイブ設定 (Vibration)] • The vibrator operates when the main unit is switched to silent mode with the vibration function on. Useful Functions](https://usermanual.wiki/MOBILE-CREATE/SL8090/User-Guide-3049319-Page-32.png)
![- 37 - You have trouble transmitting your voice ■ The sound quality may be deteriorated if your mouth is too close to the microphone sound collecting port. Keep the product approximately 5 cm away when you talk. ■ Be careful not to put your fingers on the microphone sound collecting port. ■ The microphone sensitivity can be changed from Utilities in the menu. Adjust the microphone sensitivity according to the loudness of the voice. How to adjust the microphone sensitivity: [Menu] > [09:機能設定 (Utilities)] > [03:音質設定 (Voice Quality)] > [02:マイク感度 (Mic Sensitivity)] You have trouble hearing the voice of a counterpart ■ Check to see if the volume setting is too small. ■ Be careful not to put your hand on the speaker. ■ The sound quality of the speaker can be changed from Utilities in the menu. You can change to an ear-friendly sound quality according to the surrounding environment. How to adjust the sound quality: [Menu] > [09:機能設定 (Utilities)] > [03:音質設定 (Voice Quality)] > [01:スピーカ音質 (Speaker Quality)] The battery cannot be recharged ■ Check if the power cord is properly connected to the recharging cradle and the electric outlet. ■ Check if the USB cable is properly connected (at the time of recharging through USB). ■ Check if the battery pack is attached properly.](https://usermanual.wiki/MOBILE-CREATE/SL8090/User-Guide-3049319-Page-37.png)
![■ Principal Specifications Dimensions W 54 × D 30 × H 123 mm (excluding projections) Weight 240 g (with the battery pack) Power-supply voltage Power supplied from the recharging cradle: 5.5 V DC (Maximum current: 2 A) Power supplied from USB: 5.0 V DC (Maximum current: 500 mA) Provided battery pack: 3.8 V DC (2,420 mAh) Consumption current During transmission/reception: 350 mA (Up to 500 mA) During standby: 260 mA Serviceable time [Normal mode] Approximately 9 hours (if the ratio of reception : transmission : standby is 1:1:8) [Standby mode] Approximately 13 hours (Same as above) Note: Recharging time: Approximately 180 minutes (when the power is off and the cradle is used) Surrounding environment Operational temperature: - 20°C to 60°C (During recharge: 0 °C – 40 °C) Communication method 3G (HSPA) 800 / 2100 MHz Transmission output Up to 0.25 W Transmission rate Receiving: 14.4 Mbps (HSDPA) / 384 kbps (W-CDMA) (Maximum) Sending: 5.7 Mbps (HSUPA) / 384 kbps (W-CDMA) (Maximum) GPS Equipped Speaker output 2 systems: Main speaker of 1W, ear receiver of 0.01 W Water-proof and dust-proof properties Equivalent to IP67 Mobile Create USA, Inc. #658, 2033 Gateway Place, San Jose, California, U.S.A. 95110 ■ Reproducing, copying, or modifying this document, in whole or in part, without permission is prohibited. ■ The specifications, design, and other information contained in this document are subject to change for improvement without prior notice.](https://usermanual.wiki/MOBILE-CREATE/SL8090/User-Guide-3049319-Page-38.png)