Modern 6012A AUDIOPHILE USB TURNTABLE User Manual 910 101051 0010 200 FH10

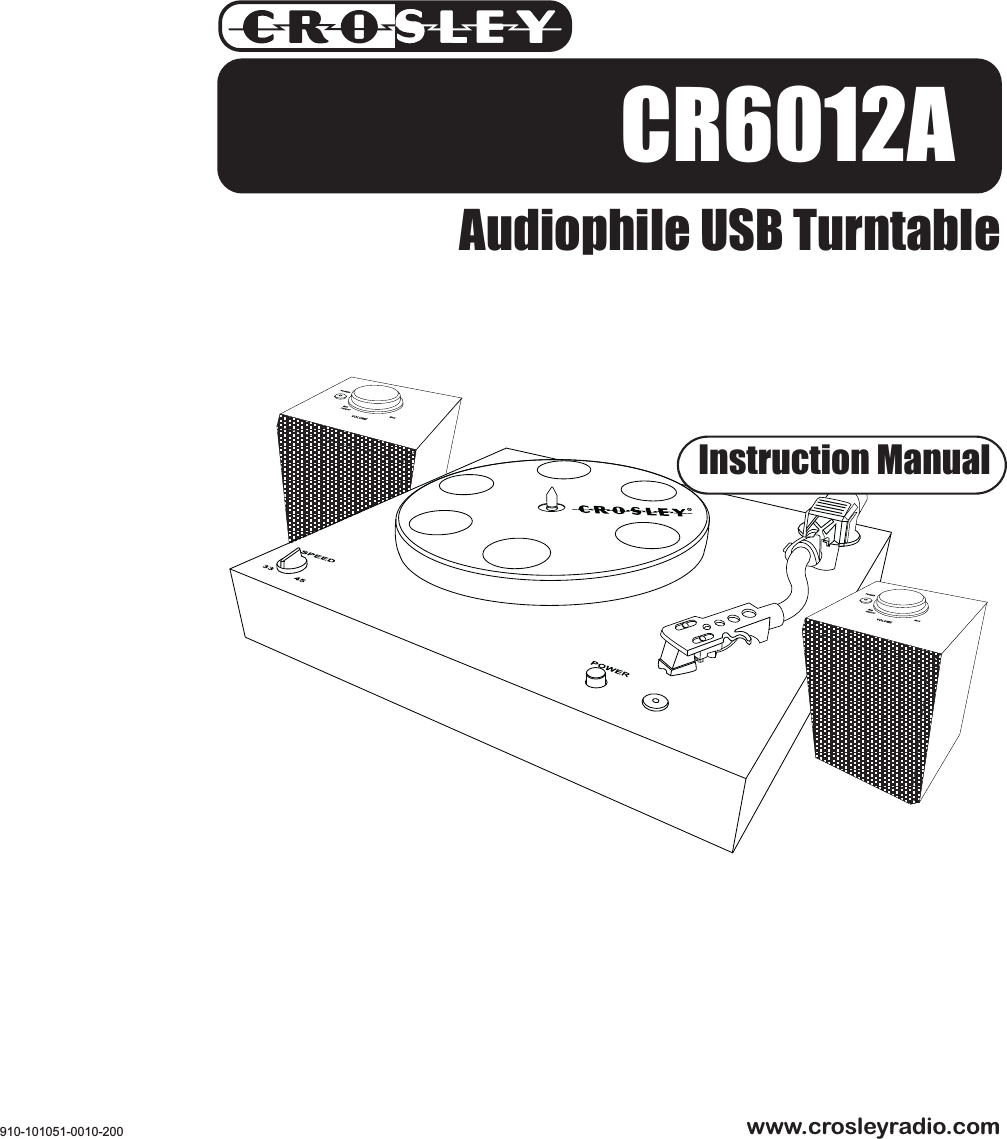
Hong Kong Modern Marketing Manufacturing Limited AUDIOPHILE USB TURNTABLE 910 101051 0010 200 FH10

Users Manual

Audiophile USB Turntablewww.crosleyradio.com910-101051-0010-200CR6012AInstruction Manual
TroubleshootingGeneralSpecificationPower source : AC Adaptor AC120V~60 Hz / DC 9V 400mAPower Consumption : 5W(Turntable),15W(Speaker/each)Antenna : Built-in antenna for 916M TRANSMTTERSpeed : 33 1/3,45  RPMSpeaker : 4 inch 8 ohm 5WAudio output : 3WReplacement Needle : NP4RF Transmtter Frequency : 916MHz* DESIGN AND SPECIFICATIONS SUBJECT TO CHANGE WITHOUT  NOTICE.WARNING:TO PREVENT FIRE OR SHOCK HAZARD, DO NOT EXPOSE THISAPPLIANCE TO RAIN OR MOISTURE. DO NOT REMOVE COVER.PILOT LAMPS SOLDERED IN PLACE. NO USER SERVICEABLEPARTS  INSIDE.  REFER  SERVICING TO  QUALIFIED  SERVICEPERSONNEL.The exclamation pointwithin an equilateraltriangle is intended toalert user to thepresence of importantoperating andmaintenance (servicing)instruction in theliterature accompanyingthe appliance.RISK OF ELECTRIC SHOCKDO NOT OPENCAUTIONCAUTION: TO REDUCETHE RISK OF ELECTRICSHOCK, DO NOT REMOVECOVER (OR BACK). NOUSER - SERVICEABLEPARTS INSIDE. REFERSERVICING TO QUALIFIEDSERVICE PERSONNEL.The lighting flash witharrowhead symbol, withinan equilateral triangle, isintended to alert user tothe presence of uninsulated"dangerous voltage" withinthe product's enclosurethat may be of sufficientmagnitude to constituterisk of electric shockto persons.9There is no Power1Make sure unit is plugged in correctly.2The unit is not turned on: press the POWER button to ON Position.No Sound on Wireless Speakers1Make sure Transmitter ON/OFF switch on theback of the turntable is in the ON position2Make sure the wireless speakers are turned on.3Check that the distance  between the two is 50feet or less and that there is a clear line of sightbetween the turntable and speakers.4Remove obstructions to minimize interference.5If using batteries to power the speakers, replacethe batteries to ensure they are good.6Make sure the wireless speakers are turned onby rotating the Volume ON/OFF Knob clockwise.
This unit is equipped with a built in wirelesstransmitter.  This feature  allows the user to listento their albums through speakers not directlyconnected to the turntable within a 50 foot range. To use this feature,follow the steps below.1Slide the TRANSMITTER ON/OFF switch to the ON position.2   Switch the wireless speaker(L & R) ON by turning the power ON-OFF SWITCH/VOLUMECONTROL switch to the ON position and turnthe Sound Volume to mid- range position.3Follow the instructions for Turntable Operationon the left side of this page.4Adjust the volume of your Speaker  accordingly.Notes:1When turning off the wireless transmitter afteruse, you may hear music or sound for two tothree seconds after turning the switch off.2The maximum range for the wireless transmitteris approximately 50 feet,depending on your location.3For best performance, a clear line of sight between the turntable and your wireless      speaker is recommended.4When not in use, place the Transmitter ON/OFFswitch in the off position.1Press the POWER button to turn the unit on.2Set the SPEED CONTROL SWITCH to the correct speed (33-1/3 or 45) for the selected record.3Place record on the turntable.4Gently move the tone arm from the ARM LOCKand lower it to the desired starting point on therecord.5At the end of the record, lift the TONE ARM fromthe record and return it to the TONE ARM REST.TONEARMRESTPOWERINDICATORTONE ARMPOWERTurntable FM TransmitterBasic Operation Control Locators47USB OUT JACKOFF/ONTRANSMITTERLINE OUT JACKDC IN JACKTURNTABLESPINDLESPEEDDRIVE PULLEY
IMPORTANT SAFETY INSTRUCTIONPLEASE READ CAREFULLY ALL THE FOLLOWING IMPORTANT SAFEGUARDS THAT ARE APPLICABLE TO YOUR EQUIPMENT1. Read Instructions - All the safety and operating instructions should be read before the product is operated.2. Retain instructions - The safety and operating instructions should be retained for future reference.3. Heed Warnings - All warnings on the product and in the operating Instructions should be adhered to.4. Follow Instructions - All operating and use instructions should be followed.5. Cleaning - Unplug this product from the wall outlet before cleaning. Do not use liquid cleaners or aerosol cleaners.Usea damp cloth for cleaning.6. Attachments - Do not use attachments not recommended by the product manufacturer as they may cause hazards.7. Water and Moisture - Do not use this product near water - for example, near a bath tub, wash bowl, kitchen sink, orlaundry tub; in a wet basement; or near a swimming pool; and the like.8. A product and cart combination should be moved with care. Quick stops, excessive force, and unevensurfaces may cause the product and cart combination to overturn.9. Ventilation - Slots and openings in the cabinet are provided for ventilation and to ensure reliableoperation of the product and to protect  it from overheating, and these openings must not be blockedor covered, The openings should never be blocked by placing the product on a bed, sofa, rug, orother similar surface. This product should not be placed in a built - in installation such as a bookcaseor rack unless proper ventilation is provided or the manufacturer's instructions have been adhered to.10. Power Sources - This product should be operated only from the type of power source indicated on the marking label,if you are not sure of the type of power supply to your home. Consult your product dealer or local power company.Forproducts intended to operate from battery power, or other sources, refer to the operating instructions.11. Grounding or Polarization - This product may be equipped with a polarized alternating-current line plug (a plug havingone blade wider than the other). This plug will fit into the power outlet only one way. This is a safety feature. If you are unable to insert the plug fully into the outlet try reversing the plug, If the plug should still fail to fit, contact your electrician to replace your obsolete outlet. Do not defeat the safety purpose of the polarized plug.12. Power - Cord Protection - Power - supply cords should be routed so that they are not likely tobe walked on or pinched by items placed upon or against them, paying particular attention tocords at plugs, convenience receptacles, and the point where they exit from the product.13. Lightning - For added protection for this product during a lightning storm, or when it is leftunattended and unused for long periods of time, unplug it from the wall outlet and disconnectthe antenna or cable system. This will prevent damage to the product due to lightning and power - line surges.14. Power Lines - An outside antenna system should not be located in the vicinity of overhead power lines or other electriclight or power circuits, or where it can fall into such power lines or circuits. When installing an outside antenna system,extreme care should be taken to keep from touching such power lines or circuits as contact with them might be fatal.15. Overloading - Do not overload wall outlets, extension cords, or integral convenience receptacles as this can result in a risk of fire or electric shock.16. Object and Liquid Entry - Never push objects of any kind into this product through openings as they may touch dangerous voltage points or short - out parts that could result in a fire or electric shock. Never spill liquid of any kind on the product.17. Servicing - Do not attempt to service this product yourself as opening or removing covers may expose you to dangerousvoltage or other hazards. Refer all servicing to qualified service personnel.18. Damage Requiring Service - Unplug this product from the wall outlet and refer servicing to qualified service personnelunder the following conditions;a. When the power-supply cord or plug is damaged.b. If liquid has been spilled, or objects have fallen into the product.c. If the product has been exposed to rain or water.d. If the product does not operate normally by following the operating instructions. Adjust only those controls that are covered by the operating instructions as an improper adjustment of other controls may result in damage and will often require extensive work by a qualified technician to restore the product to its normal operation.e. If the product has been dropped or damaged in any way.f. When the product exhibits a distinct change in performance - this indicates a need for service.19. Replacement Parts - When replacement parts are required, be sure the service technician has used replacement parts specified by the manufacturer or have the same characteristics as the original part. Unauthorized substitutions may result in fire, electric shock, or other hazards.20. Safety Check - Upon completion of any service or repairs to this product, ask the service technician to perform safetychecks to determine that the product is in proper operating condition.21. Wall or ceiling Mounting - The product should be mounted to a wall or ceiling only as recommended by the manufacturer.22. Heat - The product should be situated away from heat sources such as radiators. Heat registers, stoves, or other products (including amplifiers) that produce heat.WARNING: Changes or modifications to this unit not expressly approved by the party responsible for compliance couldvoid the users authority to operate the equipment.NOTE: This equipment has been tested and found to comply with the limits for a Class B digital device, pursuant to Part15 of the FCC Rules. These limits are designed to provide reasonable protection against harmful interference in a residentialinstallation. This equipment generates, uses, and can radiate radio frequency energy and, if not installed and used inaccordance with the instructions, may cause harmful interference to radio communications. However, there is no guaranteethat interference will not occur in a particular installation. If this equipment does cause harmful interference  to radio ortelevision reception, which can be determined by turning the equipment off and on , the user is encouraged to try to correctthe interference by one or more of the following measures:- Reorient or relocate the receiving antenna.- Increase the separation between the equipment and receiver.- Connect the equipment into an circuit different from that to which the receiver is connected.-Consult the dealer or an experienced radio TV  technician for help.ACPolarized PlugLIMITED MANUFACTURERS WARRANTYCrosley Radio, Inc. warrants the product to be free from defects in material andworkmanship under normal use for a period of one year from the original date ofpurchase. This warranty is not transferable. If the product is determined to be defectiveduring the warranty period, the unit will be repaired or replaced at Crosley Radios solediscretion. This warranty covers manufacturing defects and normal consumer use anddoes NOT cover damage or failure as a result of abuse, accident, alterations, misuse,neglect, abnormal wear and tear, inadequate maintenance, commercial or unreasonableuse, damage caused by power surges, mishandling, accident, acts of God or attemptedrepair by an unauthorized service agent. Also not covered are cosmetic damages,cords and antennas.Should this product fail to function in a satisfactory manner, it is best to first return itto the store or retailer where it was originally purchased. If additional service is stillneeded, the original purchaser must FIRST contact our offices to obtain an RA (ReturnAuthorization) Number.TO OBTAIN AN RA NUMBERCALL: 1.888.CROSLEY(1.888.276.7539)Send the unit prepaid to the address below in the original packaging (or reasonablesubstitute to prevent damage). Clearly mark your RA number on the outside packagingand include the original sales receipt (or a copy) indicating date of purchase, amountpaid, and place of purchase. You must also include your full name, shipping addressand daytime contact number. Please include a check or money order in the amountof $19.95, made payable to Crosley Radio, to cover handling and return shippingcharges. Returned products will not be shipped to PO Boxes. Crosley Radio will notbe responsible for delays or unprocessed claims resulting from a purchasers failureto provide any or all of the necessary information.CROSLEY RADIOATTN:  RETURNS DEPT2001 PRODUCTION DRIVELouisville, KY  40299For additional support: Crosley Radio Consumer Service Department24 hours a day / 7 days a weekTelephone: 1.888.CROSLEY (1.888.276.7539)There are no express warranties except as listed above.The purchasers bill of sale is the only proof of warranty entitlement.This warranty gives the purchaser specified legal rights in addition to any rights whichmay vary from state to state.In accordance with the Moss-Magnuson Warranty Act of July 10, 1975, this is termeda limited warranty which in no way compromises Crosley Radios high standards ofquality and workmanship.10
Using the included software and cable, the USBconnection allows you record your records onto yourcomputer. Follow these instructions to use the USB.1Insert the enclosed software CD into your computer.2Connect the small end of the USB cable to theUSB JACK on the back of the unit.3Follow the instructions on the computer screento install the software. If the software does notload automatically, browse the CD and open the Read Me folder for further instructions.4Connect the other end to a USB port on your computer.5On your computer, open the Record RecordingSoftware.6For instructions on operating the Record Recording Software, browse the software CD and open the Read Me folder.Using the Audio Output allows you to listen to yourRevolution on a home stereo, TV or other stereosource. The type of cable needed will varydepending on the input jack configuration of yourexternal device.  The output jack on your turntableis a standard RCA output.  See your local electronicsstore to purchase the correct cable for your needs. For more information on hooking up to an externaldevice, see the owner's manual for the selecteddevice.About This ManualWelcome Table of ContentsThank you for purchasing the Crosley AudiophileUSB Turntable (CR6012A) Before operating thisunit, please read this manual thoroughly and retainit for future reference.Crosley Audiophile USB TurntableAC Power Adaptor DC 9V 800mAx2(for wirless speaker)AC Power Adaptor DC 9V    400mA x 1(for turntable)45 RPM AdaptorUSB CableSoftware CDSoftware Installation Guide   Drive Belt   Turntable PlatterUSB Audio OutputInstructions in this manual describe the controlfunctions of the CR6012A.Included in the package:Accessory:ADAPTER FOR 45 RPMThis adaptor allows you to play 45 RPM records.1Place the 45 RPM adapter over the spindle.2Gently place your 45 RPM record onto the turntable.3Follow the steps under turntable operation toplay your record.Basic OperationGetting StartedControl Locators...................... 4,5Unpacking............................... 6Power Source......................... 6Battery Operation....................... 6Basic OperationTurntable ................................. 7916MHz Transmitter ................ 7USB Output.............................. 8Audio Output .......................... 845rpm Adapter ....................... 8GeneralTroubleshooting Guide ........... 9Warranty.................................. 108
1Remove plastic bag covering unit.2Remove AC ADAPTER from packing.3Remove tie from A/C ADAPTER.4Remove white protective needle cover by gentlypulling towards the front of the unit.5Place the Turntable Platter onto the Spindle.6Position the Drive Belt around the Drive Pulley.Pull belt around Turntable Platter as shown below.Power Source1Plug the AC Adaptor (output 9V 400 mA) of the turntable into appropriate wall outlet2Plug the AC Adaptor (output 9V 800mA) of the wireless speaker into appropriate wall outlet.3Plug the small end of the adapter into the ADAPTER JACK on the back of the speaker.4   Slide the Speaker Position Switch on the back of the wireless speakers to the correct position that corresponds to speaker placement.Note:  If you do not want stereo sound, are listening to mono programming or are using onlyone speaker, place the Speaker Position Switchto the MONO position.Battery OperationPOWERSPEAKERSGetting StartedUnpackingControl LocatorsVOLUME ON/OFF KNOB6The wireless speakers can also be used on batterypower if desired.1The battery compartment is located on the back of the wireless speakers.Push the tab towards the battery cover and lift to remove the battery cover.2Six "AA" batteries are required for each speaker.  Refer to the diagram inside the speaker cover for correct battery installation.3Replace the battery cover.IMPORTANT:Remove all batteries from your unit if it will not beused for an extended period of time.Do not leave discharged batteries in the batterycompartment.5DC IN JACKSPEAKER POSITION SWITCH

Navigation menu